- Navigate to the Case Content screen by clicking the Case Content button in the top right corner of the Edit Case pop-up window.
- Click the tab corresponding to the part/checklist desired to be created/ edited.
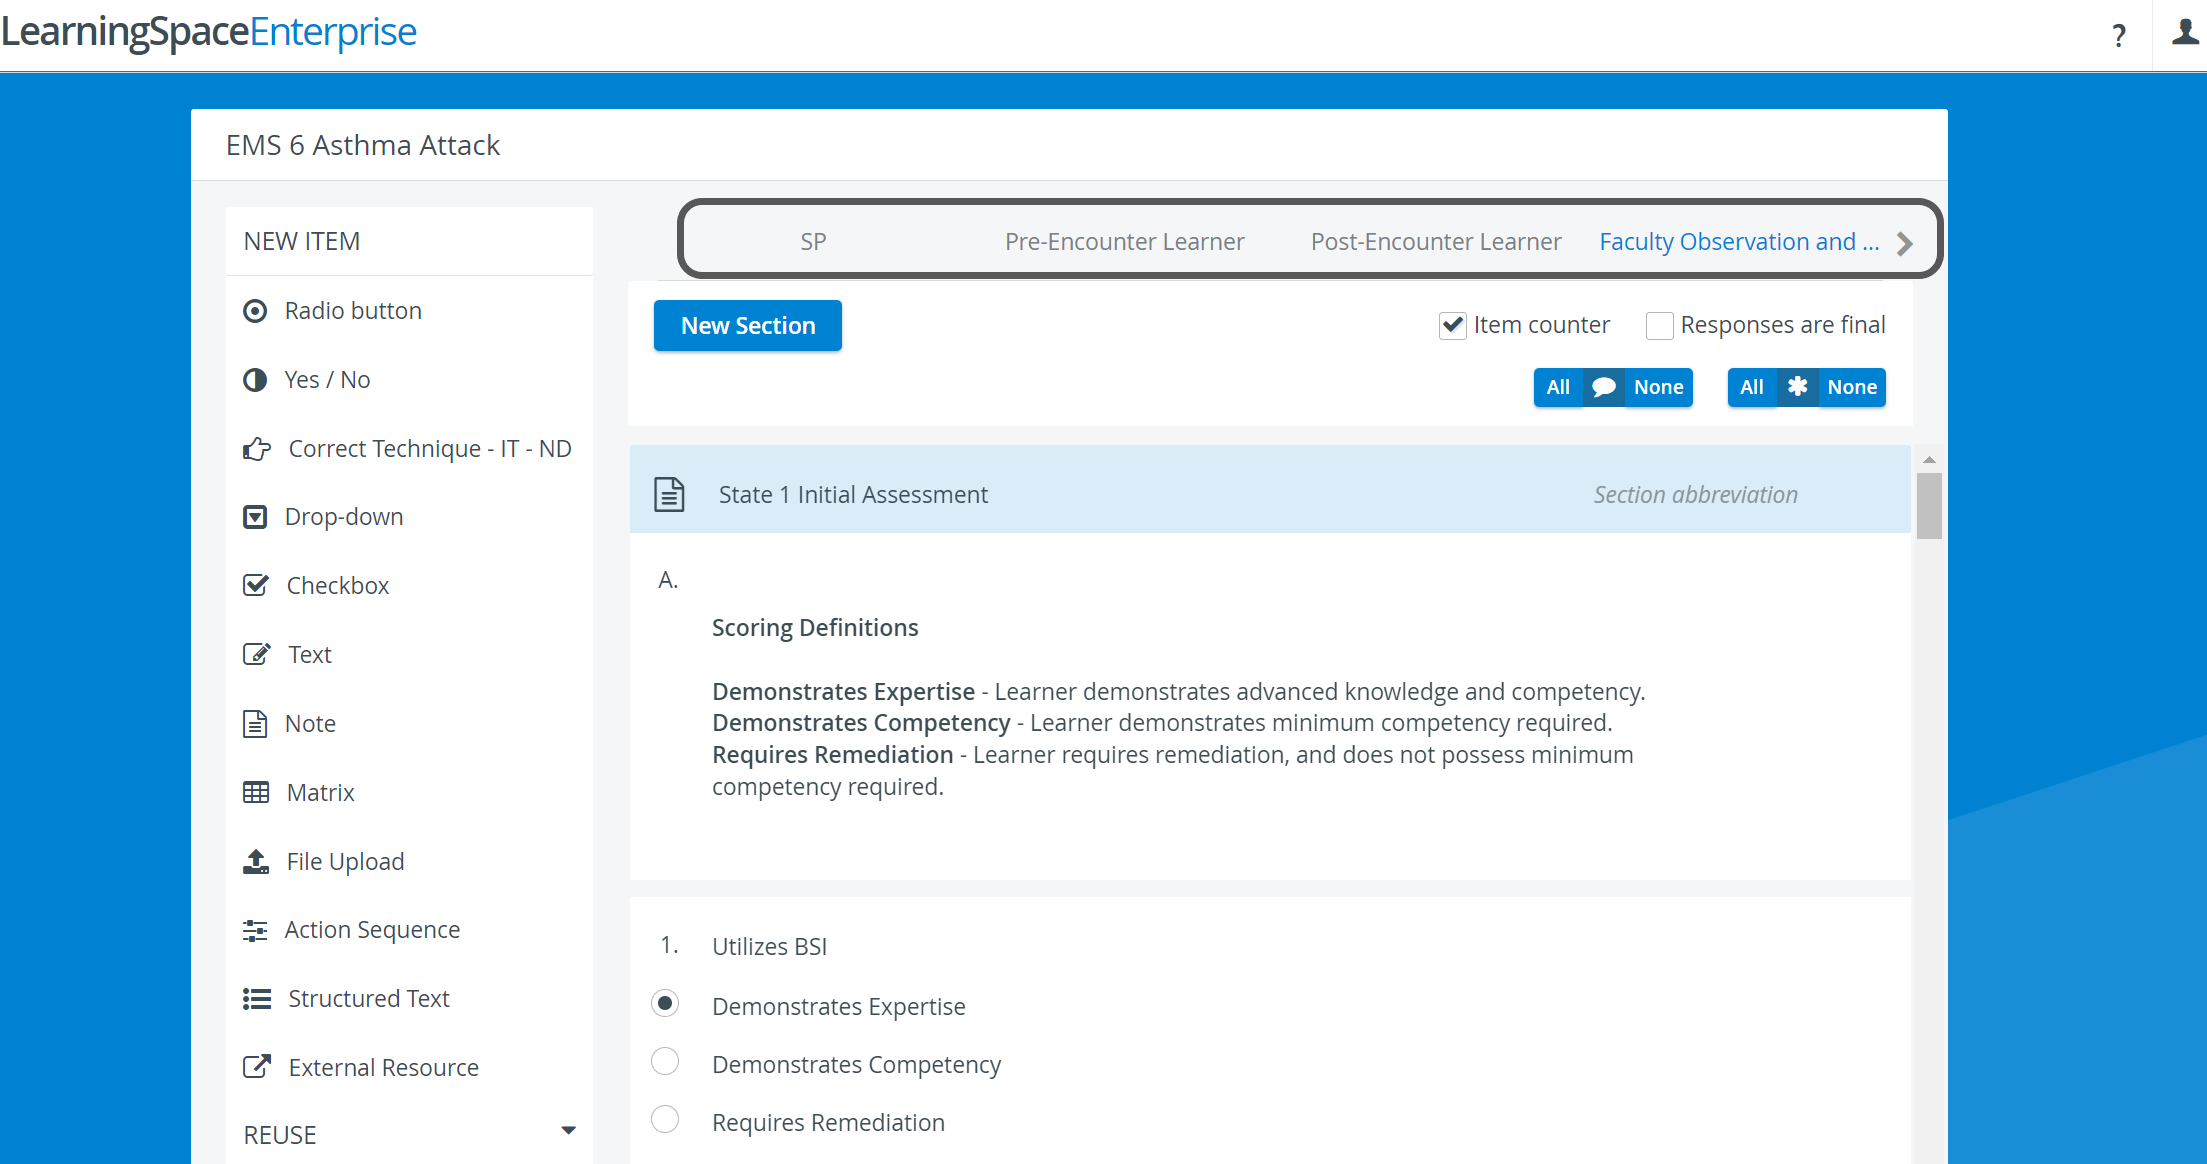
- Click the New Section button in the top left corner of the tab.
An editable New Section panel appears.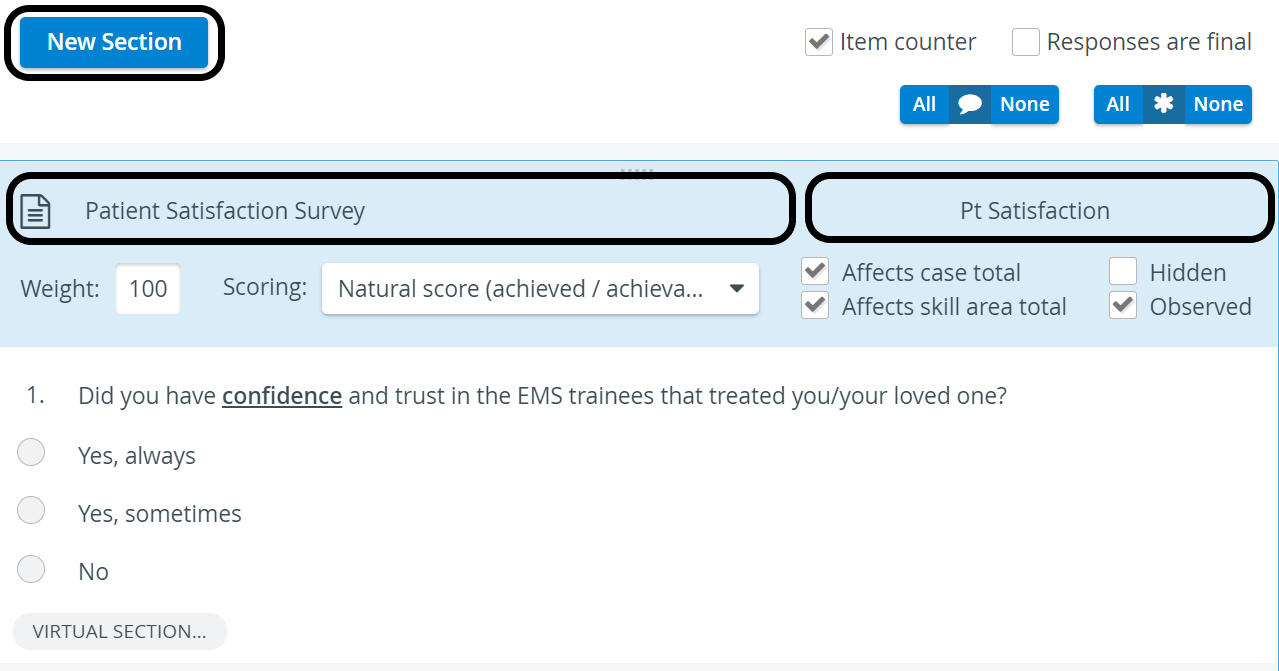
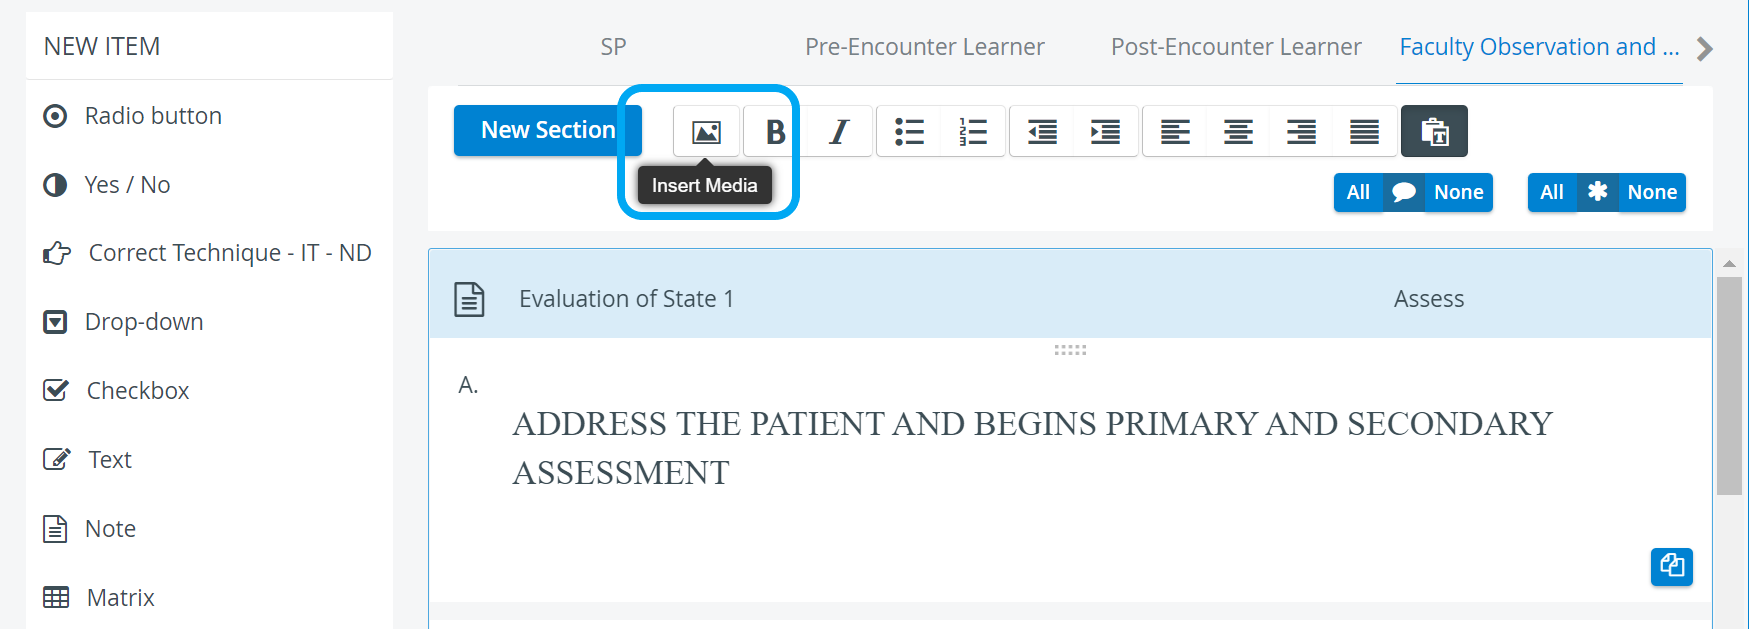
After having all required Section data filled out, click the desired item type in the NEW ITEMS panel.
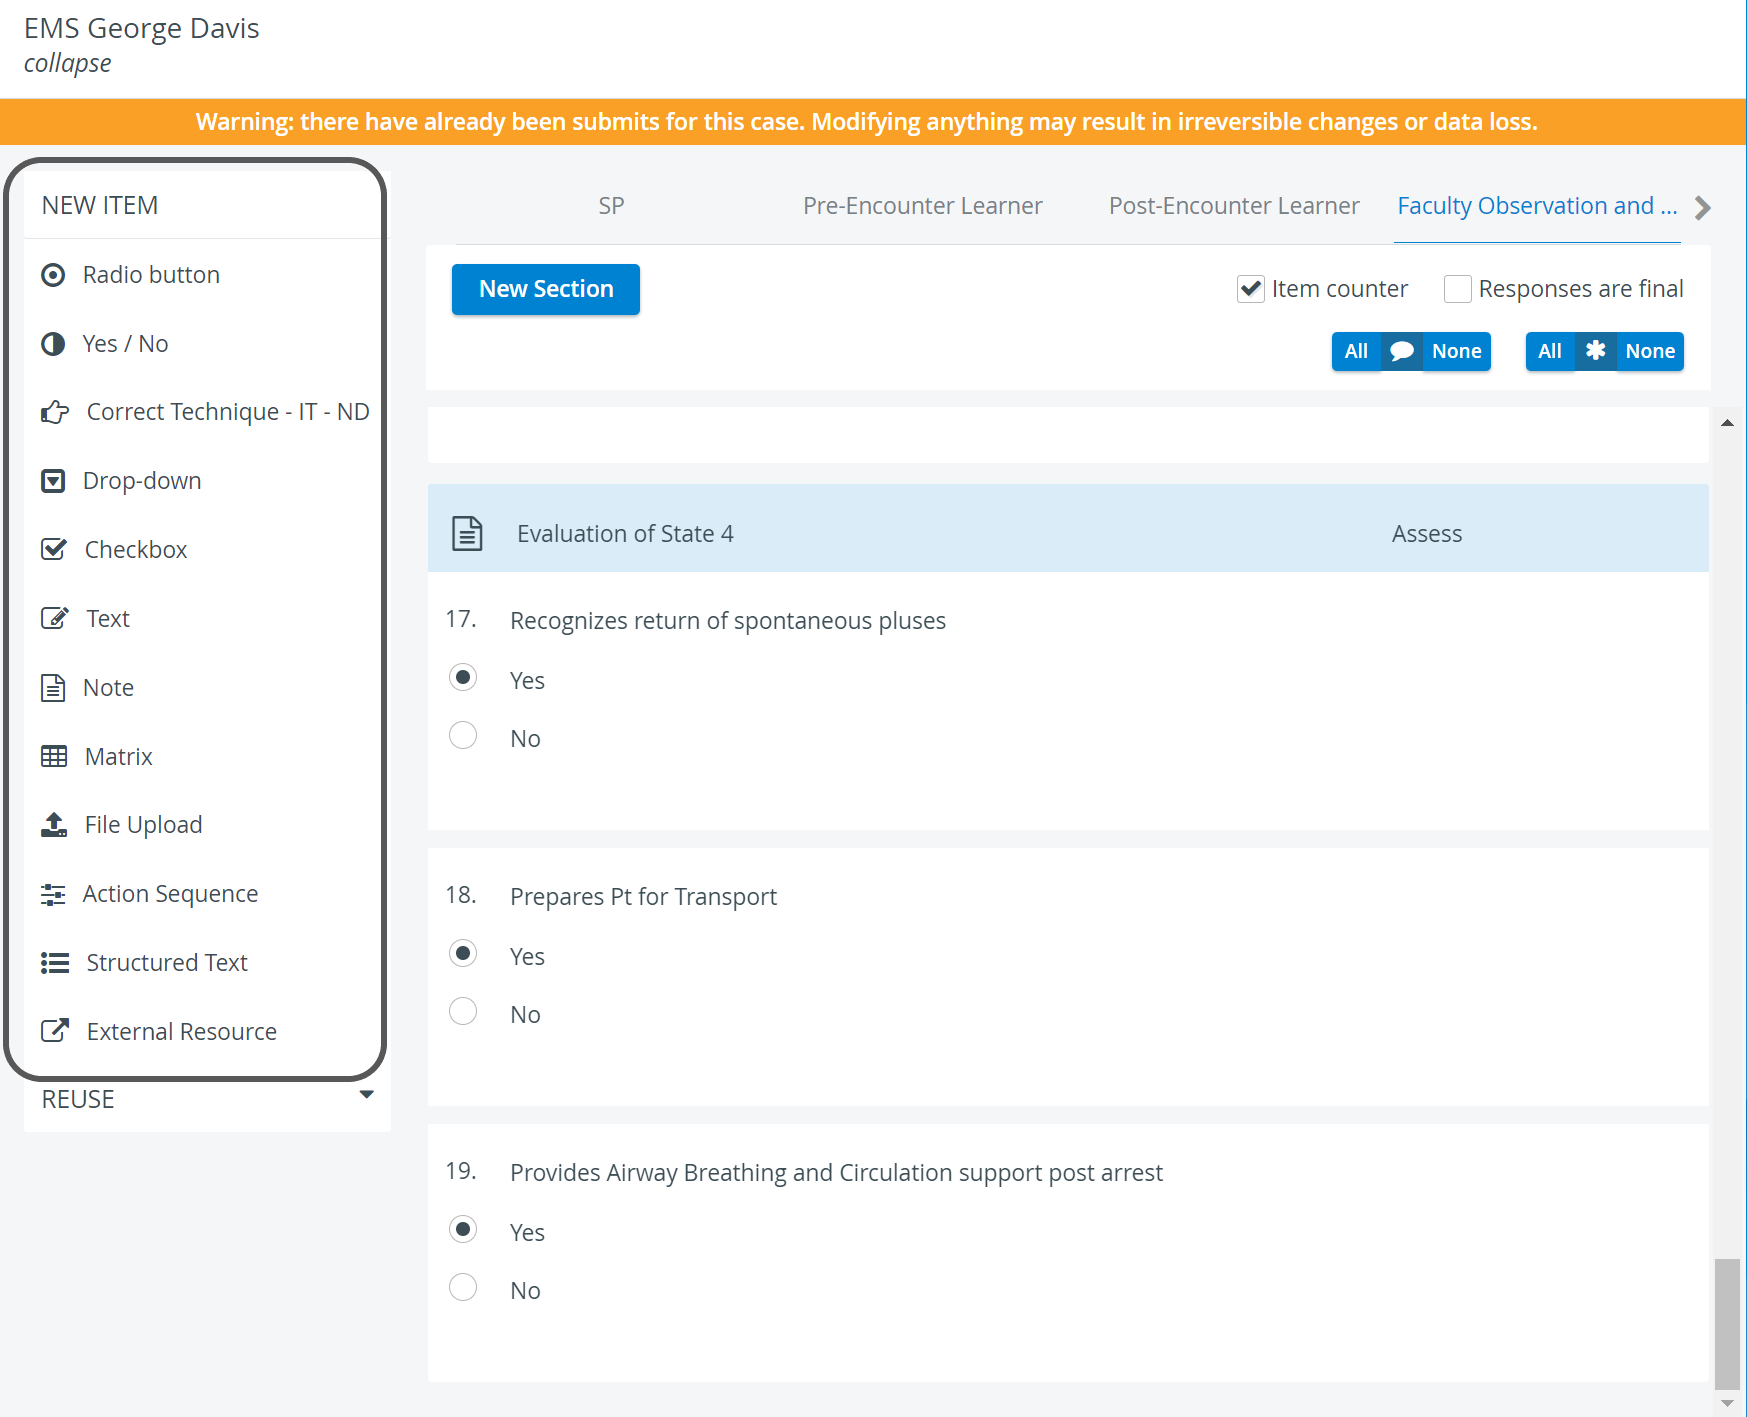
For detailed explanation about the different item types, see the Items part.
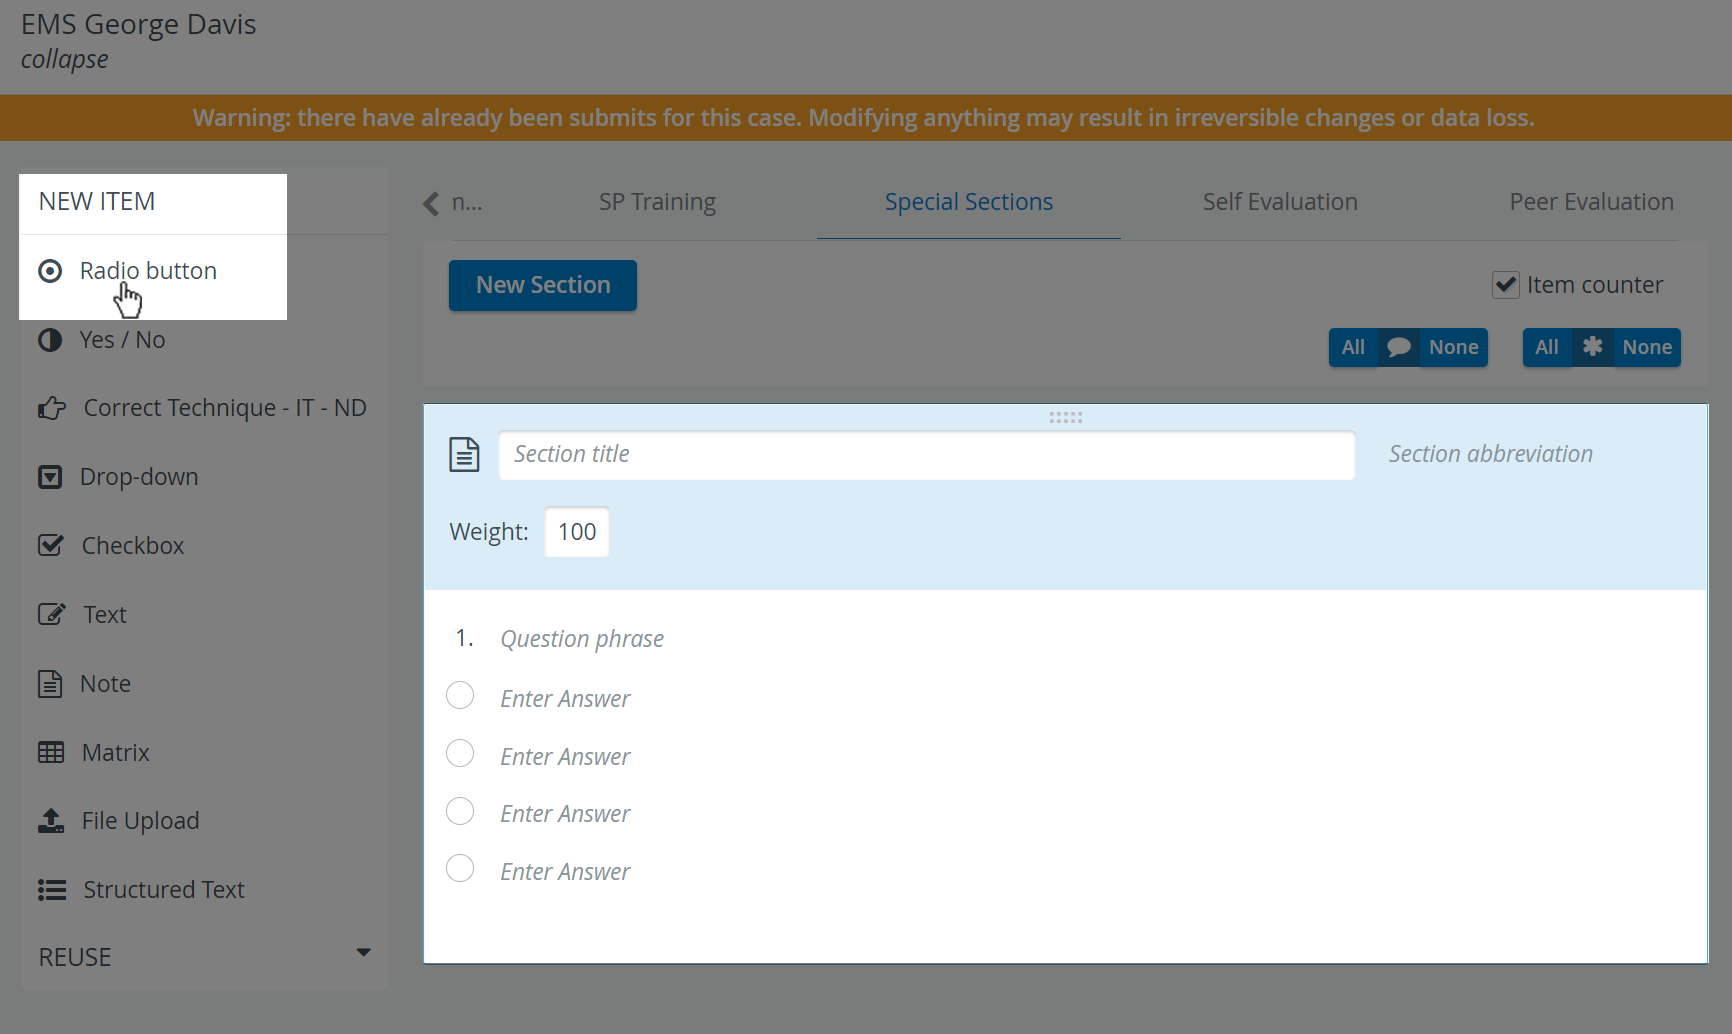
The Item panel appears within the lower part of the Section panel with editable question and answer fields.
 The text entered in any of the text fields can be formatted via the formatting toolbar that toggles from the New Section button when clicked in any of the text fields.
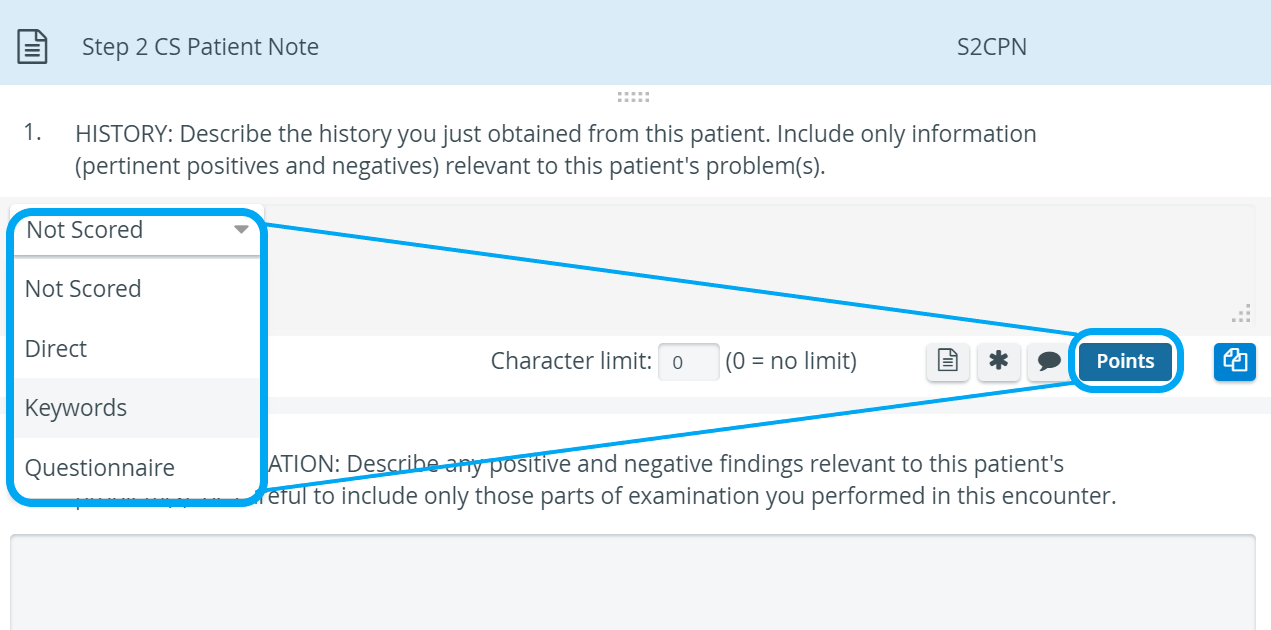
- Determine the score via the Points or the Set Answer button, depending on the selected item type.
IMPORTANT: When on the tab of the desired part, without any Section added, clicking an item in the New Item panel will automatically create a Section that in turn can contain the added item.
In such case, the Section data will have to be filled out along phrasing the question and the answers of the added item.
In such case, the Section data will have to be filled out along phrasing the question and the answers of the added item.
By the drag-and-drop method, you can rearrange
- answer options within an item,
- items within a Section
- and/or Sections within a checklist
To drag an entity, hover over the top line of it until the four-headed arrow cursor appears. Then click and hold until dragged to the desired place, release where it is intended to be dropped.
NOTE: The Insert Media option is available for each and every type of item, thus videos and pictures can be attached to any item added to a Section.
For a more detailed instruction, see How to Upload a Media Item.
For a more detailed instruction, see How to Upload a Media Item.
Related pages
For further information, visit our Case Manager and Cases - How to pages, or watch our Case Manager Training Videos.
Overview
Content Tools