Versions Compared
compared with
Key
- This line was added.
- This line was removed.
- Formatting was changed.
Within LearningSpace a simulation
IMPORTANT: Room
the
NOTE:
, then click the Add button.
to
NOTE: Additional
TIP: To
the
Image Removed
Within the LearningSpace system,
a simulation environment corresponds to a Room. Recording within LearningSpace is only possible in Rooms that have been set up within the system.
Setting up a room entails:
- adding them to the system with a specific name,
- then assigning the cameras, manikin, DAK
- or assigning other A/V devices intended to be used during the simulation event.
Note |
---|
Room setup should be completed after all devices intended to be used in the simulation environment are physically connected and configured on the corresponding tab(s) of |
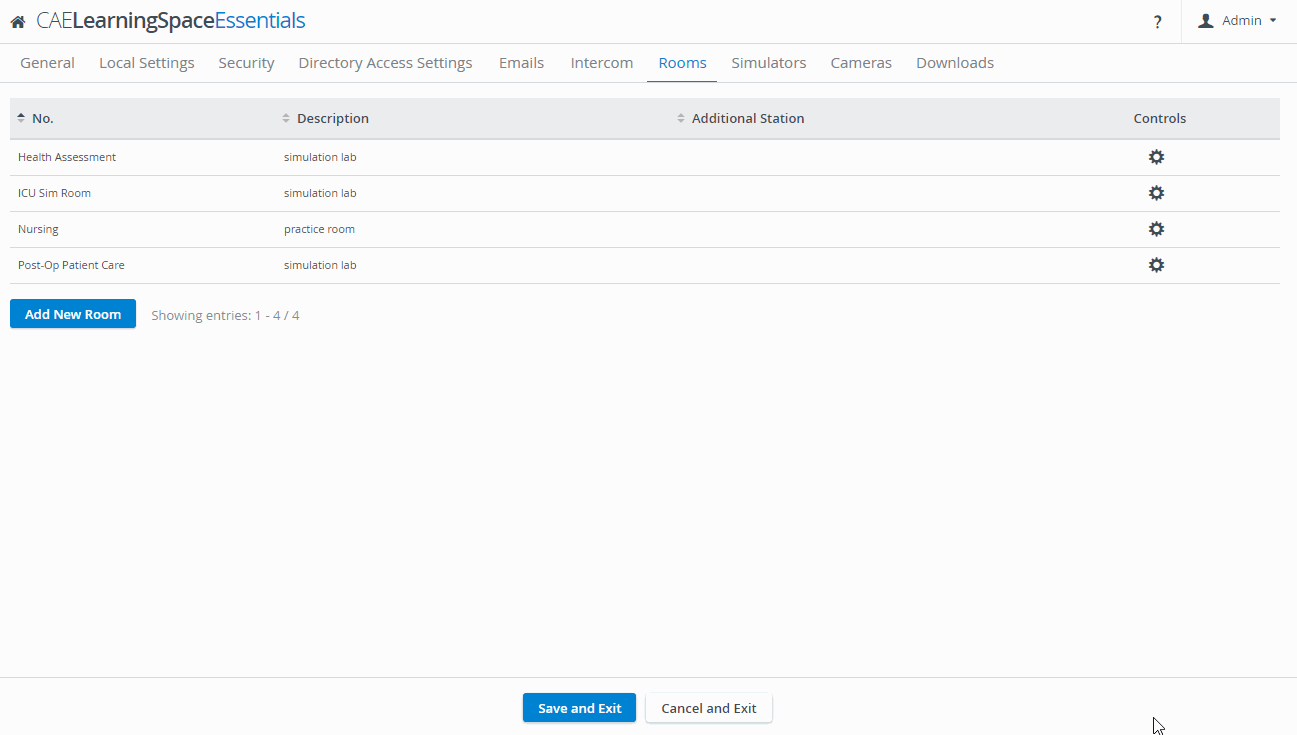
the System (e.g. cameras added on the Cameras tab). |
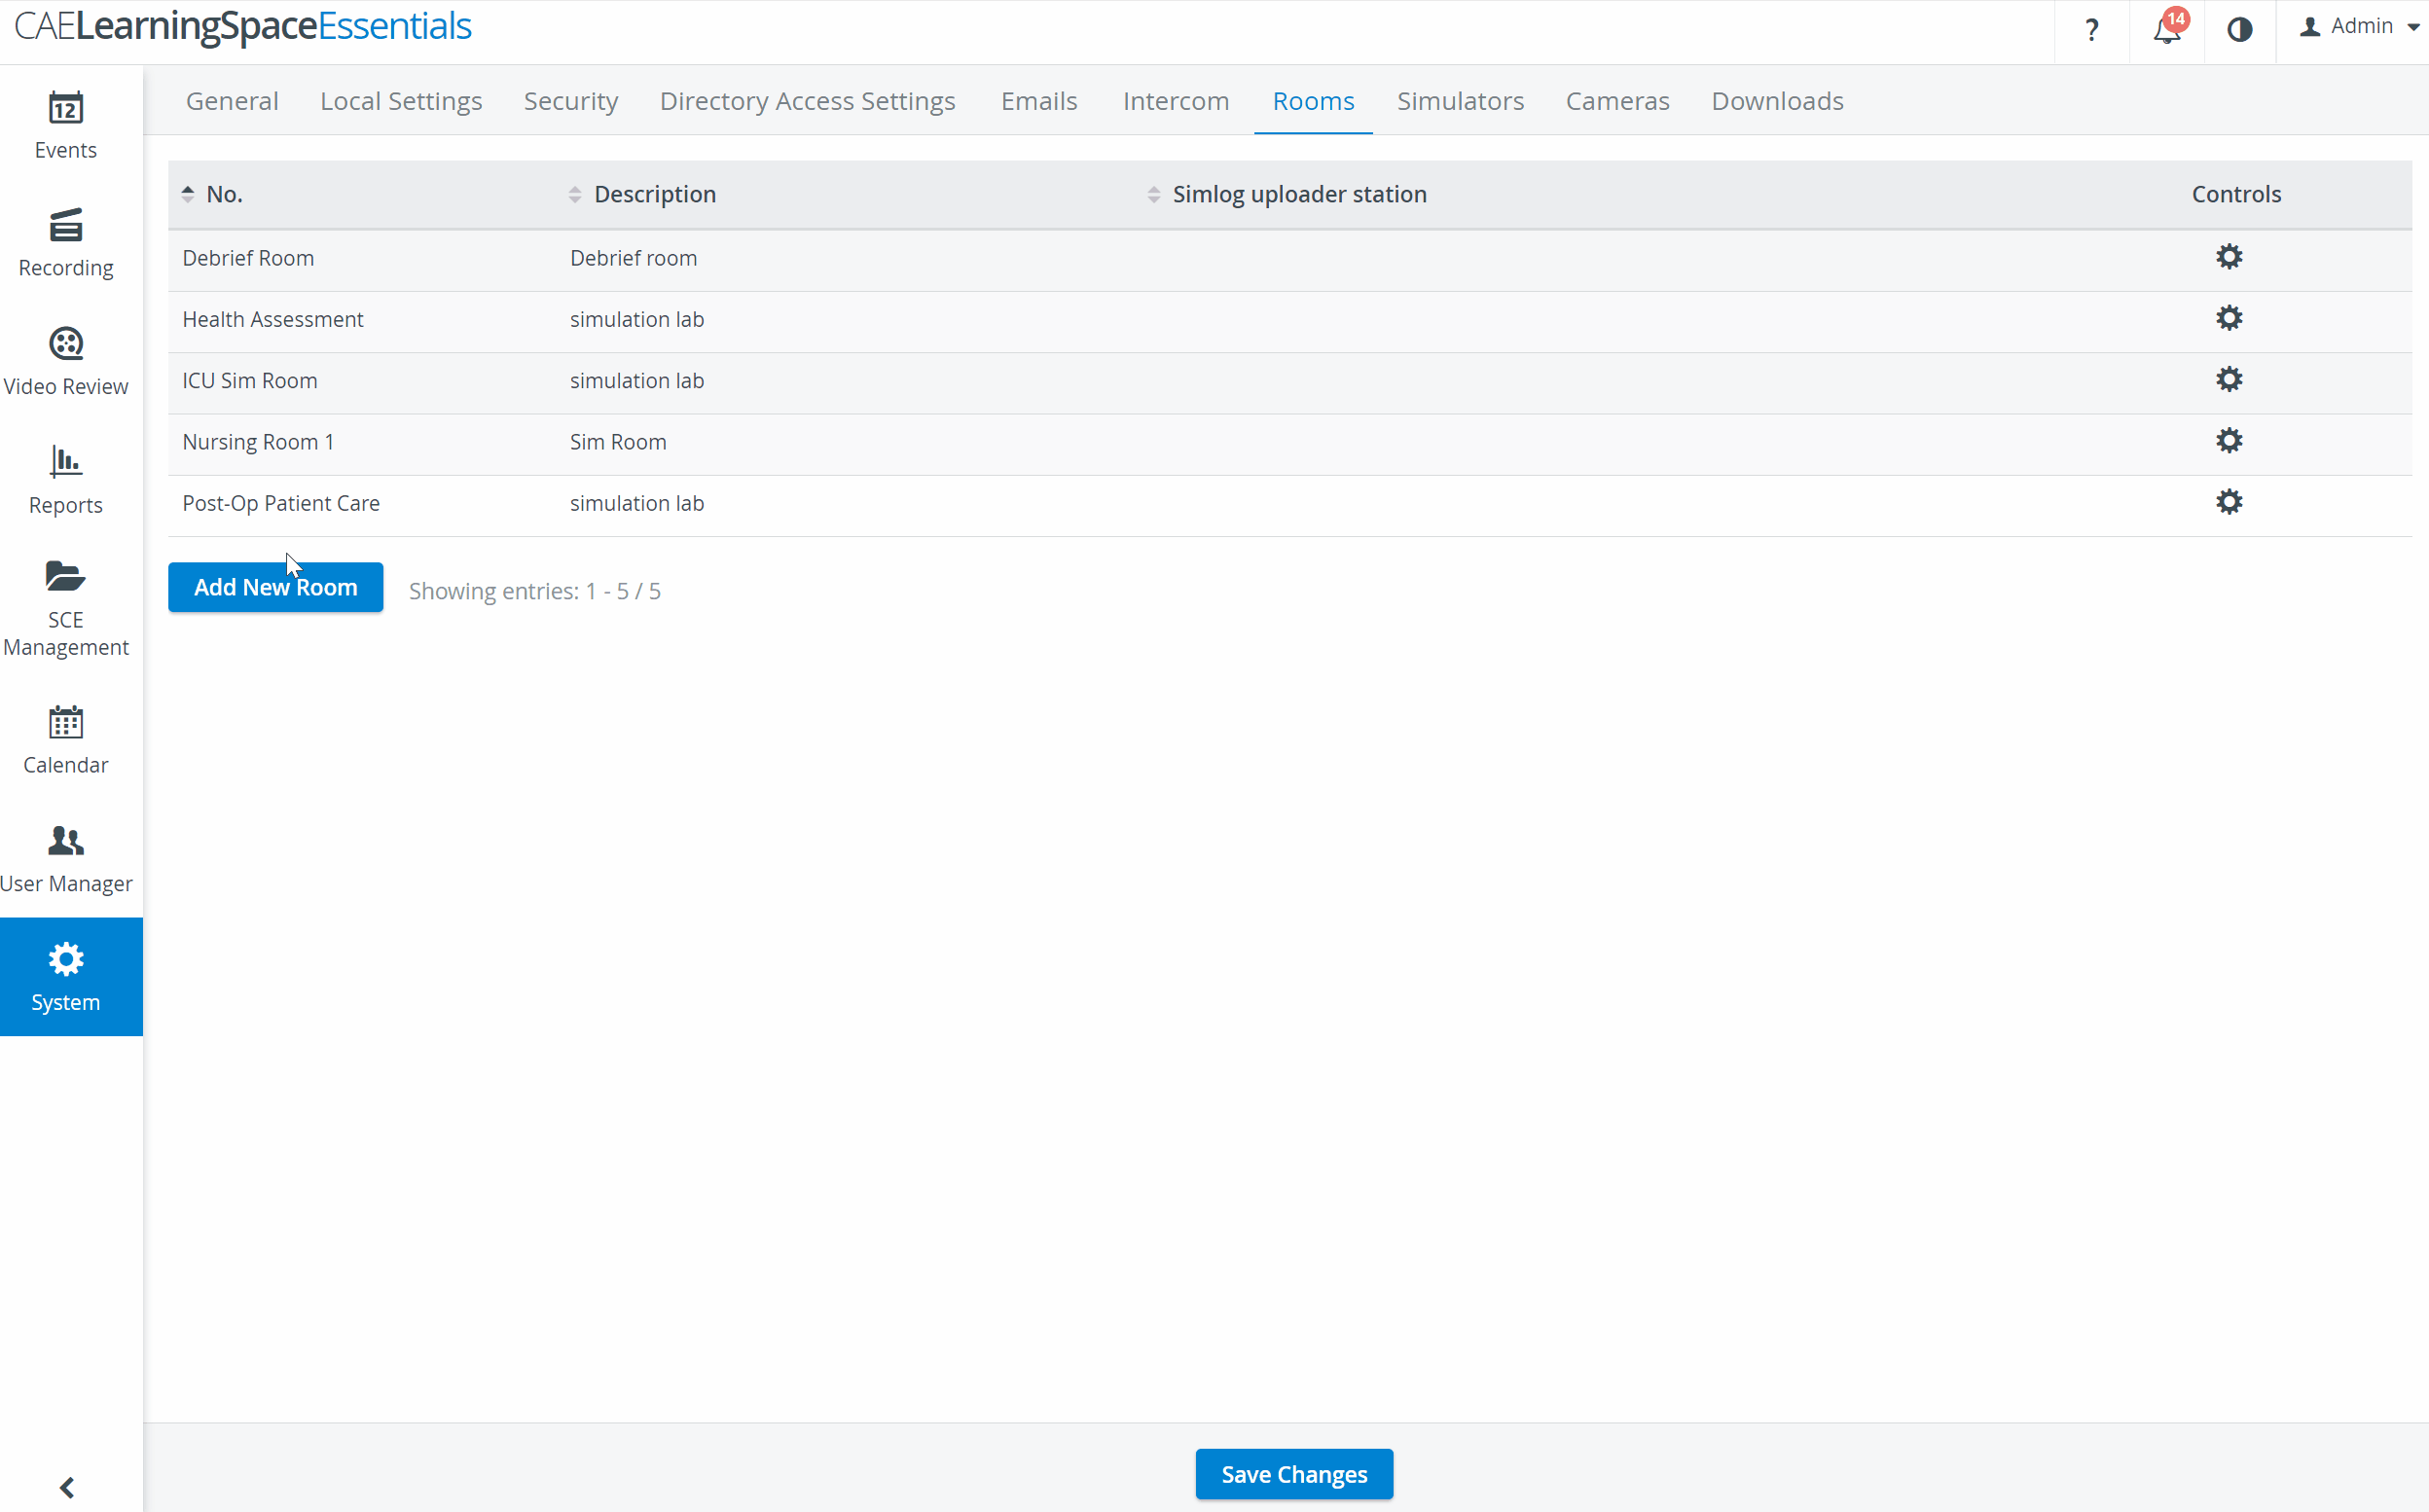
Image Added
Note |
---|
Room management depends on the hardware system, that is, in case of a LearningSpace ONE Box, which is a one-room system, no additional room can be added. |
- To add a new room within the system, click the Add New Room button at the bottom left corner of the Rooms tab.
The Room Settings pop-up appears. - Enter the room number and room description
- . You can also add a Separate In-room Intercom device, a Separate Facilitator Intercom device (e.g. headphones) and a Simlog uploader station to the room here.
- Click the Add button. The Room Settings pop-up automatically expands with other details.
Assign the devices desired to be added to the room by selecting them in the corresponding drop-down menus.
For more information on the drop-down menus of the Rooms Settings pop-up, see Rooms.Info NOTE: Depending on the screen size, you may need to scroll down to have all the assignable devices displayed. - Click Save
- to save and add the new room.
- Once the data have been saved, the list of rooms will be displayed with the new room added.
Note |
---|
Additional room setting information can be added or modified at any time by clicking the cogwheel for a desired room, thereby prompting the Room Settings pop-up to appear. |
Tip |
---|
To delete a room (including all assignment settings), open the Room Settings pop-up and click |
the Delete button. |
Overview
Content Tools