Page History
...
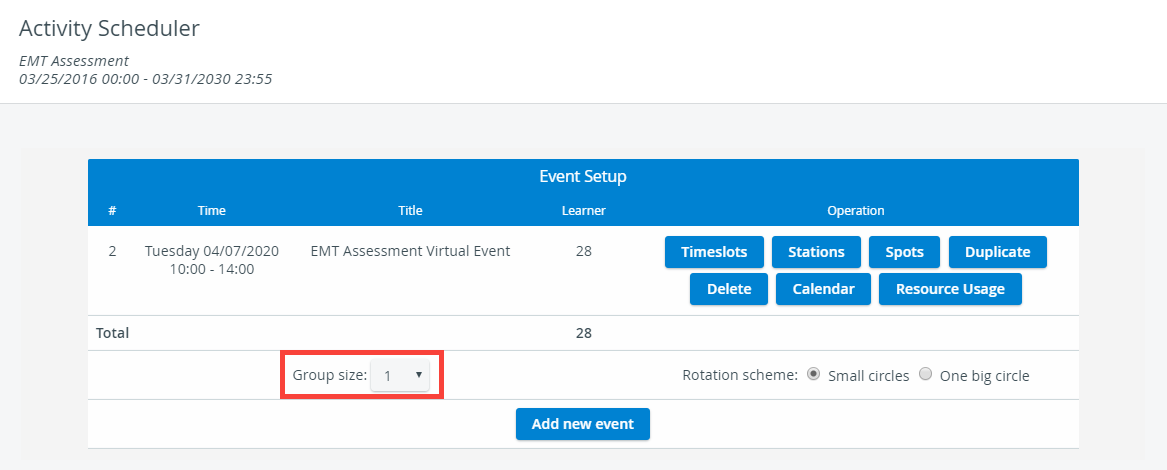
Create a new event with Advanced Scheduling.
Note title Important Virtual encounters can only be set up in Advanced Scheduling.
Only one learner can participate at a time in a virtual encounter, which means Group size must always be 1.
Info Check the Group size drop-down on the Activity Scheduler page of your activity at the bottom of the Event Setup pane and make sure it is set to 1.
Set up timeslots and have valid round setups.
Note title Number of Timeslots To allow your learners to join the virtual meeting of each case required of them, the number of timeslots within a round should be equal to (or the multiple of) the number of virtual cases.
This will ensure the correct rotation of learners: within one round, every one of them can participate in each virtual encounter they need to complete.Add one virtual room to each case at Stations.
Tip You can conduct the same case in several different virtual rooms just as running the same case on more than one station.
 Likewise physical rooms, you cannot assign the same virtual room to more than one case.
Warning Do not add physical rooms to your virtual event or add virtual rooms and physical rooms simultaneously to virtual events.
Only virtual rooms work in this setting.Note title Important Virtual rooms do not function as authorized workstations, which means automatic user-forwarding to pre-selection pages is not provided.
Learners can still access their checklists, but they have to manually select their case from a drop-down menu, which might lead to mistakes in data entry.Refer to the Recommended Activity Settings mentioned above to direct your learners to the Case Pre-Selection page.
- assign one SP per case
Warning title Warning Do not apply a timeslot structure template to your event.
SPs are in charge of launching and ending virtual encounters.
Notify Learners about Their Exact Timeslot Schedule
After assigning learners to timeslots, send the exact virtual encounter dates to your learners via notification emails.
| Tip | ||
|---|---|---|
| ||
From now on in your event notification emails, you can inform learners about the exact timeslots they are assigned to. A new merge tag is available in the Emails tab in System: Learner timeslot that displays the timeslot date(s) the recipient is assigned to. |
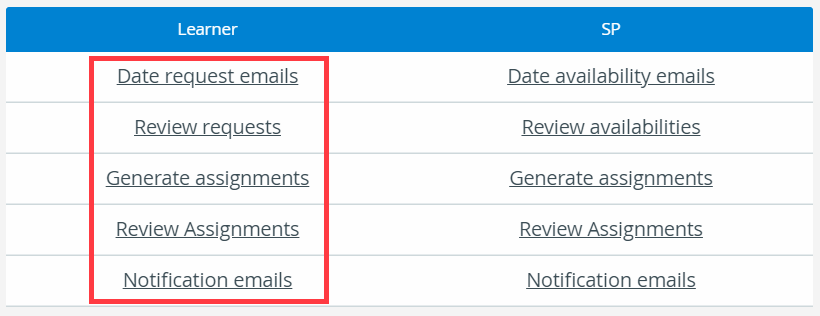
- Scroll down to Notification emails on the Activity Scheduler page:
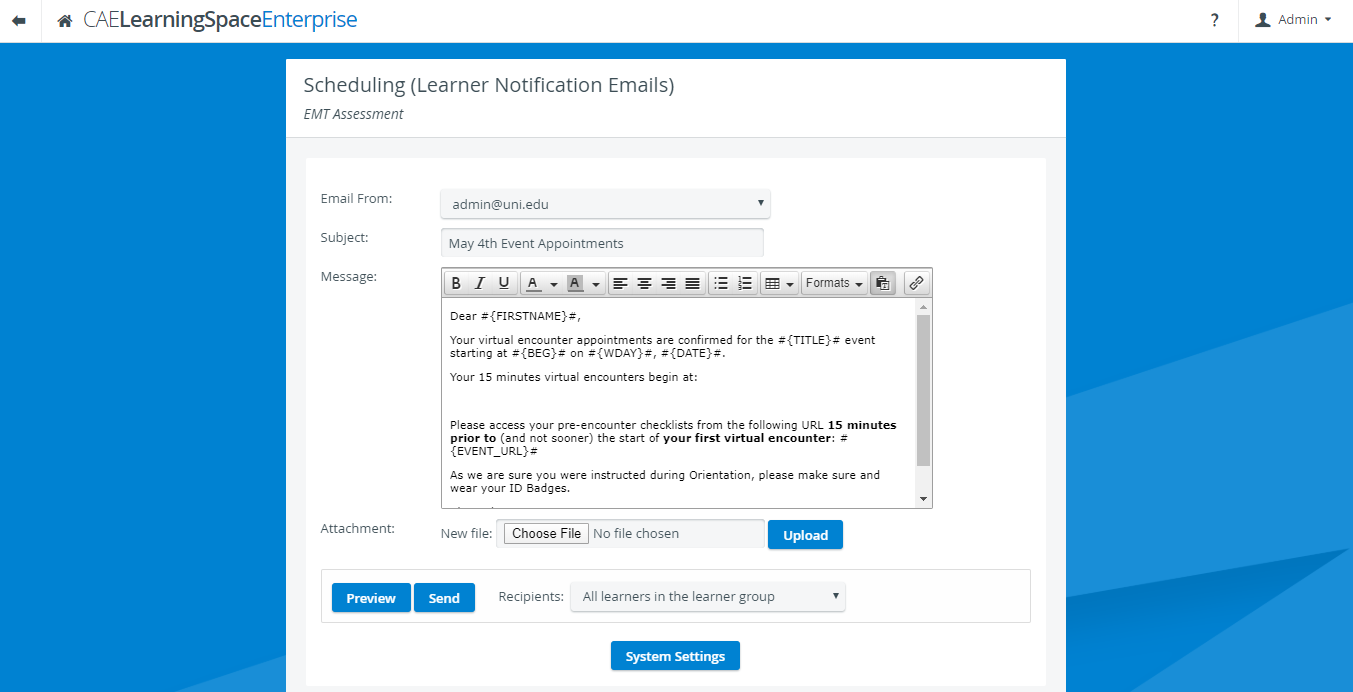
You will be redirected to the Scheduling (Learner assignments) page where you can edit the notification email you are going to send out to the learners. Select a from address in the Email From drop-down.
Info To set up further from addresses, go to the Emails tab in System Manager.
- Enter the subject of your email in the Subject field.
- Edit the message body of your email in the Message field.
- While editing your message, apply the new Learner timeslot merge tag.
 To apply the new merge tag, it first needs to be added to the Learner notification email template in Emails:
 - Click on the System Settings button at the bottom of the page to access the Emails tab in System.
- Select "Learner notification email" from the Email templates drop-down:
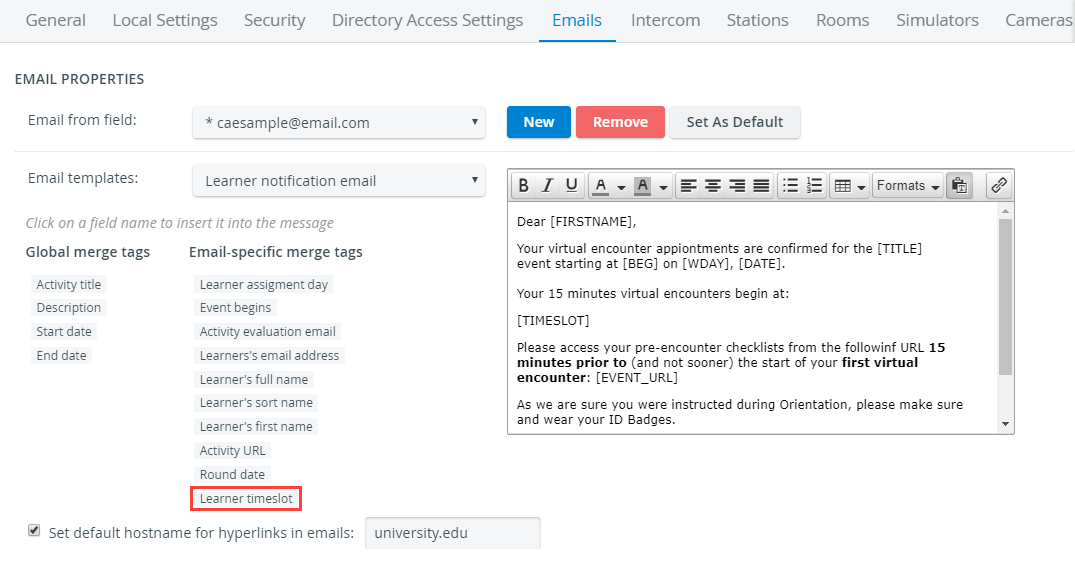
- While editing the template, click on the Learner timeslot tag to add it to your message.
Return from the Emails tab to your event notification email setup using the back arrow.
The timeslot (#{TIMESLOT}#) tag will be added to your message: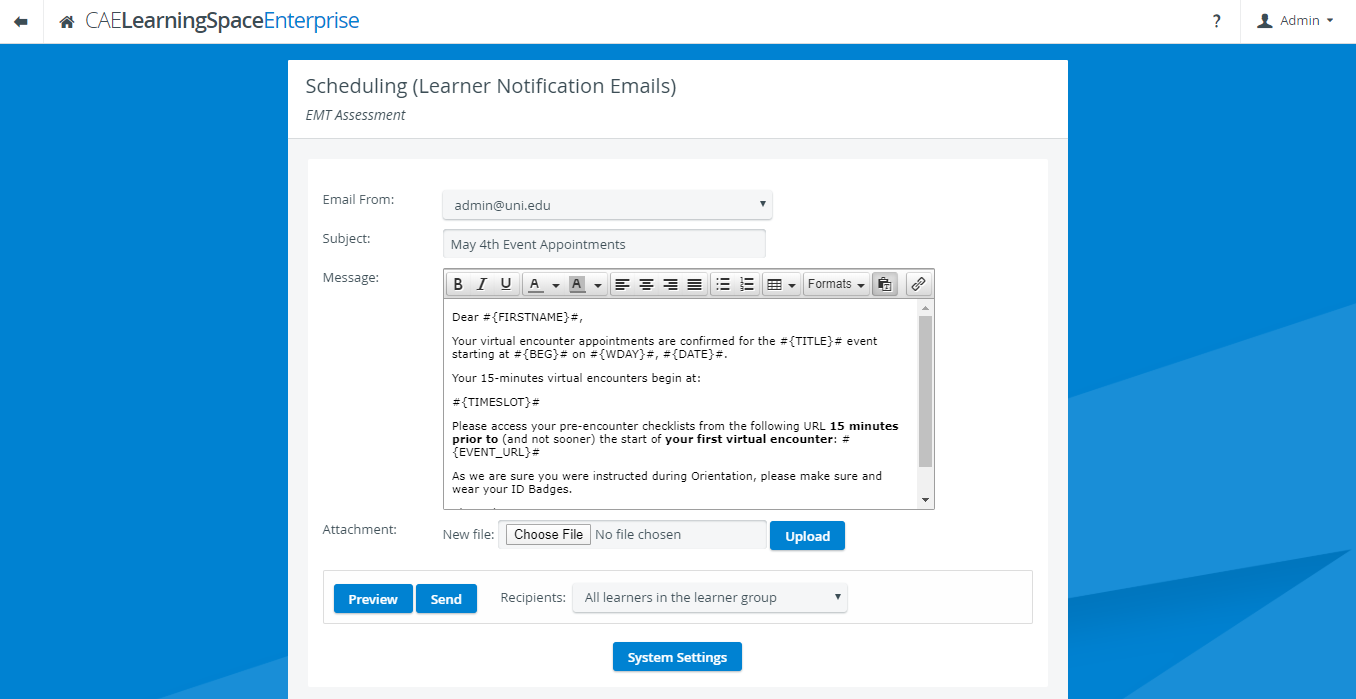
- Click on Preview to see how your email will be displayed to each of your recipients.
The Email Preview page displays your message by each user.
The timeslot merge tab will list every timeslot a learner has been assigned to: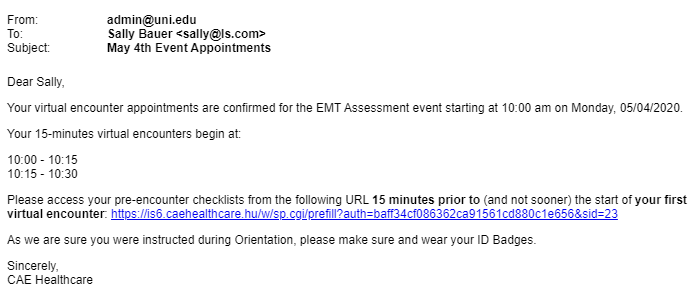
Return to editing with the back arrow. - Select a recipient group from the Recipients drop-down.
Click Send.
After you have sent out the date request emails, the system will log the time and date of sending.
Overview
Content Tools