Page History
...
- assigned SPs will be allowed to start hosting the scenario they are portraying;
- scheduled learners will be allowed to access the virtual scenario according to their timeslot assignments.
- Enter System from the Dashboard, and go to the Rooms tab.
- Click Add New Room. Enter the name and description of the new room which are both required to continue.
- Check the new Virtual Room checkbox included under the required fields.
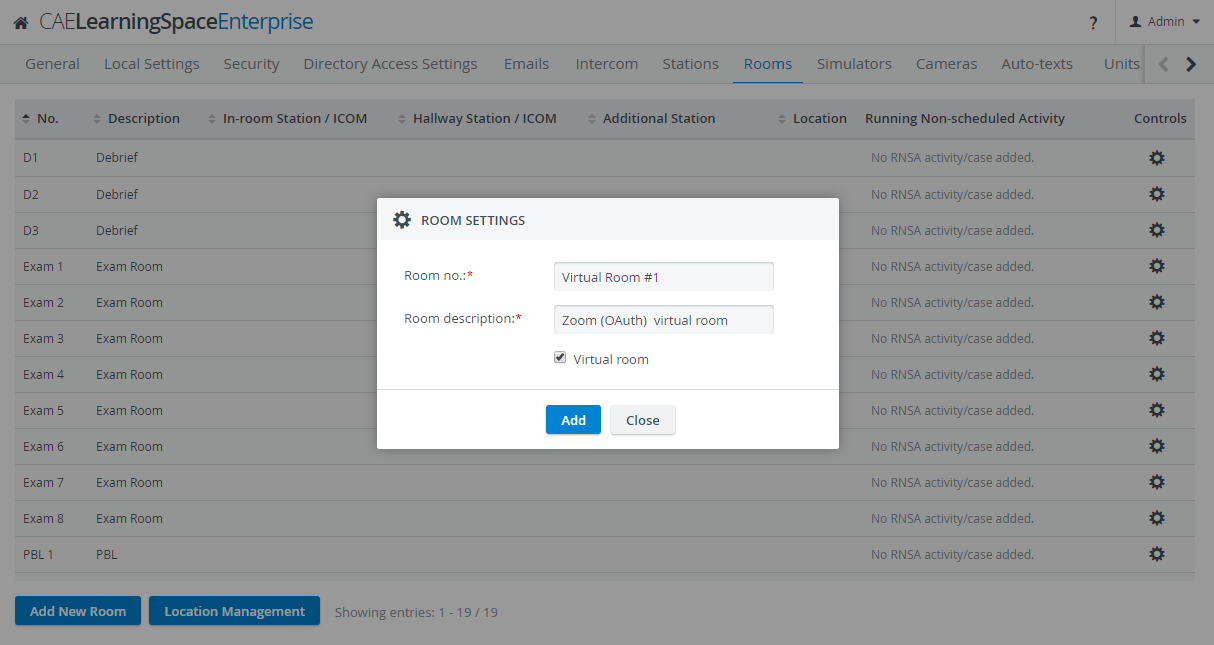
- Click Add.
Instead of the usual setting options, only a few fields will appear:New Registration email field: The email address of your virtual room goes here which is the address of one of the licensed Zoom user accounts that are organized under the owner/primary account.
New Status fields: Shows the current status of the room.
The status of a room is "Not Verified" as long as user activation is pending: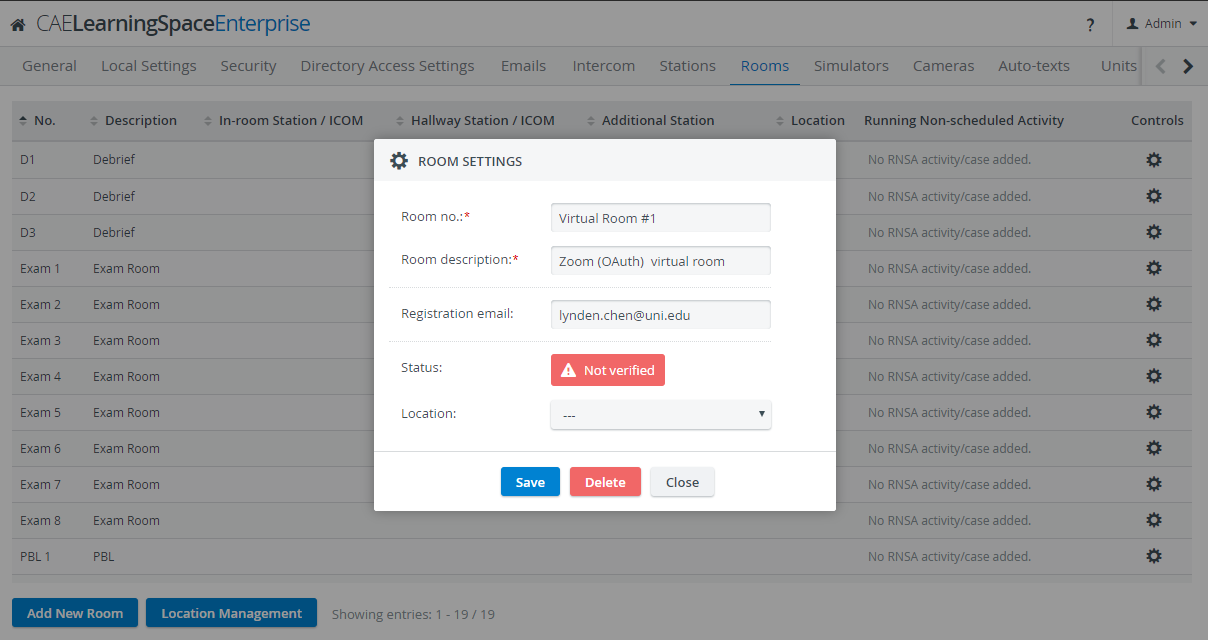
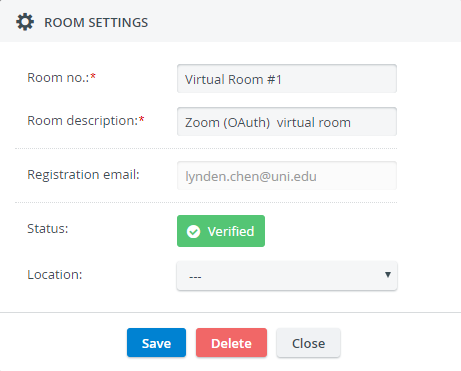
A room will be "Verified" once CAE LearningSpace will be is authorized to access this particular the Zoom user account associated with the email address provided as the registration email. :
Note The Virtual Room Support module also needs to be switched on and set up correctly.
- The Location drop-down will also appear as an optional setting in case you would like to categorize your virtual room e.g. by campuses.
Provide the Registration email address (of a licensed Zoom user account) of your new virtual room.
Click Save.
You will be presented with a link where you can authorize CAE LearningSpace to have access to this particular Zoom user account:
- Click Copy to Clipboard to copy the authorization link.
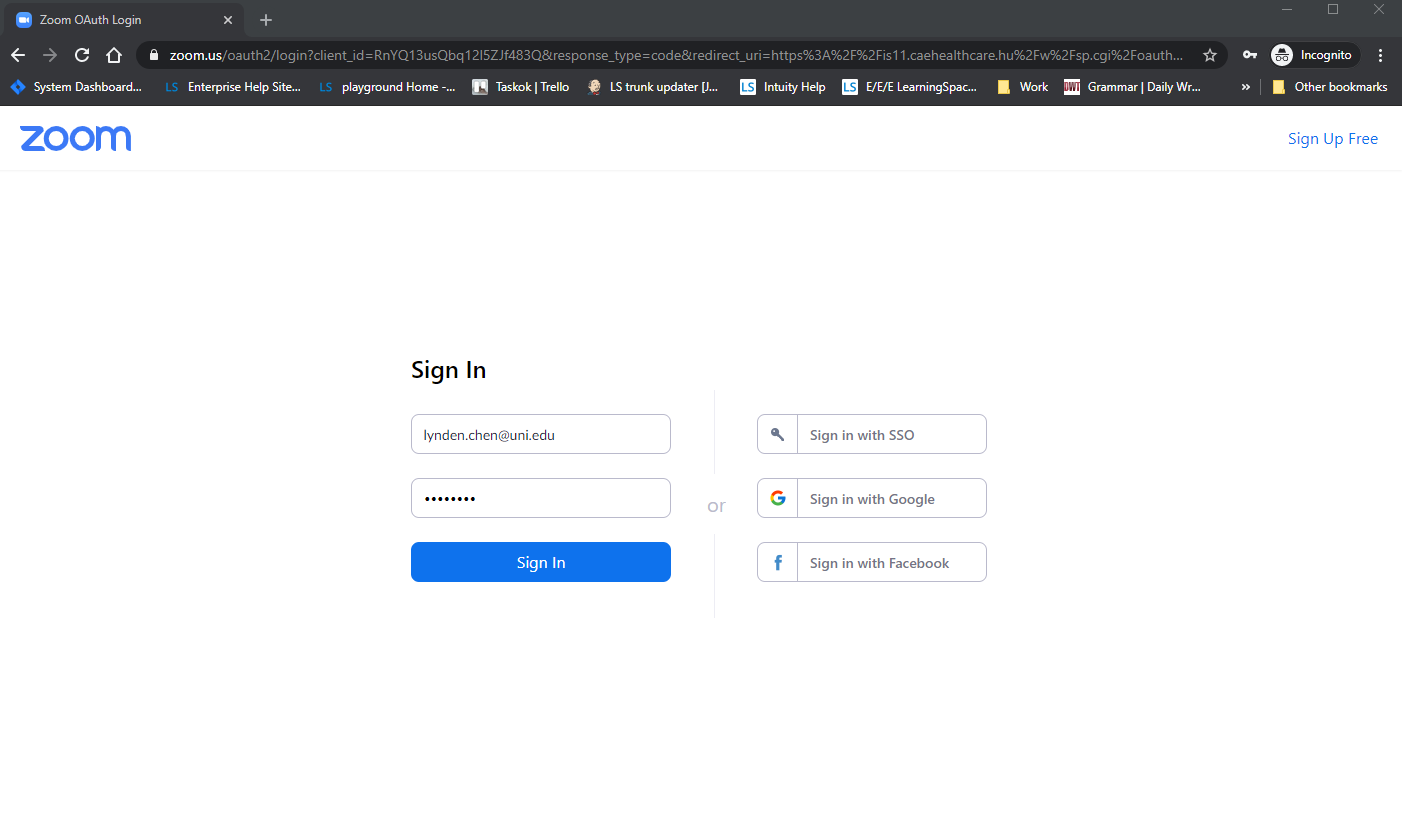
- Open an incognito window and paste the link.
You will be redirected to the login page of Zoom.
- Make sure to log in with the same email address that you have provided for the virtual room.
Upon successful login, you will be informed about the permissions that CAE LearningSpace will hold be holding following authorization:
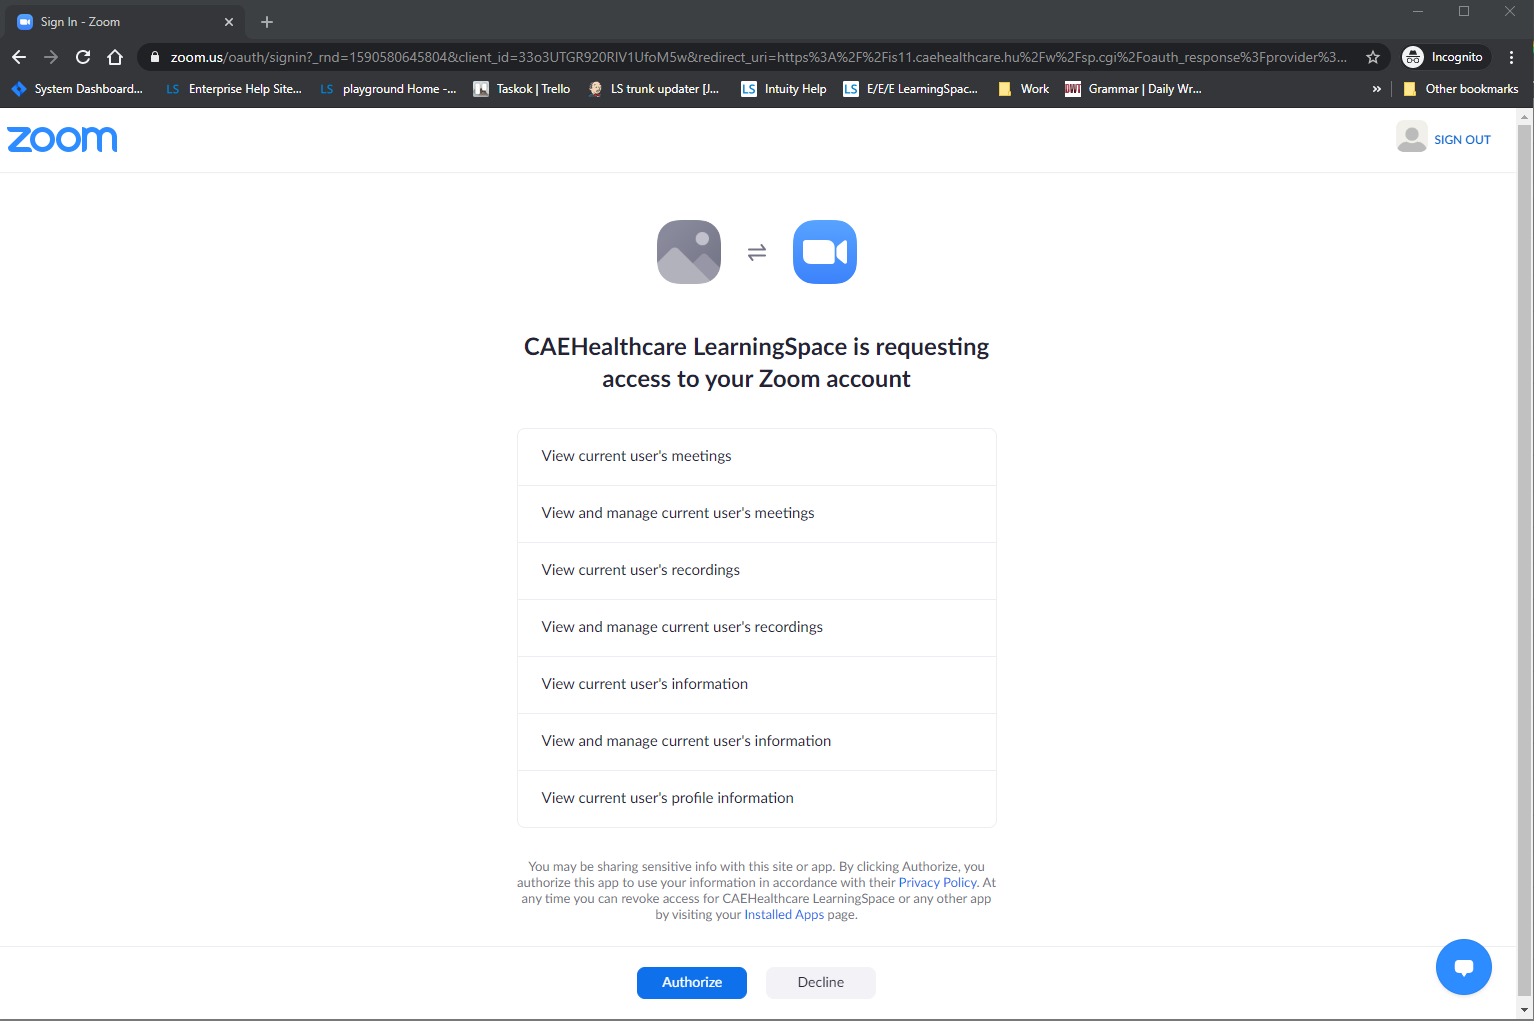
Click Authorize to enable CAE LearningSpace access to the current Zoom user account with the specified scope of permissions.
After authorization, you will be redirected to your institution's CAE LearningSpace platform.
The system will inform you about the successful authorization: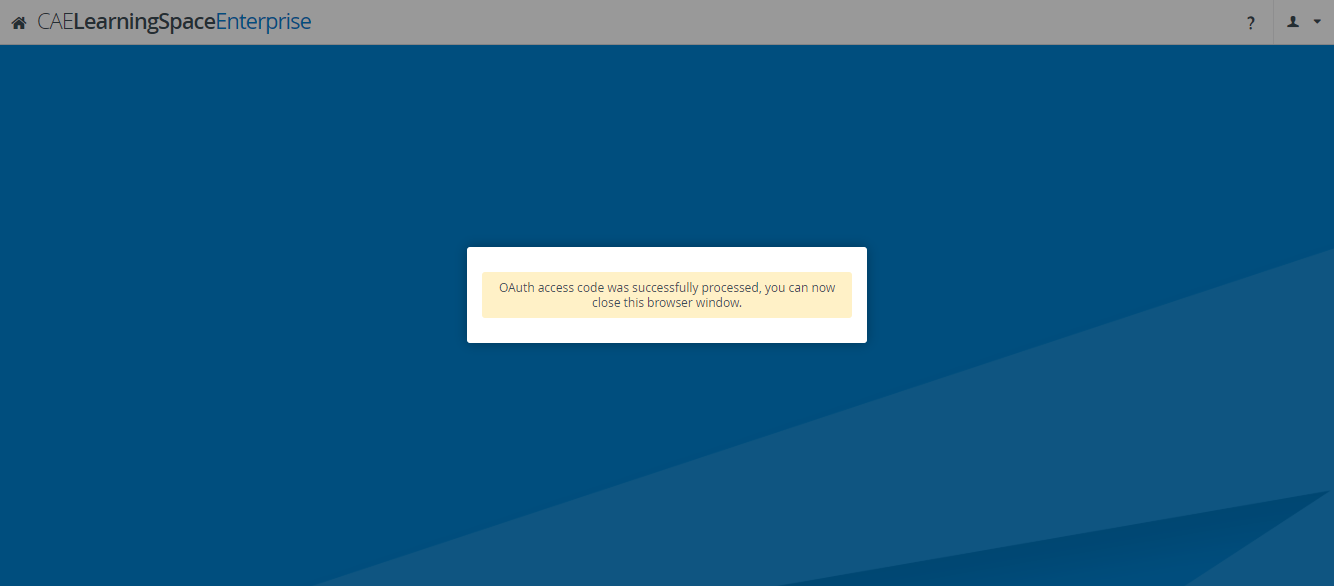
Close the incognito browser.
Note title Important Always close the incognito window once you are finished with the authorization process.
Go back to the Rooms tab, and open your virtual room with the Controls cogwheel.
You will see that your virtual room is now verified:
...
Overview
Content Tools