Page History

| Warning |
|---|
| IMPORTANT: Access to the Calendar module is restricted to users with Admin, SRP or SRP (full control) privilege. New Events can be scheduled by a user with either privilege, however, any booking created by a user with SRP privilege has to be approved by a user with Admin or SRP (full control) privilege. |
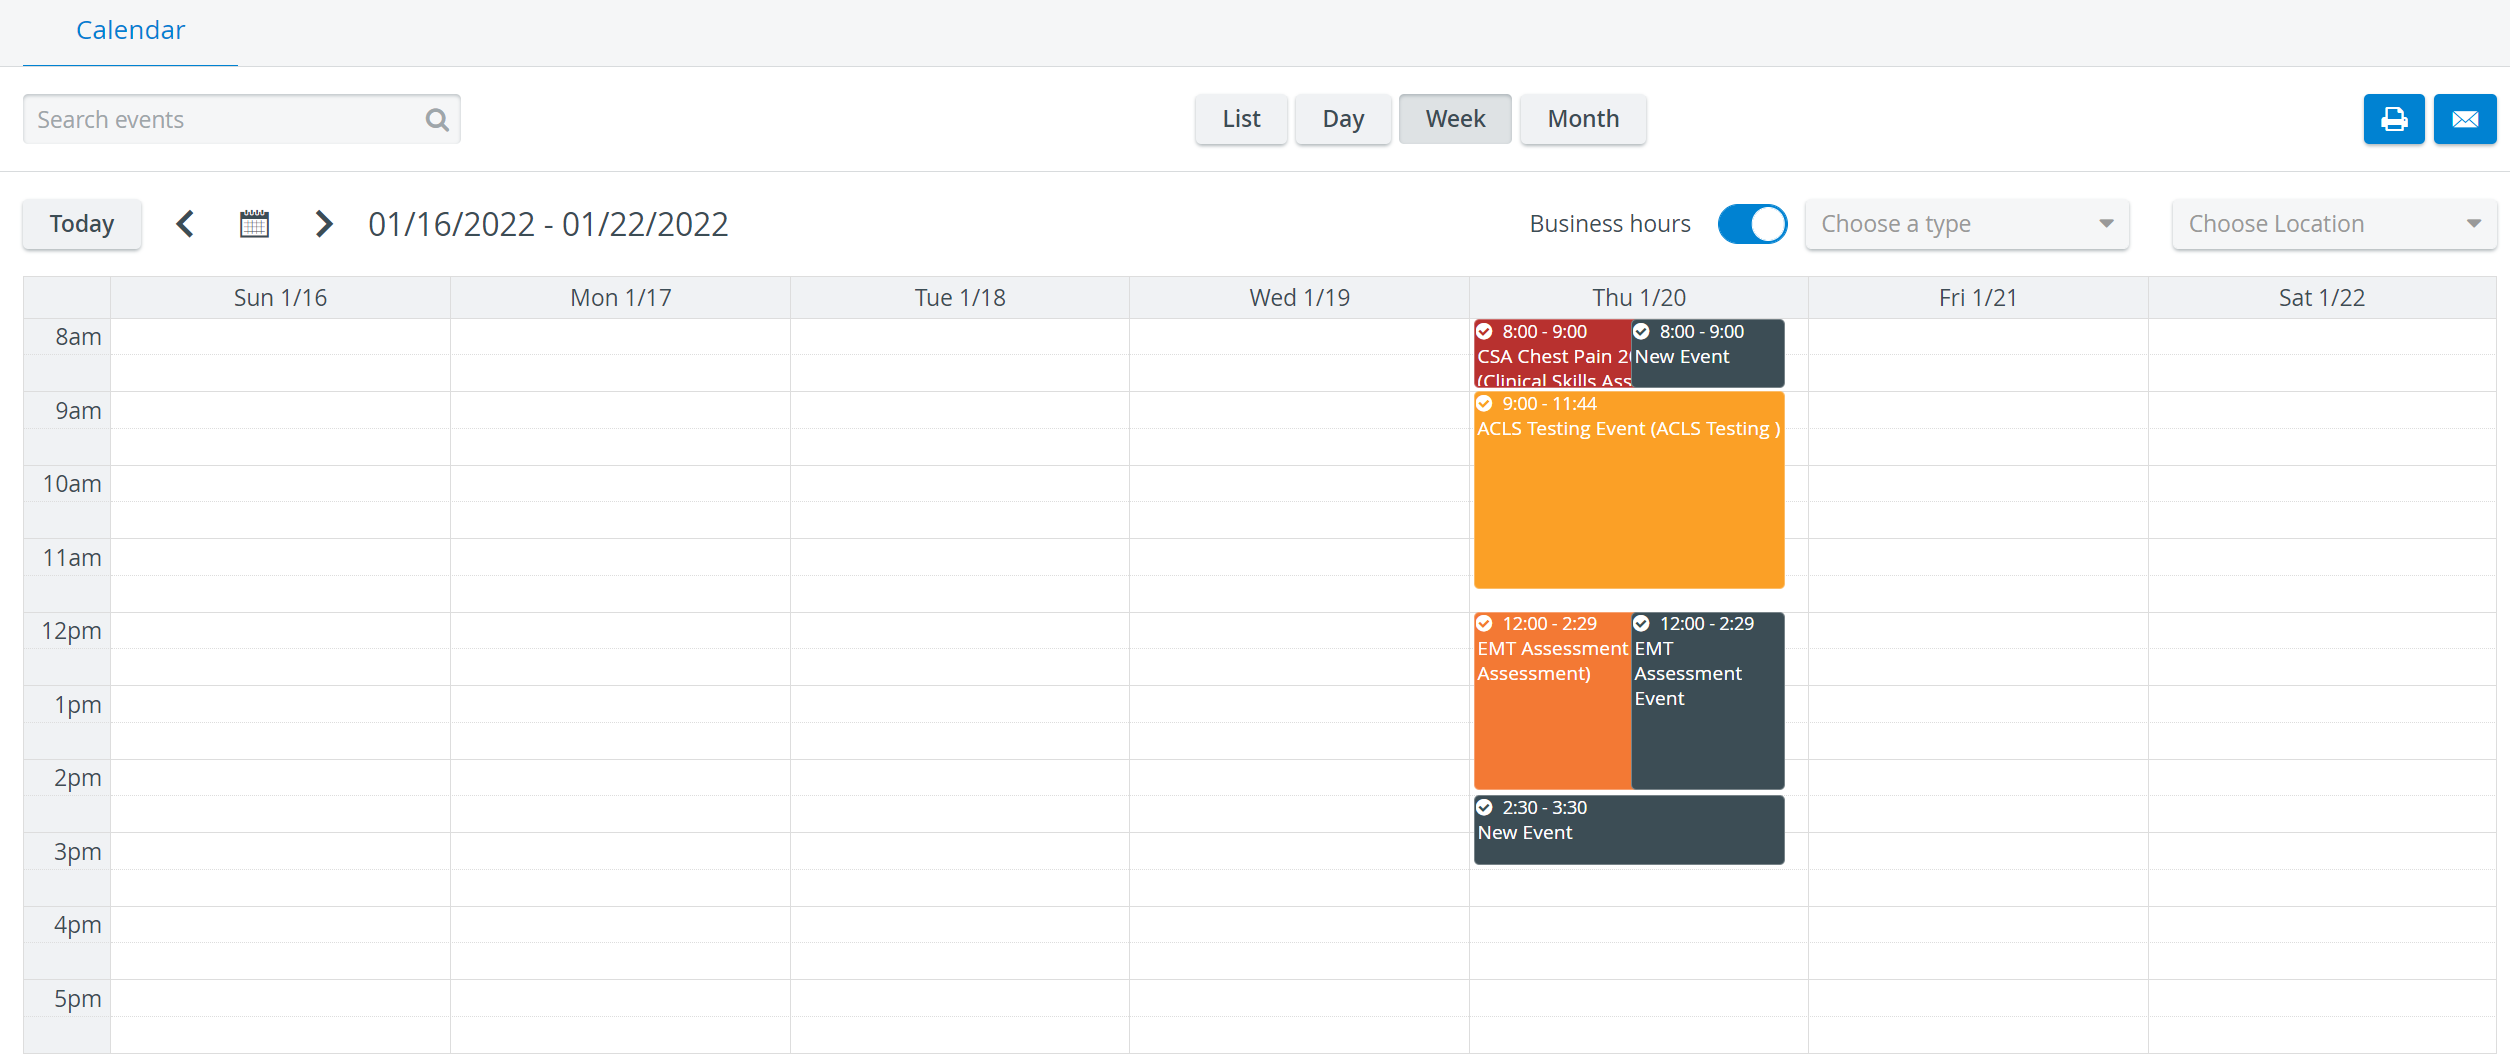
- Access the Calendar module and select the Week view.
- Select the day of the week when you intend to book the Event.
- Click and drag the cursor through the time interval you want to schedule the Event for.
The Edit Event pop-up window appears. - Type the title of the Event in the Title field.
| Note |
|---|
| NOTE: The system automatically generates a title, thus if not changed, the newly created entry will be entitled 'New Event'. |
5. Adjust, if desired, the starting and ending time of the Event using the respective Calendar icons and the hour and minute sliders within.
6. Set up repetition of the Event, if desired, at the Repeat drop-down.
| Note |
|---|
| NOTE: By default, the drop-down is set to None, that is, the Event is not repeated. |
7. If repetition is set up, the End repeat drop-down menu is activated where it has to be determined when the repetition should cease.
8. Choose the Activity from the drop-down within which you intend to schedule the Event.
The Activity can be deleted by clicking the X in its field.
9. Make notes in the Notes field, if desired.
10. Add a room(s) via clicking in the Add Room drop-down.
| Tip |
|---|
| The list of rooms can be narrowed by starting to type the name of the desired room in the drop-down. |
If any overlap occurs with room selection, a message appears informing about the scheduling conflict and the automatic saving will be reversed.
Once a room is added, all further settings (Case, Resources, Participants) will become available.
| Note |
|---|
| In Case of multiple rooms, each room has to be assigned a Case, participants and resources on its separate tab. |
11. Choose the Case(s) via the drop-down.
| Note |
|---|
| The Case drop-down is only available when an Activity has been chosen within which the Event would be scheduled. Only the Cases assigned to the selected Activity can be used. |
12. Select participants using the Add Participant field in the Participants panel.
| Warning |
|---|
| IMPORTANT: Any participant can be added independent of membership in the groups assigned to the Activity. However, if not member of a participant group, the user will not be able to submit data entry. |
13. Add the desired resources by starting to type in the Add Resource field in the Resources panel.
14. Close the window as all changes are saved automatically.
| Info | ||||||||||||
|---|---|---|---|---|---|---|---|---|---|---|---|---|
| ||||||||||||
|
| Tip |
|---|
For further information, visit our Calendar Module and Calendar - How to pages, or watch our Calendar Module Training Videos. |
Overview
Content Tools