Page History
- Open the desired view of the calendar (month-, week- or day view).
- Click the email icon in the top-right corner of the screen.
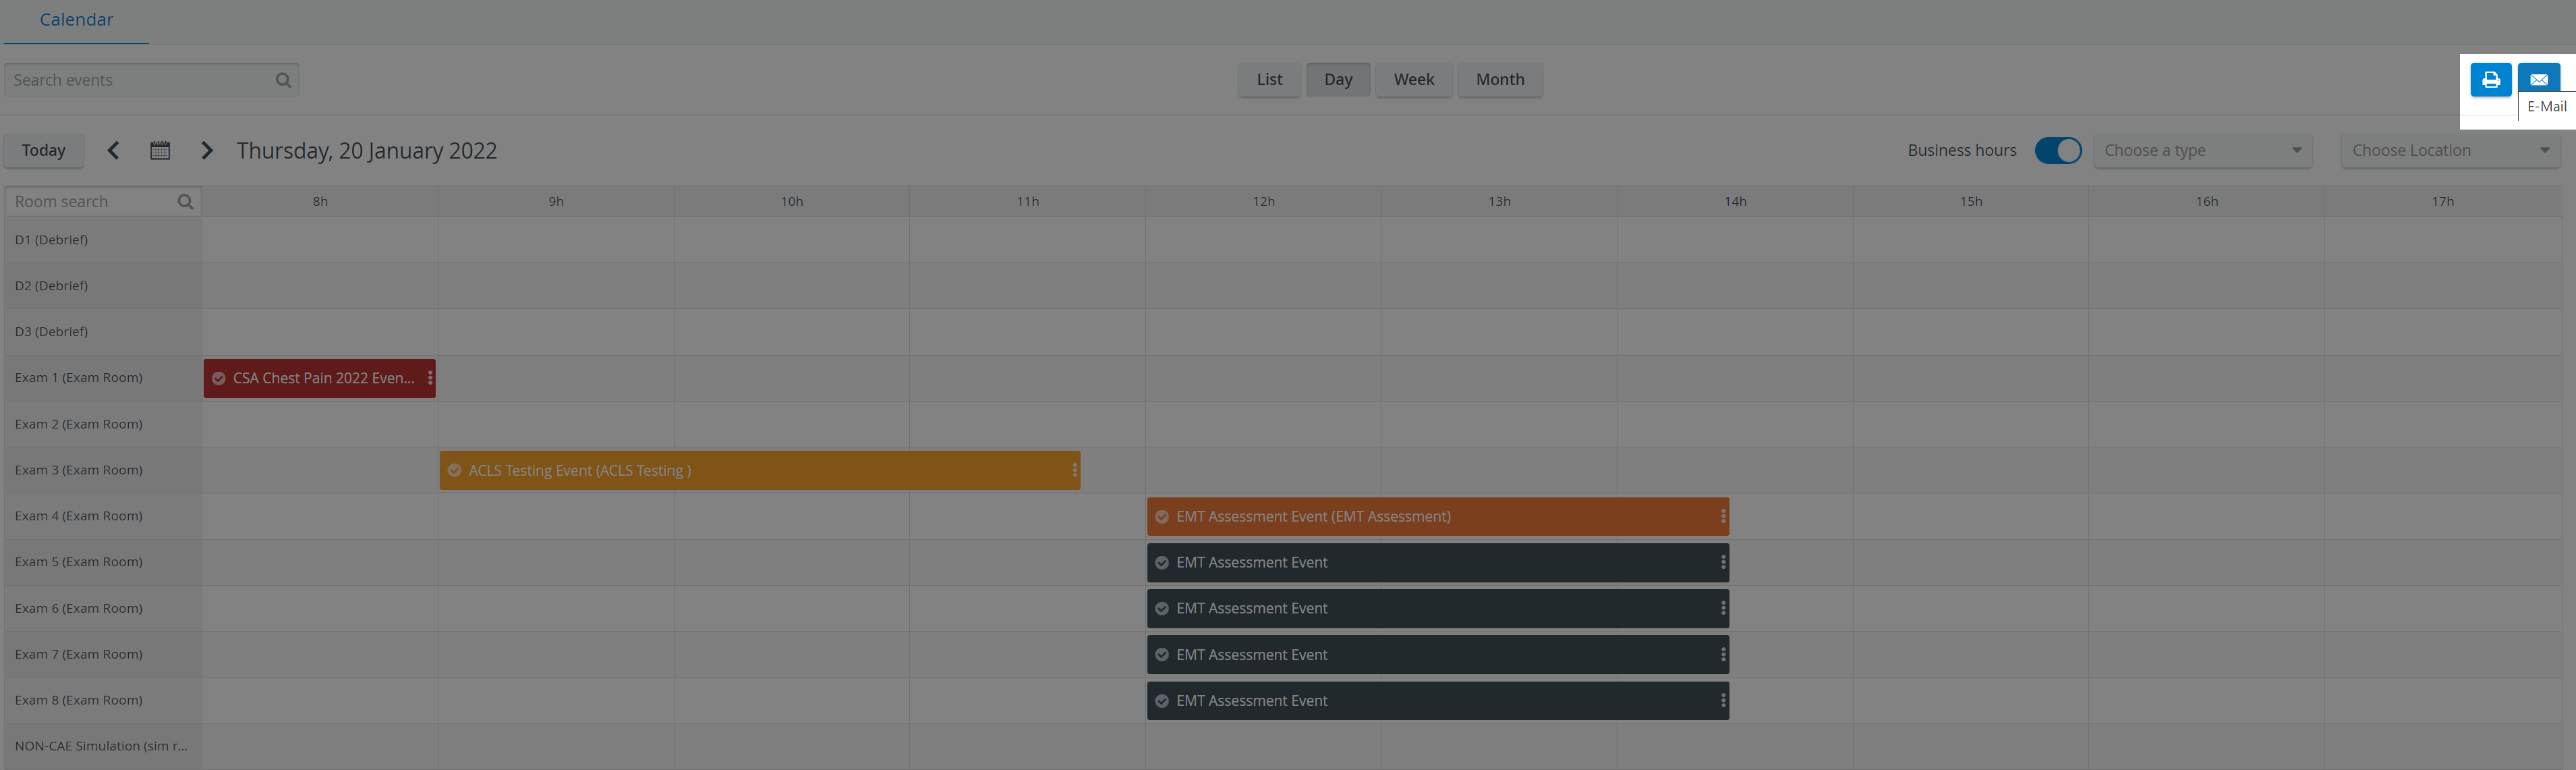
- The Send Email pop-up window appears.
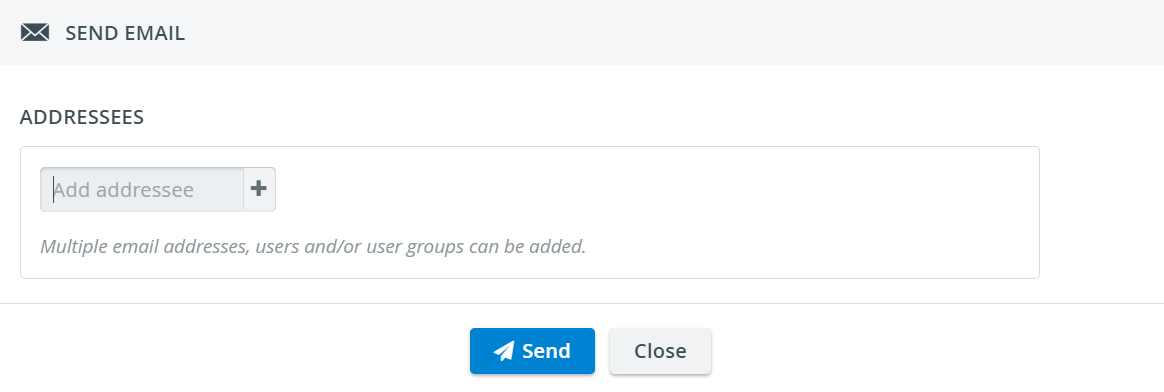
Start typing the addressees using the corresponding field.
Note - Both individual users and groups created within the LearningSpace system can be added as addressees.
The system recognizes and offers in a drop-down all search results that match the character combination typed in the Add addressee field. - Individual users can be added by name or email address.
- Email addresses of non-users can also be added, provided that the full email-address is correctly typed in.
- Both individual users and groups created within the LearningSpace system can be added as addressees.
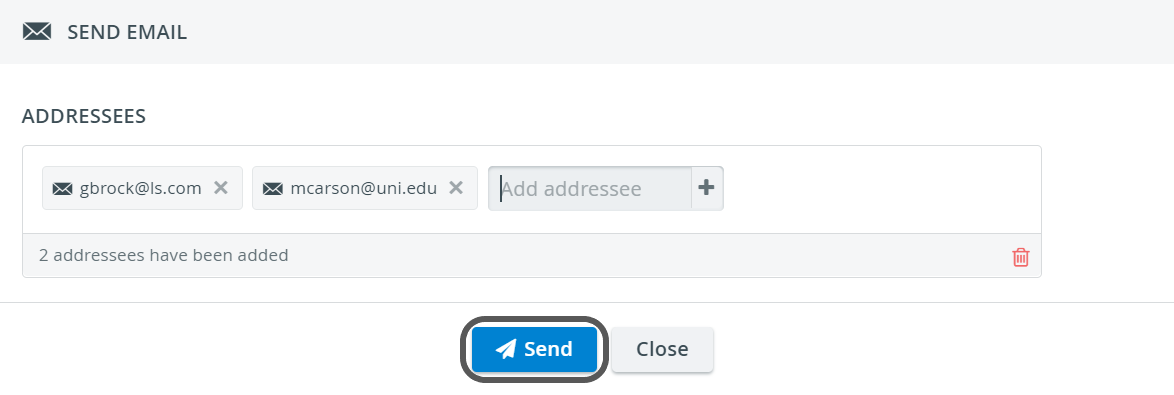
- To remove a single addressee (whether an individual or a group), click the
 in its name-field.
 - To remove all addressees, click the trash icon
 in the bottom right corner of the Addressees panel.
 When done, click Send.
Info icon false title Related pages Content by Label showLabels false showSpace false sort title excludeCurrent true cql label = "calendar" Tip For further information, visit our Calendar Module pages and watch our Calendar Module Training Videos.
Overview
Content Tools