Page History
Batch
- Batch User Create tab.
- Click the Download button to download the empty template.
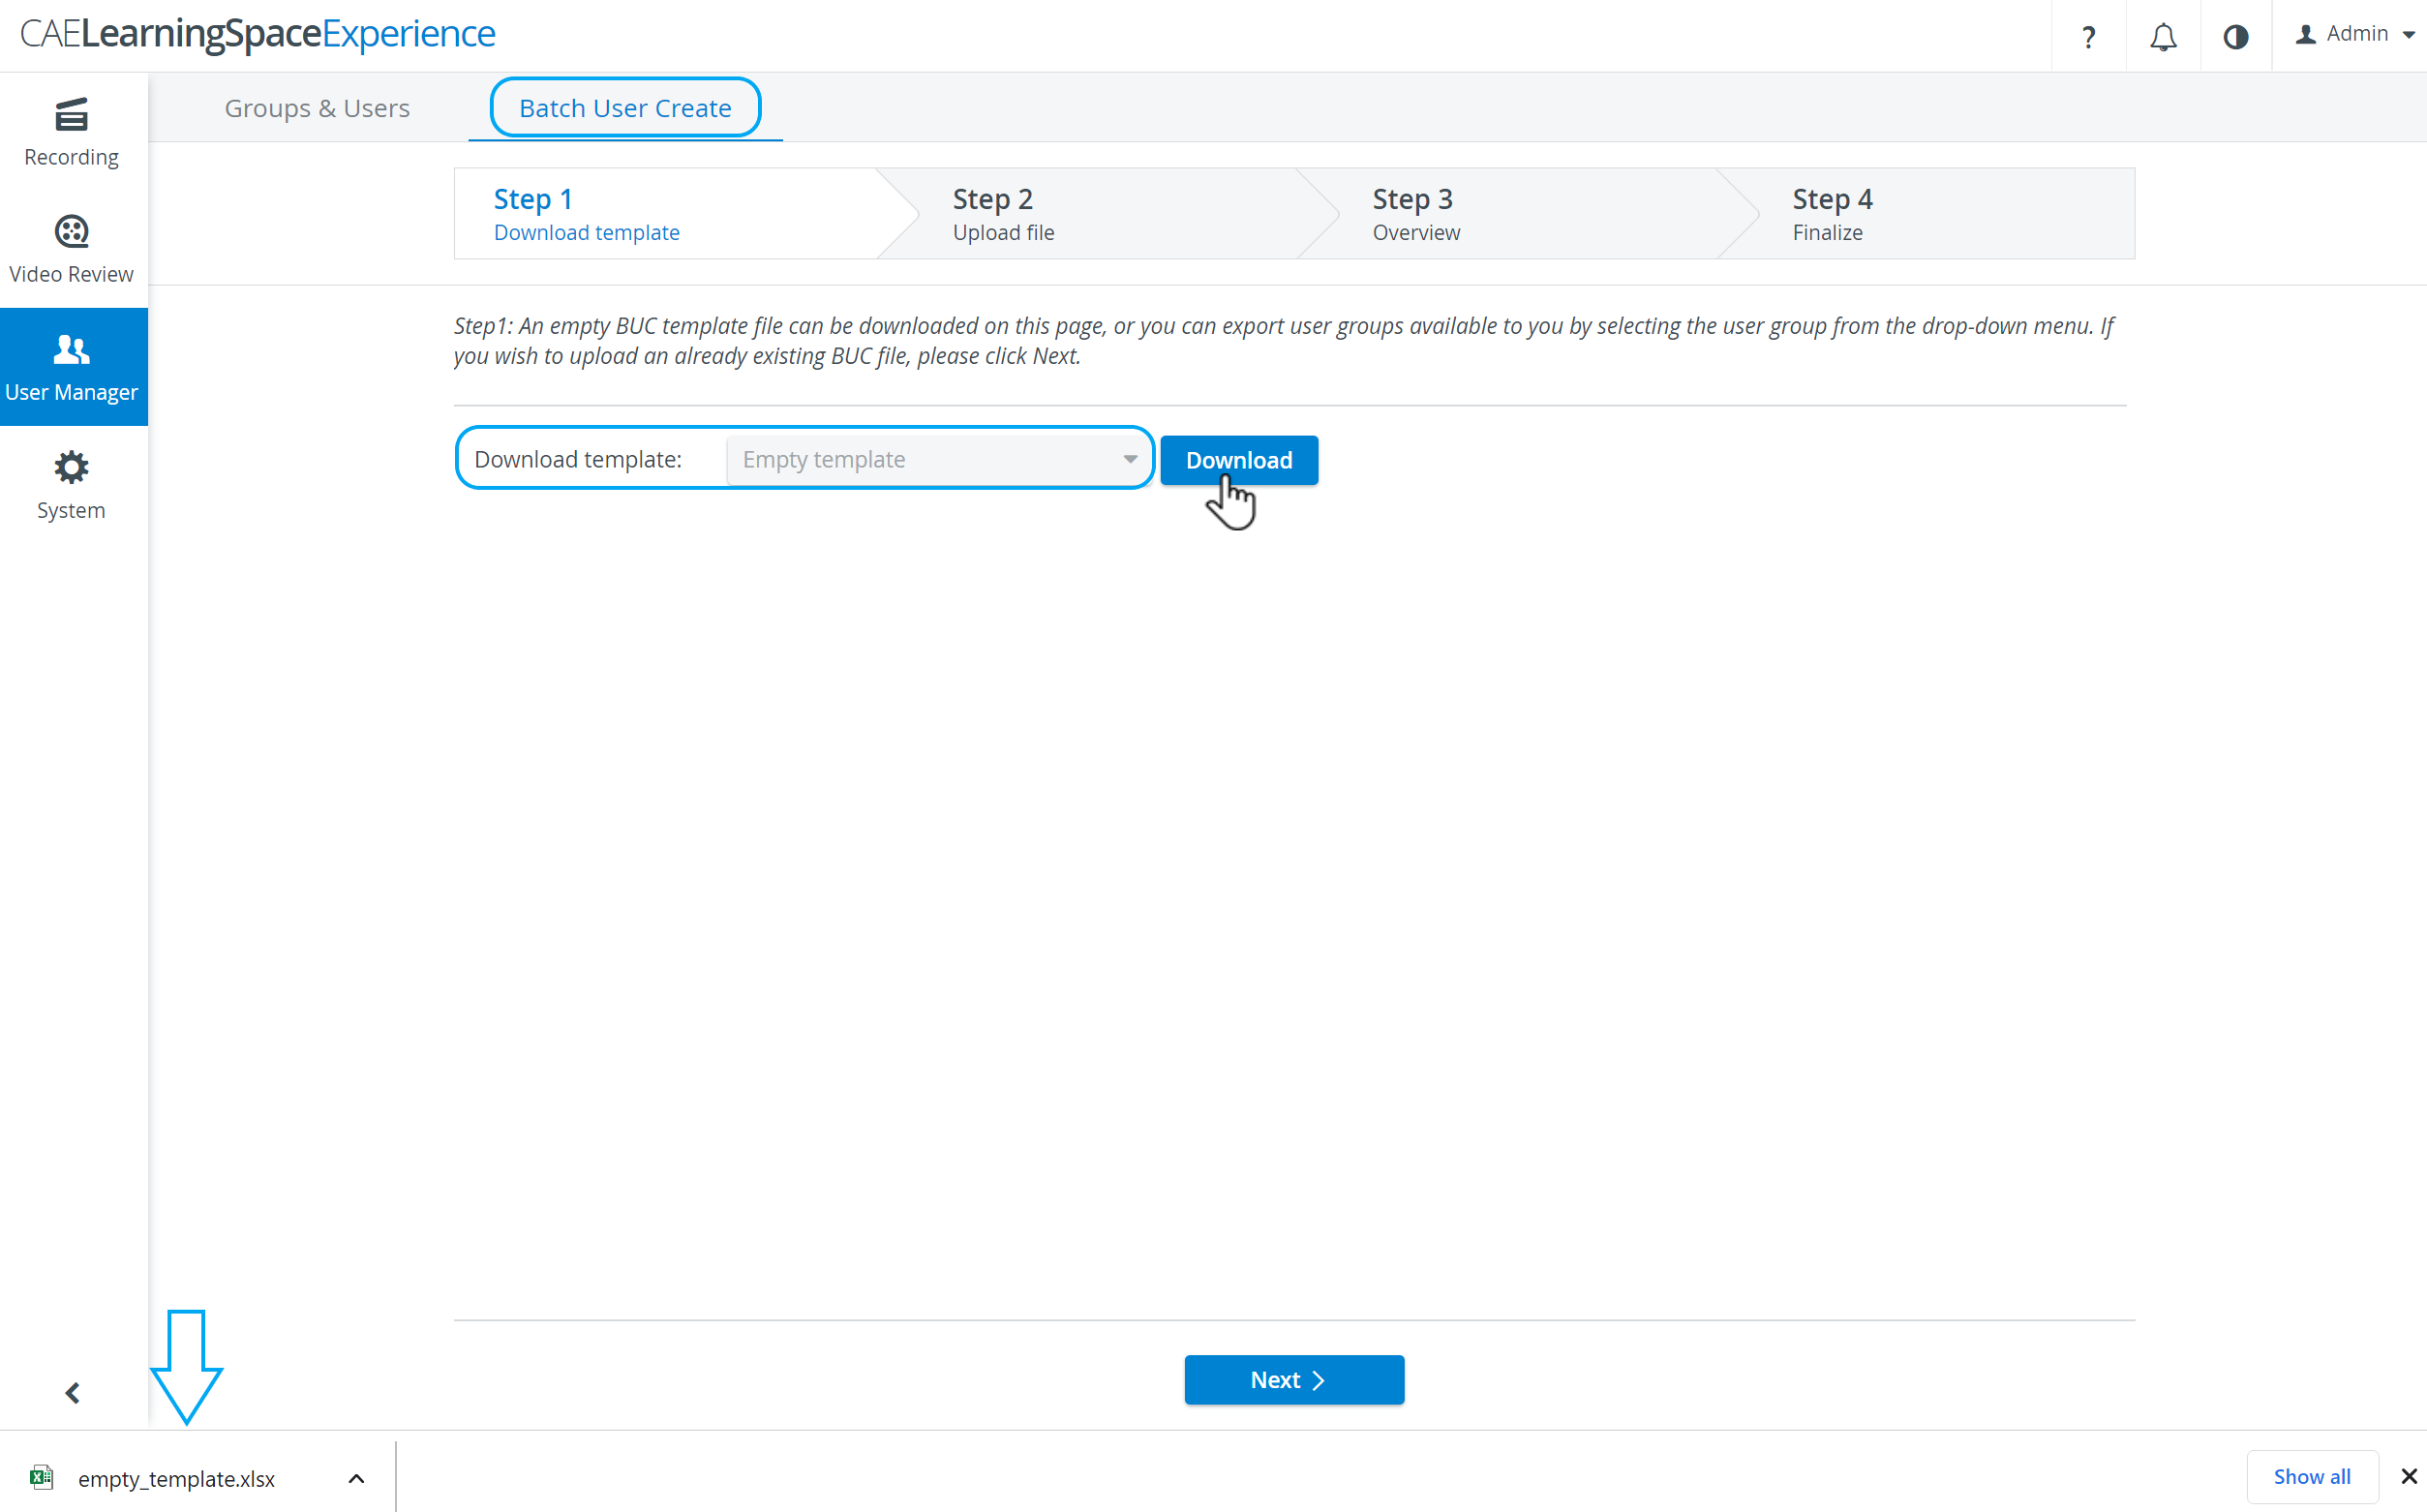
A template downloads in excel format and contains a header with all data relevant to a user.
Note IMPORTANT: Zip file format is also supported (when uploading pictures), but only the excel template downloadable from LearningSpace can be used for Batch User Create purposes – whether as a single excel or in a zip file. Compatible zip file should be created by selecting all the individual files (i.e. the photos and the excel sheet) and sending them to "compressed (zipped) folder", as sending one single folder containing all the files to a zipped folder will result in a format uninterpretable by the system. Info NOTE: Dates included in the template (Personal Details of the standardized patient) need to be expressed in the following format: YYYY-MM-DD.
Codes to be used in the BUC file for specific roles:
Role Code in excel (column J) Admin 1 Facilitator 1208541568 Faculty 40960 Learner 8 Click Next to move forward to Step 2 of the process.
- Click Browse to upload the excel file filled out and saved on your computer then click Next at the bottom of the Step 2 page to proceed.
Leave the radio button as default (Create a new user account for each row) to have a new user created for each row of the excel file, then click Next.
Info NOTE: The Next button only becomes activated when a file is selected for upload.
The Step 3 appears with an overview of how the system will upload the user accounts.Info NOTE: Hovering over the information icon prompts the tooltip window containing explanation about the BUC table icons. Note IMPORTANT: In case of missing data, the system warns the user about the specific errors of the file on the Step 3 surface. In such case, the user needs to return to Step 2 and upload the excel file corrected according to the error messages. - Click Finalize at the bottom of the tab.
The Step 4 surface appears with a summary of the number of updated user accounts; and also, if any, the number of user accounts that have not been uploaded due to accessibility issues. - Click Done at the bottom of the tab to conclude the Batch User Create process.
Step 1 will be displayed for further possible uploads.
Overview
Content Tools