Page History
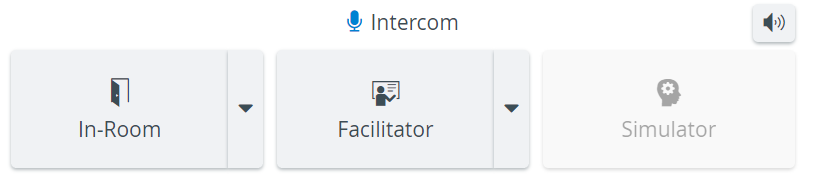
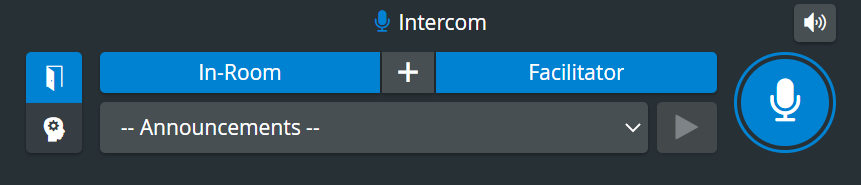
The Intercom feature requires certain technical setup to be completed. For the announcements to be sent, the relevant destination has to be physically connected and assigned within the software.
- In-Room - the Room button sends announcements to the simulation area, therefore a DAK (Digital Audio Kit) has to be connected and assigned to the Room (corresponding to the simulation area) via the the Rooms tab of the System module, as a Separate In-room intercom device.
- Facilitator - a device (e.g. headset) can be connected for direct communication with the facilitator, which can be assigned to the room as Separate Hallway intercom device via the Rooms tab of the System module.
- Simulator - a Maestro-ready simulator can be connected and used for sending announcements through the manikin ("Voice of Patient").
| Info |
|---|
| Once the simulator is connected, the Intercom is also connected for the manikin. |
| Note |
|---|
The Intercom via Simulator functionality is not available for non-CAE (third-party) Simulators. |
| Info |
|---|
For further info on using the Intercom feature, see How can I add new/ customized intercom announcements? See also our Practical Recording and Recording Module pages, and watch our related Training Videos. |
Overview
Content Tools