The Groups & Users tab contains all the groups that have been created in the system, and lists all the existing users.
Icons facilitate distinguishing between users with different roles. Groups are categorized by the majority of roles they contain, that is, a group is indicated by the icon corresponding to the role that is assigned to the most of its members.
NOTE: By default, all the users are listed on the right side of the screen, but if a group is highlighted in the list on the left side, only the members of that group are displayed.
To have all the users listed, click the All users button at the top of the list of groups.
To have all the users listed, click the All users button at the top of the list of groups.
Use the search bar in the top left corner of the tab to filter for specific users or groups. Clicking the All button next to the search field prompts the Type of users drop-down to appear where the search can be filtering for by users/ groups of the selected type.
New User pop-up
The pop-up is opened by clicking the New button in the top right corner of the Users panel.
IMPORTANT: With respect to the basic data about the user, three main pieces of information have to be provided:
- the first or the last name (at least)
- AND the email address or UCID (unique custom ID),
- as well as the role of the user.
These data provide the necessary distinction to identify different users of the system.

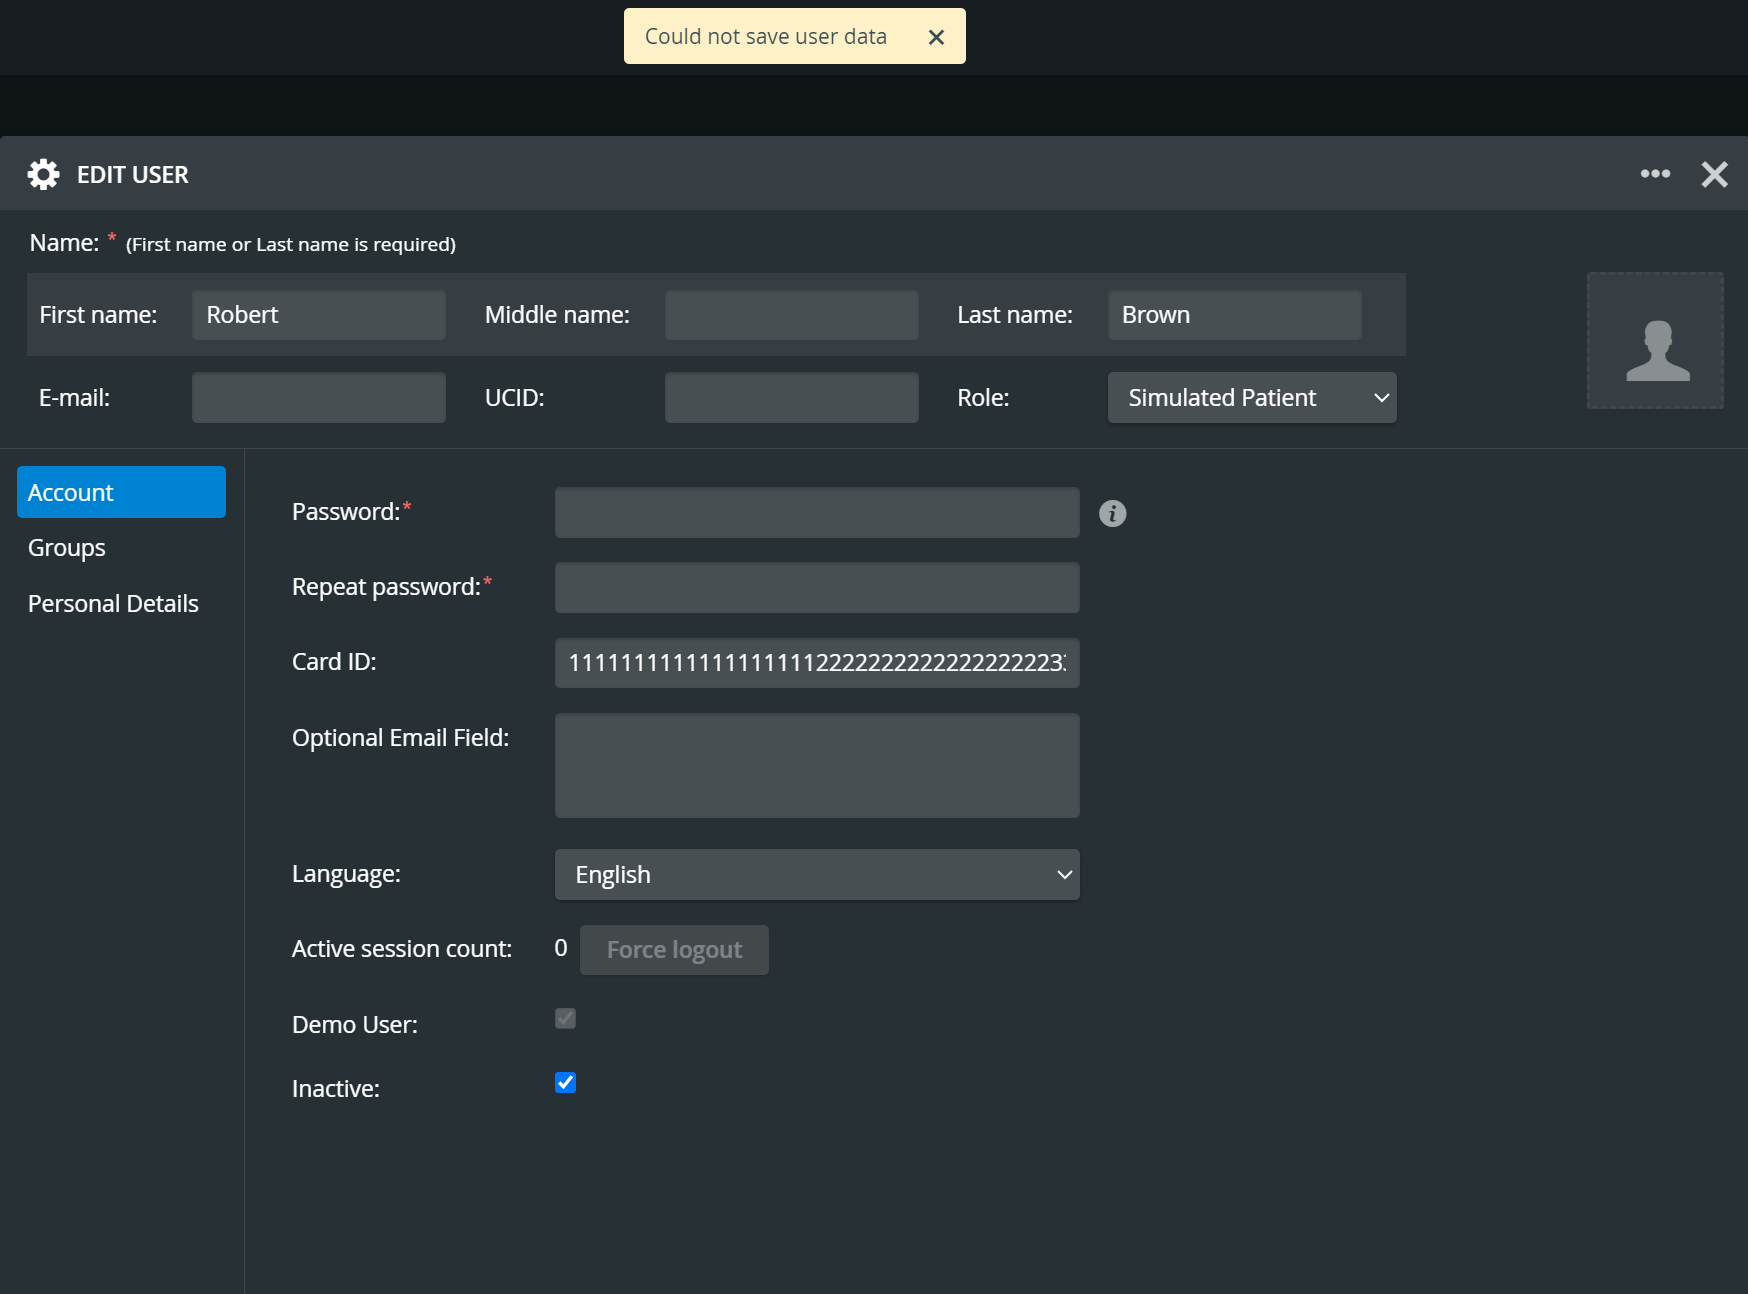
The Account tab accommodates technical information, including the user's password and the Inactive checkbox (unchecked by default) which determines the status of the user.
The Groups tab is where the user's membership can be managed, that is, by adding groups in the List of Group(s) for User panel, the user can be assigned as member of the listed group(s).
If the New button is clicked while a group is highlighted, the system will automatically add that group on the Groups tab.
Character limit:
The Card ID cannot be longer than 127 characters - otherwise the following error message will be displayed when trying to save it as a user data:
Additional Settings for Simulated Patients
When selecting Simulated Patient as role, the Personal Details settings are automatically added to the left side of the New/ Edit User window. The Personal Details tab is for providing specific patient-related information, that is,
- Personal Data, including contact info and the range of examinations the simulated patient agrees to participate in, as well as
- Physical Data, and
- Custom Fields for customized information.

Overview
Content Tools