By creating virtual rooms in CAE LearningSpace, you can organize virtual events:
- assigned SPs will be allowed to start hosting the scenario they are portraying;
- scheduled learners will be allowed to access the virtual scenario according to their timeslot assignments.
Zoom Scheduled Meetings
When adding a personal Zoom user account as a virtual room to CAE LearningSpace, and assigning that room to a virtual event, make sure that no one is able to host meetings straight from the Zoom user account while the virtual event is in progress.
Virtual events launched by the SP could be unexpectedly cut off by another user logging into the same Zoom account from another device and launching a meeting from Zoom's interface. As a general rule, the user who starts the latest meeting from the Zoom interface has the ability to end the other ongoing session.
If trying to launch the most recent meeting session, SPs could also be presented with the following alert when launching their virtual encounter in CAE LearningSpace:
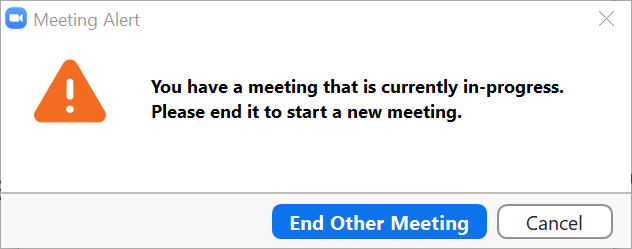
To prevent CAE LearningSpace virtual sessions from ending abruptly, make sure no one is logged into or using the Zoom user account if it is assigned to a virtual event in CAE LearningSpace while the virtual event is running.
![]() Check the dates of scheduled virtual events in Advanced Scheduling or the Calendar module.
Check the dates of scheduled virtual events in Advanced Scheduling or the Calendar module.
Create virtual rooms in CAE LearnigSpace once you have successfully:
- prepared your Zoom owner account,
Build and set up an OAuth application within your owner account,
Connected your OAuth application with CAE LearningSpace with the obtained Client ID and secret.
Set Up Virtual Rooms & Authorize CAE LearningSpace to Access the Appointed Zoom User Accounts
- Enter System from the Dashboard, and go to the Rooms tab.
- Click Add New Room. Enter the name and description of the new room, which are both required to continue.
- Check the new Virtual Room checkbox included under the required fields.
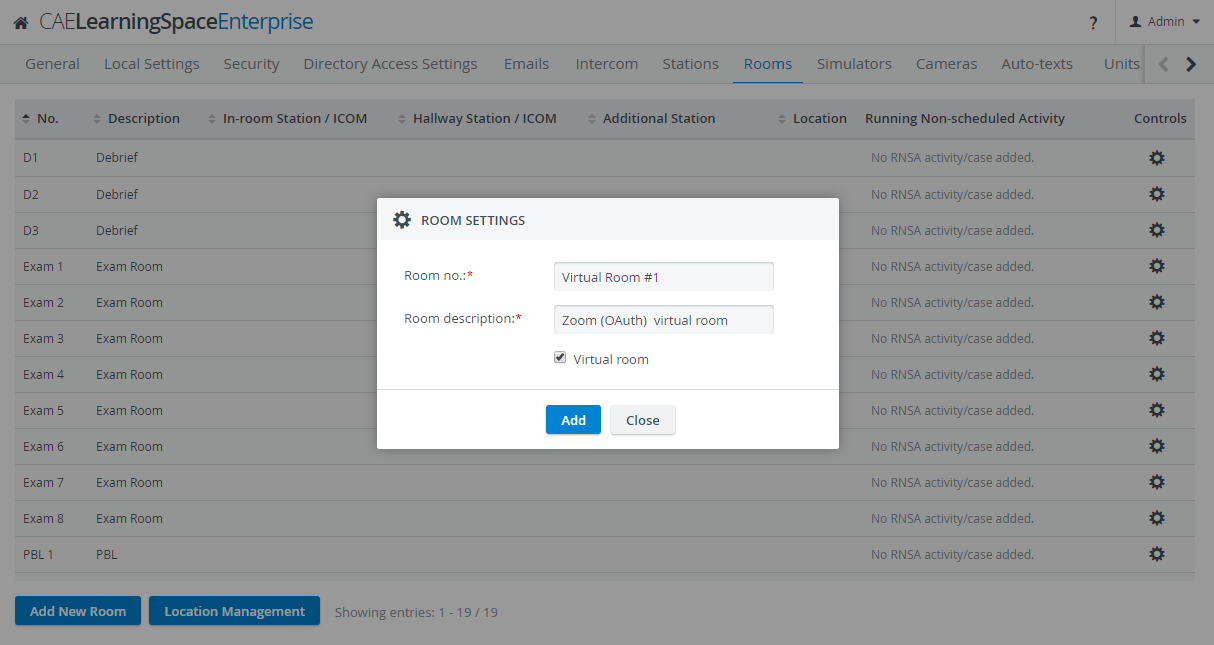
- Check the new Virtual Room checkbox included under the required fields.
- Click Add.
Instead of the usual setting options, only a few fields will appear:New Registration email field: The email address of your virtual room goes here, which is the address of one of the licensed Zoom user accounts that are organized under the owner/primary account.
New Status fields: Shows the current status of the room.
The status of a room is "Not Verified" as long as user activation is pending: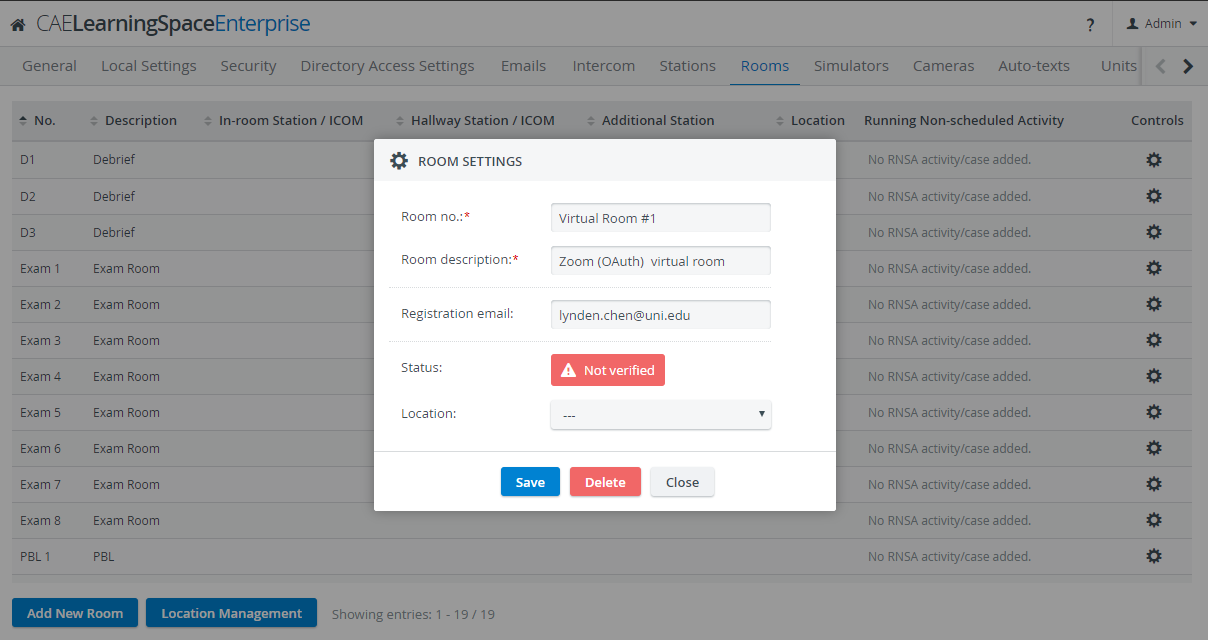
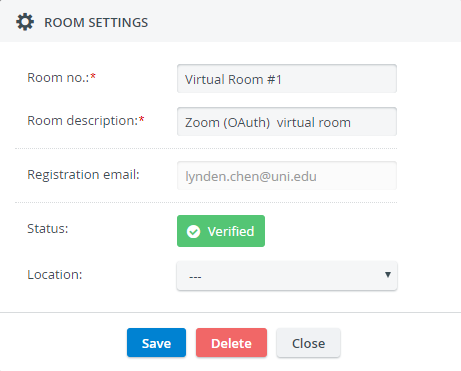
A room will be "Verified" once CAE LearningSpace is authorized to access the Zoom user account associated with the email address provided as the registration email:
The Virtual Room Support module also needs to be switched on and set up correctly.
- The Location drop-down will also appear as an optional setting in case you would like to categorize your virtual room e.g., by campuses.
Provide the Registration email address (of a licensed Zoom user account) of your new virtual room.
Click Save.
You will be presented with a link where you can authorize CAE LearningSpace to have access to this particular Zoom user account:
- Click Copy to Clipboard to copy the authorization link.
Open an incognito window and paste the link.
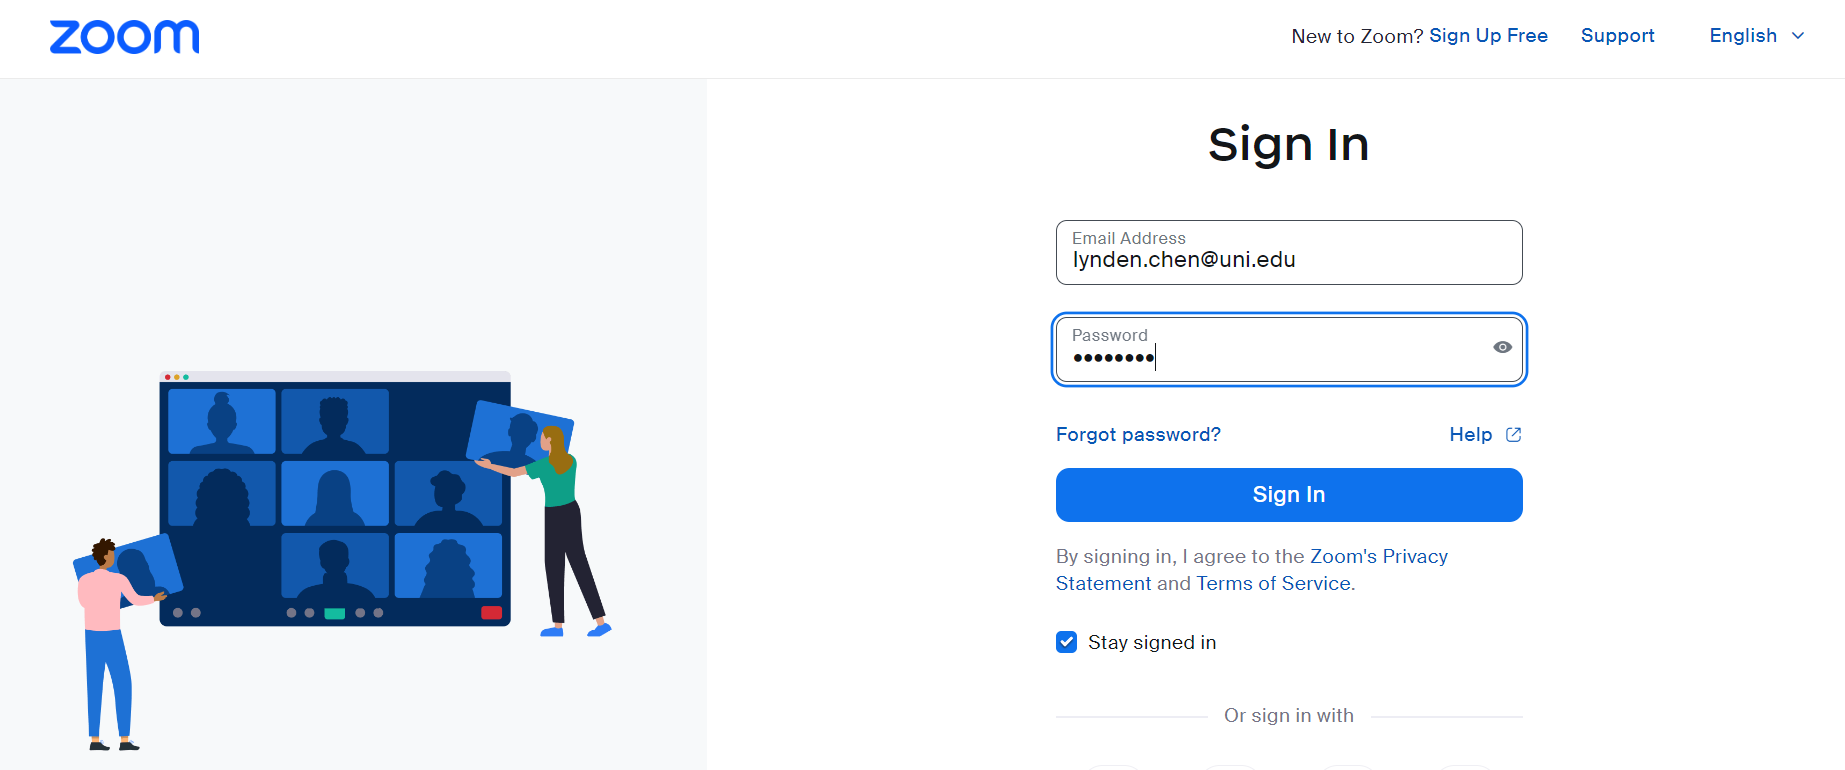
You will be redirected to the login page of Zoom.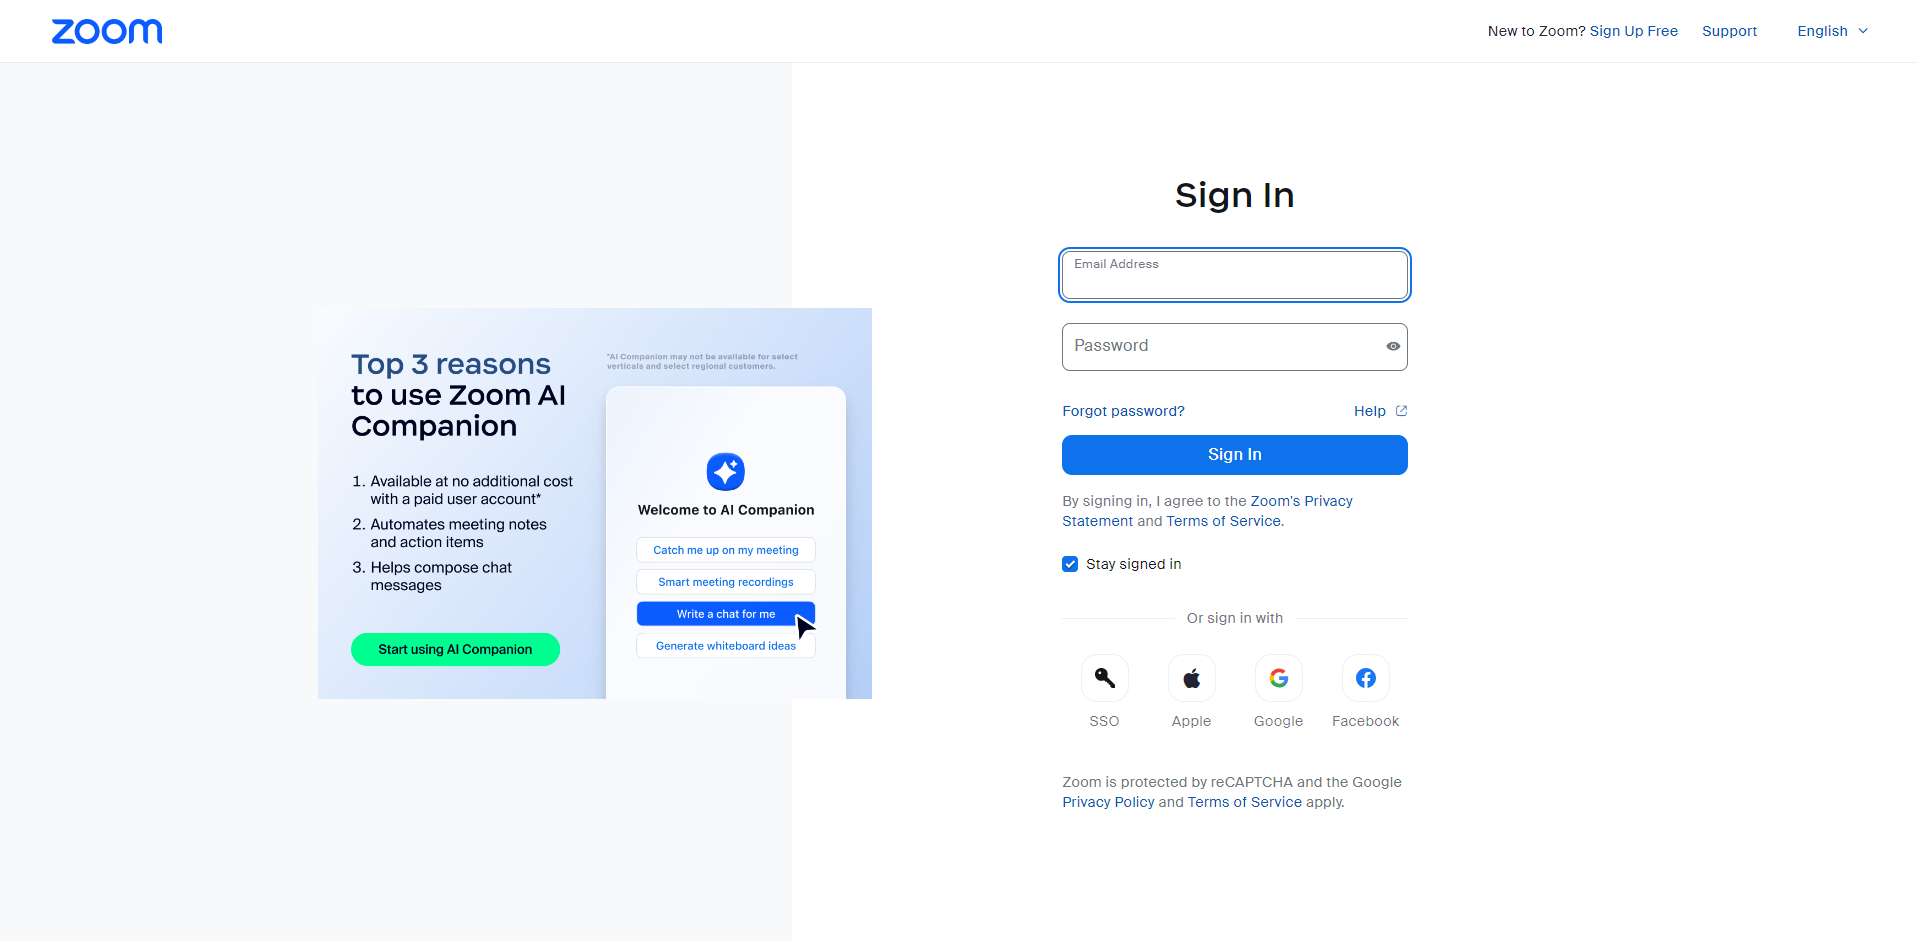
If you are presented with the following error message instead of Zoom's login page after pasting the activation URL into your incognito browser:
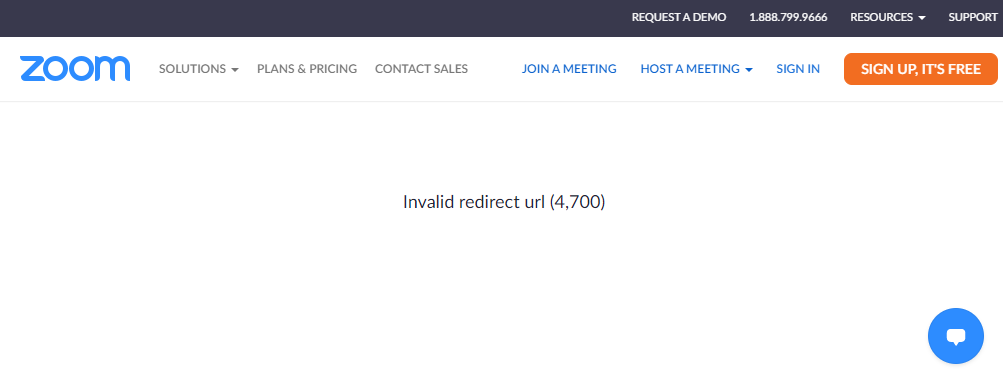
...then the URL of your LearningSpace system has not been whitelisted while building your OAuth application.
To resolve this issue:
1. Log into your Zoom owner account.
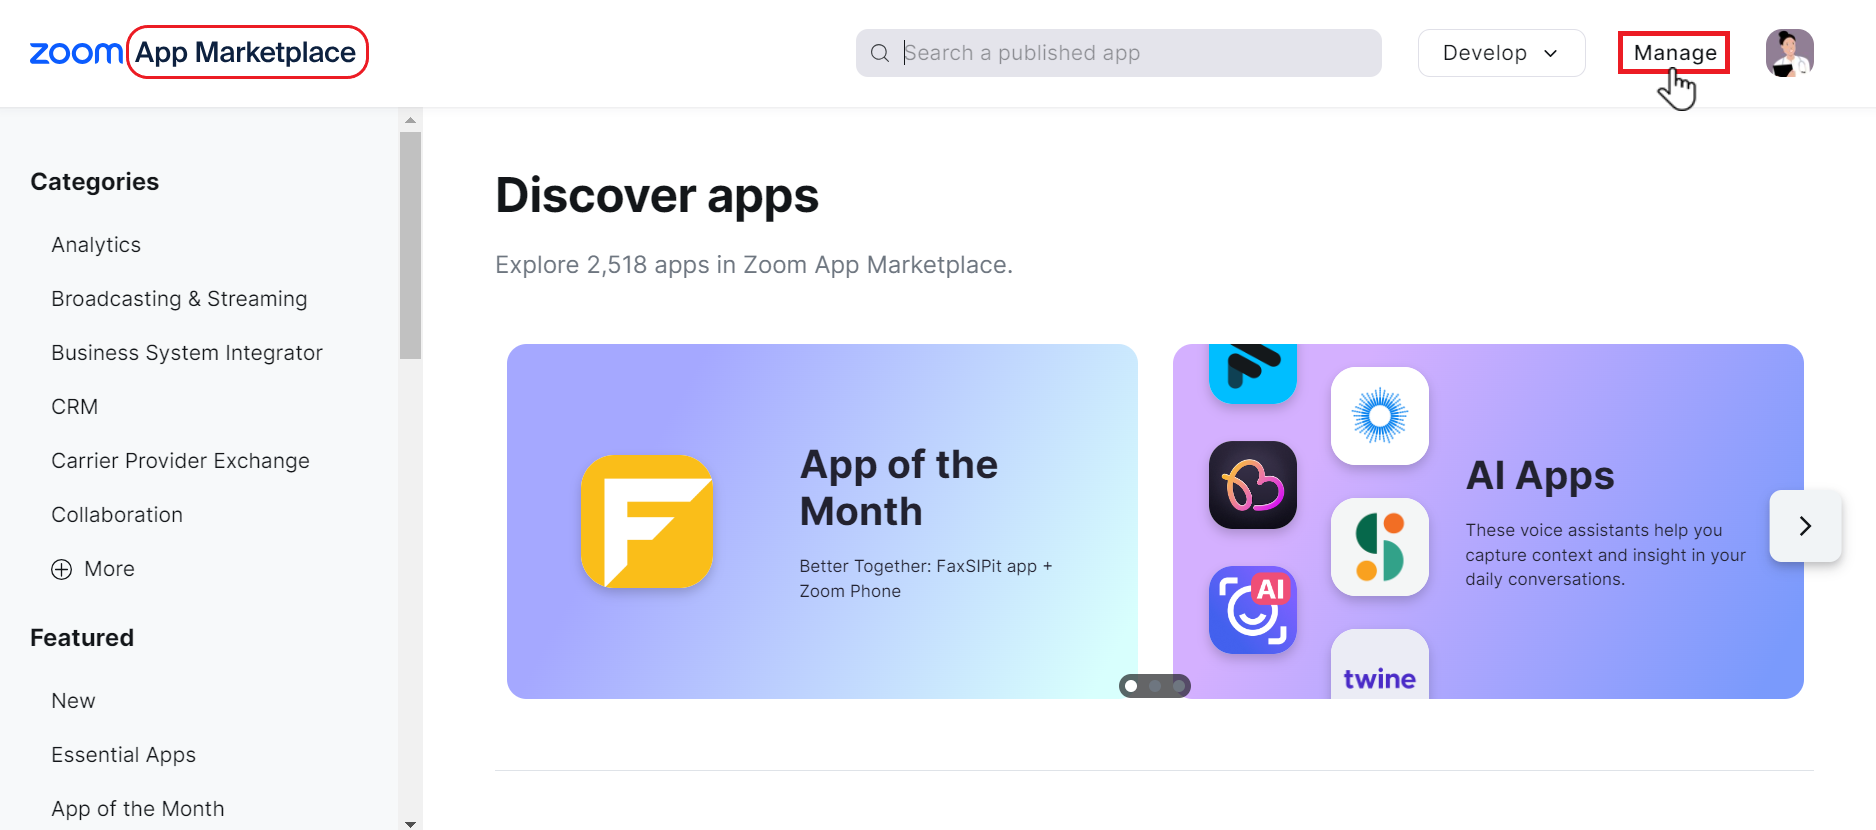
2. Go to App Marketplace. (https://marketplace.zoom.us/)
Click on Advanced in the menu on the left.
3. On the App Marketplace page, select Manage.
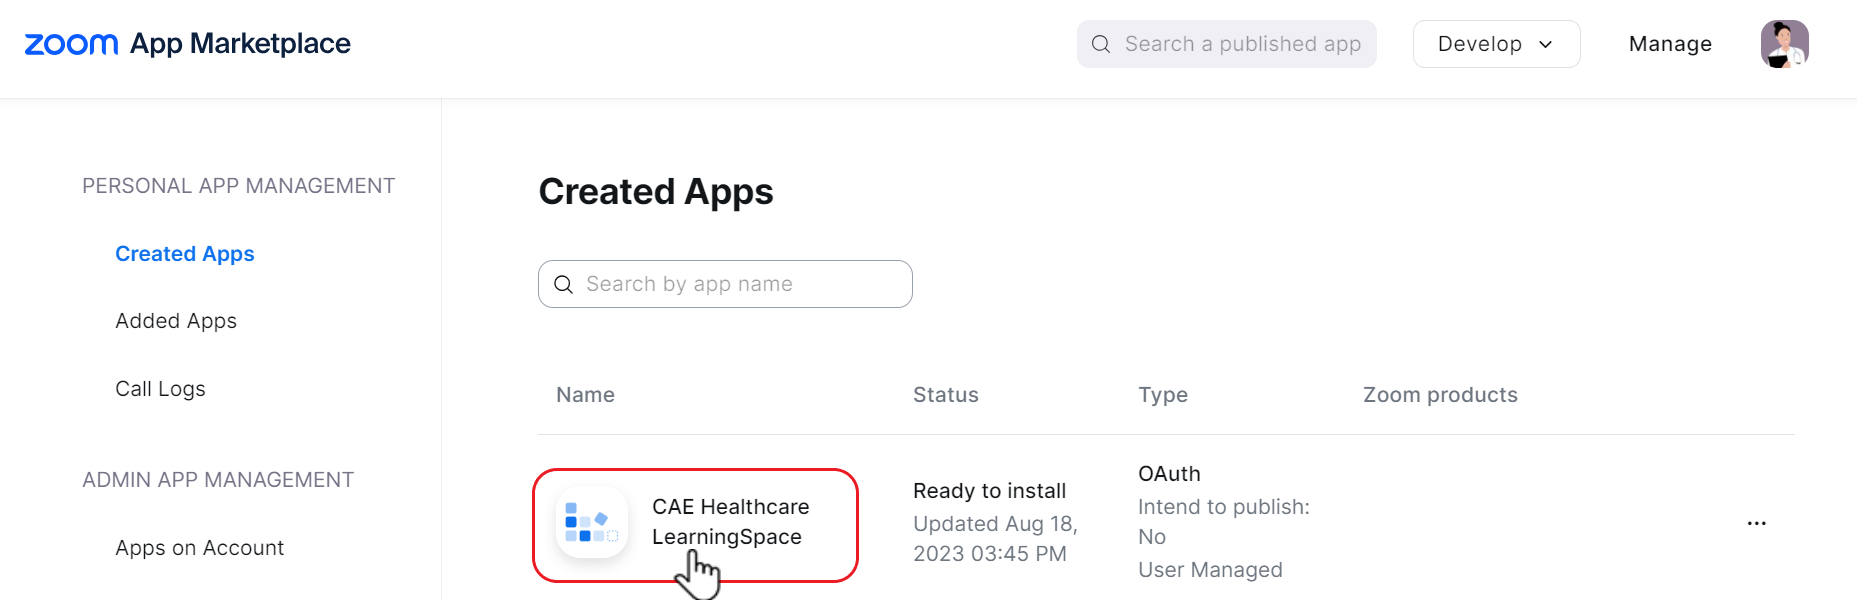
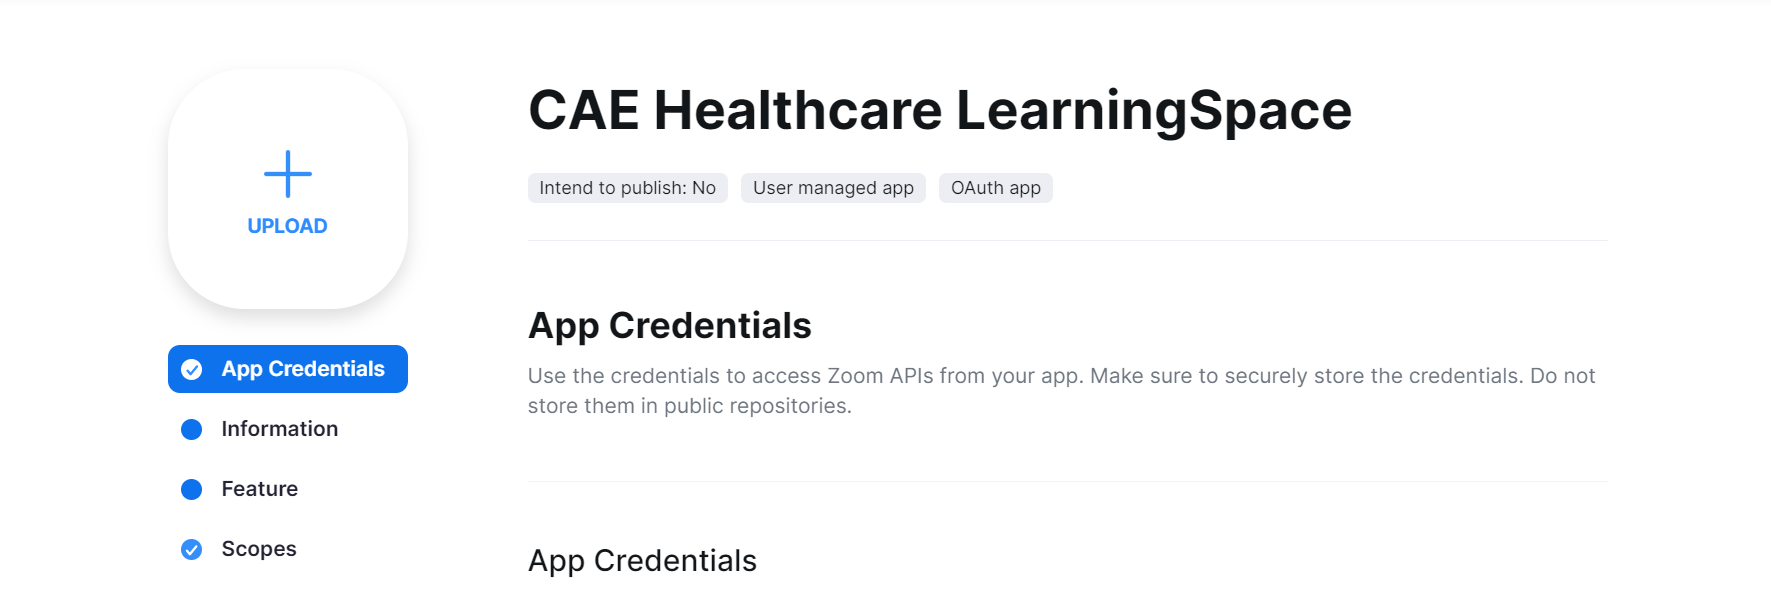
4. Select your OAuth application:
5. On the App Credential tab, scroll down to OAuth Allow List:
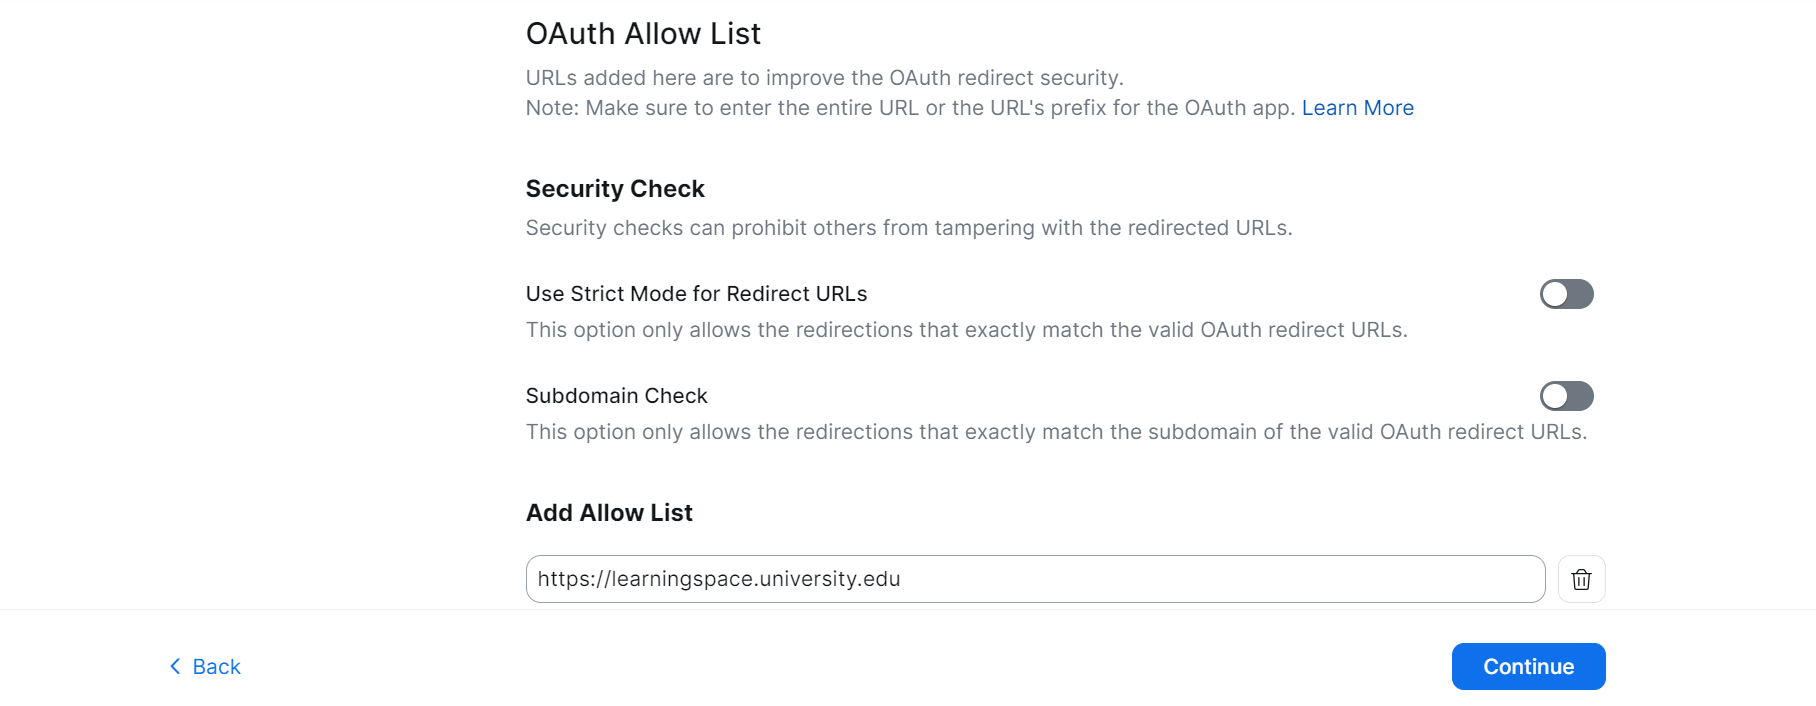
6. Enter your LearningSpace system's URL into the Add Allow List field.
The page automatically saves every change you make (look for the green
 Saved sign next to the Continue button).
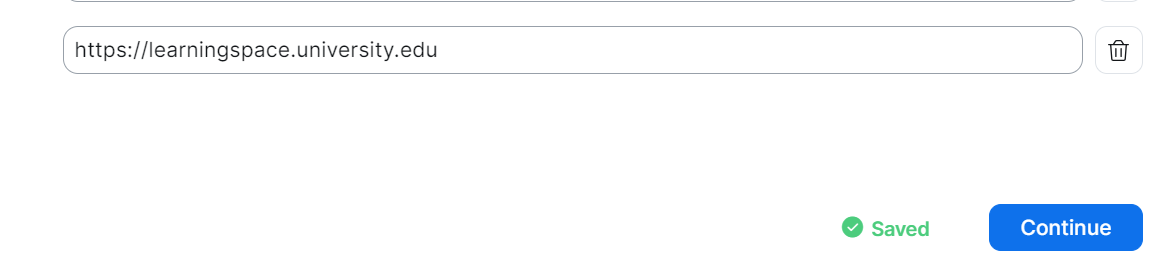
Make sure to whitelist the URL of your LearningSpace system in order to configure virtual rooms successfully.
If you do not include your system's URL in this field, you will not reach the consent page where you can verify the scope of user data CAE LearningSpace can have access to in the chosen user account.- Make sure to log in with the same email address that you have provided for the virtual room.
Upon successful login, you will land on the user consent page in Zoom. Here, you are informed about the permissions that LearningSpace will have upon authorization:
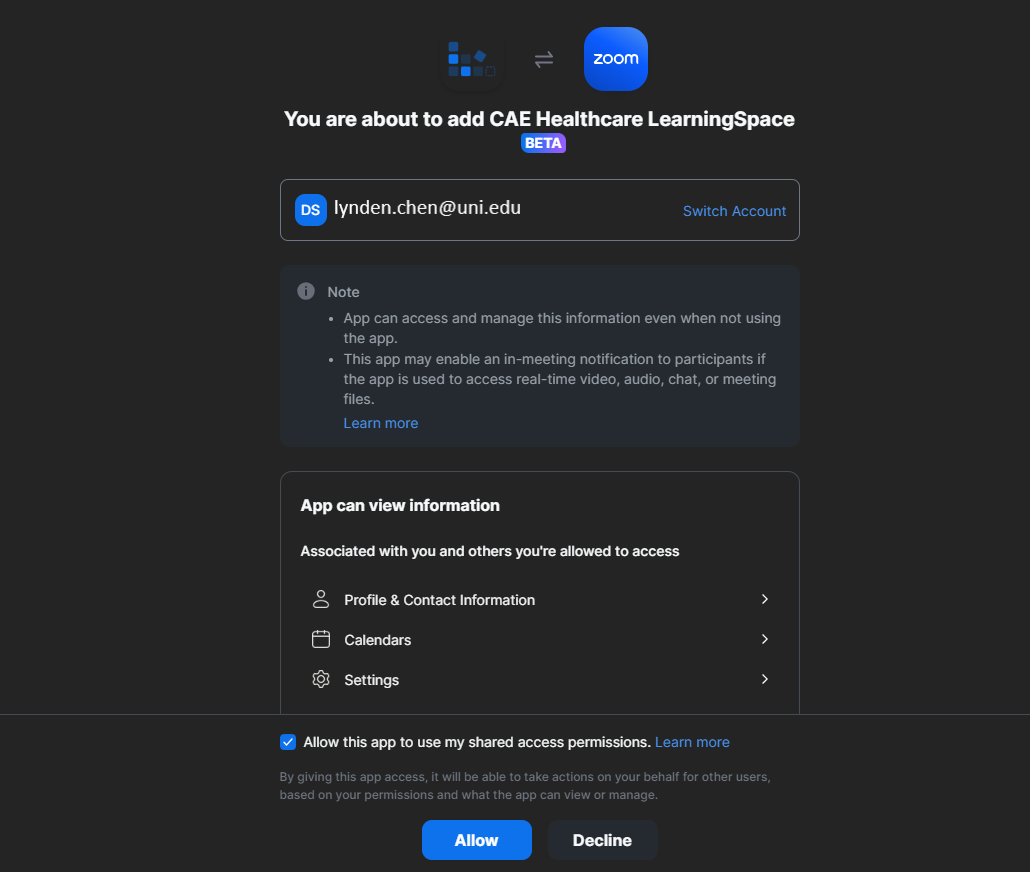
Click Allow to enable LearningSpace access to the current Zoom user account with the specified scope of permissions.
After authorization, you will be redirected to your institution's LearningSpace platform.
The system will inform you about the successful authorization: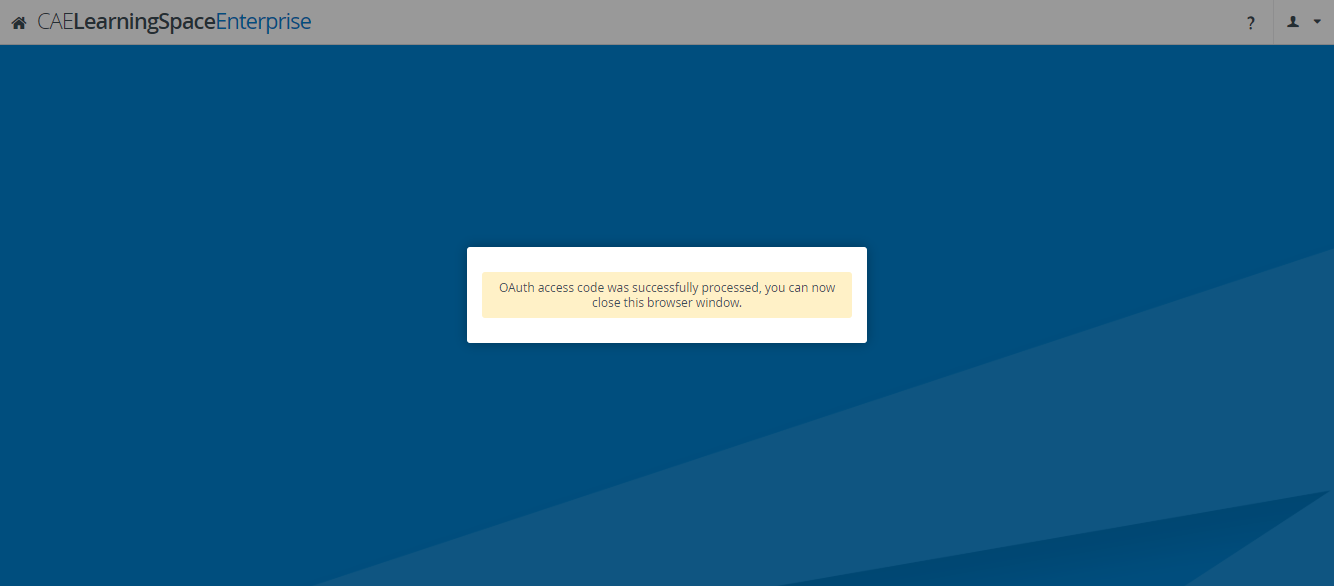
Close the incognito browser.
Important
Always close the incognito window once you are finished with the authorization process.
Go back to the Rooms tab, and open your virtual room with the Controls cogwheel.
You will see that your virtual room is now verified:
Once these settings are complete, your virtual room can be added to events organized with Advanced Scheduling.
Important
Virtual Rooms are only available for events created with Advanced Scheduling.
Set up an event, schedule your learners, and assign SPs to your event as you would usually do, but please keep in mind that the virtual room you add to the event will not function as an authorized workstation and there are some further setting recommendations you need to follow in order to conduct your OSCE exam smoothly.
![]() Please visit this page to learn about the recommended virtual event settings.
Please visit this page to learn about the recommended virtual event settings.
Find step-by-step guides on our Distance Learning with CAE LearningSpace pages.
Overview
Content Tools