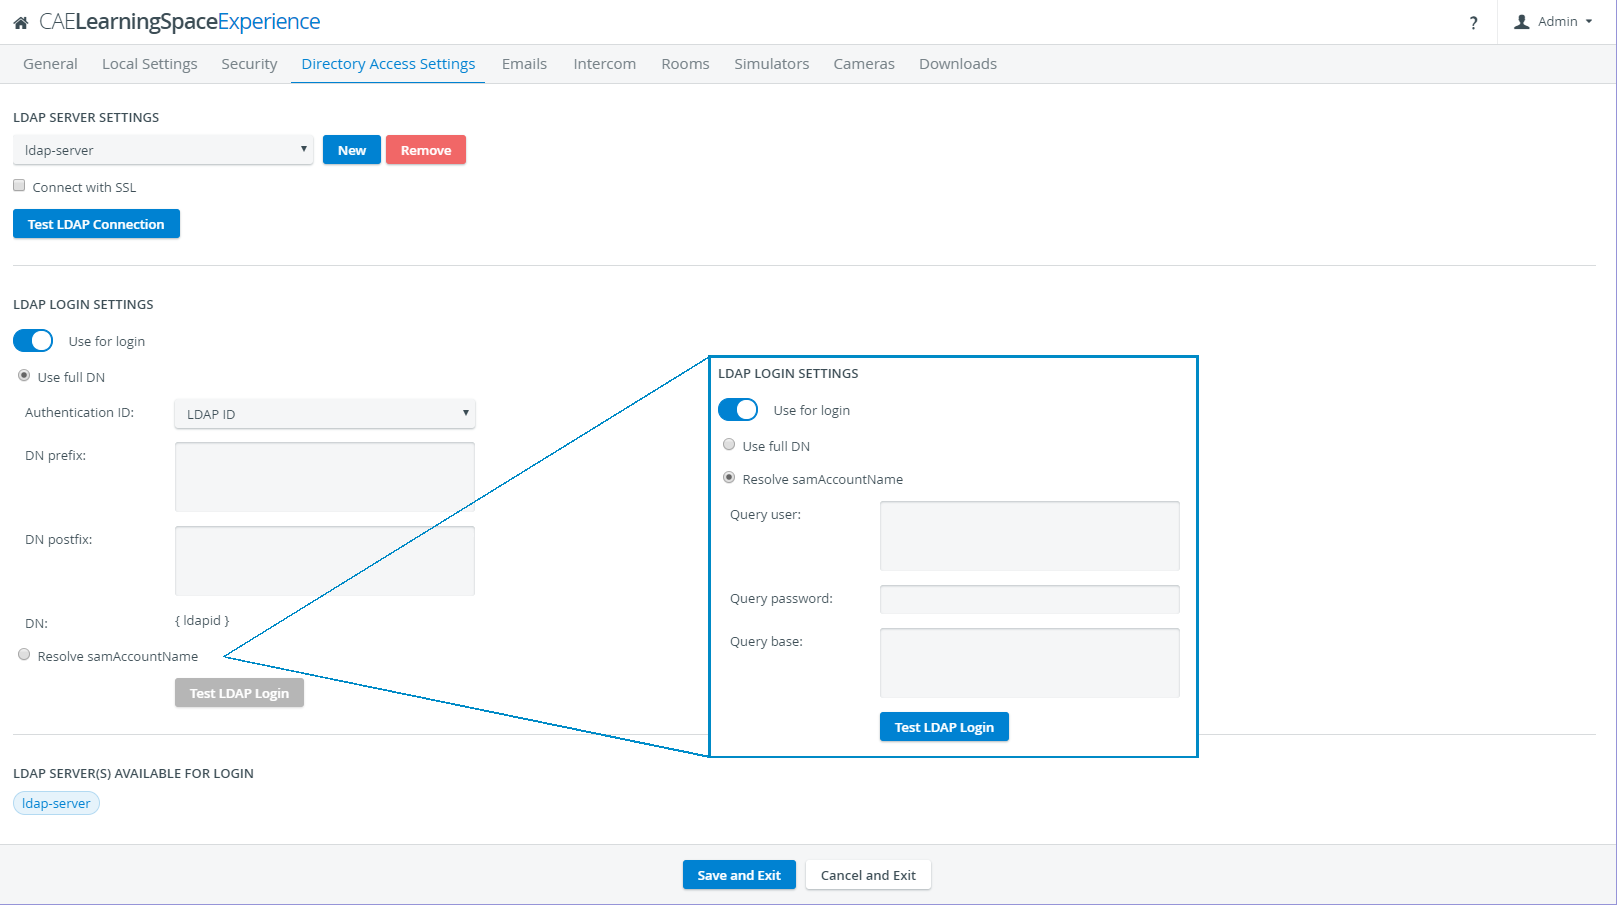
LDAP login can be configured on the Directory Access Settings tab of the System module.
- Once on the tab, use the drop-down below LDAP Server Settings to select or add a new LDAP server.
- In the LDAP Login Settings options, activate the Use for login switch. Switching this feature ON prompts the necessary data fields to be displayed.
- Select the desired authentication mode:
Use full DN - searches for the user directly by the user's full distinguished name (optionally specified by prefix and/ or postfix)
Resolve sAMAccountName - authenticates the user through a specified query user (query user name, password and base can be determined), that is, no full DN has to be provided
NOTE: In this case, DN data is not stored in LearningSpace, but only the sAMAccountName which will first have to be resolved to the full DN by the query user. The specified query user needs to have permission to search within the query base. - Provide the DN or Query data respectively.
- Click the Test LDAP Login button to check whether everything has been set up correctly.
If there is at least one LDAP server set up for login, LDAP authentication can be set independently for users Edit User pop-up window:
- On the Accounts tab (displayed by default when the pop-up is opened), check the box at Authenticate by LDAP server.
- Type the server-side user ID in the LDAP ID field.
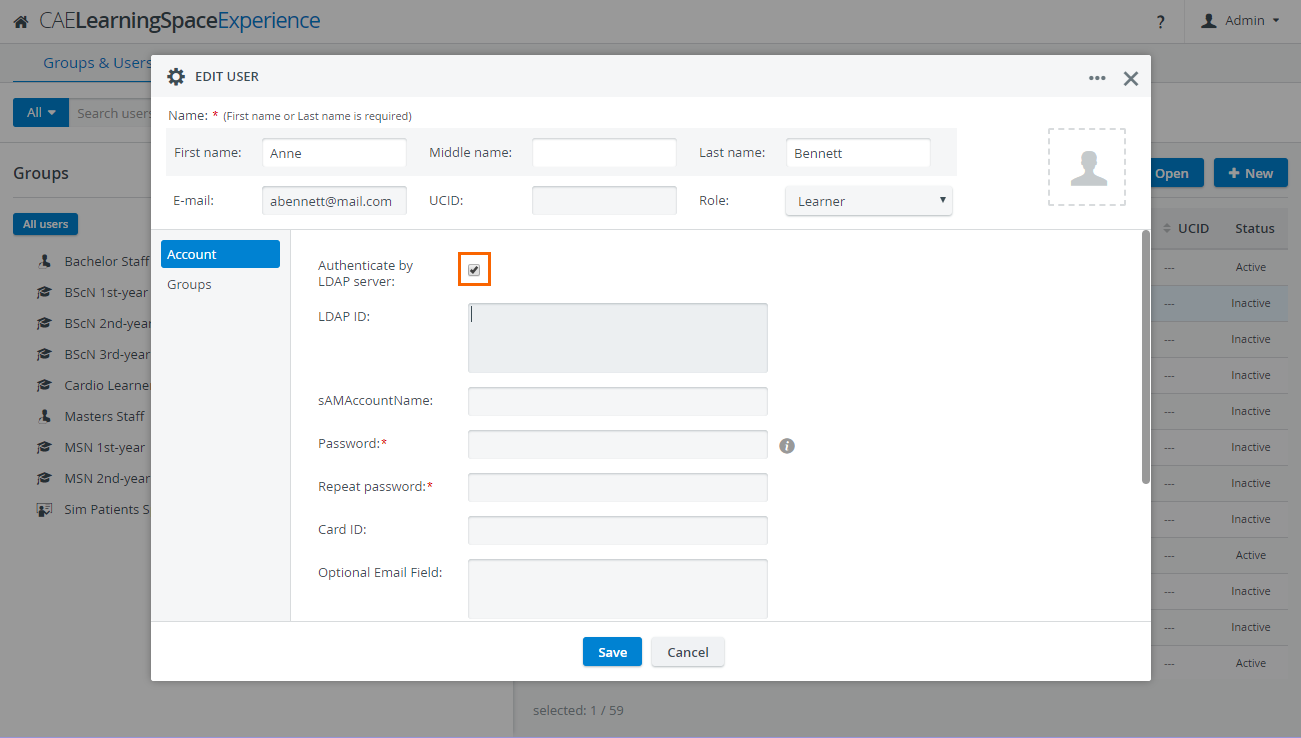
IMPORTANT: If LDAP authentication is configured, users cannot change their passwords.

Overview
Content Tools