Page History
| Info |
|---|
| Photos can be uploaded to individual accounts as well as in batches - to members of a group - via the BUC (Batch User Create) process. |
Individually
Open the Edit User pop-up for the desired user.
Tip TIP: The most efficient way to open the Edit User pop-up for a specific user is to start typing their name in the search field, then click the desired name from the list of results. Hover over the photo field in the top right corner of the pop-up to prompt the pencil icon to appear.
Info NOTE: If there already is a photo uploaded, there are two icons appearing in the photo field: the pencil is for selecting another photo, while the red X is for removing the already uploaded photo. - Clicking the pencil icon opens the file selector of your browser.
- Select the photo you want to upload and confirm it in the file selector.
The photo will be displayed in the photo frame.
Click Save at the bottom of the Edit User pop-up window.
| Tip |
|---|
| TIP: An uploaded picture can be deleted or replaced by clicking the trash or pencil icons respectively - displayed when hovering over the picture frame. |

CONSEIL: Le moyen le plus efficace d'ouvrir la fenêtre contextuelle Modifier l'utilisateur pour un utilisateur spécifique: commencez à intoduire son nom dans le champ de recherche, puis cliquez sur le nom donné dans la liste des résultats.
Survolez le champ de photo dans le coin supérieur droit de la fenêtre contextuelle pour faire apparaître l'icône crayon.
Info REMARQUE: Si une photo a déjà été ajoutée, deux icônes apparaissent dans le champ photo: le crayon sert à sélectionner une autre photo, tandis que le X rouge sert à supprimer la photo déjà ajoutée.
- Cliquez sur l'icône crayon pour ouvrir le sélecteur de fichier de votre navigateur.
- Sélectionnez la photo que vous souhaitez ajouter et confirmez-la dans le sélecteur de fichier. La photo sera affichée dans le cadre photo.
Cliquez sur Enregistrer en bas de la fenêtre contextuelle Modifier l'utilisateur.
Tip CONSEIL: Une image téléchargée peut être supprimée ou remplacée en cliquant sur l’icône corbeille ou crayon, les icônes s'affichent lorsque vous survolez le cadre de la photo.
En lot
| Note |
|---|
IMPORTANT: Pour ajouter des photos de plusieurs utilisateurs, ceux-ci doivent appartenir au même groupe. |
- Dans le module Gestionnaire des utilisateurs, passez à l’onglet Création des utilisateurs par lot.
- Dans la liste déroulante Télécharger le modèle, sélectionnez le groupe dans lequel vous souhaitez télécharger des photos pour les membres, puis cliquez sur Télécharger.
Un fichier Excel contenant toutes les données entrées dans le système concernant chaque membre du groupe sélectionné sera téléchargé.
Créez un dossier contenant le fichier Excel enregistré à partir du système LS avec tous les fichiers image destinés à être attachés aux utilisateurs.
Note IMPORTANT: Les fichiers image doivent être nommés de manière cohérente et non ambiguë
Ouvrez Excel et copiez le nom exact du fichier image dans la colonne M (User Photo) du nom correspondant.
Note IMPORTANT: Si le nom de la photo tel qu’indiqué dans Excel et le nom réel du fichier de photo ne sont pas exactement identiques, le système ne pourra pas trouver et donc ajouter la photo.
Compressez le dossier (c’est-à-dire le fichier Excel terminé et toutes les photos) dans un fichier zip.
Warning IMPORTANT: L'envoi d'un seul dossier contenant tous les fichiers dans un dossier compressé rendra le format ininterprétable par le système. Par conséquent, les fichiers (c’est-à-dire les photos et le fichier Excel) doivent être sélectionnés individuellement et envoyés dans un "dossier compressé (zipped)".
Dans l'onglet Création des utilisateurs par lot, cliquez sur Suivant pour passer à l'étape 2 du processus.
Cliquez sur Parcourir et téléchargez le fichier zip.
Basculez le bouton radio sur Mettre à jour les comptes d'utilisateur existants, puis cliquez sur Suivant.
Info REMARQUE: Le bouton Suivant n'est activé que lorsqu'un fichier est sélectionné.
L'étape 3 apparaît avec un aperçu de la manière dont le système téléchargera les modifications apportées aux comptes d'utilisateur.
Note IMPORTANT: En cas de problème, le système répertorie les erreurs spécifiques sur la surface de l'étape 3. Dans ce cas, l'utilisateur doit revenir à l'étape 2 et télécharger le fichier zip corrigé en fonction des messages d'erreur.
- Cliquez sur Finaliser en bas de l'onglet.
La surface de l'étape 4 apparaît avec un résumé du nombre de comptes d'utilisateurs mis à jour, ainsi que, le cas échéant, le nombre de comptes d'utilisateurs qui n'ont pas été téléchargés en raison de problèmes d'accessibilité. - Cliquez sur TERMINÉ en bas de l'onglet pour terminer le processus Création des utilisateurs par lot
In batch
| Note |
|---|
| IMPORTANT: To upload photos to many users, the users have to be members of the same group. |
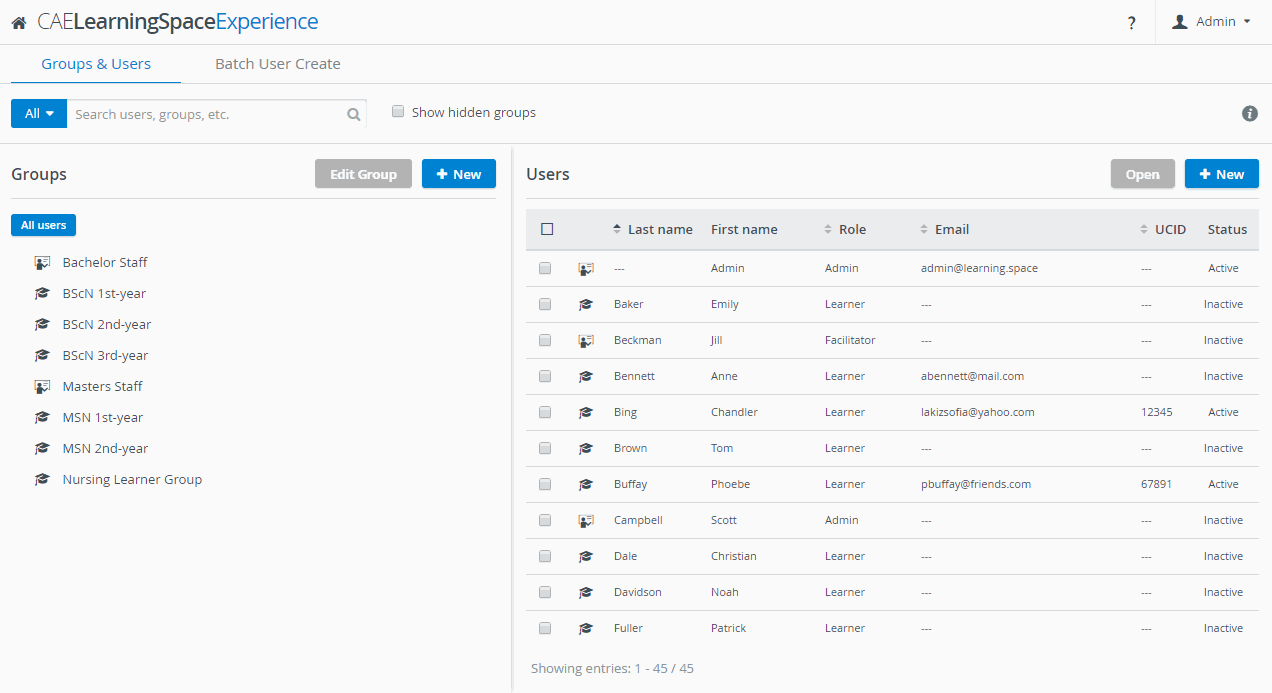
- In the User Manager module, switch to the Batch User Create tab.
- From the Download template drop-down, select the group in which you intend to upload photos to the members' accounts, then click Download.
An excel file will be downloaded containing all data entered in the system about each member of the selected group.
On the Batch User Create tab, click Next to move forward to Step 2 of the process.
Click Browse and upload the zip file.
Switch the radio button to Update existing user account, then click Next.
Info NOTE: The Next button only becomes activated when a file is selected for upload. The Step 3 appears with an overview of how the system will upload the changes in the user accounts.
Click Finalize at the bottom of the tab.Note IMPORTANT: In case of any problem, the system lists the specific errors on the Step 3 surface. In such case, the user needs to return to Step 2 and upload the zip file corrected according to the error messages.
The Step 4 surface appears with a summary of the number of updated user accounts; and also, if any, the number of user accounts that have not been uploaded due to accessibility issues.
Click Done at the bottom of the tab to conclude the Batch User Create process.
Create a folder containing the excel file saved from the system and all the picture files intended to be attached to users.
| Note |
|---|
| IMPORTANT: The picture files should be named consistently and unambiguously. |
Open the excel and type the exact name of the picture file in column M (User Photo) to the corresponding name.
| Note |
|---|
| IMPORTANT: If the name of the photo as listed in the excel and the actual name of the photo file are not the exact same, the system will not be able to find and thus upload the photo. |
Compress the folder (i.e. the completed excel and all the photos) into a zip file.
| Warning |
|---|
| IMPORTANT: Sending a single folder containing all the files to a zipped folder will result in a format uninterpretable by the system. Therefore, the files (i.e. the photos and the excel sheet) should be individually selected and sent to "compressed (zipped) folder". |
Overview
Content Tools