Page History
Open the Edit User pop-up for the desired user.
Tip The most efficient way to open the Edit User pop-up for a specific user is to start typing their name in the search field, then click the desired name from the list of results. Hover over the photo field in the top right corner of the pop-up to prompt the pencil icon to appear.
Info NOTE: If there already is a photo uploaded, there are two icons appearing in the photo field: the pencil is for selecting another photo, while the red X is for removing the already uploaded photo. - Clicking the pencil icon opens the file selector of your browser.
- Select the photo you want to upload and confirm it in the file selector.
The photo will be displayed in the photo frame. Click Save at the bottom of the Edit User pop-up window.
Tip An uploaded picture can be deleted or replaced by clicking the trash or pencil icons respectively - displayed when hovering over the picture frame. 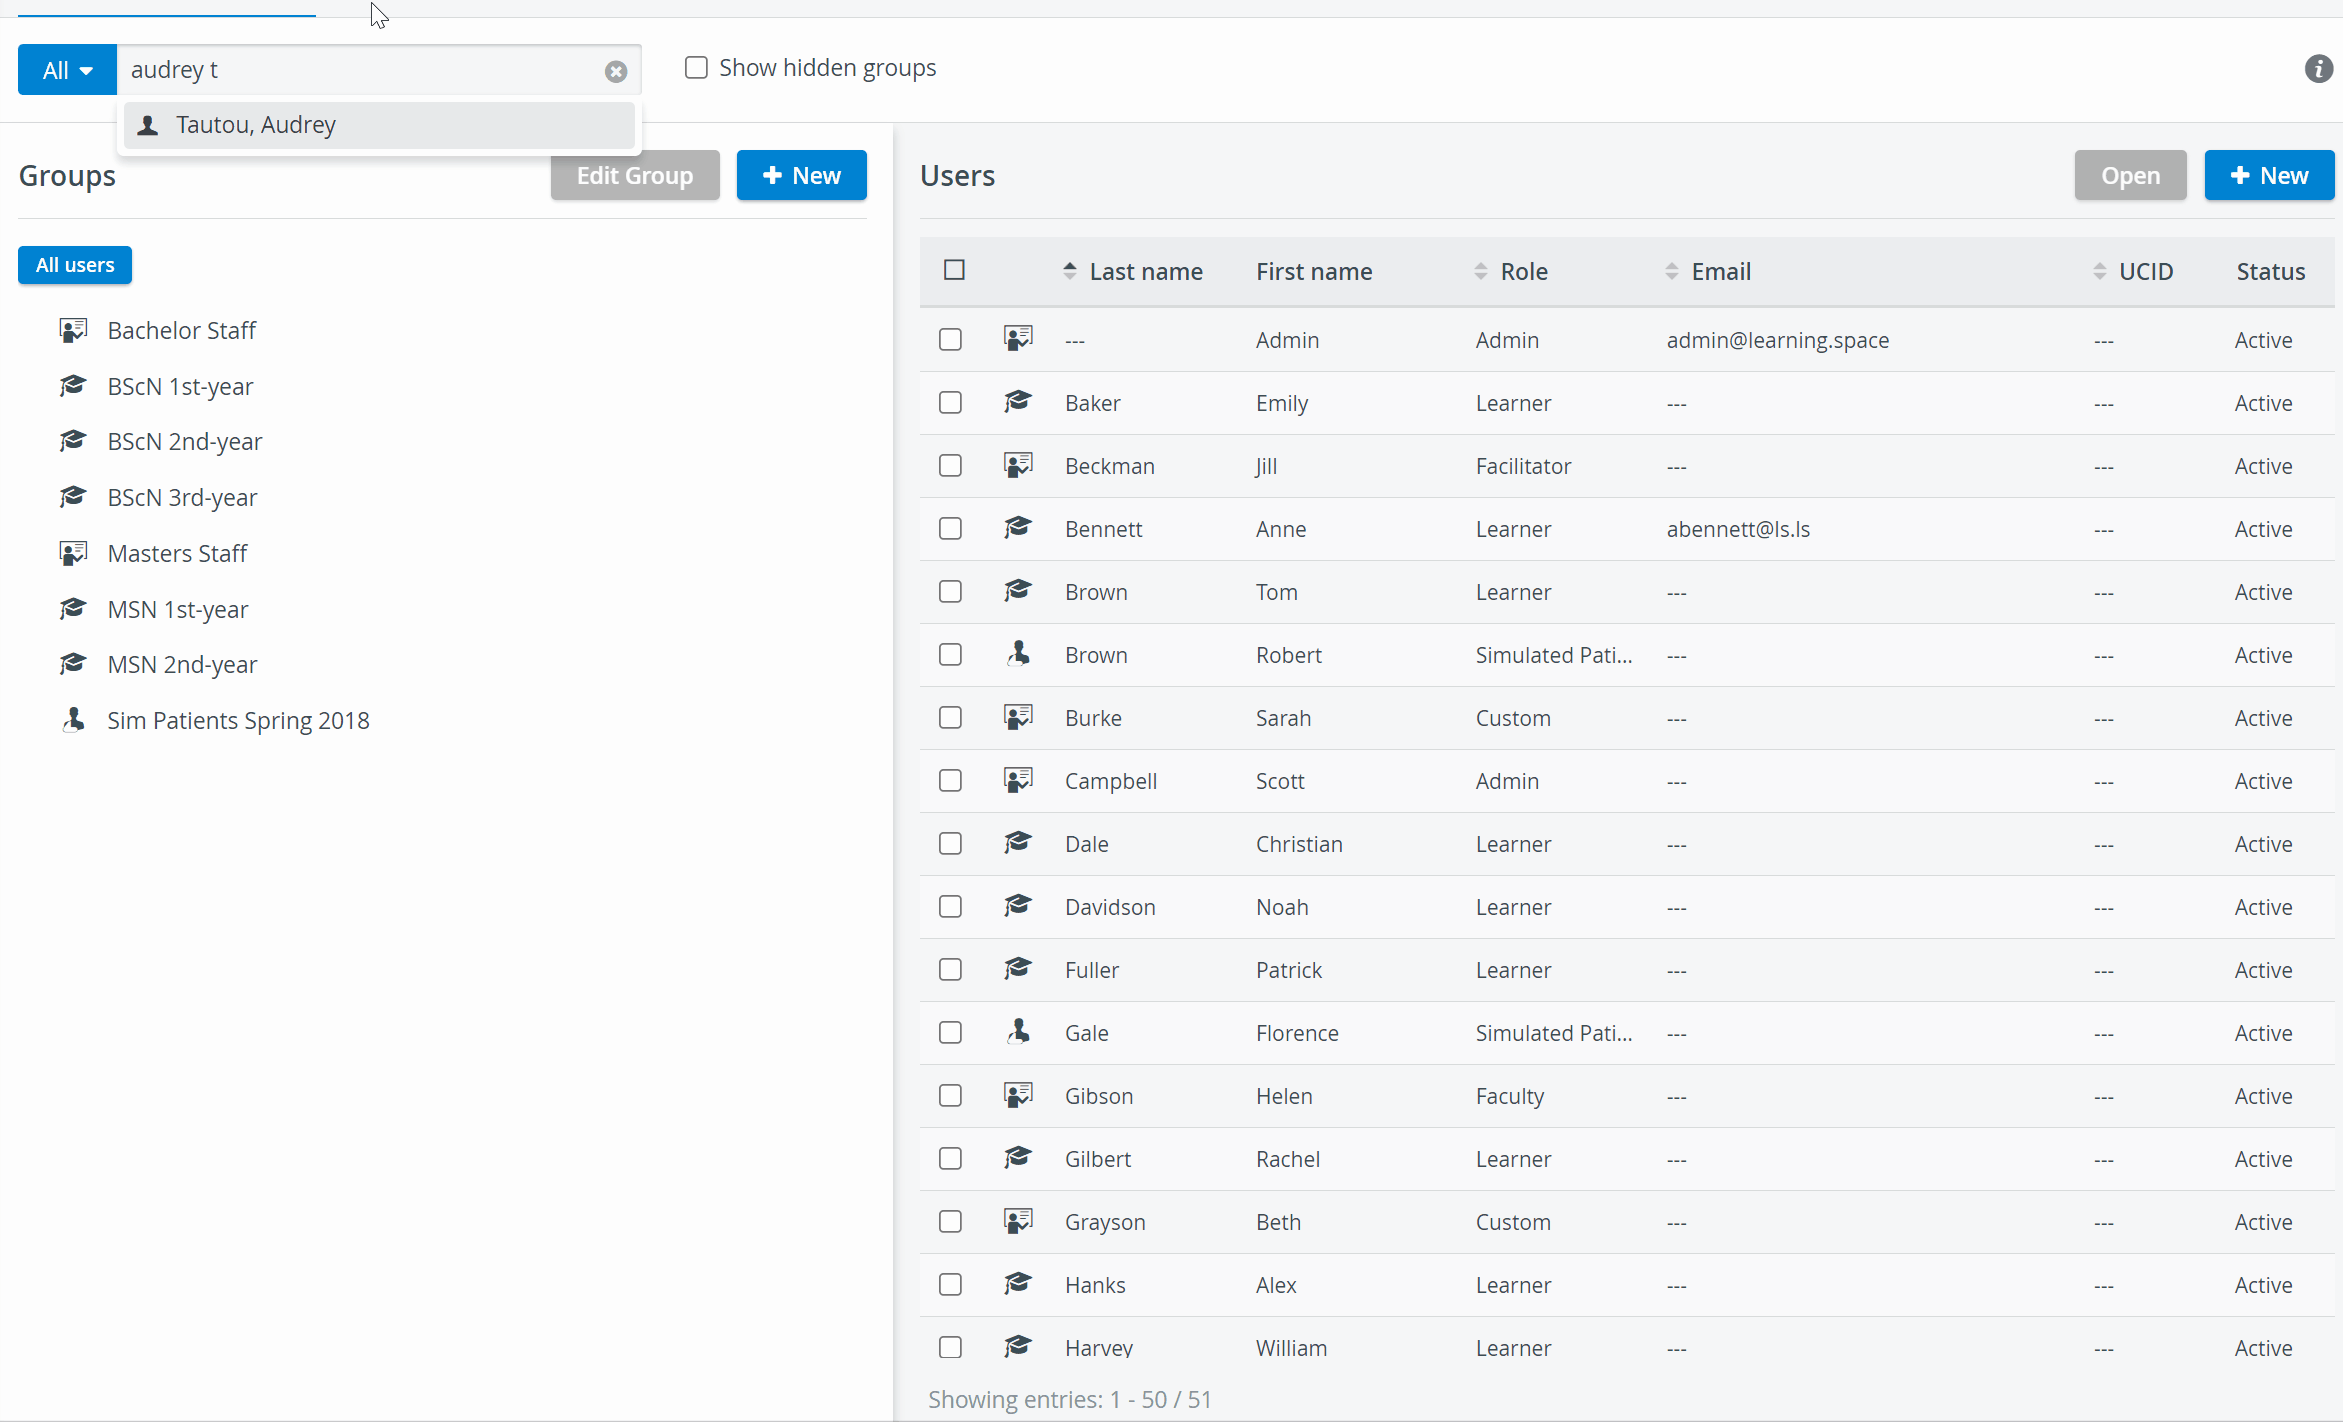
| Note |
|---|
| IMPORTANT: To upload photos to many users, the users have to be members of the same group. |
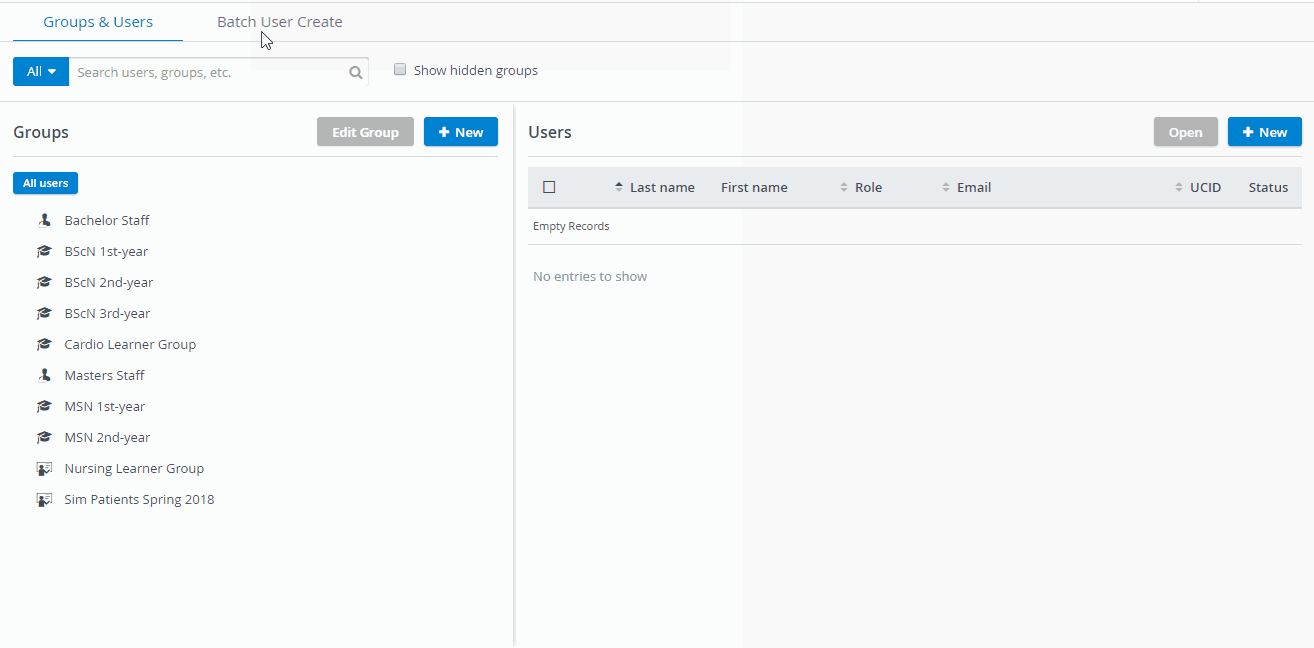
- In the User Manager module, switch to the Batch User Create tab.
- From the Download template drop-down, select the group in which you intend to upload photos to the members' accounts, then click Download.
An excel file will be downloaded containing all data entered in the system about each member of the selected group.
Create a folder containing the excel file saved from the system and all the picture files intended to be attached to users.
Note IMPORTANT: The picture files should be named consistently and unambiguously. Open the excel and type the exact name of the picture file in column M (User Photo) to the corresponding name.
Note IMPORTANT: If the name of the photo as listed in the excel and the actual name of the photo file are not the exact same, the system will not be able to find and thus upload the photo. Compress the folder (i.e. the completed excel and all the photos) into a zip file.
Warning IMPORTANT: Sending a single folder containing all the files to a zipped folder will result in a format uninterpretable by the system. Therefore, the files (i.e. the photos and the excel sheet) should be individually selected and sent to "compressed (zipped) folder". On the Batch User Create tab, click Next to move forward to Step 2 of the process.
Click Browse and upload the zip file.
Switch the radio button to Update existing user account, then click Next.
Info NOTE: The Next button only becomes activated when a file is selected for upload. The Step 3 appears with an overview of how the system will upload the changes in the user accounts.
Note IMPORTANT: In case of any problem, the system lists the specific errors on the Step 3 surface. In such case, the user needs to return to Step 2 and upload the zip file corrected according to the error messages. - Click Finalize at the bottom of the tab.
The Step 4 surface appears with a summary of the number of updated user accounts; and also, if any, the number of user accounts that have not been uploaded due to accessibility issues. - Click Done at the bottom of the tab to conclude the Batch User Create process.
Overview
Content Tools