As a first time user of the CAE SP Availability smartphone application, start by creating a new account to enroll in the institution you are going to work for as a Standardized Patient. Before you could be registered in the CAE LearningSpace system of the institution you are applying to, you are required to submit your details in the form of a Standardized Patient application.
![]() The institution you are enrolling in should provide you a QR code that connects the smartphone application to the institution's CAE LearningSpace server. Get in touch with the SP coordinators of your institution if you were not provided a QR code yet.
The institution you are enrolling in should provide you a QR code that connects the smartphone application to the institution's CAE LearningSpace server. Get in touch with the SP coordinators of your institution if you were not provided a QR code yet.
Getting Started with the Application
Download the CAE SP Availability application to your smartphone from the Play Store or App Store.
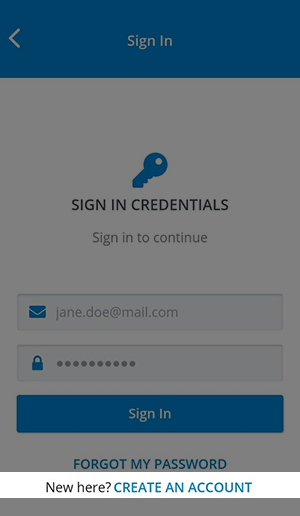
- Go to the sign-in page of the application after installing the CAE SP Availability application on your smartphone.
- Tap Create an Account at the bottom of the sign-in page.
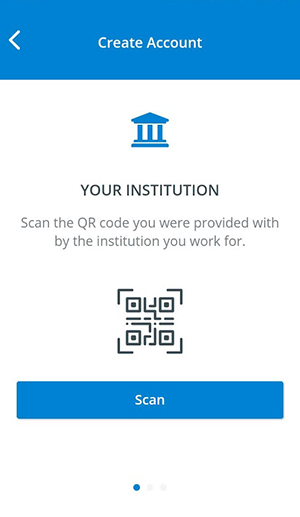
Prepare the QR code your institution has provided.
Tap Scan and scan the institution's QR code.
Allow the application to access the camera on your smartphone to take photos.
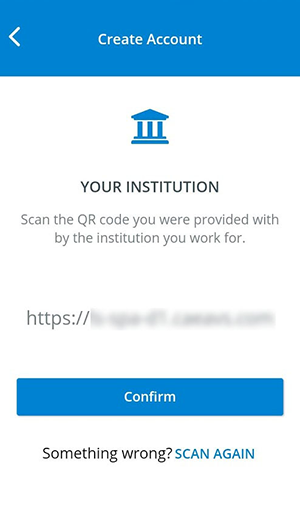
If the scan was successful, your smartphone application will display you the URL of the CAE LearningSpace system you are about to connect to:
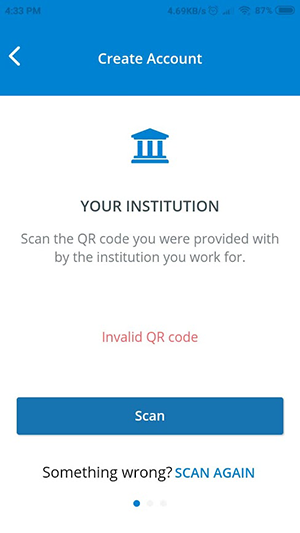
Try scanning the QR code again in case you are presented with the following screen:
- Tap Confirm to continue to your account details.
Setting Up Your Account
After connecting to the institution's CAE LearningSpace server with your application, you are requested to provide your sign-in details.
Provide a sign-in email and password then tap Next.
You will be registered by this email in the institution's CAE LearningSpace system.

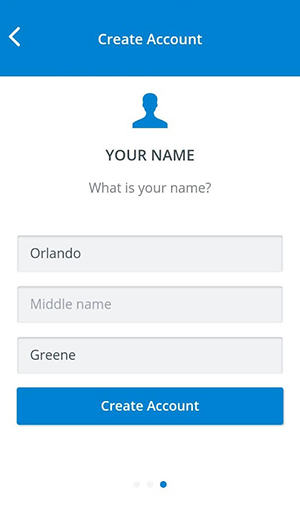
- Enter your name and tap Create Account.
- On the next page, you will be asked to continue and complete your profile.
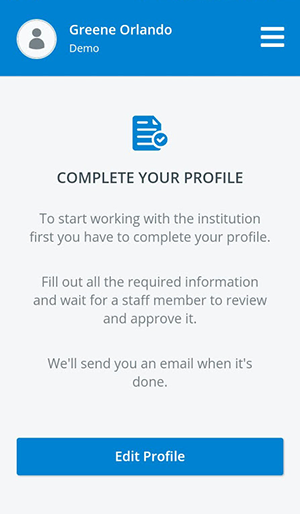
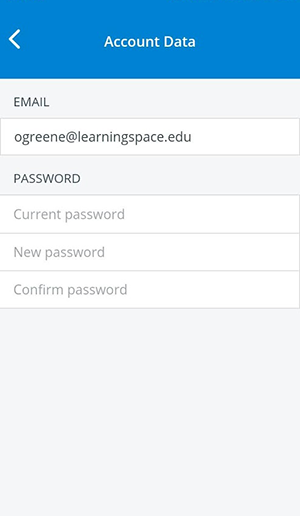
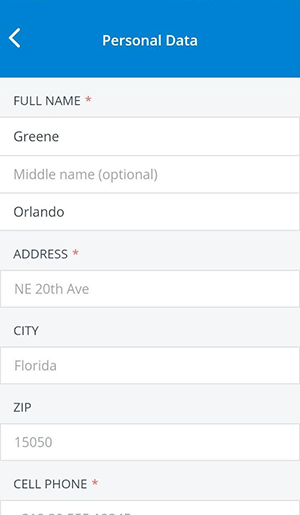
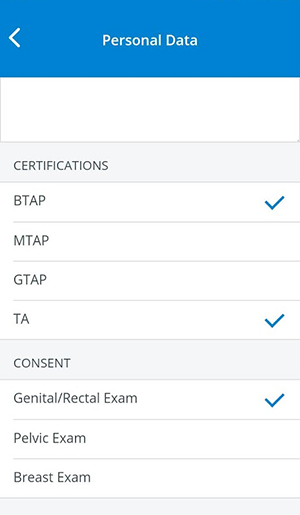
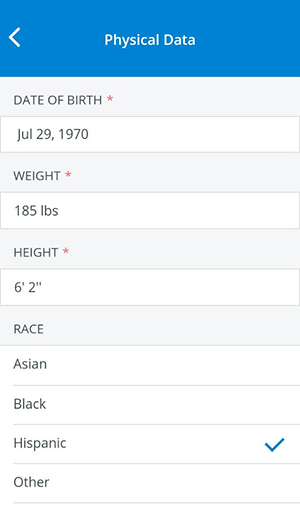
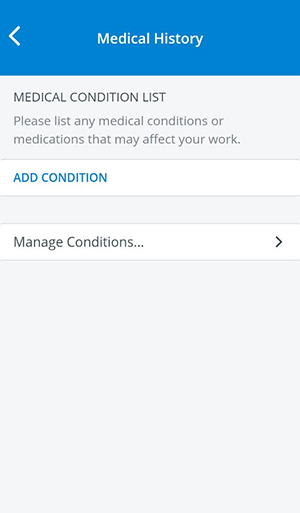
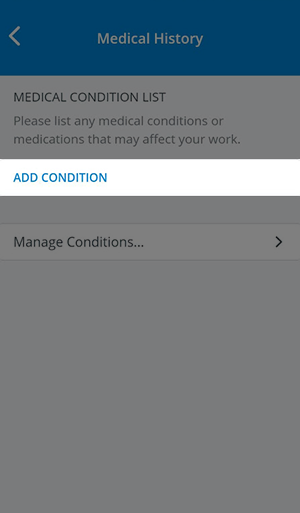
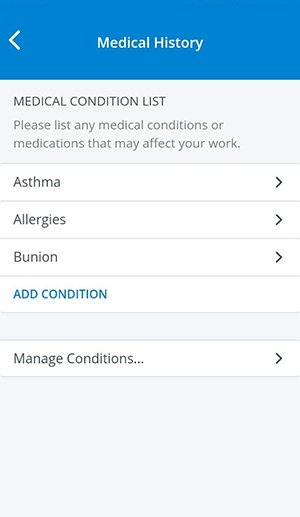
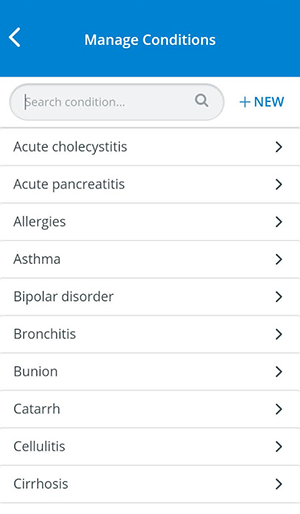
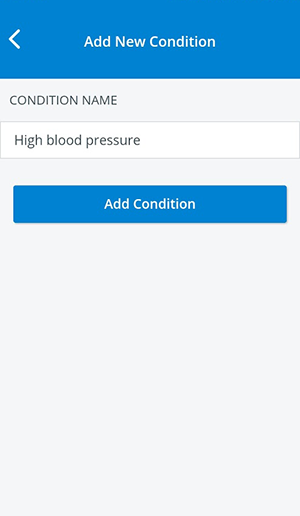
Tap Edit Profile to start filling in your details in the following categories on the enrollment datasheet: Tap on Account Data to review your sign-in credentials. Make sure that you have entered your email address correctly: you will receive feedback about your enrollment status to the email address provided here. At all times, use the back arrow on the left to return to the main page of your enrollment datasheet. Tap Personal Data to start filling in your personal details. You are required to enter your full name, address, and cell phone number in order to submit your enrollment; any other contact details are optional. Scroll down to select the certificates you hold and/or to provide your consent to partake in sensitive examinations. By entering information about your certificates and/or consent, you may increase your chance of being selected for patient scenarios with specific requirements. Tap on a field to select it: Return to the Edit Profile page and tap Physical Data to provide your physiological details. Mandatory fields are marked by an asterisk (*). Providing as many details as possible will help you appear more often in search results when SP coordinators are recruiting for scenarios. Return to the Edit Profile page and tap Medical History to enter your current medical conditions, if any, that can affect your work as an SP. Tap on a medical condition to select it. You can select more at a time. Tap on add to finalize your medical condition list. If you need to add a condition that is not on the list, you can add new conditions. Return to the Medical History page using the back arrow on the left.Editing Your Profile

Account Data
Personal Data
Physical Data
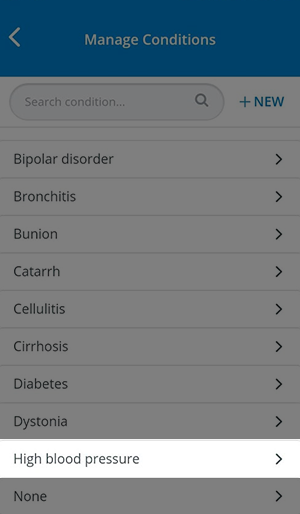
Medical History
Add Your Medical Conditions


Create New Medical Conditions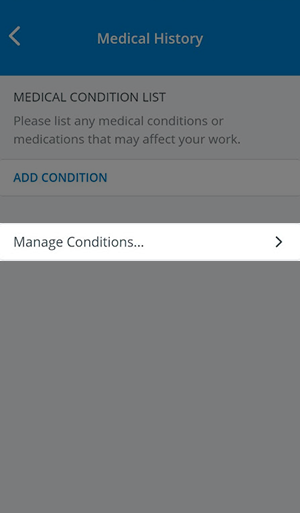
Related articles
Content by label
There is no content with the specified labels
Overview
Content Tools