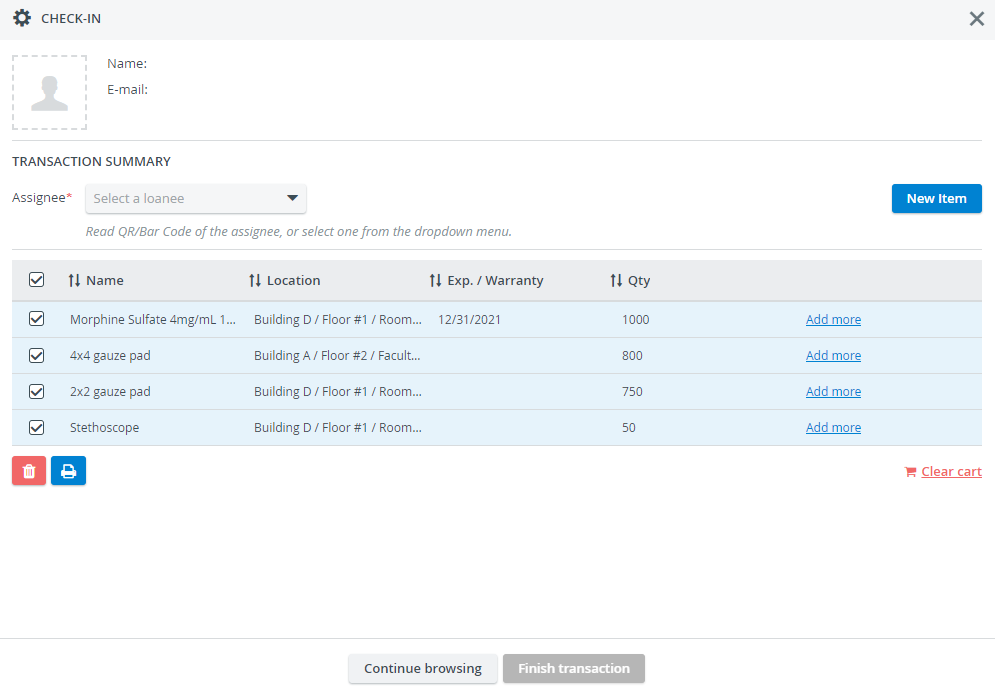
After a successful Check-in or Check-out, that is, completing a Transaction workflow, you arrive at the Transaction Summary page.
Transaction workflows vary by item categories, and you have several options on the Transaction Summary page:
- Add items to the Cart: return to the item detection page to select another item with the New Item option, or add more of the listed items with the Add more option.
- Remove items from the Cart: delete individual items or delete the complete content of the cart with the Clear Cart option.
- Continue browsing option (or by using the X in the upper right corner of the Check-out window): leave the Check-out and continue working within Inventory without losing the content of your cart.
You can return the transaction later. - Finish Transaction: finalize your Cart and complete the Check-out process.
Add more items to Cart
On this page, you can add items to your cart with the Add more or the New Item options.
![]()
![]()
Delete items from Cart
Selected items can be deleted or the cart can be emptied with the Clear cart option.
![]()
Batch Print the QR-codes of multiple items in one go with the Print option, while you are carrying out a transaction:
When using the Continue browsing option, if leaving the Inventory module, the contents of the Cart will be lost.
Finish Transaction
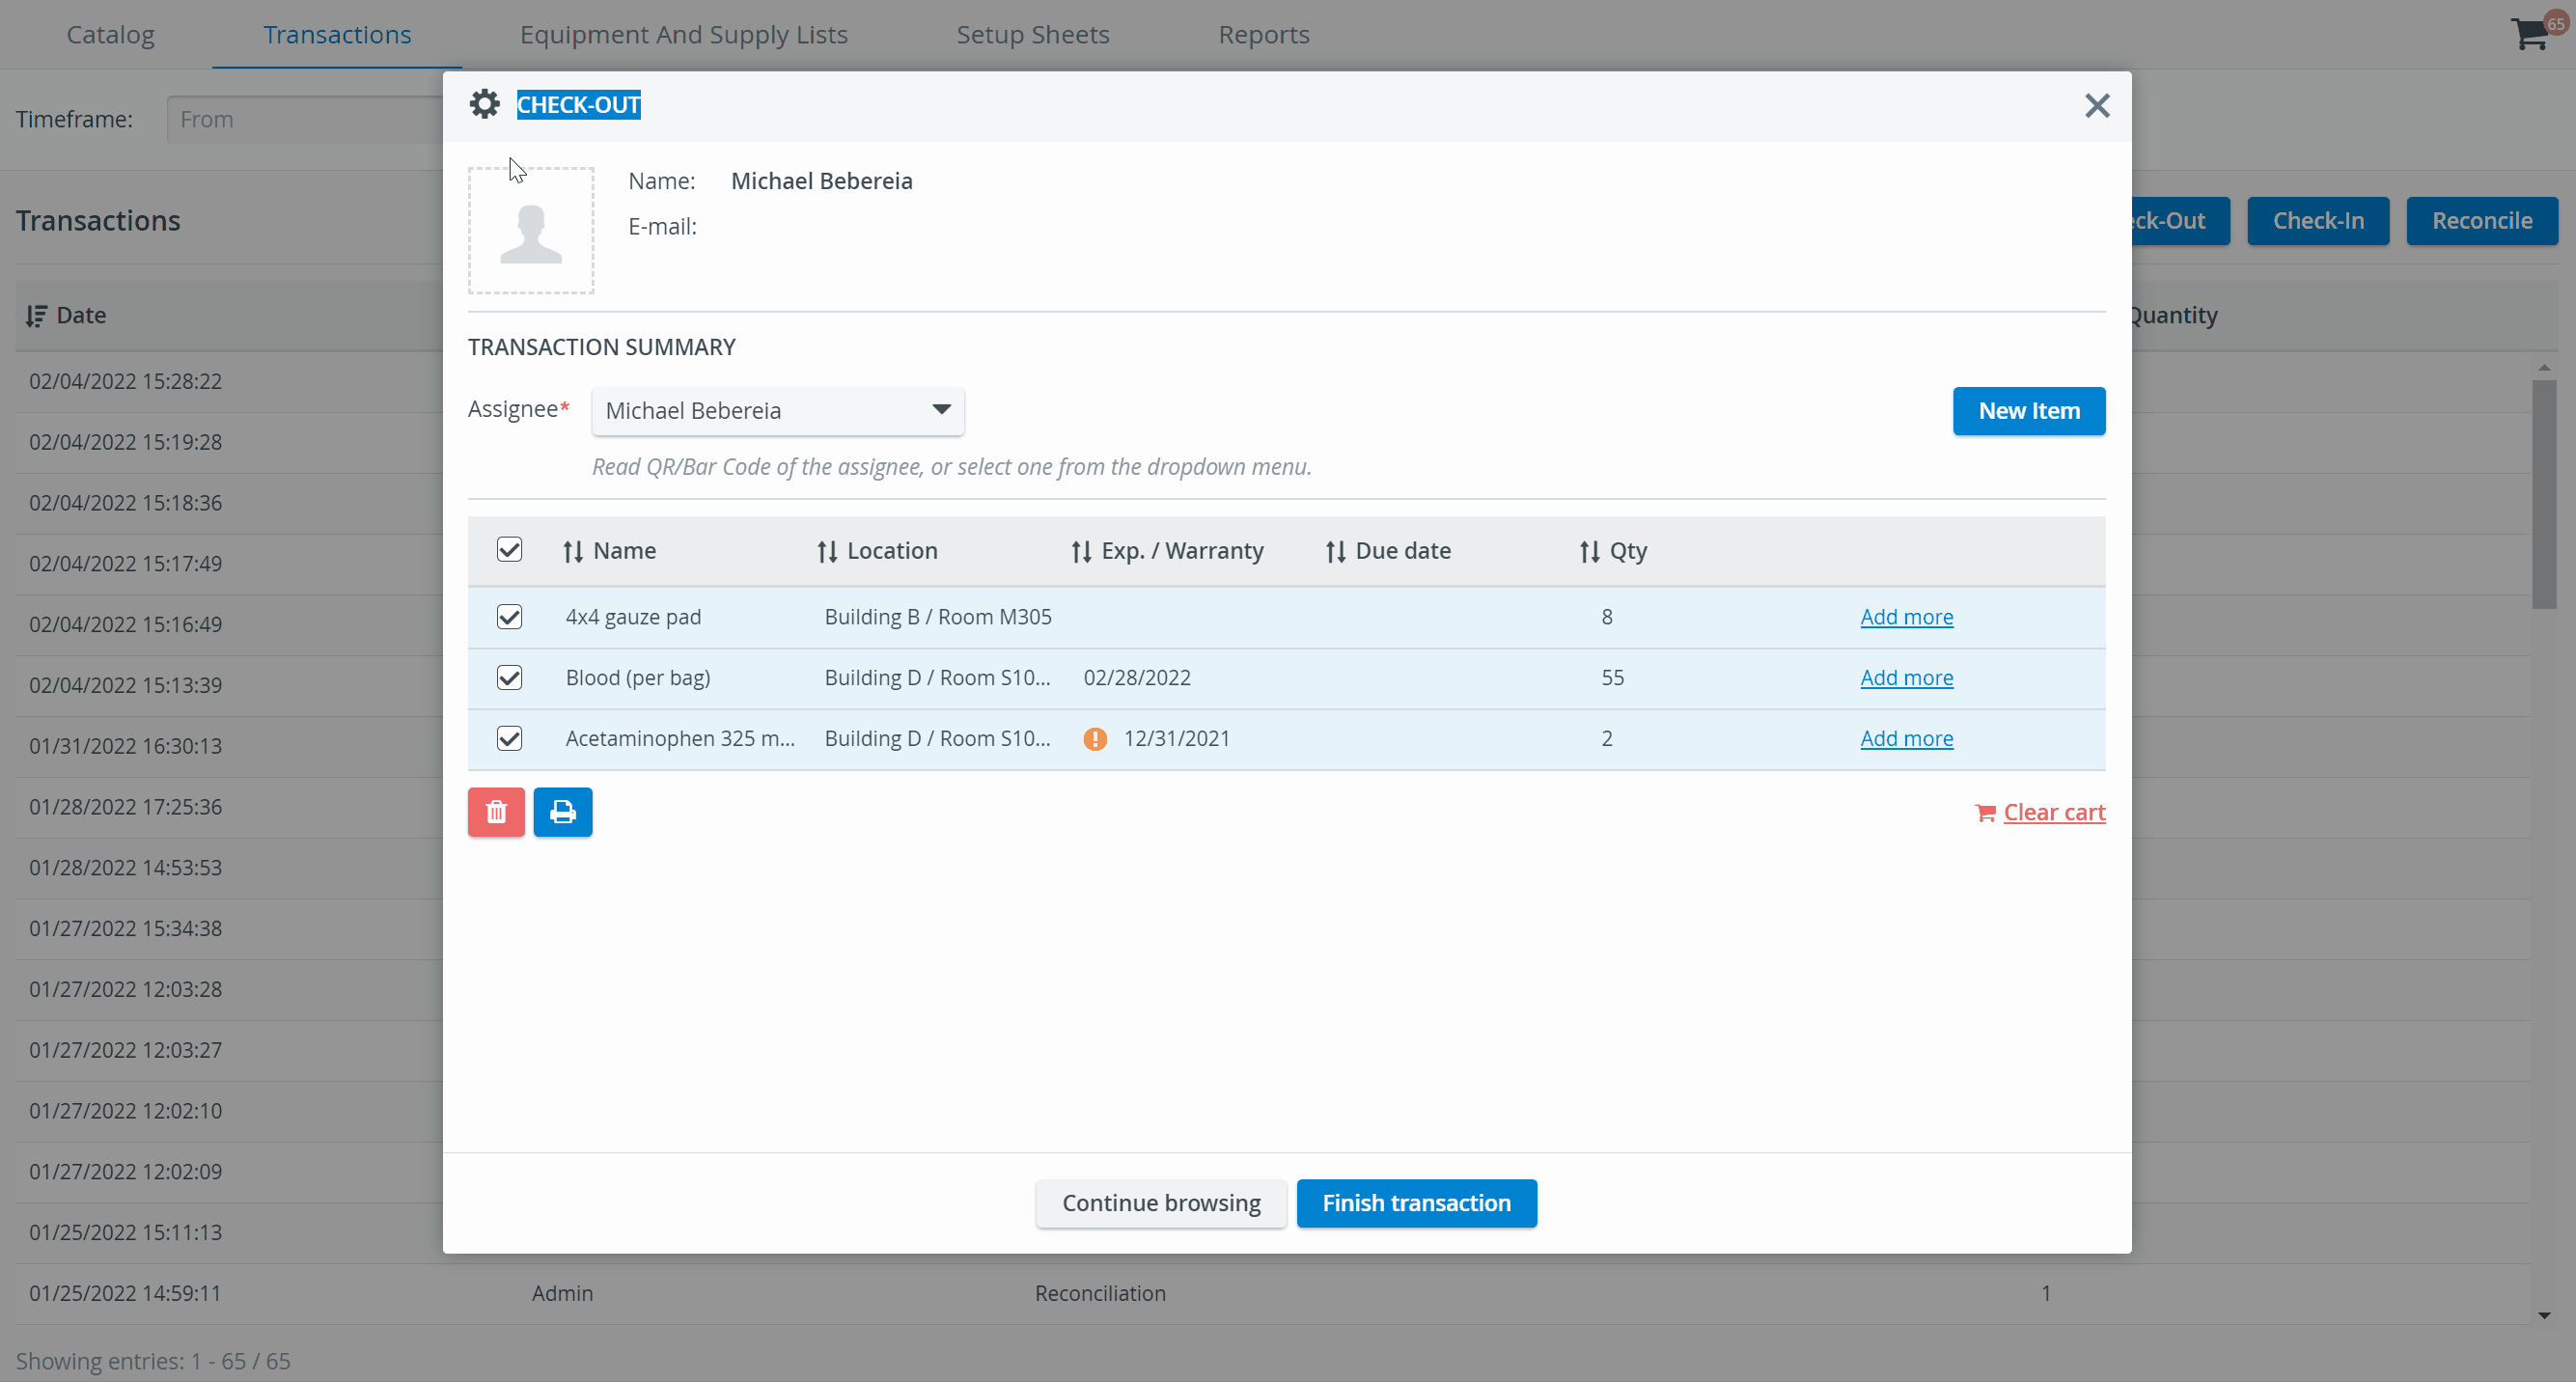
To Finish Transaction, a Transaction Assignee needs to be selected from the 'Select a loanee' dropdown menu of the Transaction Summary page, otherwise, the finishing option will remain inactive.
Start typing the name of the Assignee and select the correct one from the dropdown menu.
Users selecting themselves as Transaction Assignees will see their own names displayed in italic.
For fast identification, simply scan the QR-code of the Transaction Assignee. The Inventory QR-code of a user can be created in the Edit User pop-up.
![]()
Once the cart is complete and the Transaction Assignee is set, the Transaction can be finished.
![]()

Transaction History
Any time you perform a regular Transaction within your cart or perform an instant ('easy') Transaction inside the Item List tab of an item, an entry is being created in the Transactions tab.
When double-clicking on a Transaction, further details like storage location, expiry date, the reason for reconciliation, or warranty are displayed.
![]()
Reconciliations can only be performed by users with Administrator or Inventory Manager (full control) privileges. The Transaction Assignee option does not need to be enabled for these users.
The name of the user performing the Reconciliation is displayed in the Transaction Summary window and the Assignee/Select Loanee option is not available here. See more at Reconciliation.
See more details on the Transaction History under Transactions.
Learn more about the Inventory Manager on our Inventory - How to pages, and watch the Inventory Manager Training Videos.
Overview
Content Tools