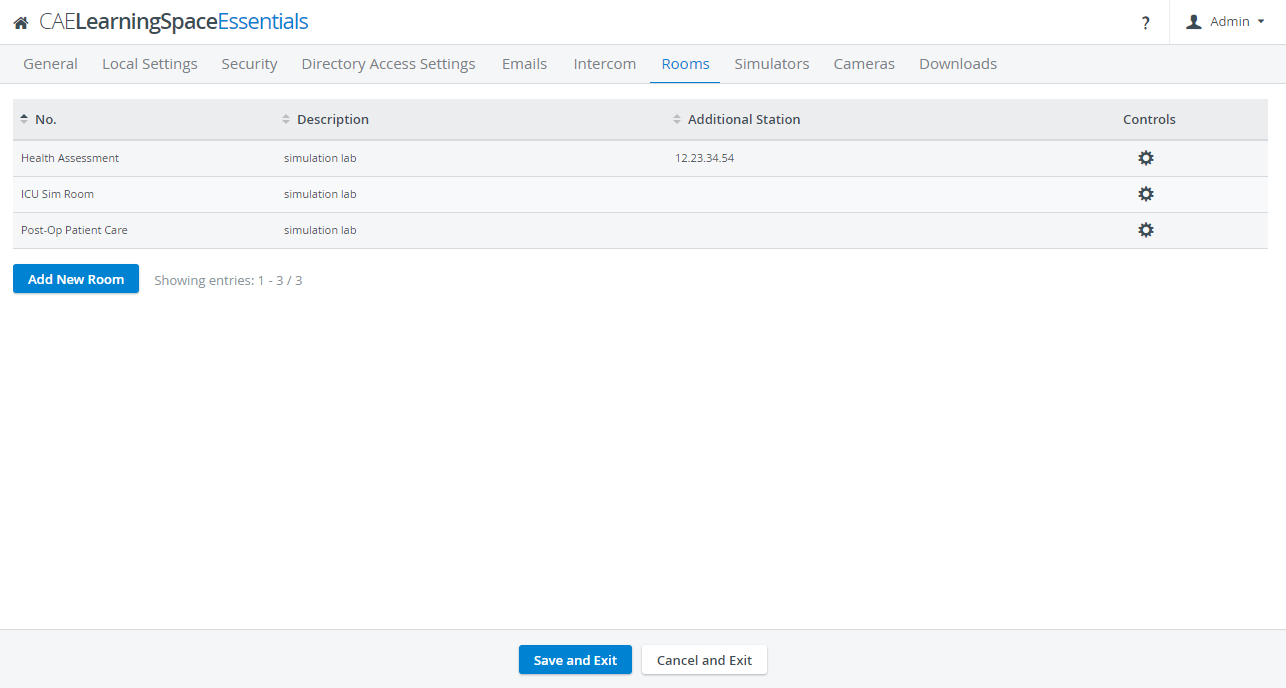
On the Rooms tab, rooms can be added, modified or deleted.
New room can be added by clicking the Add New Room button then typing in the number/ name and description of the room in the corresponding fields of the prompted pop-up.
All the available rooms are listed, with their editable settings accessed by clicking the cogwheel icon in the Controls column. The icon opens the Room Settings pop-up where all devices can be assigned to the room, including cameras, manikin, and intercom device.
Learn more about How to set up a new room in LearningSpace here. |
Room Settings pop-up
The pop-up can be opened by clicking the cogwheel next to the desired room and allows for the specification of the following settings:
- Room no.: either a number or a name by which the room is to be distinguished
- Room description: the type of the room (e.g. simulation lab, skills lab, auditorium etc.)
- Separate In-Room Intercom device: device located in the simulation area for transmitting intercom announcements
- Separate Facilitator Intercom device: headset for transmitting intercom announcements directed to the facilitator
- Simlog uploader station: adding a computer used for uploading simulator logs to LearningSpace
- Simulator: selecting one of the available simulators located in the room
| IMPORTANT: Once a simulator is assigned to the room, the 4th camera slot is reserved for the patient monitor. |
- Camera #1-4: assigning a maximum number of 4 configured cameras
- Send to Screen target device #1-2: for selecting display devices for Send to Screen function
- Record control: assigning a tactile REC button to the room (which is physically located in the room and can be pressed to start a recording)
