The Center Overview (CO) may consist of more than one room tabs - displayed on the right side of the header - including one or more room panels. The number of rooms on each tab is indicated in parentheses. Rooms can be relocated from one tab to another, but cannot be copied.
![]() Room tabs can be added by clicking the + icon or deleted by clicking the X of the given tab.
Room tabs can be added by clicking the + icon or deleted by clicking the X of the given tab.
To create custom tabs, use + in the right side of the header and drag & drop the rooms to your new tab.
Users can create multiple tabs and customize them in Center Overview (CO). Each newly created layout will be saved in the user profile for next time, so users can return to any of their custom tabs at any time. If not needed anymore, a custom tab can be deleted.
IMPORTANT: Only room tabs that do not contain any room panel can be deleted.
Custom tabs can be deleted after they are emptied. To empty a custom tab, drag & drop every room to another tab.
Custom tabs can be deleted after they are emptied. To empty a custom tab, drag & drop every room to another tab.
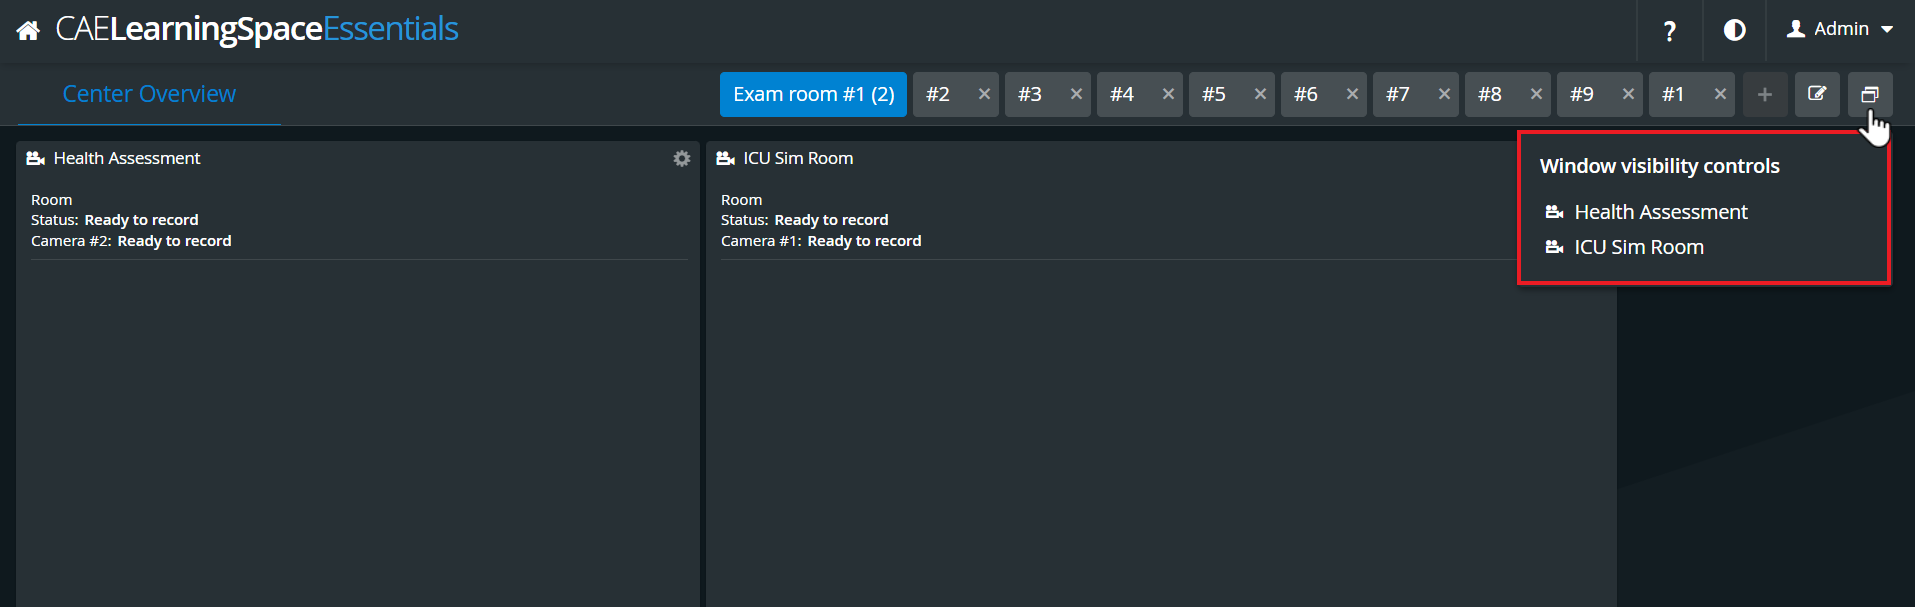
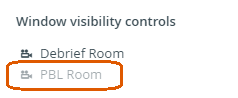
Window visibility controls
In the Window visibility drop-down, rooms can be selected to be displayed (active state) and de-selected (greyed out) to be hidden on the Center Overview page.
The CO can be customized insofar as hiding or sending desired room panels to full screen by clicking the cogwheel in the top right corner of any room panel, then clicking the respective icons.
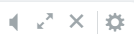
![]() Toggle Audio on/off: The audio of a particular camera can be turned on or off
Toggle Audio on/off: The audio of a particular camera can be turned on or off ![]() by clicking the audio icon in the top right corner of the camera panel.
by clicking the audio icon in the top right corner of the camera panel.![]() Full screen icon: Clicking the full screen icon in a camera panel displays the camera feed in full screen mode. Use the
Full screen icon: Clicking the full screen icon in a camera panel displays the camera feed in full screen mode. Use the  button in the lower left corner or the Esc button to exit full screen mode.
 ![]() Close window: Clicking this icon closes the camera panel which can be re-opened again by changing room tabs.
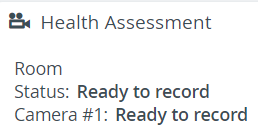
Close window: Clicking this icon closes the camera panel which can be re-opened again by changing room tabs.![]() Room and Camera status: Clicking the Camera icon in the upper left corner of a camera panel displays the Room and Camera status window:
Room and Camera status: Clicking the Camera icon in the upper left corner of a camera panel displays the Room and Camera status window:
Audio can only be turned on for one room at a time. Simultaneously, all the other rooms get muted.
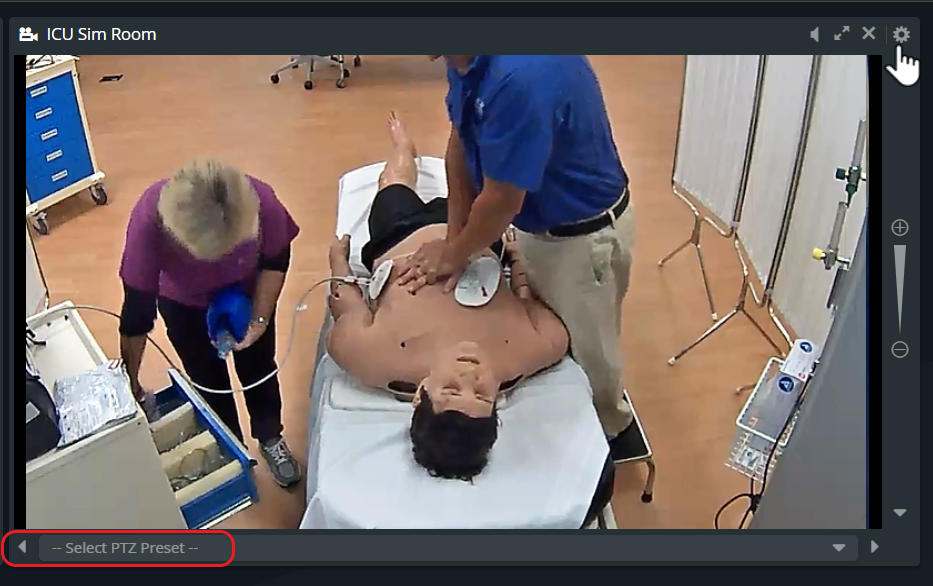
The pan and tilt functions of a PTZ camera can be adjusted by dragging the crosshair towards the desired direction.
The zoom function can be controlled by clicking the plus or minus signs on the right side of the camera panel.
The right or to the left movement/adjustment of the camera can be controlled by clicking the arrows at the bottom of the camera panel (next to "Select PTZ Preset").
PTZ preset: Saving a particular view of a PTZ camera can be done by clicking the Presets drop-down, typing the desired title in the Add new preset field then clicking the plus button. To select an already added view, click its title in the drop-down.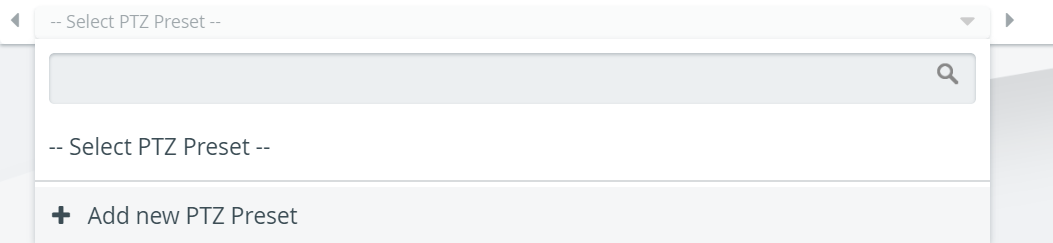
Opening Single Room View (SRV)
By clicking anywhere in the camera panel's header, the Single room view will open.

For more information, see our Practical Recording and Recording - FAQ pages.
Overview
Content Tools