Case Cabinets help organizing Cases and can be structured as parent and child groups.
- Click the Cases icon on the Dashboard screen.

The Case Manager screen appears with the Cabinets and Cases panels. - Click the +New button in the Cabinet panel.
The Cabinet Settings pop-up window appears. - Enter the desired name of the Cabinet in the Cabinet name field.
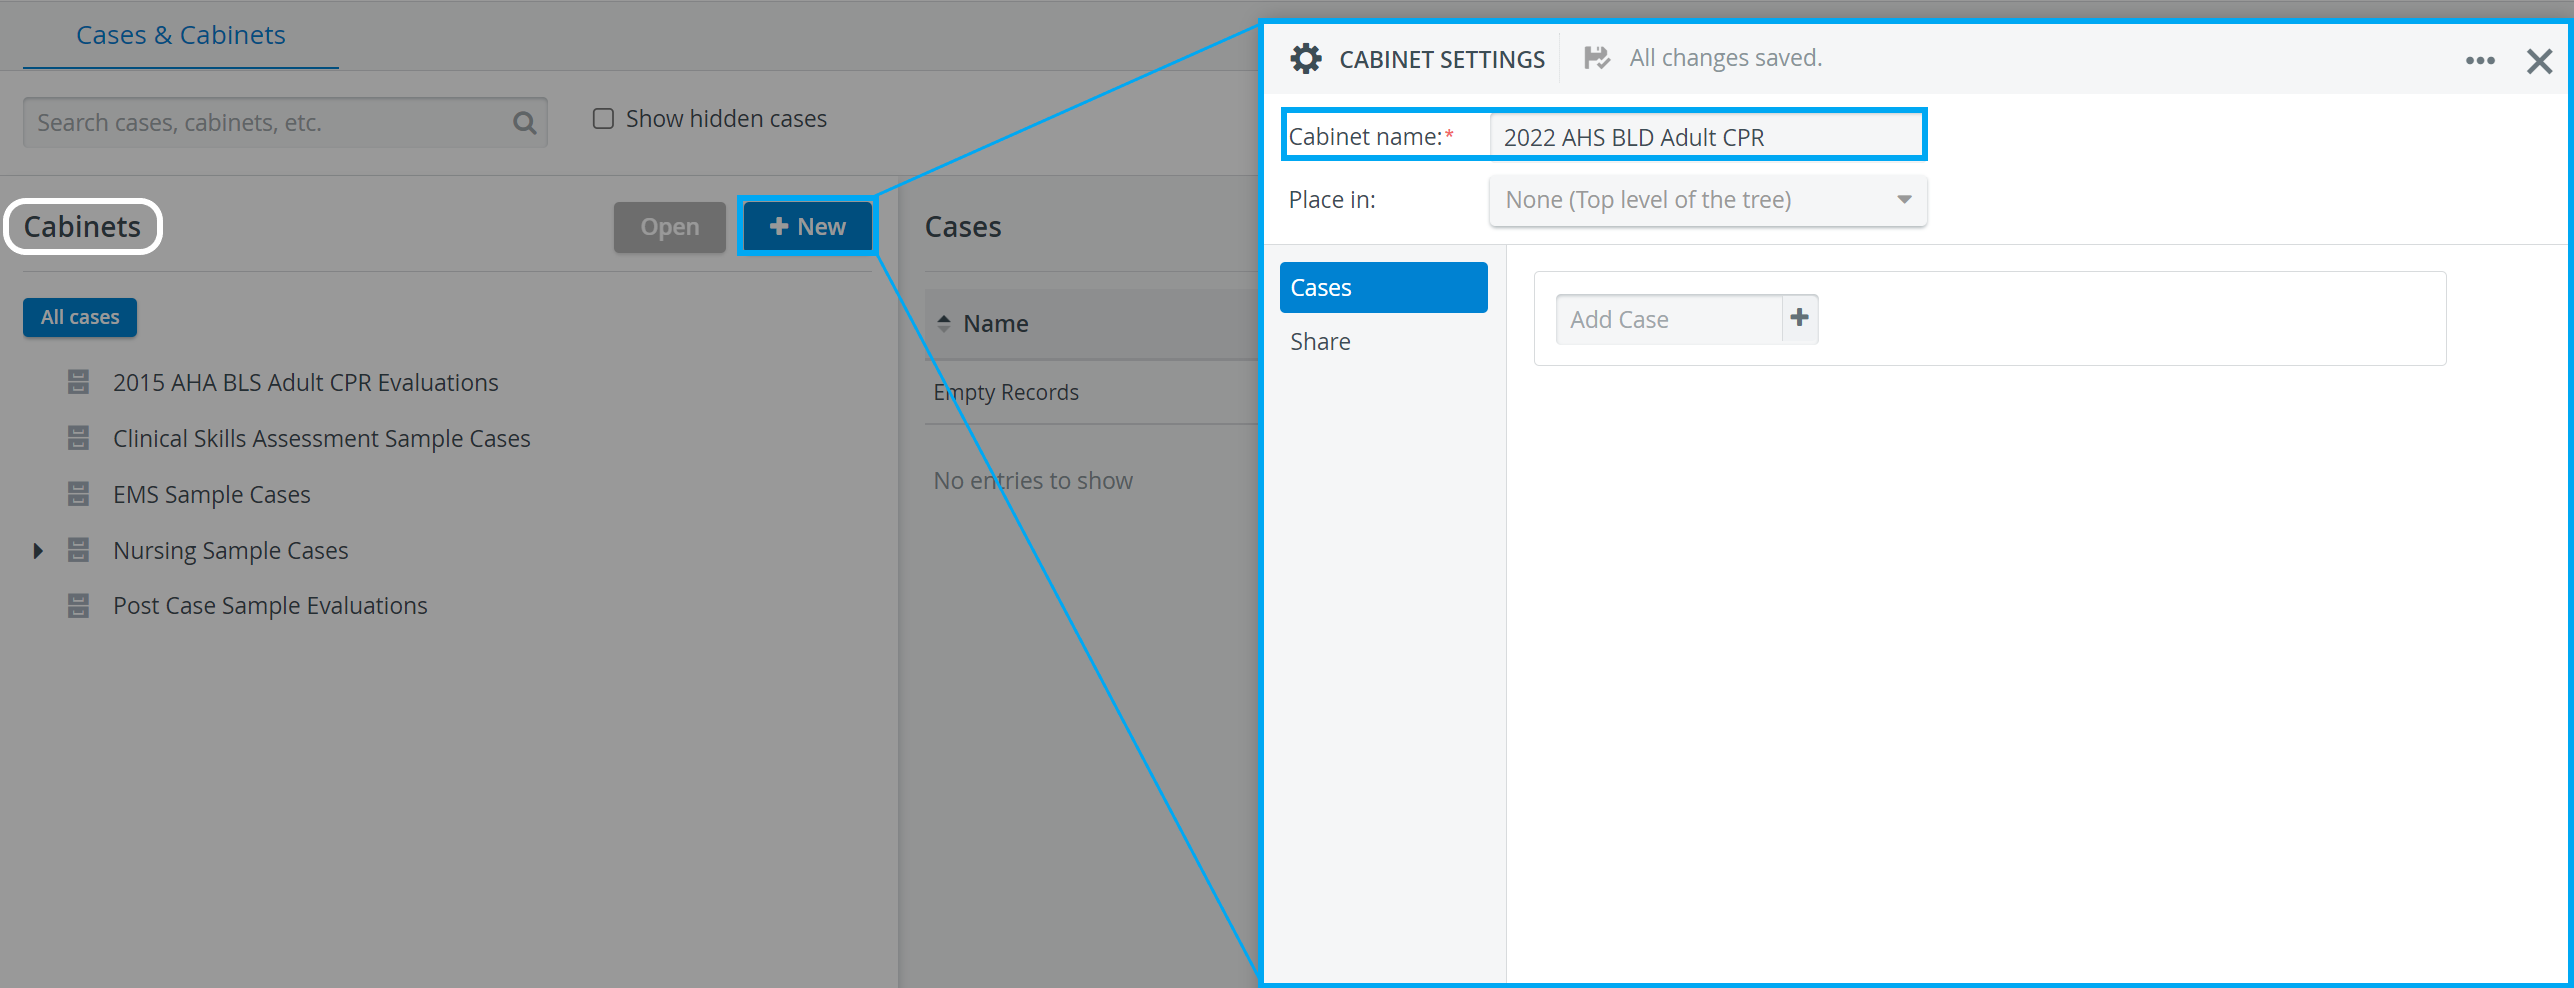
IMPORTANT: Automatic saving of information is only implemented if a Cabinet name is added. Without Cabinet name entered, the Cabinet will not be saved.
4. Select a parent Cabinet, if desired, from the Place in drop-down menu.
5. By default, the Cases tab is open where Cases can be added to the Cabinet. Start typing the title of the Case desired to be added in the Add Case field.
All Cases matching the character combination typed in the field will be listed in a drop-down.
6. Select the desired Case and click it for adding.
7. Click the Share tab to determine access to the Cabinet.
The user creating the Cabinet is automatically added to the Can Read and Write panel, while "Everyone" is added to the Can Read Only panel.
8. Start typing the user or group desired to be added into the Add... field of the relevant panel.
9. Select the desired hit from the drop-down list generated by the system based on match to the typed-up search.
10. To remove a member, click the X in its field.
11. To remove all members, click the red trash bin icon in the bottom right corner of the panel.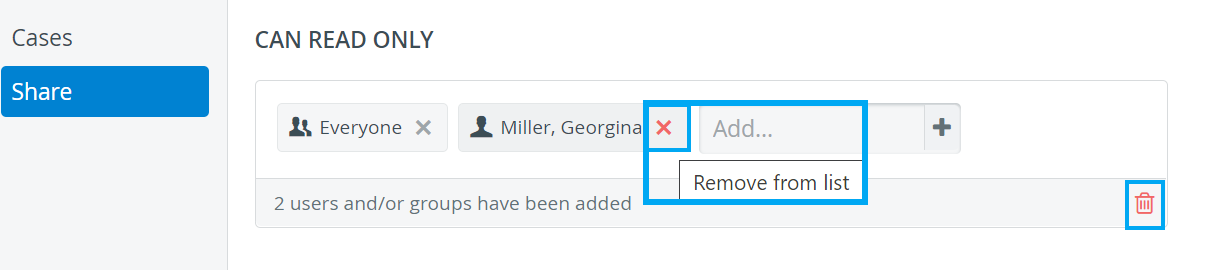
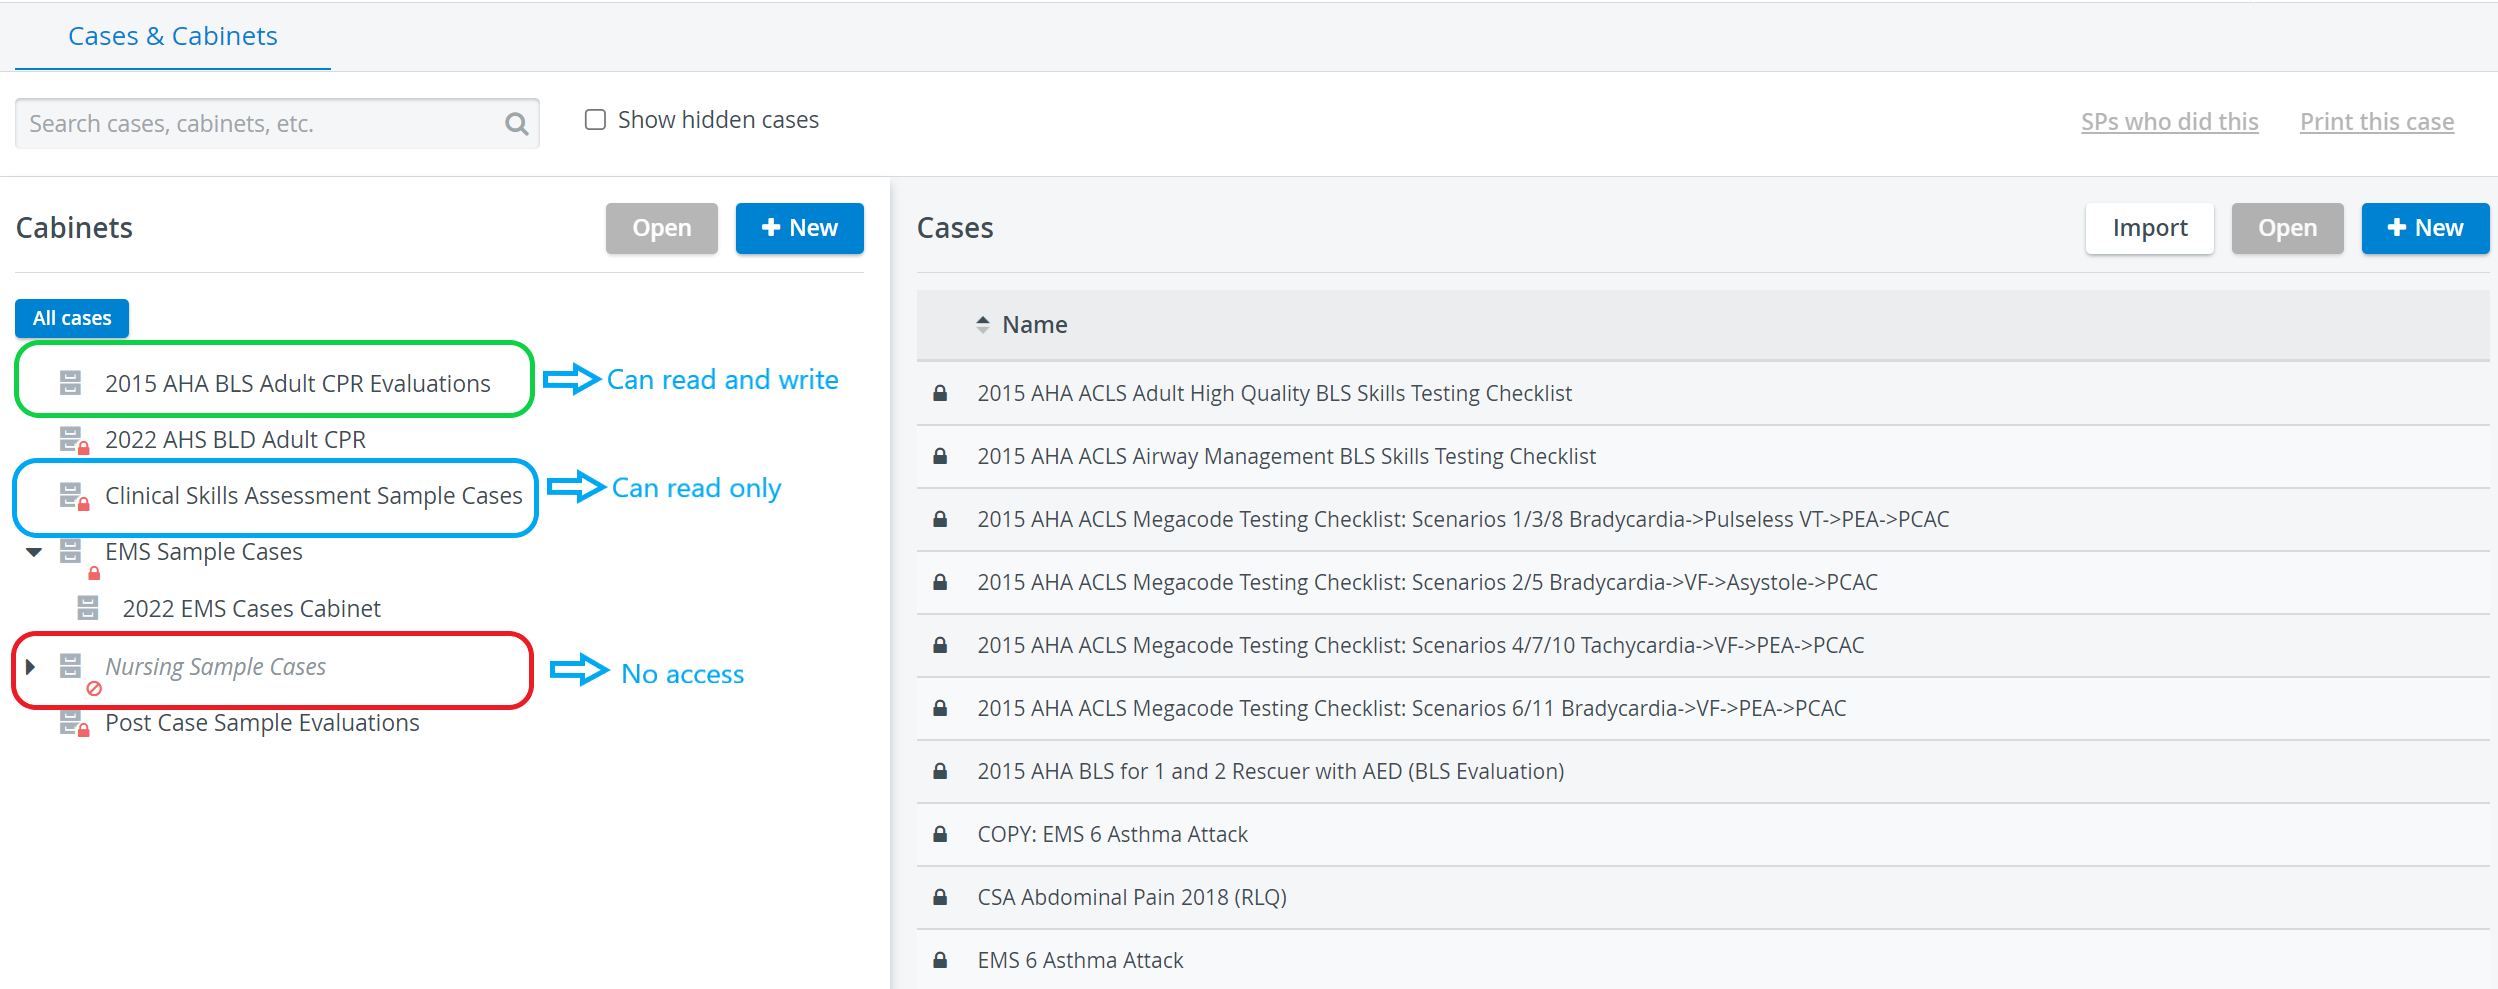
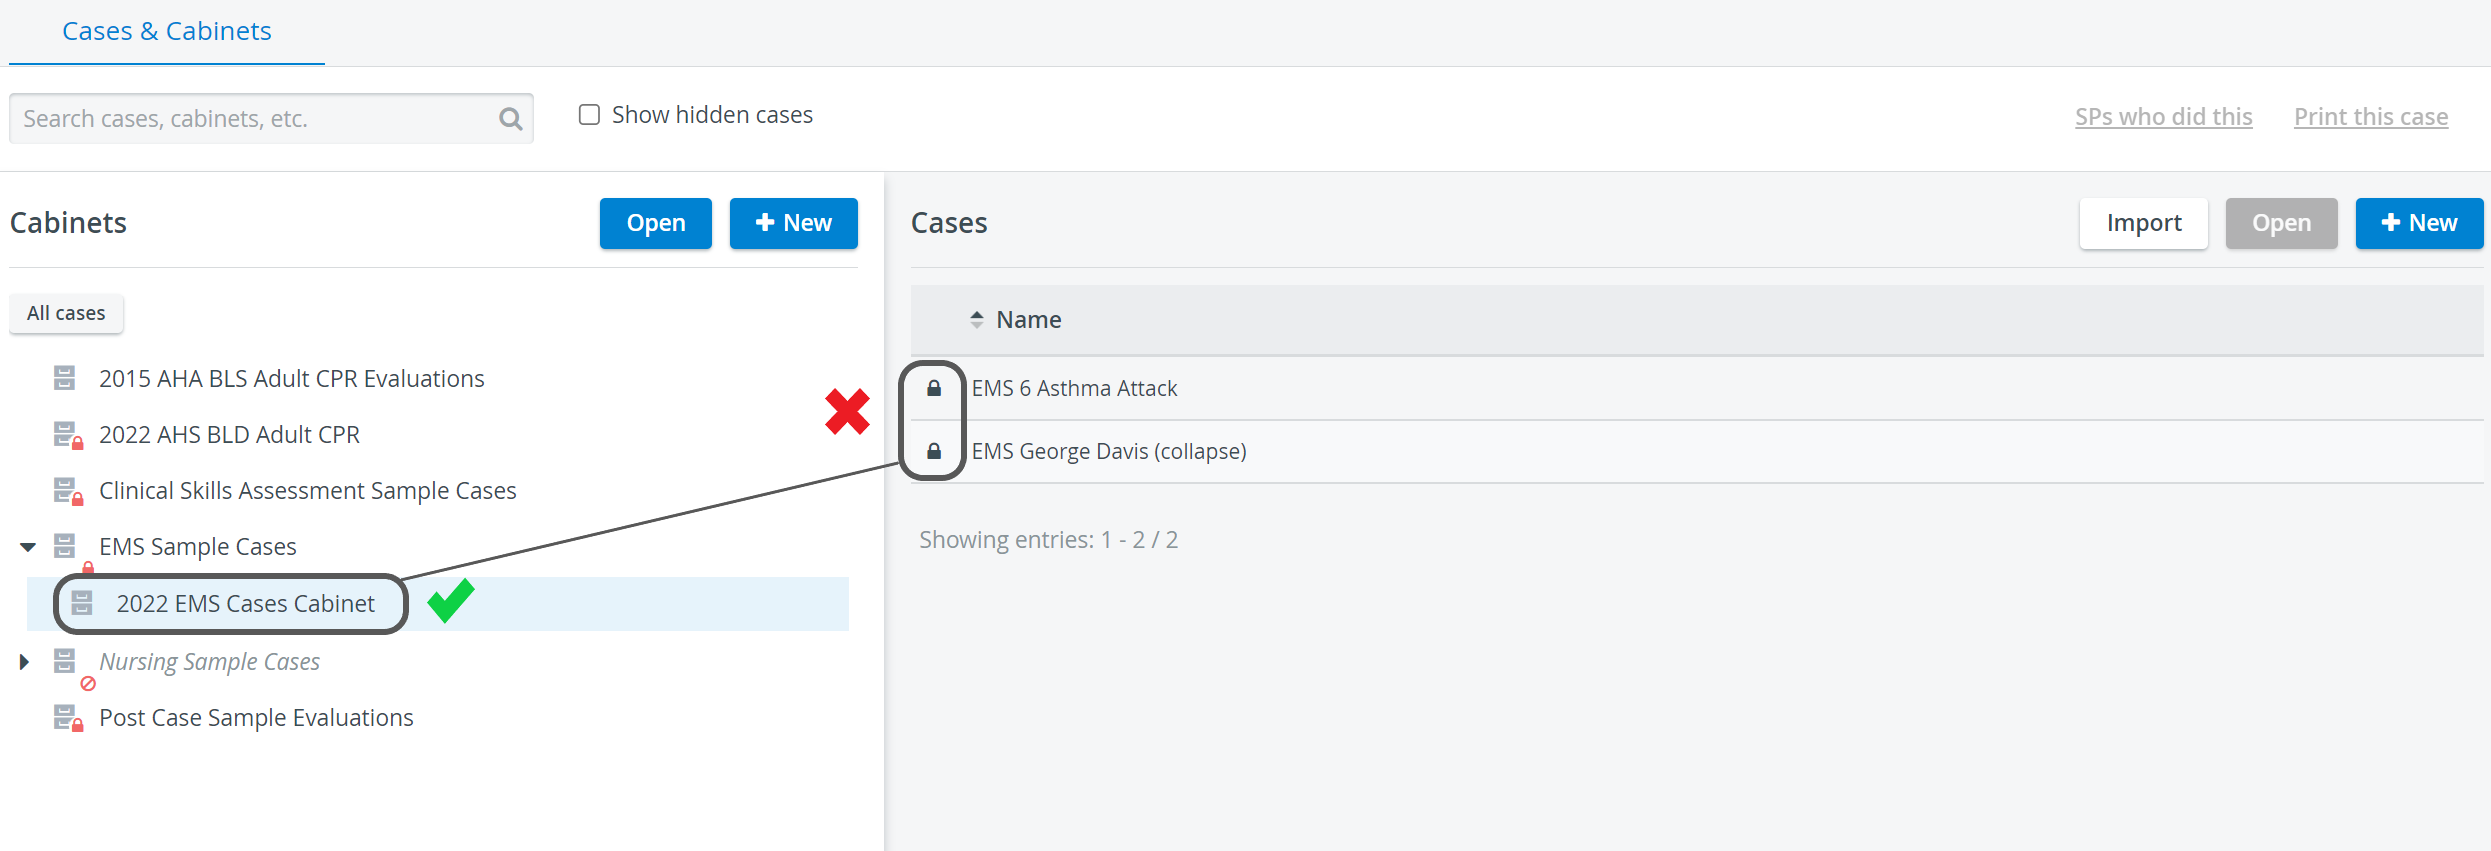
If a user has Read Only access to a Cabinet, it is indicated with a padlock icon-index at the Cabinet node  in the Cabinets panel on the Cases & Cabinets screen.
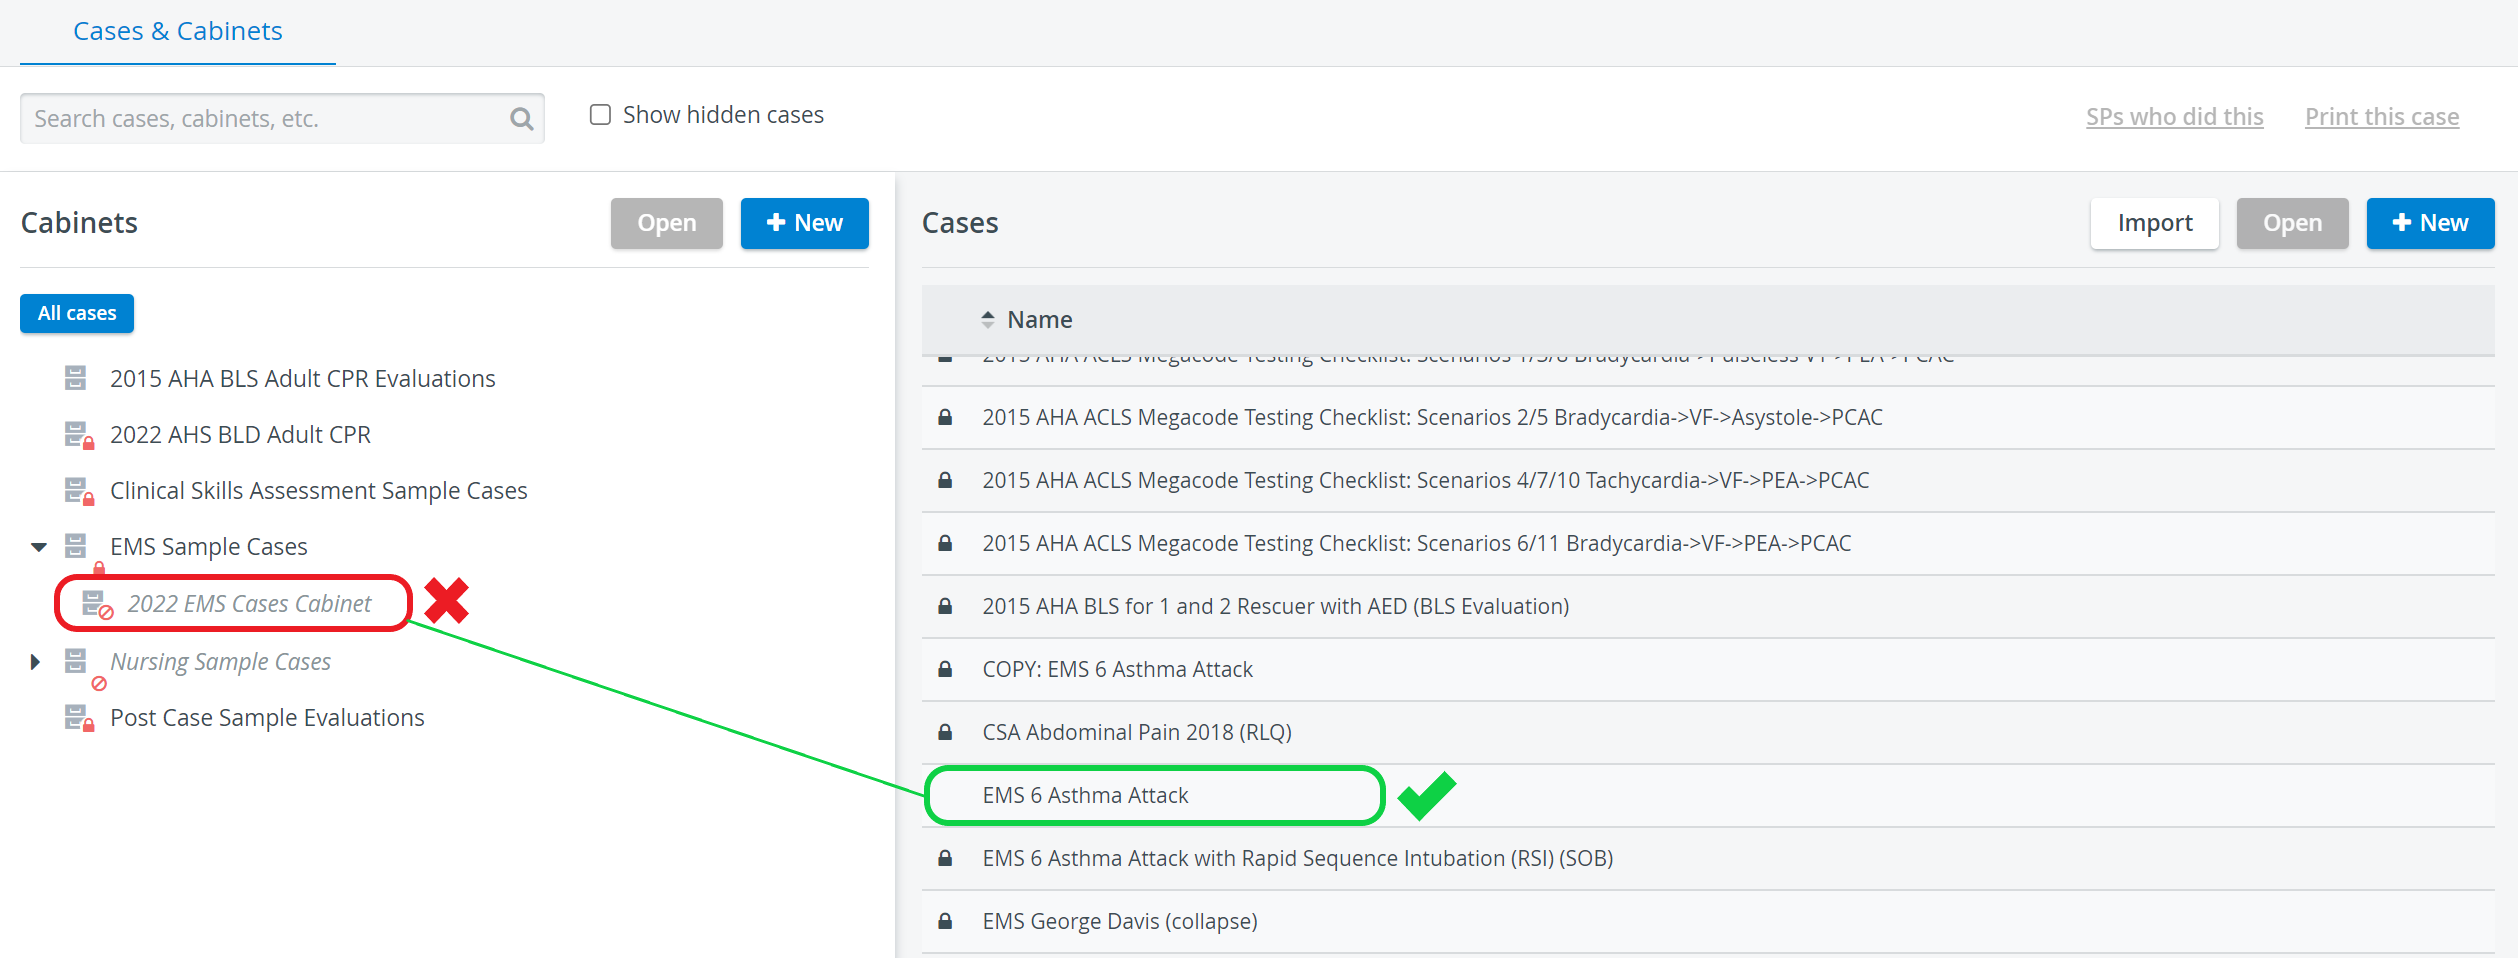
If a user has no access to the Cabinet, the Cabinet is listed grayed and is indicated with a none icon-index at the Cabinet node.
If a user has no access to the Cabinet, the Cabinet is listed grayed and is indicated with a none icon-index
Providing read and write access to a Case Cabinet allows users to edit the Cabinet shared with them. However, it does not automatically grant access to the Cases included in it.
Read and write access to the Cases needs to be granted on Case-level (see Share tab of Edit Case).
Once access has been granted to a Case, the affected user can access it even if they have no access to the Cabinet containing it.
12. Close the window when finished, any change will be saved automatically.
For further information, visit our Case Manager and Cases - How to pages, or watch our Case Manager Training Videos.
Overview
Content Tools