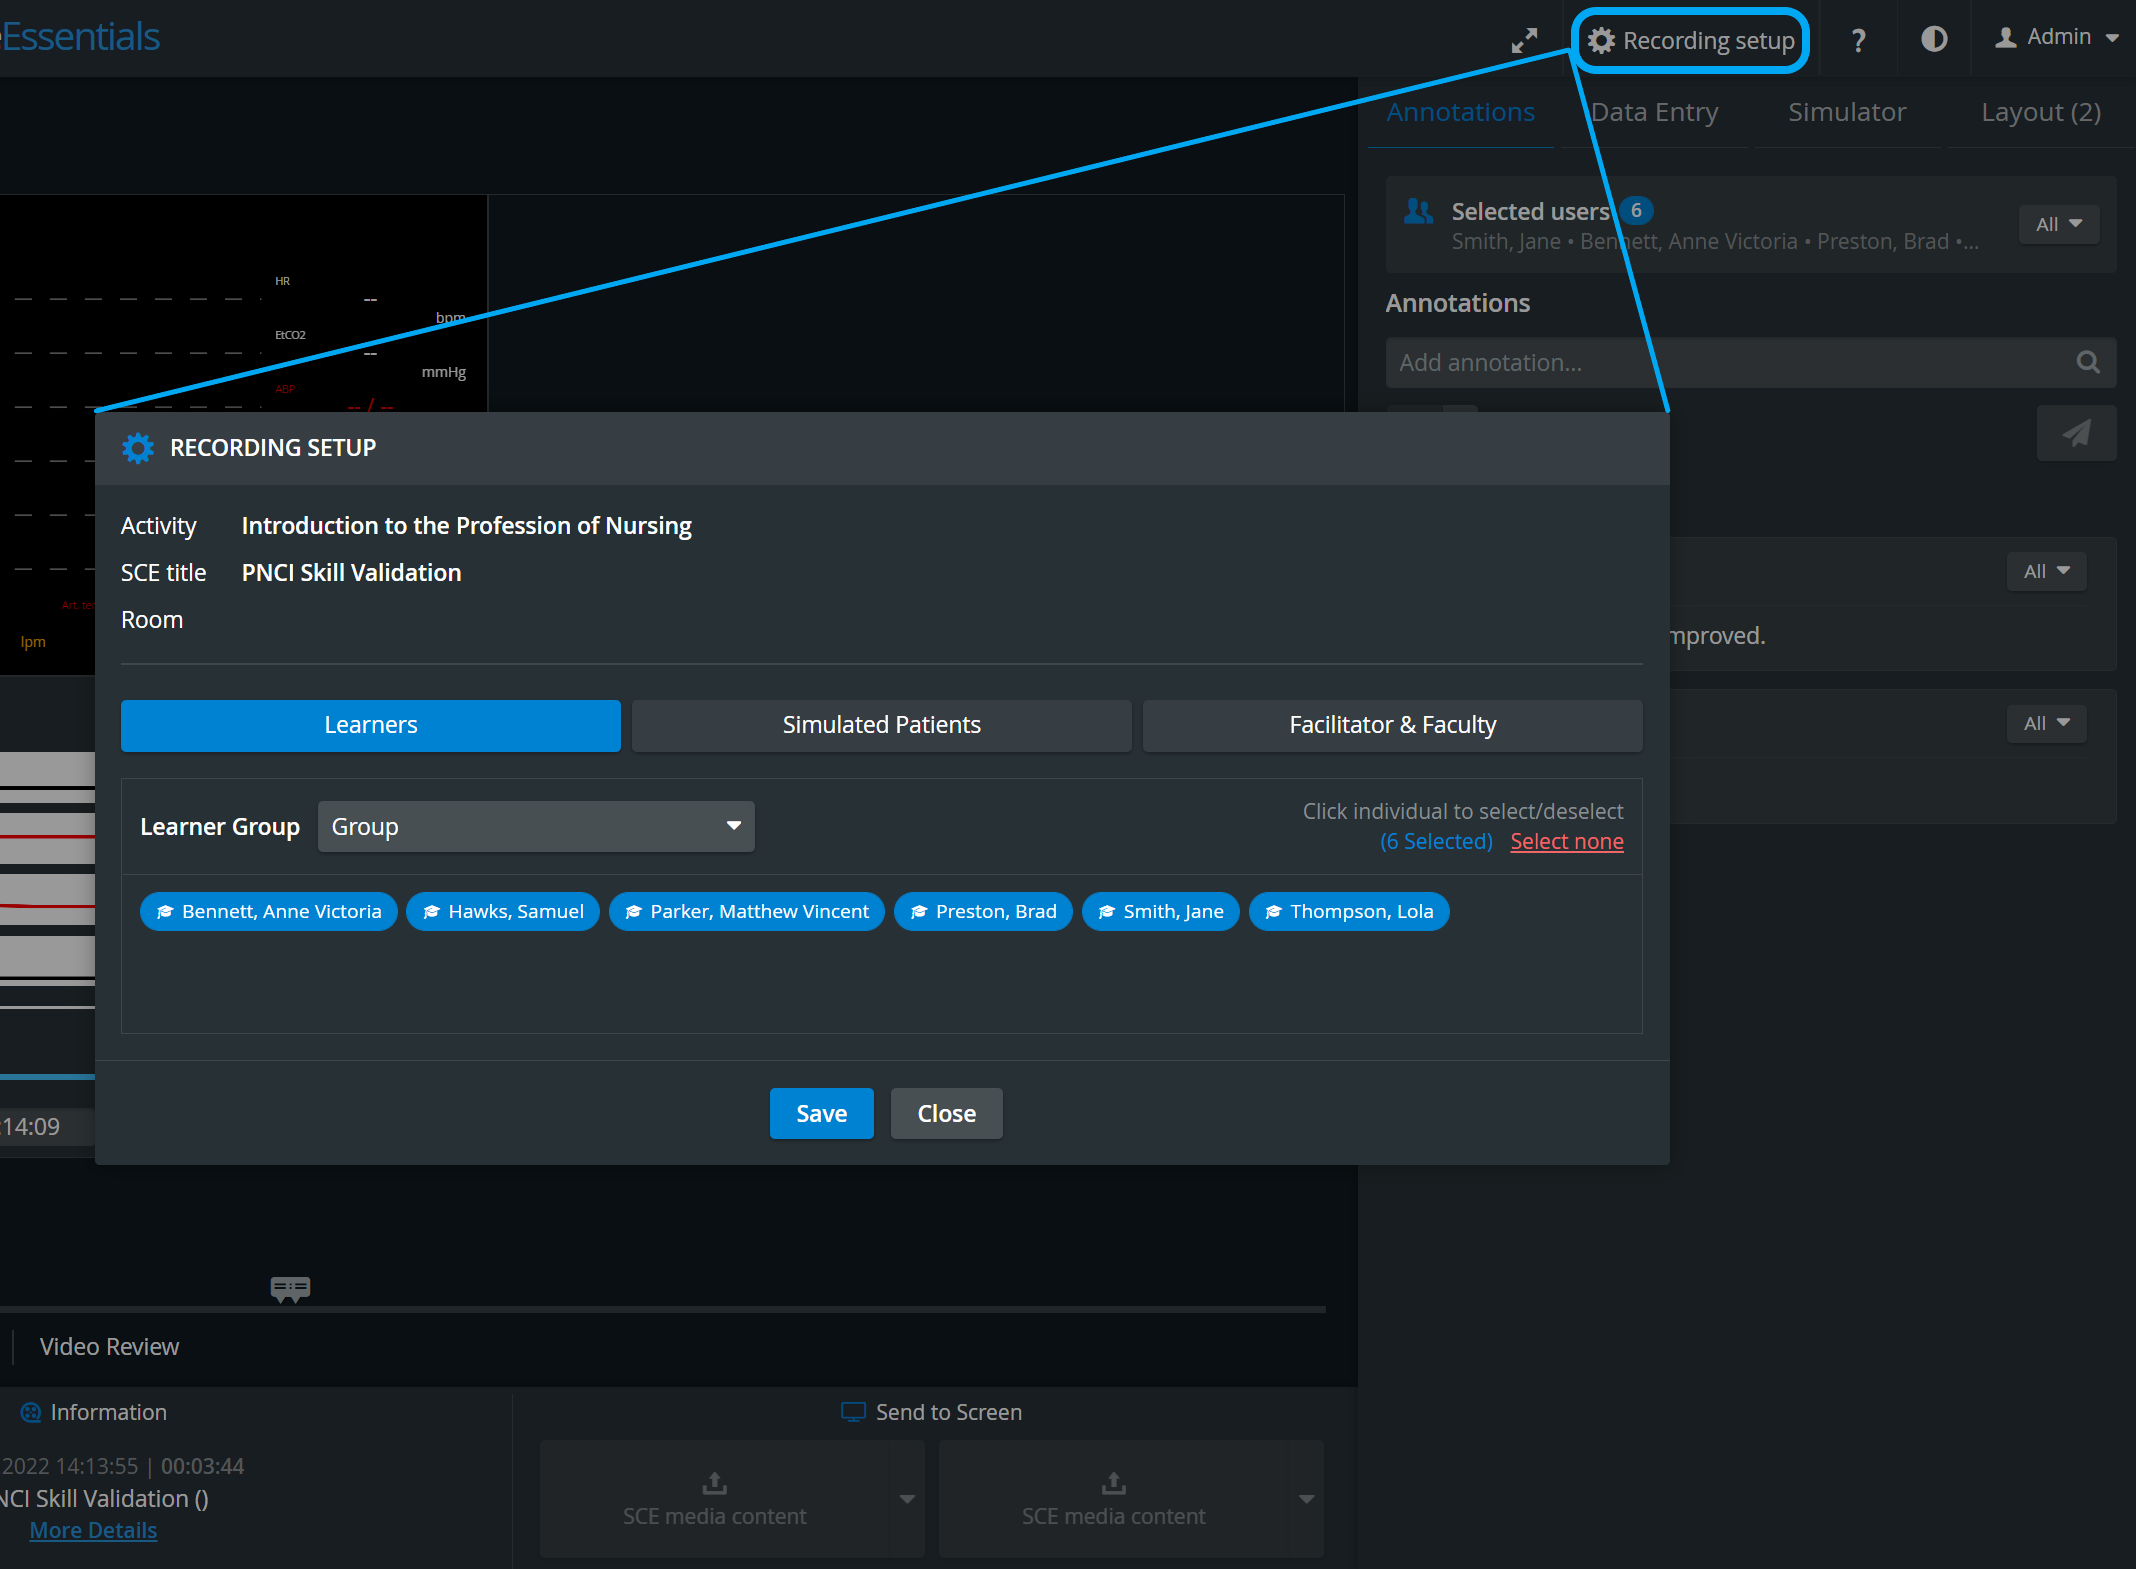
Page tree

Versions Compared

Key

  • This line was added.
  • This line was removed.
  • Formatting was changed.

Preliminary Setup

System Manager: The desired camera(s) and simulator have to be assigned to a specific room.

warning

Process Flow

Entering the desired SRV via the CO:

  1. Click the intended room panel.
  2. Add participants via the Recording setup.

    Image Added


    Note
    IMPORTANT:
 As no
  1.  No modification is allowed during recording, therefore after clicking the REC control,
and
  1. participant groups or SCE
cannot
  1. can only be assigned to a completed (saved) video recording
, assign all desired data before starting the recording!

Process Flow

Entering the desired SRV via the CO:

  • Click the intended room panel.
  • Add participants via the Recording settings
    1. in the Video Review module.


    2. Start the recording by clicking the REC

     button
    1. Image Addedbutton.

      Tip
    TIP: 
    1. Adjust camera feed if necessary.
    See SRV Screen Layout
    1. See the relevant description about adjusting a camera.


    2. Add annotations in the corresponding panel.
    3. Send intercom announcements or push content to connected monitors.
    4. Click the Stop button to end the recording.


    Entering the desired SRV via the Dashboard:

    1. Click the cogwheel icon in the Recording tile on the Dashboard.
    2. In the Start Recording pop-up window, click the Room for recording radio-button and select the desired room from the drop-down.
    3. Add participant groups via the relevant tab of participants.
    4. Click the Go to recording button to enter the SRV of the selected room.
    5. Start the recording by clicking the REC button.

      Tip
      TIP: Adjust camera feed if necessary
    . See SRV Screen Layout
    1. . See the relevant description about adjusting a camera.


    2. Add annotations in the corresponding panel.
    3. Send intercom announcements or push content to connected monitors.
    4. Click
    the 
    1. the Stop
     button
    1. button to end the recording.

     The Push-Button Functionality

    This feature allows a physical button (Push-button) to be used

    1. to start and stop video recording for a specific room;
    2. to control  Privacy mode (turn off camera feeds manually). When Privacy Mode is ON, no one can see through the camera feeds into the room, so complete privacy ensured. The cameras will be blocked until  Privacy Mode is turned off.

      Image Added

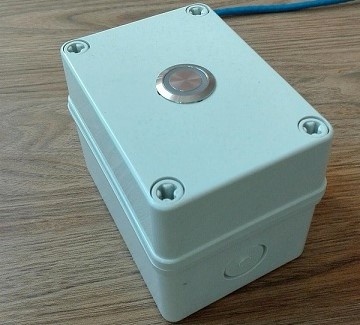
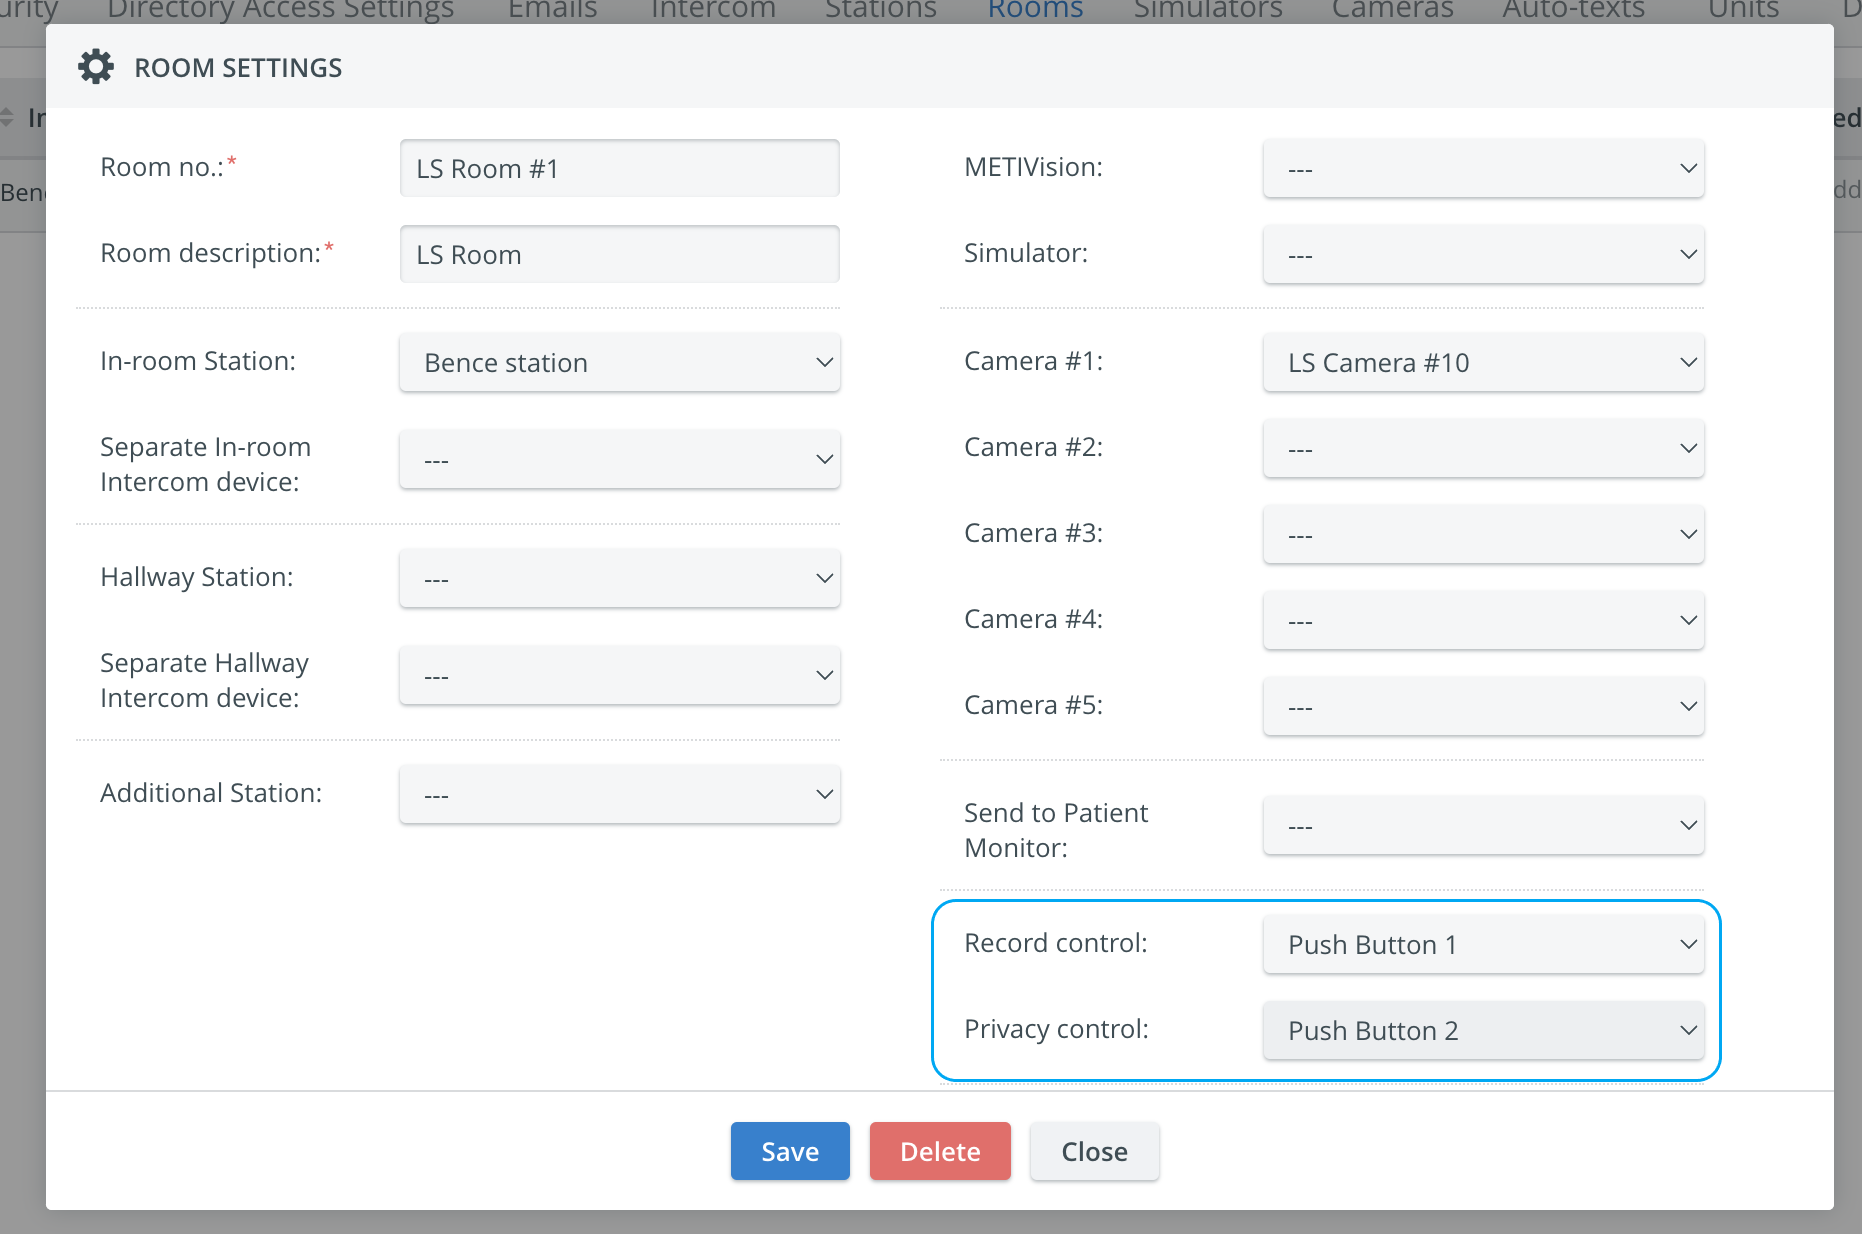
    Once a Push-button has been connected to a DAK (Digital Audio Kit) physically, and the DAK is configured on the Cameras tab, it can be selected as a

    • Record control device
    • Privacy control device

    from the following two drop-downs of the Room Settings pop-up:

    Image Added

    Info

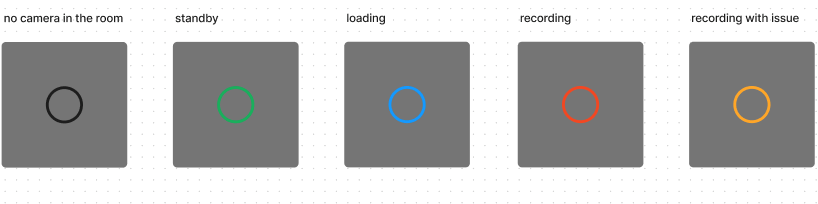
    Light indication colors of the Push-Button functioning as a Record control button have the following statuses:

    Image Added

    Light indication colors of the Push-button functioning as a Privacy control button change according to the following statuses:


    Image Added

    Tip

    For further information visit our Recording Module and Recording - FAQ pages