Page History
| Warning | ||
|---|---|---|
| ||
This feature is to be used with in-campus audiovisual (AV) inputs. Hence, it is not available for CAE LearningSpace Enterprise Lite, as the solution is used for web-conferencing-based virtual simulation encounters only. To unlock this feature, please upgrade to the CAE LearningSpace Enterprise solution. |
- Access the Center Overview screen.
- Click the Record Control tab located on the left-hand side of the screen to view the Record Control panel.
The Record Control panel appears. - Select the room you want to record in from the Room drop-down.
| Info |
|---|
| All rooms on the actual tab or all rooms on all tabs can also be selected. |
4. Select Activity, Case, and Learner from the drop-downs.
| Note |
|---|
| The Use room settings option uses the relevant setting as specified in the Activity Scheduler. If there is no scheduled Activity, the RNSA - as set on the Rooms tab of the System module - will be applied. |
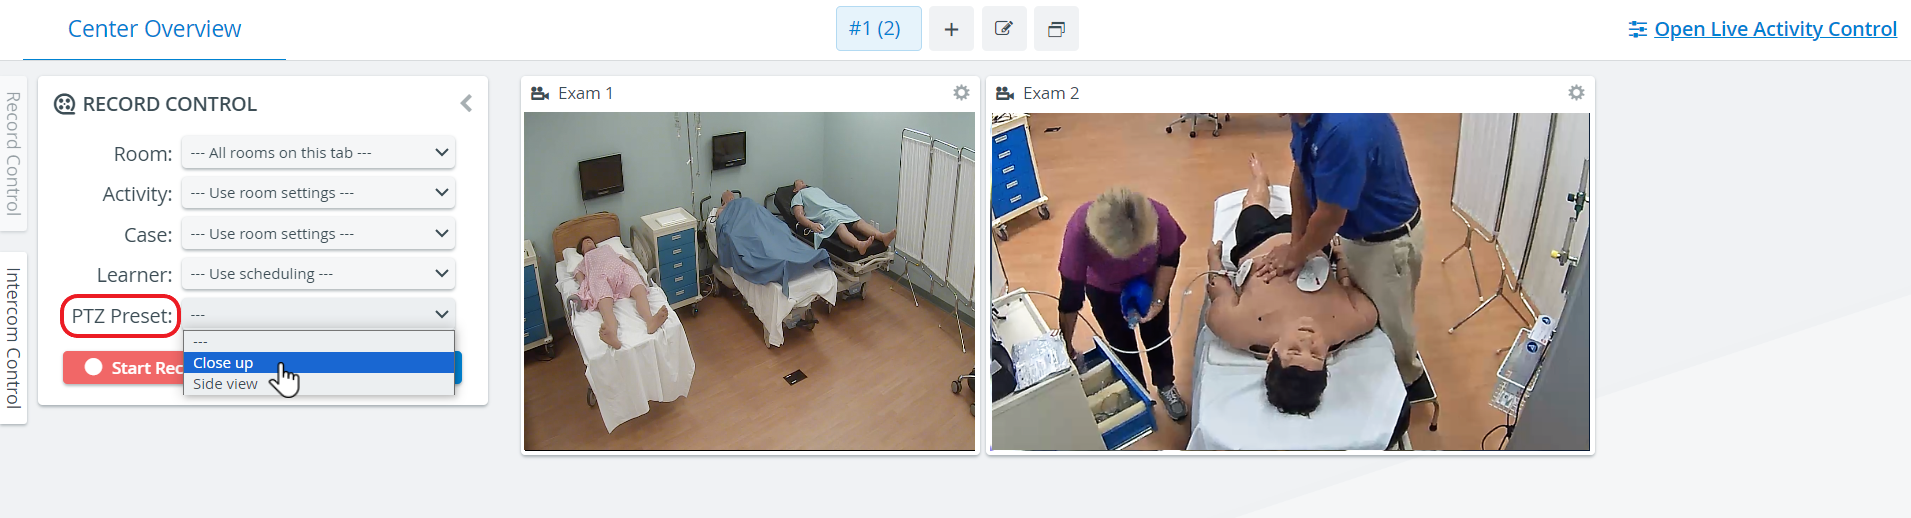
5. Select a PTZ Preset position to set all the cameras that have that preset in that position.
See more at Pan-Tilt-Zoom - PTZ - functionalities.
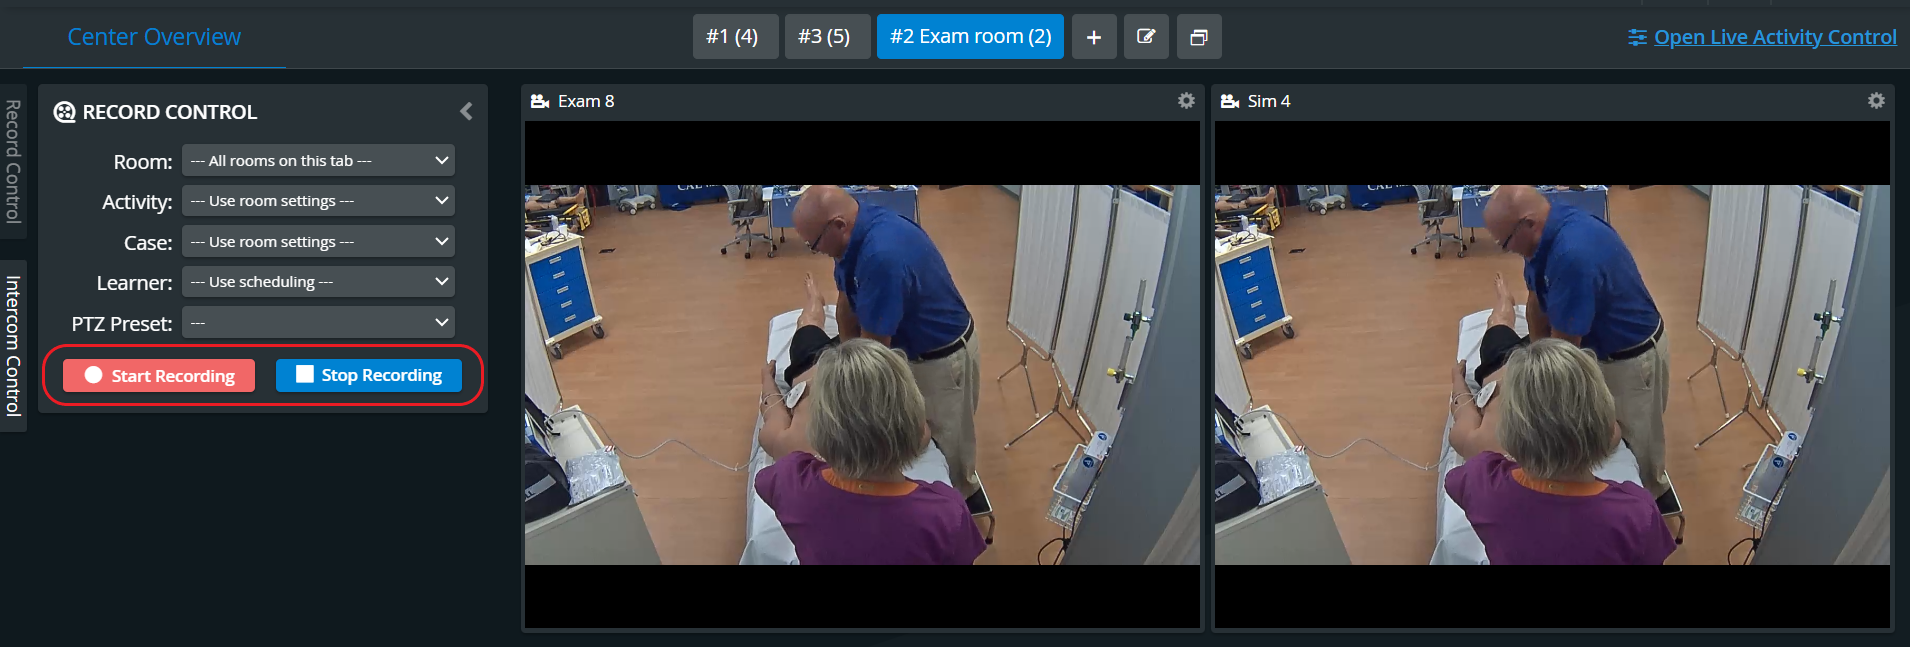
6. Click Start Recording to start recording.
| Tip |
|---|
| A red dot appears on any room panel preceding the room name to indicate that room is actively recording. |
7. Click Stop Recording to stop recording.
| Tip |
|---|
| Close the Record Control panel by clicking the Hide arrow. |
| Tip | ||
|---|---|---|
| ||
For more information, visit our Recording Module and Recording Module Training Video pages. |
Overview
Content Tools