Important Note for Enterprise Lite Users
This feature is to be used with in-campus audiovisual (AV) inputs. Hence, it is not available for LearningSpace Enterprise Lite, as the solution is used for web-conferencing-based virtual simulation encounters only. To unlock this feature, please upgrade to the LearningSpace Enterprise solution.
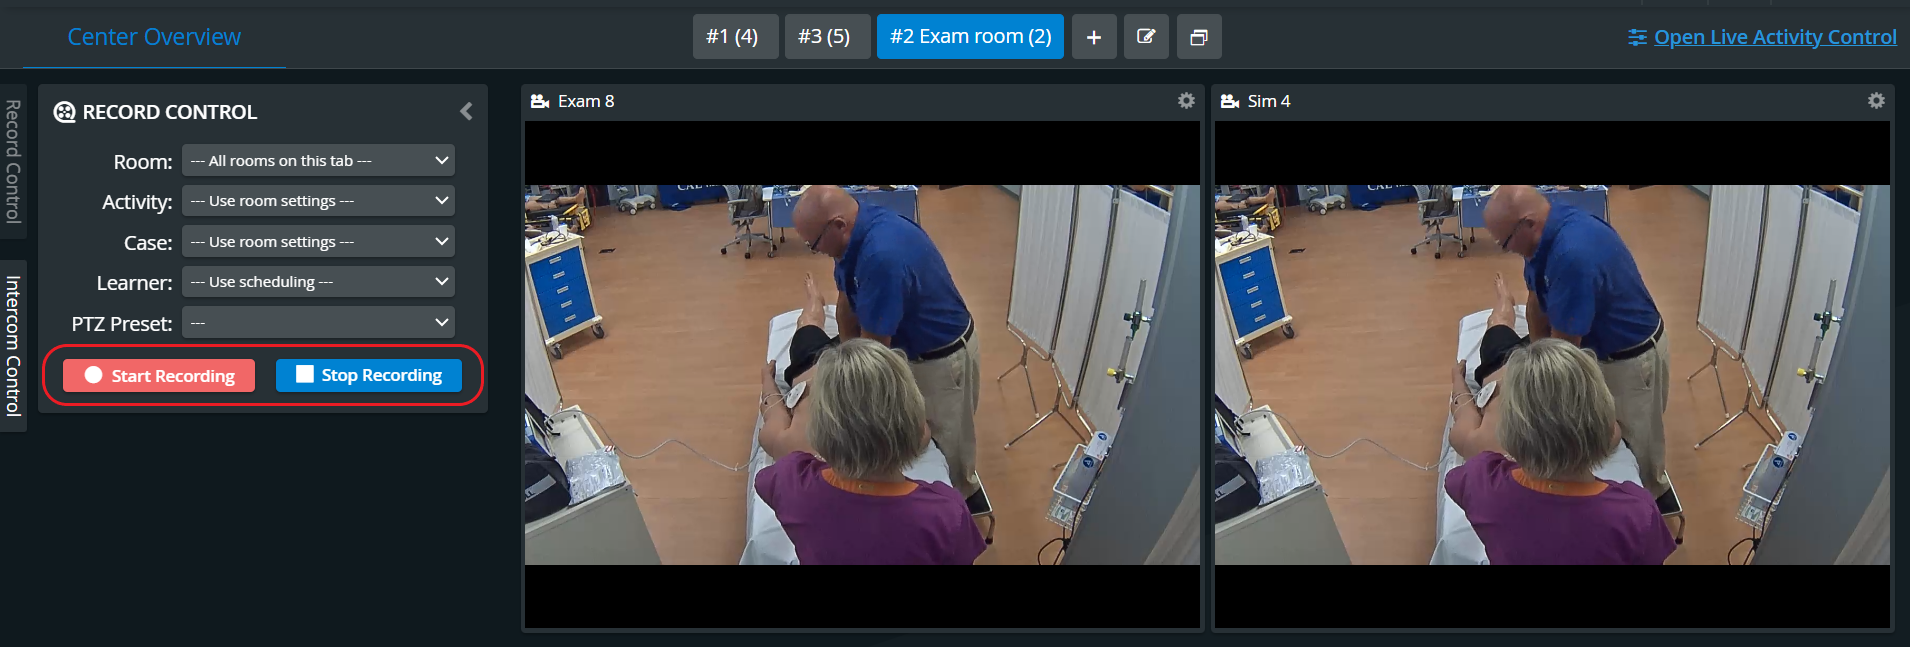
- Access the Center Overview screen.
- Click the Record Control tab located on the left-hand side of the screen to view the Record Control panel.
The Record Control panel appears. - Select the room you want to record in from the Room drop-down.
All rooms on the actual tab or all rooms on all tabs can also be selected.
4. Select Activity, Case, and Learner from the drop-downs.
The Use room settings option uses the relevant setting as specified in the Activity Scheduler. If there is no scheduled Activity, the RNSA - as set on the Rooms tab of the System module - will be applied.
5. Select a PTZ Preset position to set all the cameras that have that preset in that position.
See more at Pan-Tilt-Zoom - PTZ - functionalities.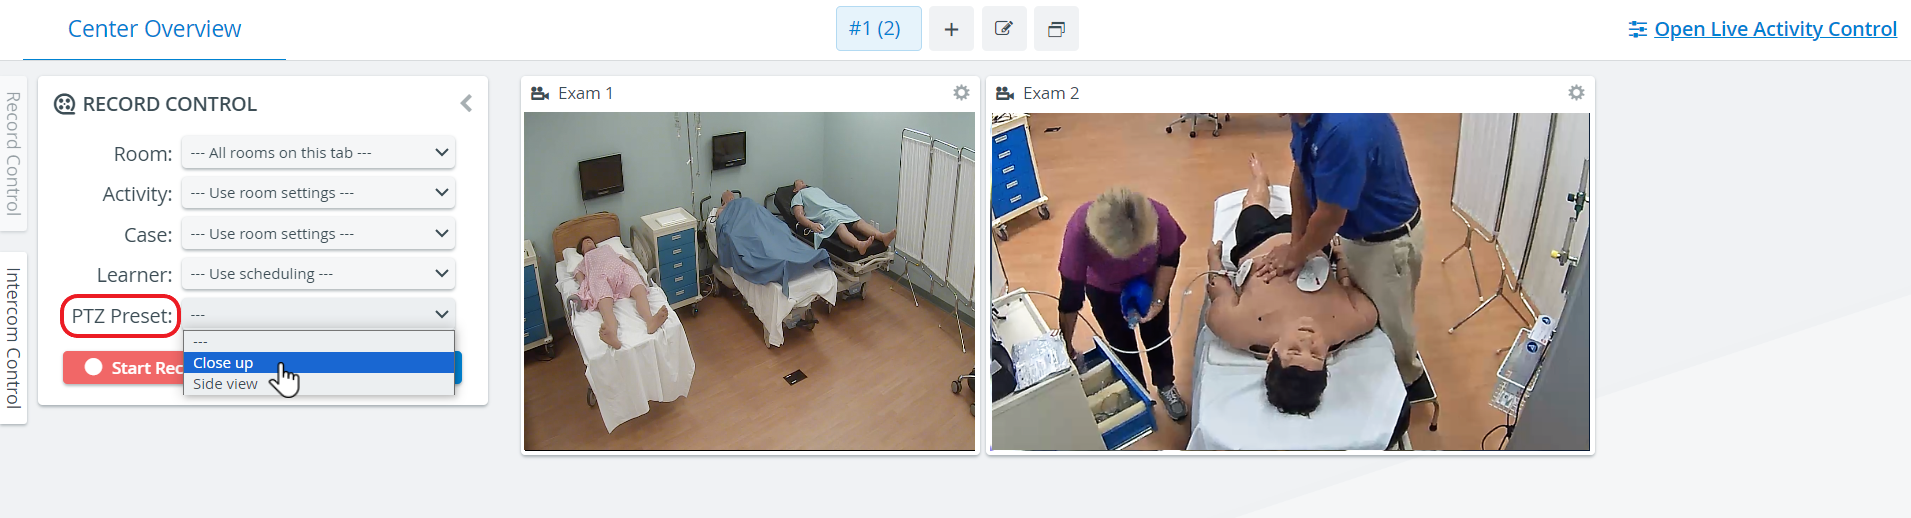
6. Click Start Recording to start recording.
A red dot appears on any room panel preceding the room name to indicate that room is actively recording.
7. Click Stop Recording to stop recording.
Close the Record Control panel by clicking the Hide arrow.
Overview
Content Tools