On the Rooms tab, rooms can be added, modified or deleted.
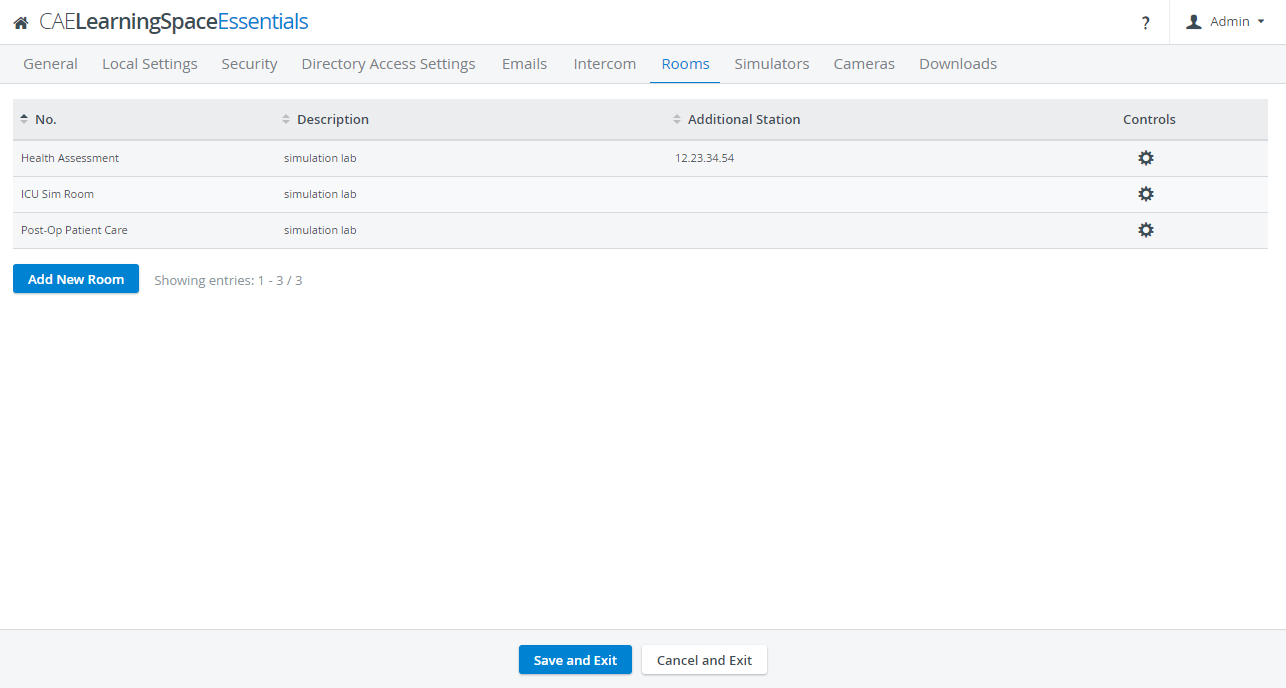
All the available rooms are listed on this page, with their editable settings accessed by clicking the cogwheel icon ![]() in the Controls column. The icon opens the Room Settings pop-up where all devices can be assigned to the room, including cameras, manikin, and intercom device.
in the Controls column. The icon opens the Room Settings pop-up where all devices can be assigned to the room, including cameras, manikin, and intercom device.
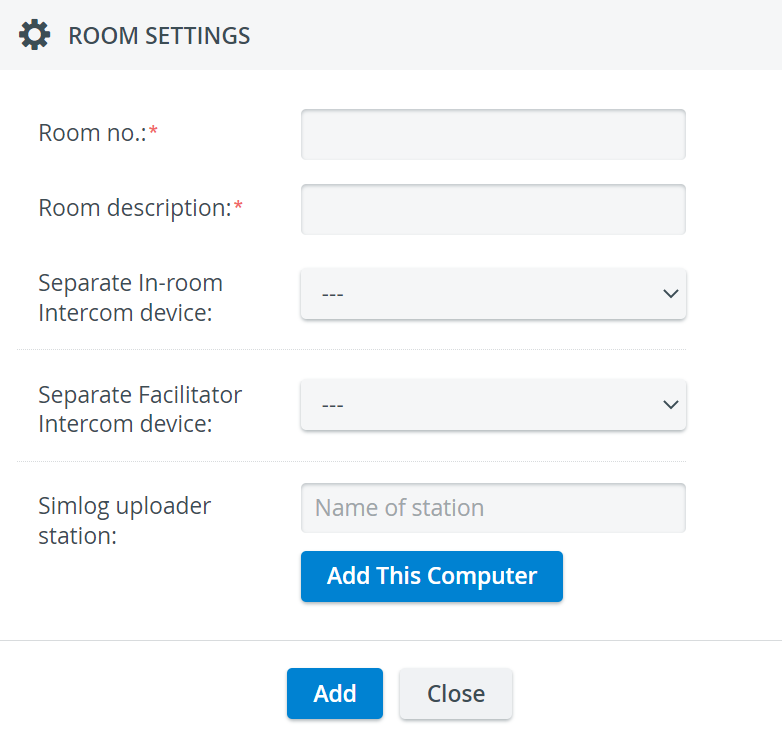
Add New Room: by clicking on the Add New Room button you get the Room Settings pop-up window. There you have to fill out the Room no. and Room description fields. After clicking on the Add button you get additional setting options for the new room.
You can also add a Separate In-room Intercom device, a Separate Facilitator Intercom device and a Simlog uploader station to the room here.
Learn more about How to set up a new room in LearningSpace here.
Room Settings pop-up
The pop-up can be opened by clicking the cogwheel next to the desired room and allows for the specification of the following settings:
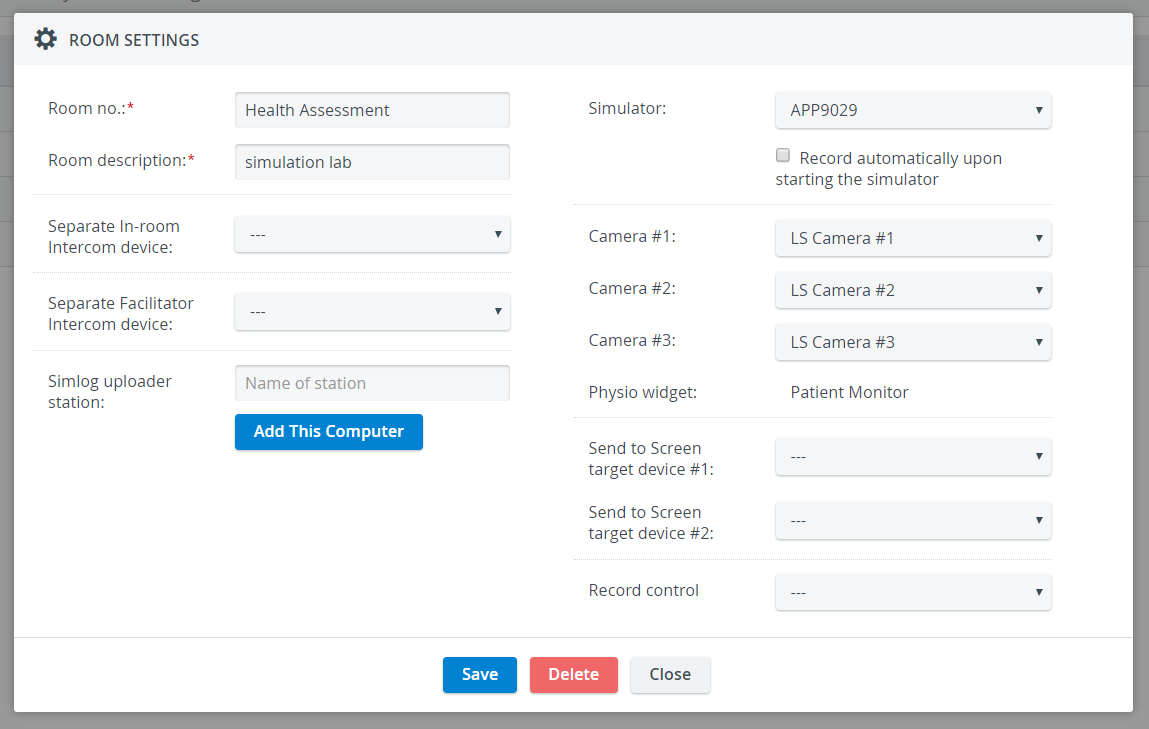
- Room no.: a number or a name by which the room is to be distinguished
- Room description: the type of the room (e.g. simulation lab, skills lab, auditorium etc.)
- Separate In-Room Intercom device: an Intercom endpoint device located in the simulation area for transmitting Intercom announcements
- Separate Facilitator Intercom device: headset for transmitting intercom announcements directed to the facilitator
- Simlog uploader station: adding a computer used for uploading simulator logs to LearningSpace
- Simulator: selecting one of the available simulators located in the room (managed in the System menu Simulators tab). The collected data from the simulator will be added to the recordings that take place in this room.
IMPORTANT: Once a simulator is assigned to the room, the 4th camera slot is reserved for the patient monitor.
- Camera #1-4: assigning a maximum number of 4 configured cameras to create recordings of events/activities (managed in the System menu Cameras tab.)
- Send to Screen target device #1-2: for selecting display devices for Send to Screen function. Two Video Decoder devices can be added to each room (managed in the System menu Cameras tab), which can be used to display media (added images, videos in the SCE Manager, camera image or a computer’s display) on the connected monitors.
- Record control: assigning a tactile REC (push) button to the room (which is physically located in the room and can be pressed to start a recording)
Save: keep all changes and close the Room Settings window
Delete: remove the currently open room from your CAE LearningSpace system
Close: discard all changes and close the Room Settings window.
Overview
Content Tools