Users with SP privilege can sign in to their CAE LearningSpace user account via the CAE SP Availability application.
For Standardized Patients
Download the CAE SP Availability mobile application from the Apple or Google Play store.
Sign In
SPs can sign into their user account when they are connected to their institution's CAE LearningSpace server via a sign-in QR code.
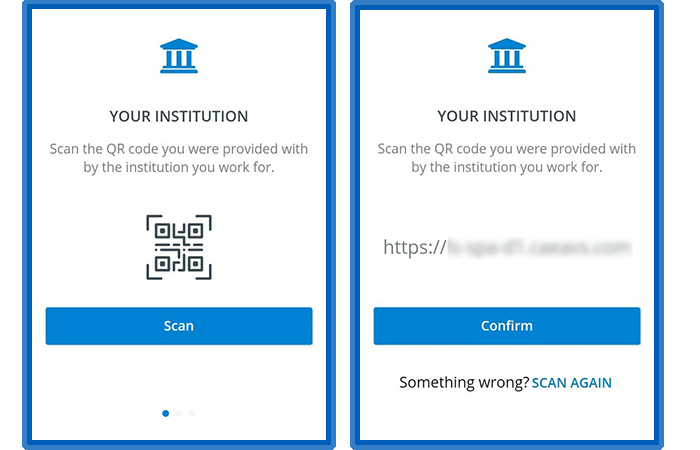
The sign-in QR code is provided by institutions for SPs who are active users registered or enrolled in the institution's CAE LearningSpace user account.
SPs can be connected to only one institution at a time, but consecutively they can connect to every CAE LearningSpace system they are registered in using each institution's sign-in QR code.
Tabs
There are three main pages inside the SP Availability application:
Requests
SPs land on the Requests page after sign-in where they can view their appointment requests. Appointment requests are invitations sent by SP coordinators to ask SPs if they are available at the specified time and date to perform the assigned scenario.
SPs receive request alerts ![]() every time they are invited to new appointments. The newest appointment requests that SPs haven't opened yet are highlighted.
every time they are invited to new appointments. The newest appointment requests that SPs haven't opened yet are highlighted.

Accepted Requests
SPs can find their pending and confirmed appointments on the Accepted Requests page.
Appointment requests become pending once the SP has accepted the appointment and is waiting to be confirmed for the scenario by an SP coordinator in charge.

Pending requests become confirmed once the SPs is confirmed by the SP coordinator to perform the scenario.

Chat
SPs and their SP coordinators can exchange messages using the built-in chat of the SP Availability application.
SPs receive message alerts about every new incoming message.
SP coordinators can send direct messages to each (confirmed?) SP from the Chat tab inside the SPA module.
SP coordinators can also create a group chat including the confirmed SPs of a session or an entire cast sheet.
Further Options
Edit Profile
Providing optional information (e.g. certifications or consent to sensitive examinations) will help SPs appear more often in search results when SP coordinators are recruiting for scenarios.
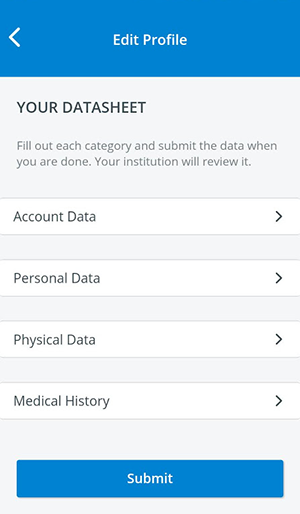
SPs can manage their profile information at Edit Profile:
Profile information is divided into four subcategories:
Entering each subcategory, SPs can fill in or modify the following details:
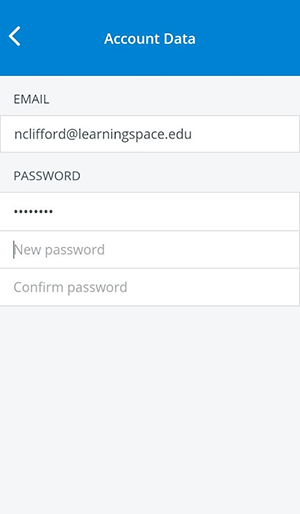
SPs can return to the main page of their profile editor using the back arrow.
Account Data: SPs can review and modify their sign-in credentials.
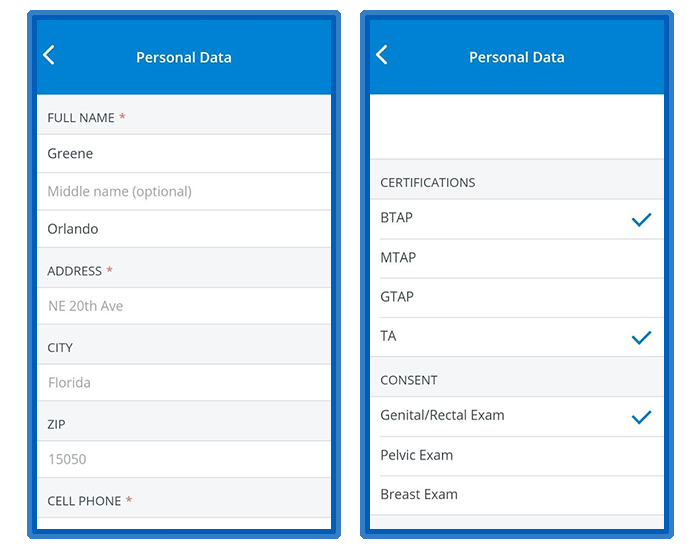
Personal Data: SPs can provide their contact details and certifications. They can also consent to sensitive examinations.
Physical Data: SPs can enter their demographical and physiological characteristics. SPs can also add customized information fields in their profile.

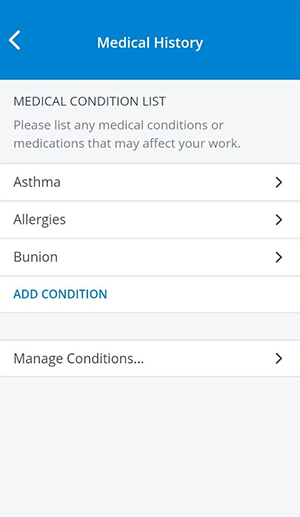
Medical History: SPs can enclose their real-life medical conditions that can affect their work as Standardized Patients.
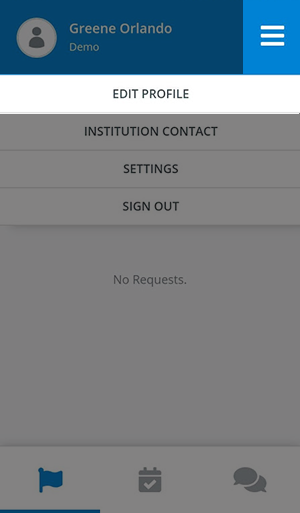
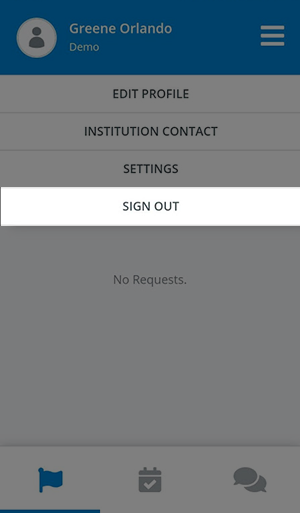
Sign Out
SPs can sign out of their account in the more options menu:
Overview
Content Tools