With the CAE LS Mobile Application available for download both in App Store iOS and Google Playground, Learners can log in to CAE LearningSpace using their phones.
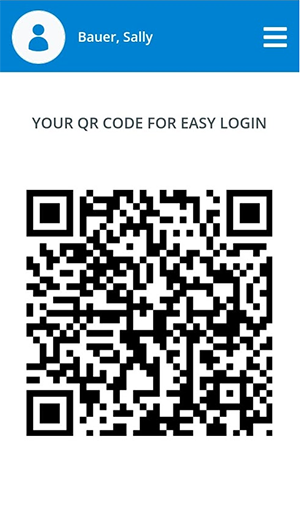
With their individual QR code accessed through their Profile, they can use the Kiosk of their institute - or any device to which a QR code/barcode reader can be connected - to check in to an event that they have been assigned to.
Learner Check-in is only available for users with Learner role. Check-in linked to activities is only available for LearningSpace Enterprise, while daily check-in data can be requested for all CAE LearningSpace products.
CAE LS Mobile Application
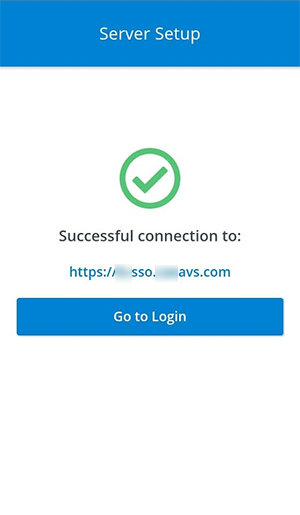
Once CAE LS Mobile Application has been downloaded, the CAE LearningSpace server has to be set up via a secure connection on it. Therefore, the first login has to be completed through the following link (lshost to be replaced by the hostname of the institute): https://lshost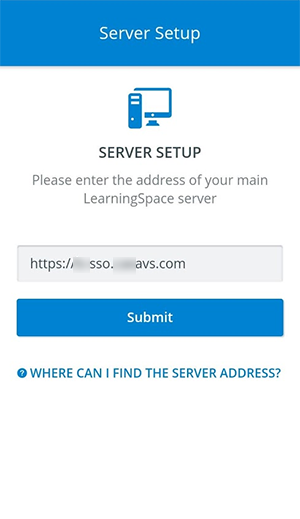
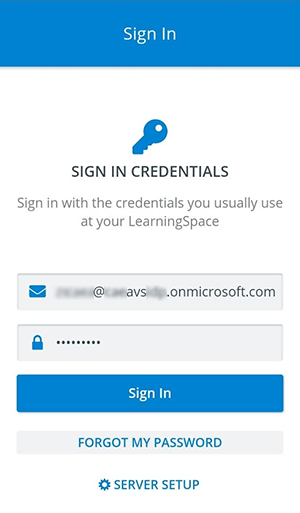
The login is to be done using the Learner's credentials with which they got registered to the CAE LearningSpace system of their institute. Once they are connected, they get a QR code that they can
use for check-in from then on.
Kiosk/Computer Set-up
To display the Check-in page, the following page has to be opened on a Kiosk/ computer that is equipped with a QRcode reader (lshost to be replaced by the hostname of the institute):
https://lshost/w/sp.cgi/learner-checkin
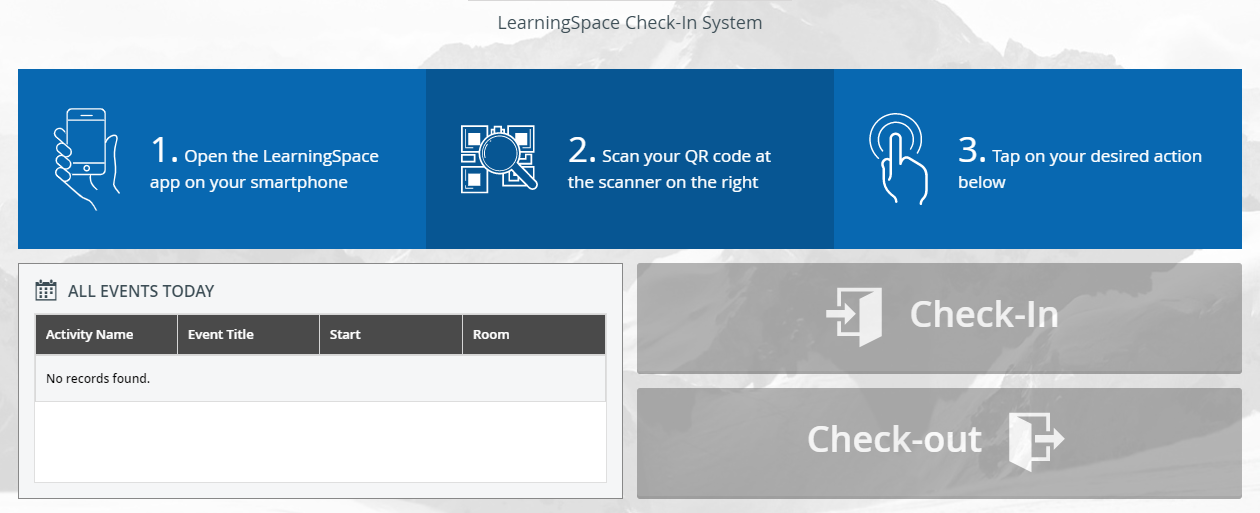
Check-In Process
When a learner is identified in the LearningSpace system by the QR code presented on their mobile device, the Check-In button will be enabled.
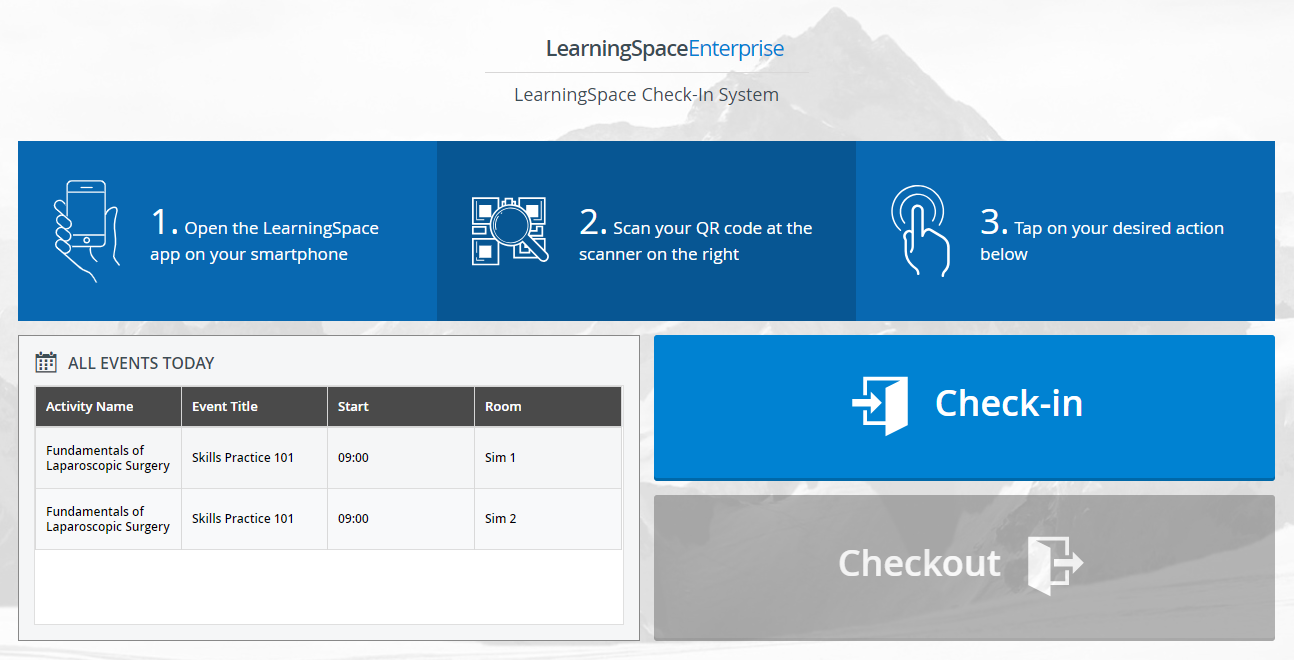
If a user has already checked in, using the QR code will activate the Check-Out button.
Upon having checked in, the events the learner is assigned to (except for LearningSpace Experience) are displayed on the screen.
Check-In Manager
In the User Manager module, users can be checked in or out manually by an Admin or User Manager privilege user.
Checking a Learner in can be done by clicking the Check In button at the bottom of the Account tab of the Learner's individual pop-up.
Once a Learner is checked in, they are listed on the Check-In tab.
Ticking the check-box at a desired learner's name and then clicking the Check Out User(s) button at the end of the list will result in the learner's checkout.

The Check-In tab contains all information regarding the contact hours of Learner users. The LearningSpace system calculates durations based on check-in and check-out data, independent of
whether they were learner- or Admin-initiated.
Total event duration reflects the total duration of all events in which the Learner participated, irrespective of any specific timeslot assignment.
The Check-in duration is the time interval from the check-in till the checkout.
It is possible that the Learner forgets to check out, and the Admin does not check them out either. In such a case, the overnight system maintenance will check the Learner out.
However, the Check-in duration will not reflect the valid interval.
Learner Check-In report
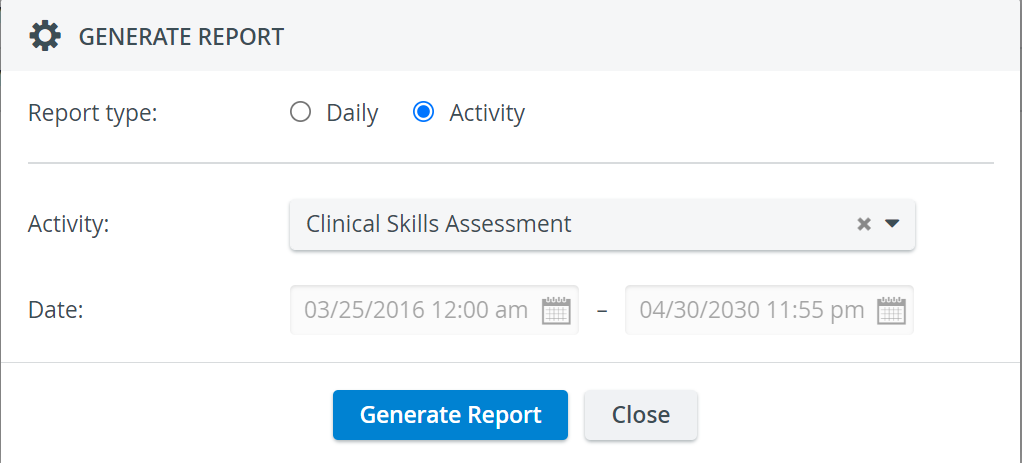
On the Check-In tab of the User Manager, two types of Learner check-in reports can be generated.
Clicking the Generate Report button in the top right corner of the tab prompts the Check-In Report pop-up window, where depending on the type of the report, further data needs to be provided.
Once all required information, that is, the time interval for the Daily and specific activity is selected for the Activity type of report, the Generate Report button will be activated by which the requested report
can be displayed in PDF format.
- Daily - yields a report of individual learner check-ins per day, for all days of the time interval determined by the date selectors

Activity - creates a report based on the selected activity (therefore the time interval will be unmodifiable), thus lists all the members of the Learner group assigned to the selected activity and displays the aggregated duration.
For the reports to be displayed, pop-ups have to be enabled in the browser.
If an Activity is hidden, it will not be listed in the Activity selector drop-down, consequently, Activity-type report will not be available for that activity.
However, the Daily-type report lists all check-ins of all events falling into the interval determined by the date selectors - irrespective of the activity containing a specific event being hidden.CardID support and LDAP synchronization
Learner check-in is supported via the QR code printout of the Learner's card ID as well (registered in the LearningSpace system as cardID).
To facilitate the use of the card ID, cardID (registered on the Edit User pop-up in the User Manager) has been added to the parameters for LDAP synchronization (on the Directory Access Settings of the
System module).
Overview
Content Tools