Important Note for Enterprise Lite Users
This feature is to be used with in-campus audiovisual (AV) inputs. Hence, it is not available for LearningSpace Enterprise Lite, as the solution is used for web-conferencing-based virtual simulation encounters only. To unlock this feature, please upgrade to the LearningSpace Enterprise solution.
Important
You can only send audio announcements to workstations if the Intercom is connected to the workstations.
To make sure the Intercom is connected to the authorized workstation(s):
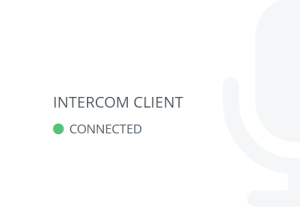
When accessing the login page on a workstation, a window should appear saying the intercom client is connected, as shown below.
If the intercom client is not connected, go to How to Set Up Conditions for Intercom and go through the settings.
IMPORTANT: The Intercom functionality of LearningSpace requires the web browser to have access to the microphone of the client PC, which in turn requires a secure HTTPS connection to the LearningSpace server.
That is, the use of the microphone of the client computer can only be conducted with a valid SSL certificate. (This restriction stems from the Chrome browser security regulations.)
After you have connected a
to your computer:
- Go to System.
- Select the Intercom tab.
- Click Add New – the system will confirm that a new line is added.
- Enter the name or text of the audio announcement into the field.
Click anywhere out of the field when finished. The name of your announcement is saved.
 There is no recording at an entry if the Upload Date shows 'Not yet recorded', and the red button is still there.
- In the Controls column, click on the red recording button. Audio recording starts.
- Record your announcement. The Upload Date column will display Recording....
- Click on the black stop button to end the recording.
- The audio is saved with a timestamp in the Upload Date column.
- You can listen to the recording afterwards; use the play button.
The saved announcements will be listed in the Announcements drop-down of the Intercom control panel in the Recording module.
Intercom is not supported on iPads.
For more information, visit our Recording Module and Recording Module Training Video pages.
Overview
Content Tools