The LearningSpace system recognizes any system-compatible camera that is physically connected to the hardware (server, ONE Box unit, Ultraportable).
The recognized devices are listed on the Cameras tab of the System module (accessible for users with Admin or System Manager privilege) - along with DCUs and Digital Audio Kits.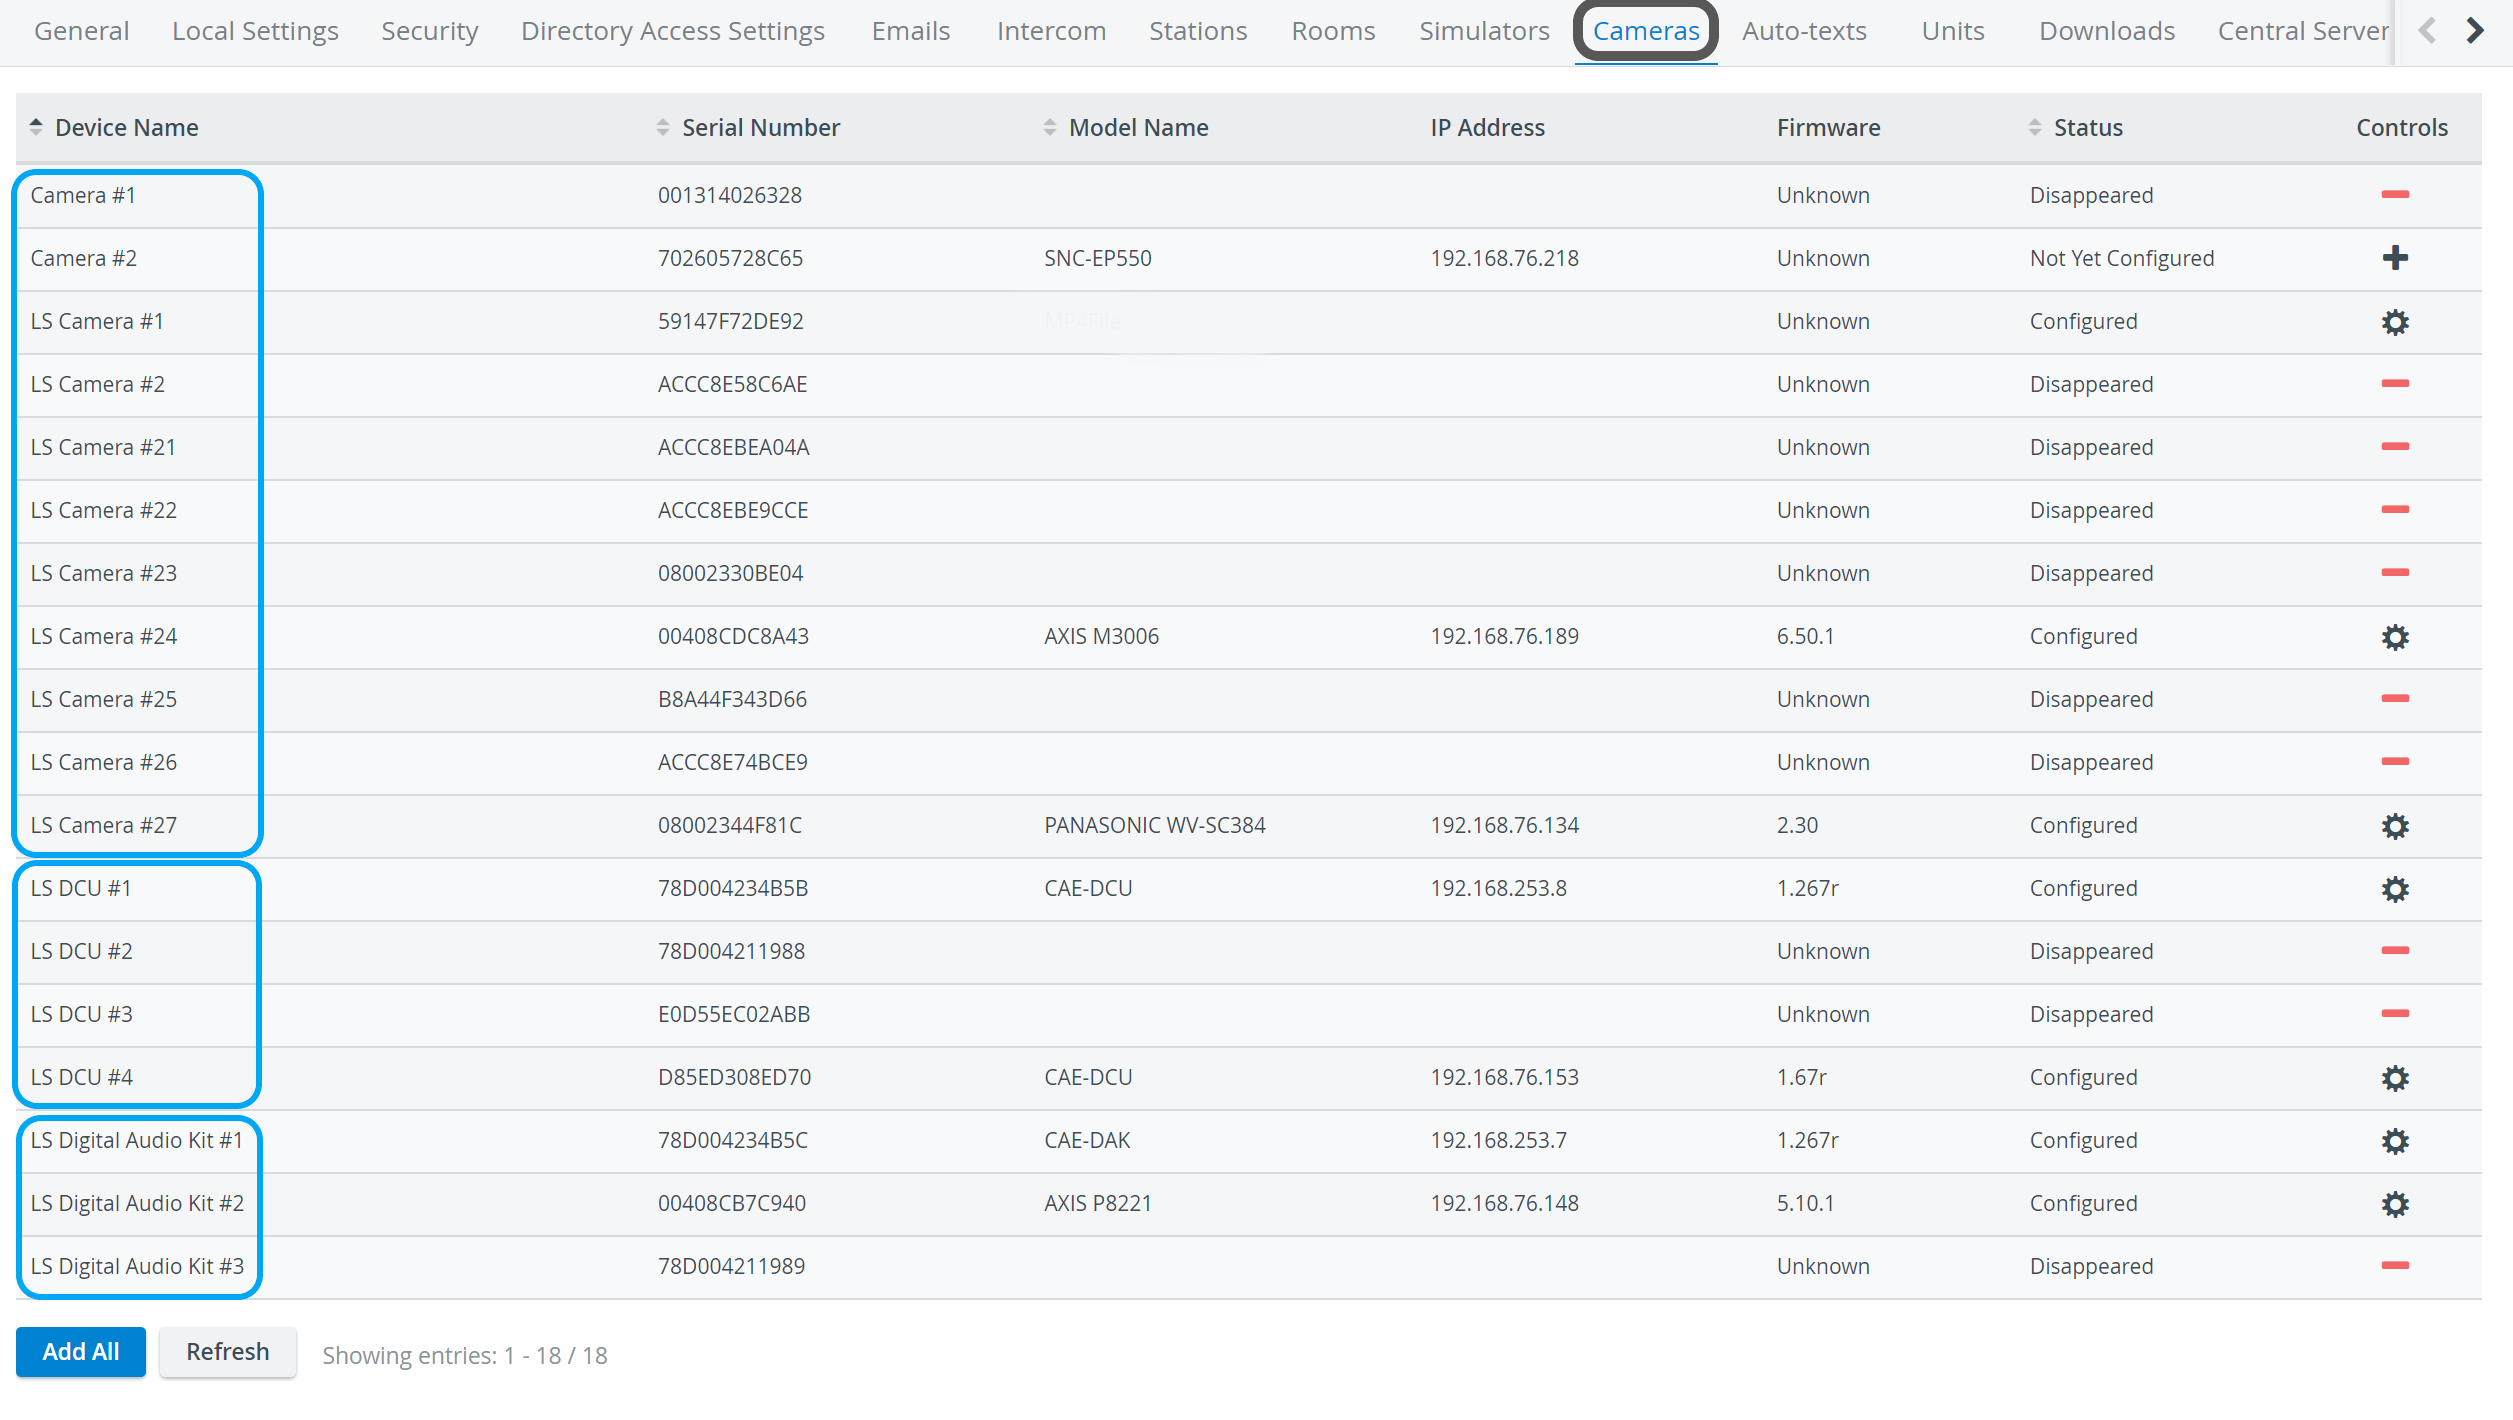
The Control column indicates the status of the listed cameras:
![]() Plus icon - camera has been connected to the system but is yet to be configured: click the icon to add the camera.
Plus icon - camera has been connected to the system but is yet to be configured: click the icon to add the camera.
![]() Cogwheel - camera has been connected and configured, thus available to be added to a room.
Cogwheel - camera has been connected and configured, thus available to be added to a room.
![]() Minus icon - previously configured camera has disappeared. By clicking this icon, the camera can be removed from this page.
Minus icon - previously configured camera has disappeared. By clicking this icon, the camera can be removed from this page.
Clicking the cogwheel icon opens the Camera Settings pop-up where different settings of the selected camera can be adjusted.
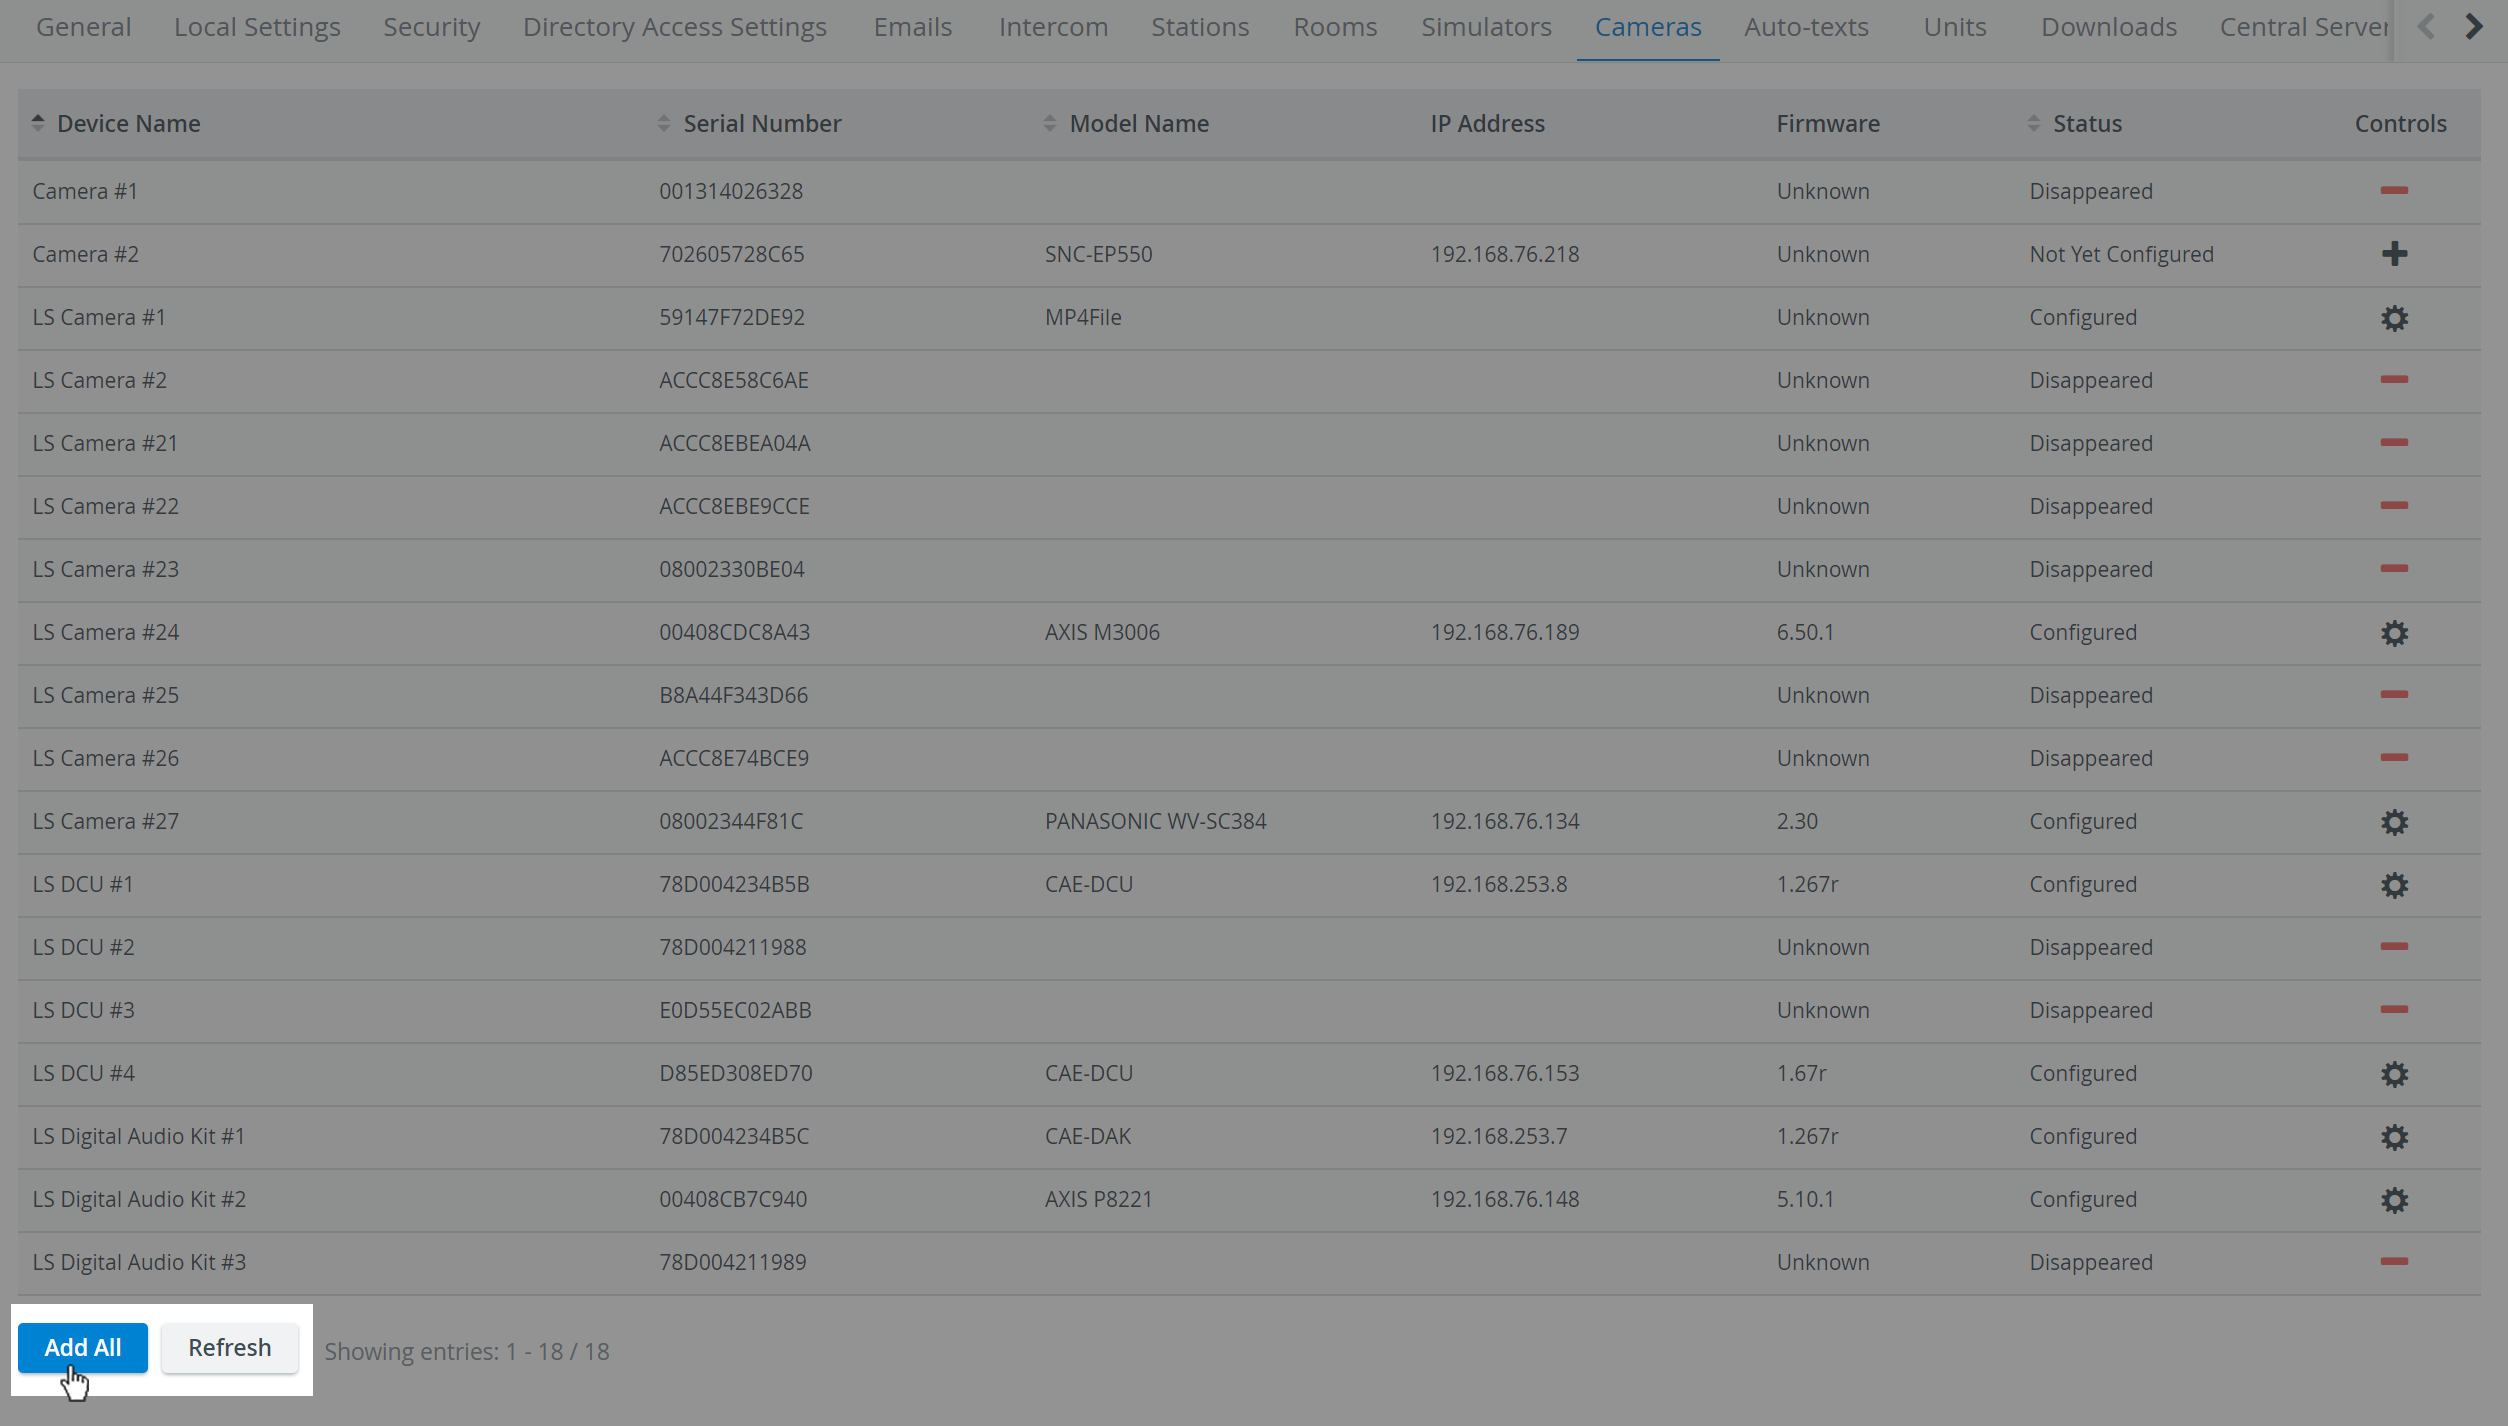
- All changes can be made effective by using the Refresh button at the bottom of the page.
- All available cameras are added to the system at once by using the Add All button.
For camera setup, see the Cameras page.
Removing a Camera
Via the Remove camera icon:
Click the Remove camera ![]() icon and confirm removal in the pop-up window ('Are you sure you want to remove the selected camera?').
icon and confirm removal in the pop-up window ('Are you sure you want to remove the selected camera?').
Via the cogwheel:
- Click the cogwheel for the desired camera. The Camera Settings window appears.
- Click the Remove button.
A pop-up window appears to confirm removal.
If a camera is removed and later re-added, ensure the room has the camera re-added, too. Access the Rooms tab and click the cogwheel for the desired room and camera management.
For further information, visit our System Manager and System - How to pages.
Overview
Content Tools