IMPORTANT: When editing multiple users, a maximum of six settings can be modified and all the selected users will have the same modifications carried out within their settings.
The range of editable settings depend on parameters set in the System module.
The range of editable settings depend on parameters set in the System module.
The fixed editable settings are the following:
- Role
- Group membership (assignment and withdrawal)
- Default homepage
IMPORTANT: A user with User Manager privilege does NOT have access to roles including one or more of the following privileges: Admin, System Manager, Room Manager, Learner History/ SP Activity.
![]() The settings editable depending on System parameters are:
The settings editable depending on System parameters are:
- Authentication method - if LDAP authentication is enabled on the Security tab
- Language - if Multiple language support is enabled (i.e. checked) on the Local Settings tab
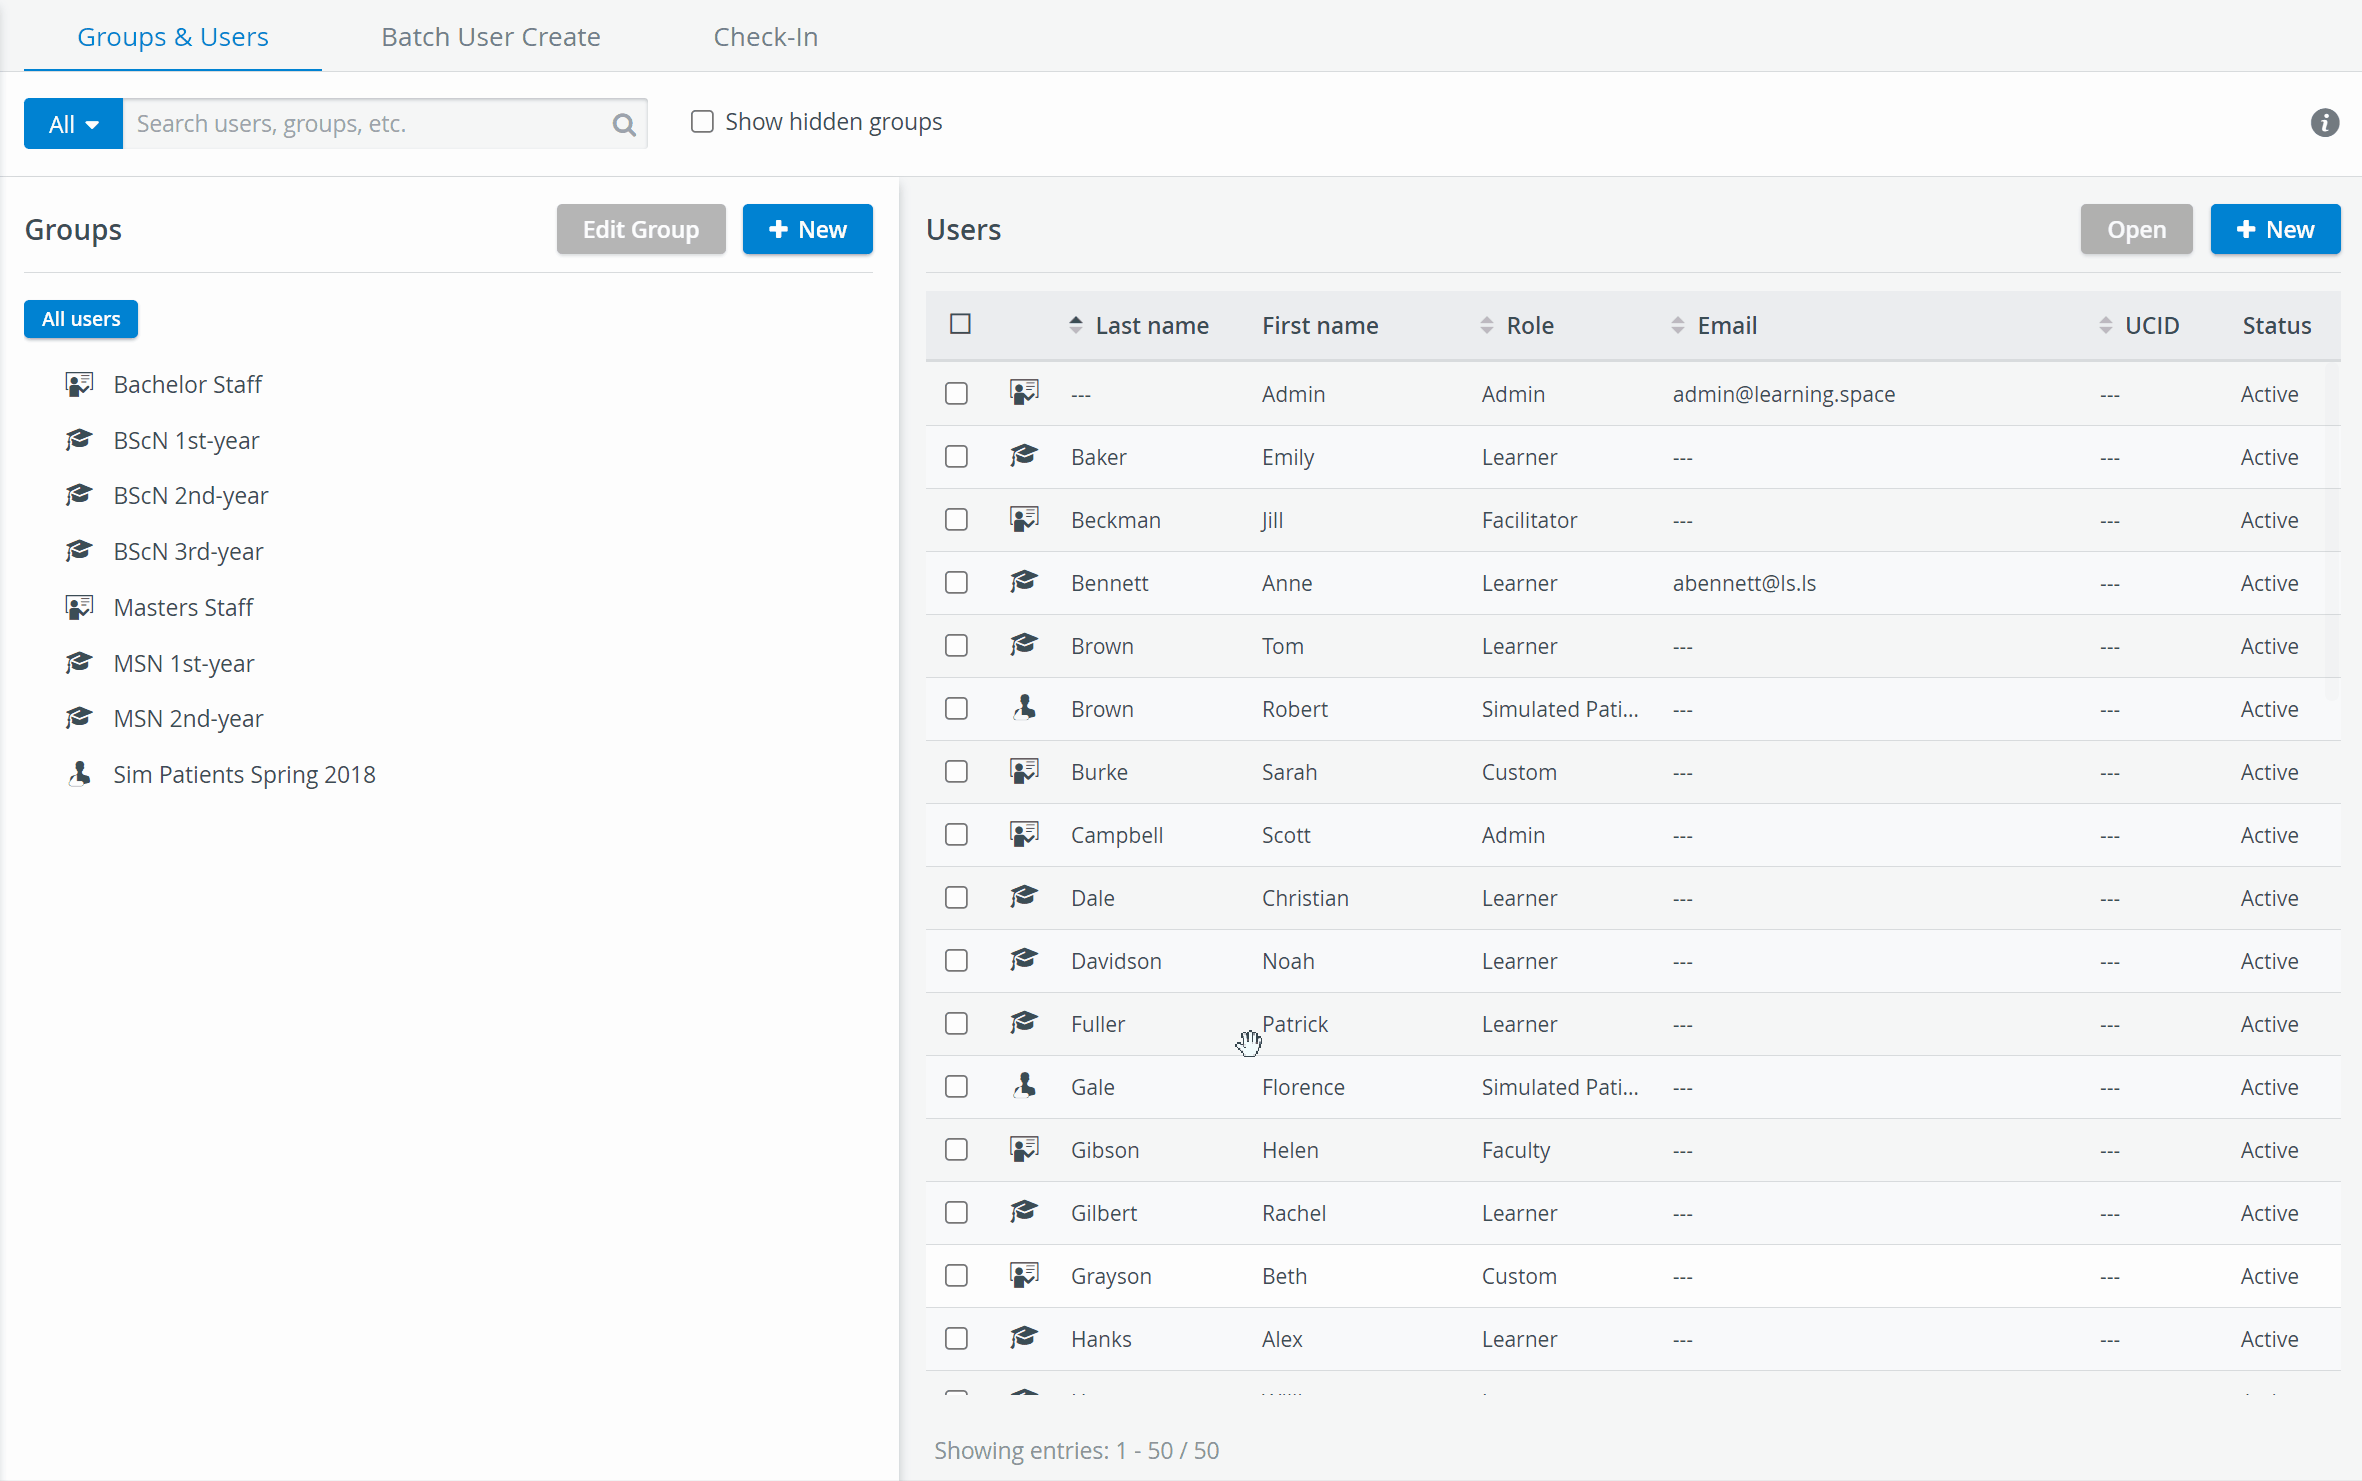
- On the Groups & Users tab, select the users you want to edit by checking the box in front of their names.
- Click the Open button, which will prompt the Edit Multiple Users pop-up window to appear.
- Using the drop-down lists, edit the settings intended to be modified.
- When finished, the pop-up window can be closed as any change is saved automatically.
- To delete all the selected users click the three-dot icon then click Delete.
Deleting will completely remove the user accounts from the database - along with the submits and scores of the affected users.
It is highly suggested to hide users (setting them to inactive) rather than deleting their accounts completely. Hiding simply removes the users from the affected lists to be displayed.
Learn more about the purpose and effects of hiding here.
Via Batch User Create:
Editing multiple users' data is also possible via Batch User Create (BUC) process, but only in accordance with the following criteria:
- the settings intended to be modified are included in the header of the excel template, and
- the users whose settings are to be modified belong to the same group.
In case the modifications are to be made within the frame of the listed criteria, editing can be done as follows:
- Go to the Batch User Create tab of the User Manager module.
- Download the template of the targeted group via choosing it from the drop-down list.
- Carry out the modifications in the downloaded excel file.
- Save the file to a directory that will be available when uploading.
- At Step 2 of the BUC process, upload the modified excel file.
If any modification is invalid, the system will indicate it at Step 3 and will not proceed until it is corrected.
6. Conclude the modifications by clicking Done at Step 4 of the process.
Overview
Content Tools