After successfully pairing your smartphone with the Barcode to PC desktop client:
Enter the Inventory module and access the feature where you want to apply barcode or QR code scanning.
Scroll down to Inventory Features for more details.
Upon first utilization of your smartphone as a scanner device, you need to decide whether you will use QR codes or barcodes for identification in the future.
In case of QR codes, an #LS Prefix must be set (for the 'Barcode to PC scanning application' ) in order for the devices to function correctly.
See How to Set up the #LS Prefix for your Scanner.Important: Keyboard Settings
Make sure your keyboard layout is set to US English, otherwise, QR code and barcode scanning will not work properly inside the module.
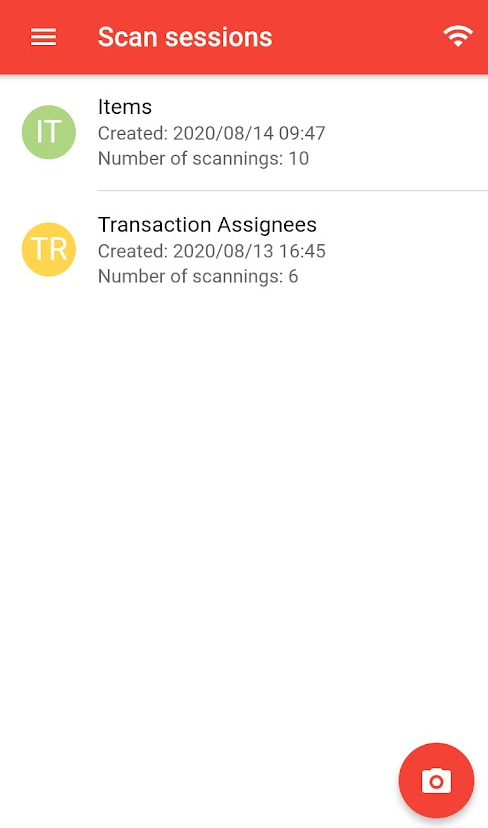
Tap the camera icon in the bottom right corner to start a new scanning session.
You can also tap on existing sessions; in this case, you can continue by tapping the camera icon inside the selected session.
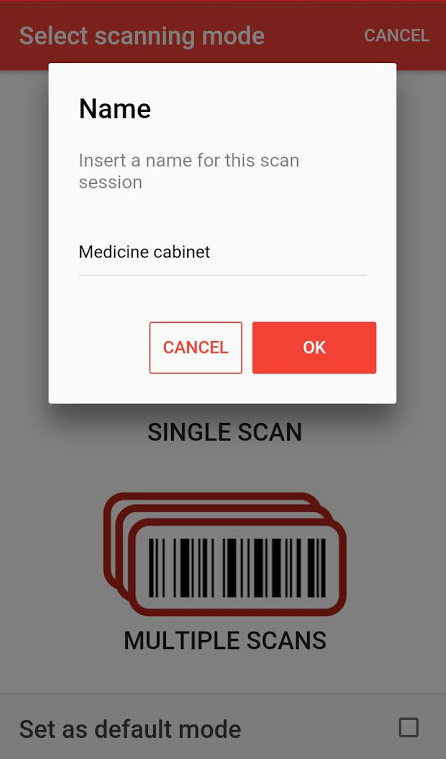
Select between the two scanning options.Use the Multiple Scans option during a Transaction for continuous scanning.

- Name the new scanning session to continue.
Place the flashing scanning strip on a barcode or QR code.
The app will notify you if scanning was successful.
Inventory Features
Inside the Inventory module, you can
- enter barcodes when editing Inventory items:
- identify Transaction assignees by scanning the QR codes on their badges or ID cards:
- detect items in an instant when conducting simple Transactions or checking out Setup Sheets for specific events:
Scanning QR codes

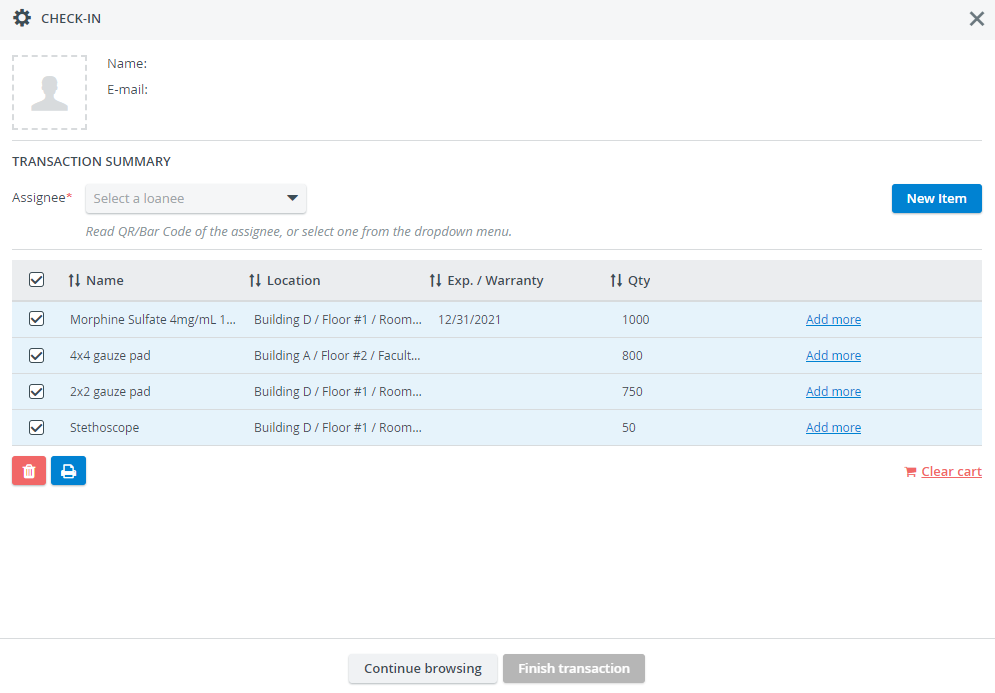
Scanning barcodesIn case of reading the barcodes of Consumables With Expiration items, you can select the expiration date of the item.
Do you find the application suitable for your needs? Continue to learn more about license activation.
Overview
Content Tools