Page History
Stations are computers added to the system, which are identified by their IP addresses. These computers can be used as workstations to fill out data-entry or display information for a specific Activity.
| Table of Contents | ||
|---|---|---|
|
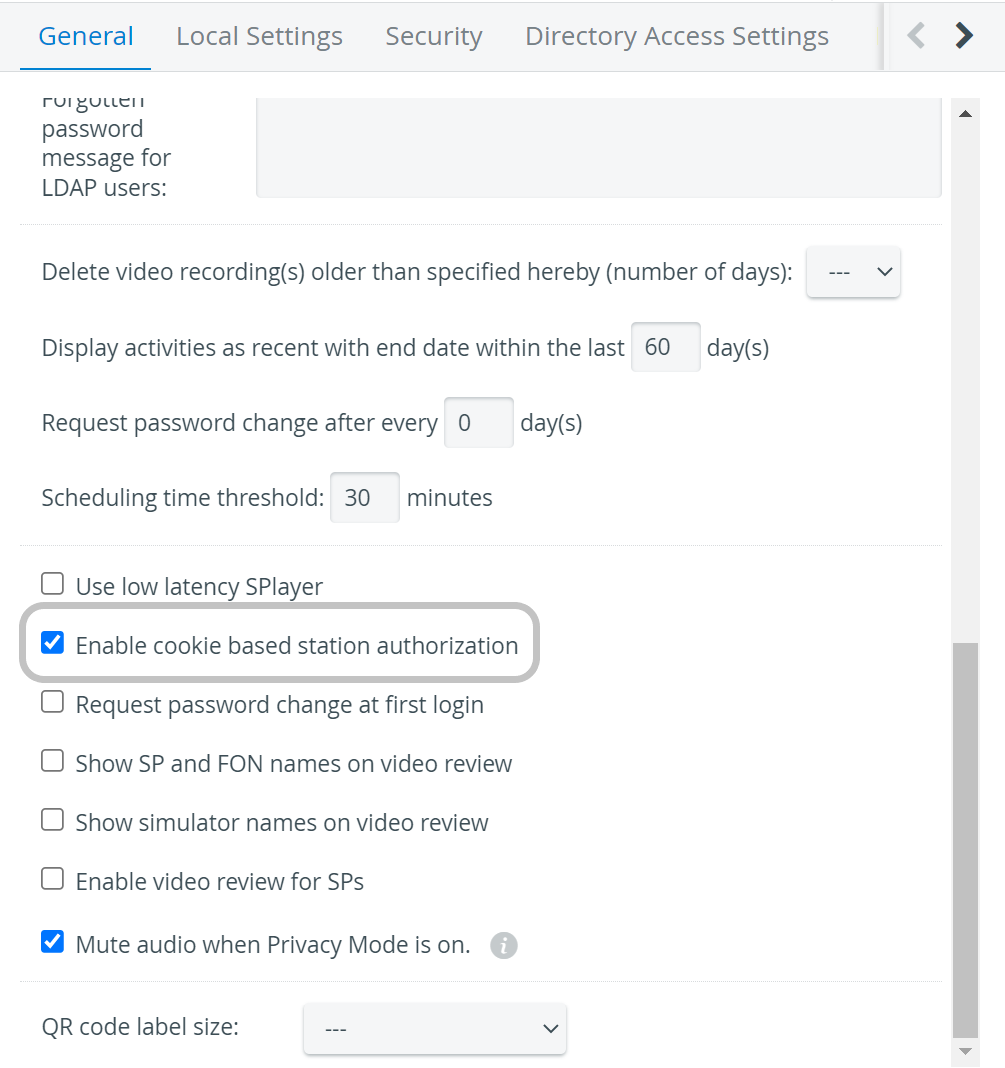
Cookie-based Station Authorization
By default, LearningSpace identifies devices—computers or tablets used as stations—by their IP addresses.
| Excerpt | ||||||||||
|---|---|---|---|---|---|---|---|---|---|---|
|

Station types
You can choose between three kinds of station settings:
- Hallway Station: A computer located outside but near the simulation room; for learners to submit their checklists.
 Automatic user-forwarding does not work with In-room configuration for learners.
 - In-room Station: A computer located inside the simulation room; for SPs to submit their checklists. Automatic user-forwarding does not work with Hallway configuration for SPs.
Additional Station: A computer to
display the door note of the Activity (if assigned to a room)
store the data logs of third-party simulators (log-upload station) - to enable finding recordings based on room assigned (if assigned to a room)
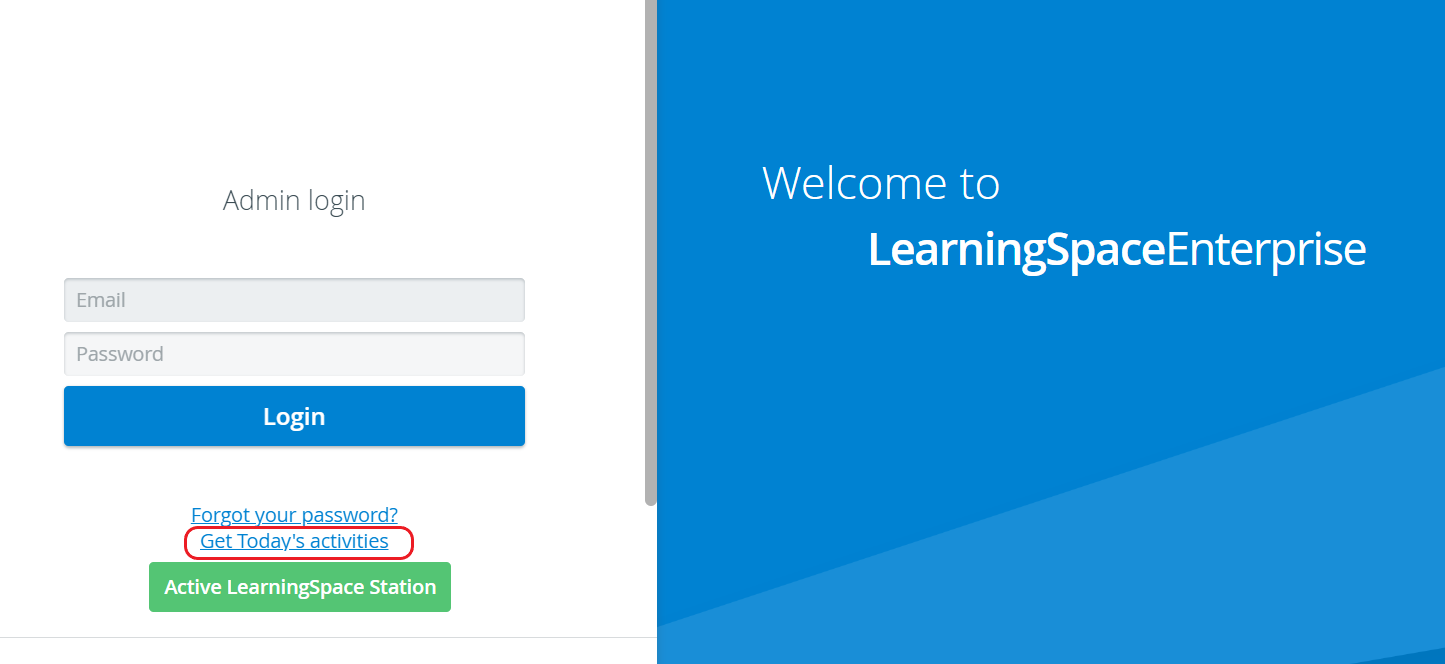
- display "Today's Activities" (if not assigned to a room)
![]() Automatic user-forwarding is not available on Additional Stations. This station type is for display purposes only.
Automatic user-forwarding is not available on Additional Stations. This station type is for display purposes only.
| Info | ||
|---|---|---|
| ||
Find out more about Automatic User-forwarding here. |
Station configuration
Complete the following steps to configure a computer as a Station:
- Go to System.
- Go to Stations.
- Click Add This Computer at the bottom.


The Station Manager window opens.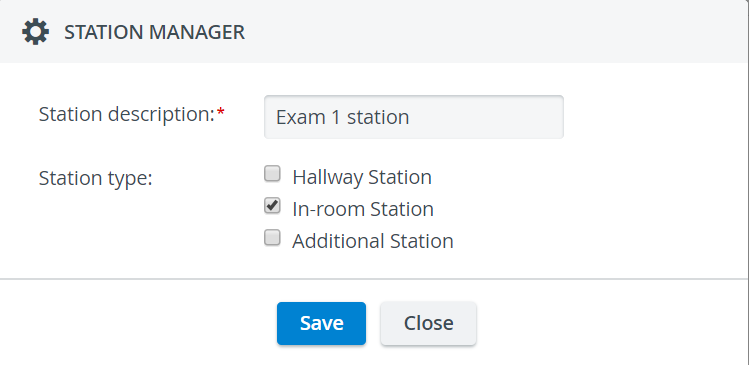
- Enter the name of the workstation and
Select the functionality of the station.
Info Optionally, each type of station can be used as a memo board to display information about the Activity.
Feature Today's Activities on an In-room or Hallway station, or display a placard of an Activity with an Additional Station.
Find out more about information display features at the Get Placard and Today's Activities pages.Tip Select all of the functionalities in the Station Manager pop-up to use the computer as any type of workstation later on.
Save your settings.
The computer will be added to the system as a station.

| Info |
|---|
The computer you are currently logged in on appears in bold and is highlighted in blue on the Stations page. Black ticks indicate the selected functionalities of the station, whereas greyed-out ticks mean the functionality does not apply. Simply click on a tick to select or remove the functionality. |

 Decoder
Assigning a decoder to a station facilitates a low-delay display of a camera with PTZ functions via a separate monitor.
| Note |
|---|
| NOTE: See further details at How to Use Joystick (AXIS T8311) for PTZ Functions. |
| Info | ||||||||||||
|---|---|---|---|---|---|---|---|---|---|---|---|---|
| ||||||||||||
|
| Info |
|---|
Overview
Content Tools