With automatic user-forwarding, you can have your learners and SPs land at the data entry page instead of their dashboards, right after they have logged in to the system on a manually authorized workstation of an Activity.
Automatic user-forwarding is also required when you want to control Activity recording with video start and stop conditions.
![]() Start and stop conditions can be defined in the Basics tab of an Activity.
Start and stop conditions can be defined in the Basics tab of an Activity.
Automatic user-forwarding can be set up for Running-Non Scheduled Activities (RNSA) or for events built with Advanced Scheduling.
Automatic User-Forwarding with Running Non-Scheduled Activity (RNSA) Setup
- Make sure the Cases of the Activity you are going to work with contain :
- at least one type of Learner checklist for Learners (Pre- or/and Post-Encounter)
- an SP checklist for the SPs (if you are using SPs in your Activity).
Assign a running Activity to a room.
 Check here to learn about how to set up a Running Non-Scheduled Activity (RNSA) in a room.
As a result, you have reserved a room for a non-scheduled Activity. The guide will refer to this setup as an "RNSA room" in the following.Add authorized workstations to your RNSA room.
 Authorized workstations are computers physically located in your RNSA room which also need to be added to the system.
First, make sure these computers are added to the system and are configured as the type of workstations you need for your Activity:
you need a Hallway station to log in learners,
and an In-Room station to log in SPs if they are portraying the Cases.
Important Note about Station Types
Learner automatic forwarding only works with Hallway configuration.
SP automatic forwarding only works with In-room configuration.
If users log into a workstation that does not match their privilege, they will land on their dashboard as they would normally do. In this case, user-action triggered automatic video recording will not work either.
 If needed, your computer can have multiple workstation functions at the same time. To apply multiple functionalities, select the same computer in the Hallway and In-Room station drop-downs. Make sure in the Stations tab that the station bears the required functionalities.
Afterwards, assign the workstations to the RNSA room in the system.
Automatic User-Forwarding with Events Created with Advanced Scheduling
- Make sure the Cases of the Activity you are going to work with contain
- at least one type of Learner checklist (Pre- or/and Post-Encounter)
- and an SP checklist (if you are using SPs in your Activity).
- Add authorized workstations to your event room(s).
Authorized workstations are computers physically located in your event rooms which also need to be added to the system.- First, make sure these computers are added to the system and are configured as the type of workstations you need for your Activity:
- you need a Hallway station to log in learners,
- and an In-Room station to log in SPs if they are portraying the Cases.
- Afterwards, assign the workstations to each room in the system.
- First, make sure these computers are added to the system and are configured as the type of workstations you need for your Activity:
Create a new Event with Advanced Scheduling
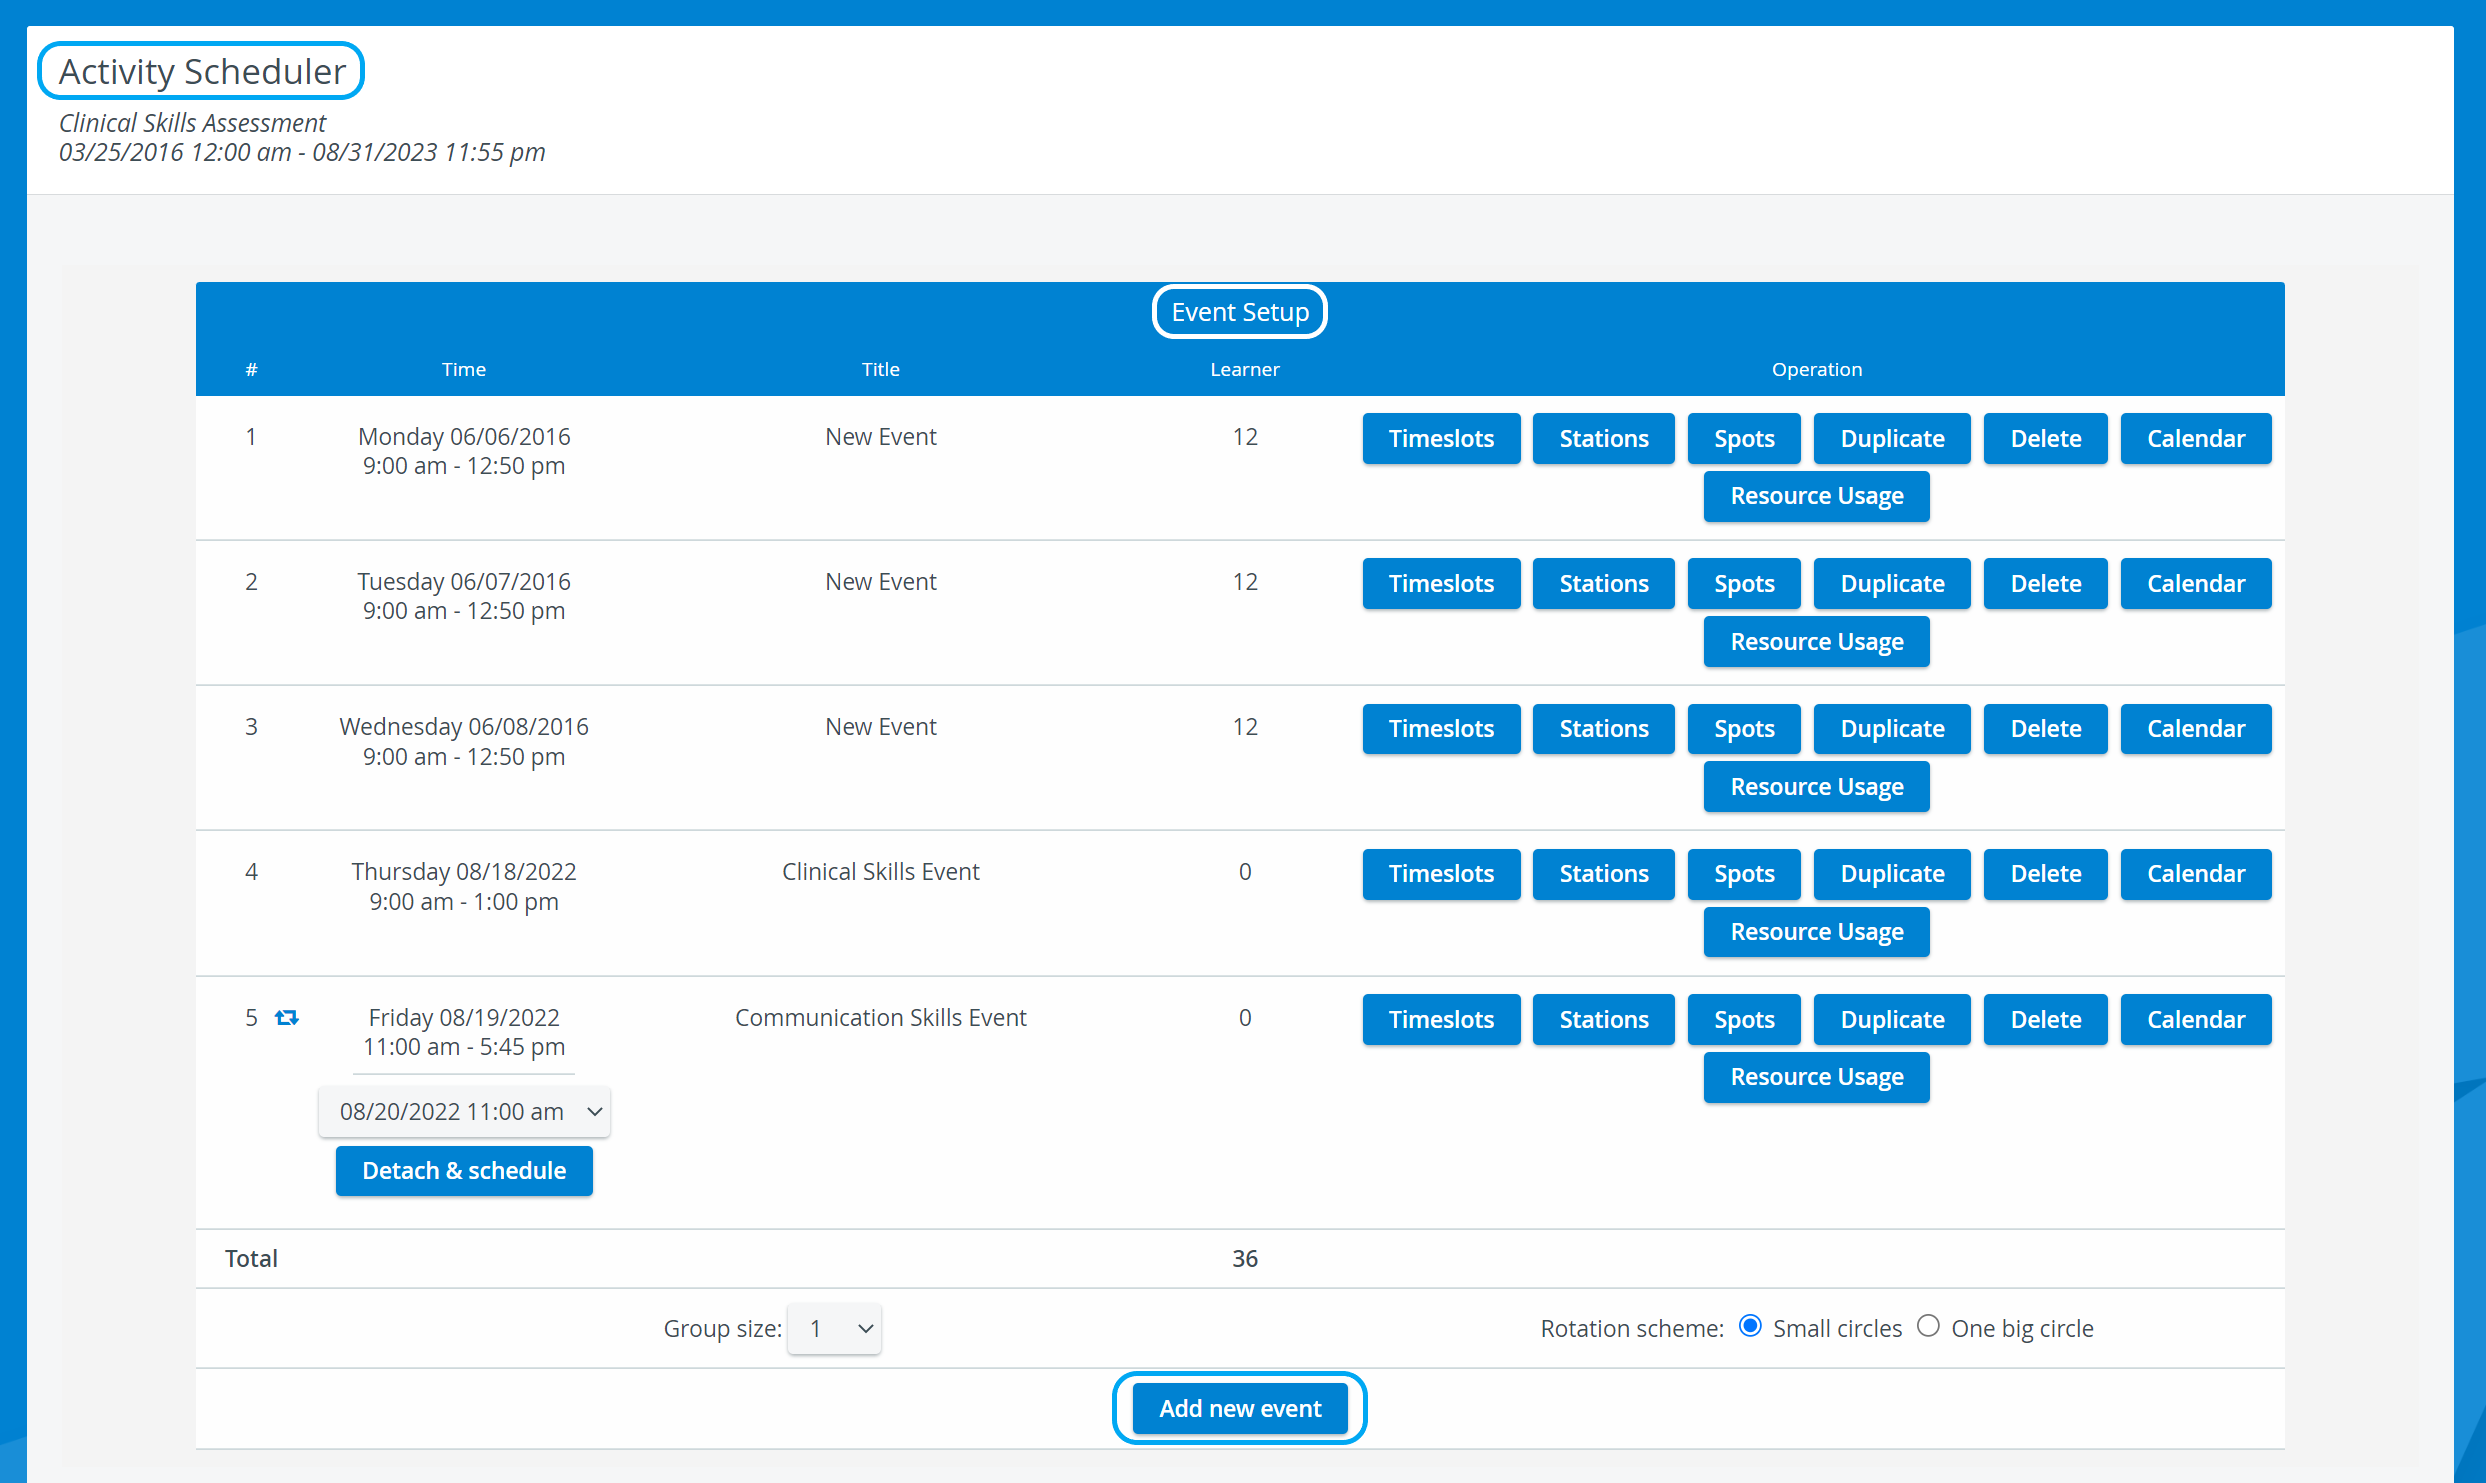
You can outline the schedule of your events in the Activity Scheduler—find out more about how to access this page here.
Continue to this page to learn about how to add new events on the Activity Scheduler page.- Make sure your event has timeslots and rounds.
Create timeslots if there aren't any defined yet or use an existing timeslot template. Set up the station(s) of your event.
Select the room(s) you have already added your authorized workstations to as described in Step 1.
Note
The maximum number of learners who can be assigned to the event is updated in the Learner column of an event on the Activity Scheduler page following a valid station setup.
- Assign learners to the event.
- Assign SPs to the event.
Once set up this way, learners and SPs will land at the data entry page instead of their dashboards, right after they have logged in to the system on a manually authorized workstation:
Easy Login
Easy Login – Available Only With Legacy Login
If you are using Legacy Login to log in to your LearningSpace system, you can set up Easy Login for non-scheduled or scheduled Activities:
- Set up automatic user-forwarding in either way as explained above.
- Have your learners and/or SPs log in to the system on their designated workstations.
- On the Login page, the user drop-down will display exclusively the users who are assigned to the scheduled event or the Running Non-Scheduled Activity. No other users are allowed to log in to the system on that workstation.
- Following login, your users are auto-forwarded to data entry.
For further information, visit our Activity Manager, Activity - How to pages and view our Activity Manager Training Videos.
Overview
Content Tools