For an introduction to this topic, visit the How to Understand Concepts within Advanced Scheduling page.
When editing an Activity
Through an Activity
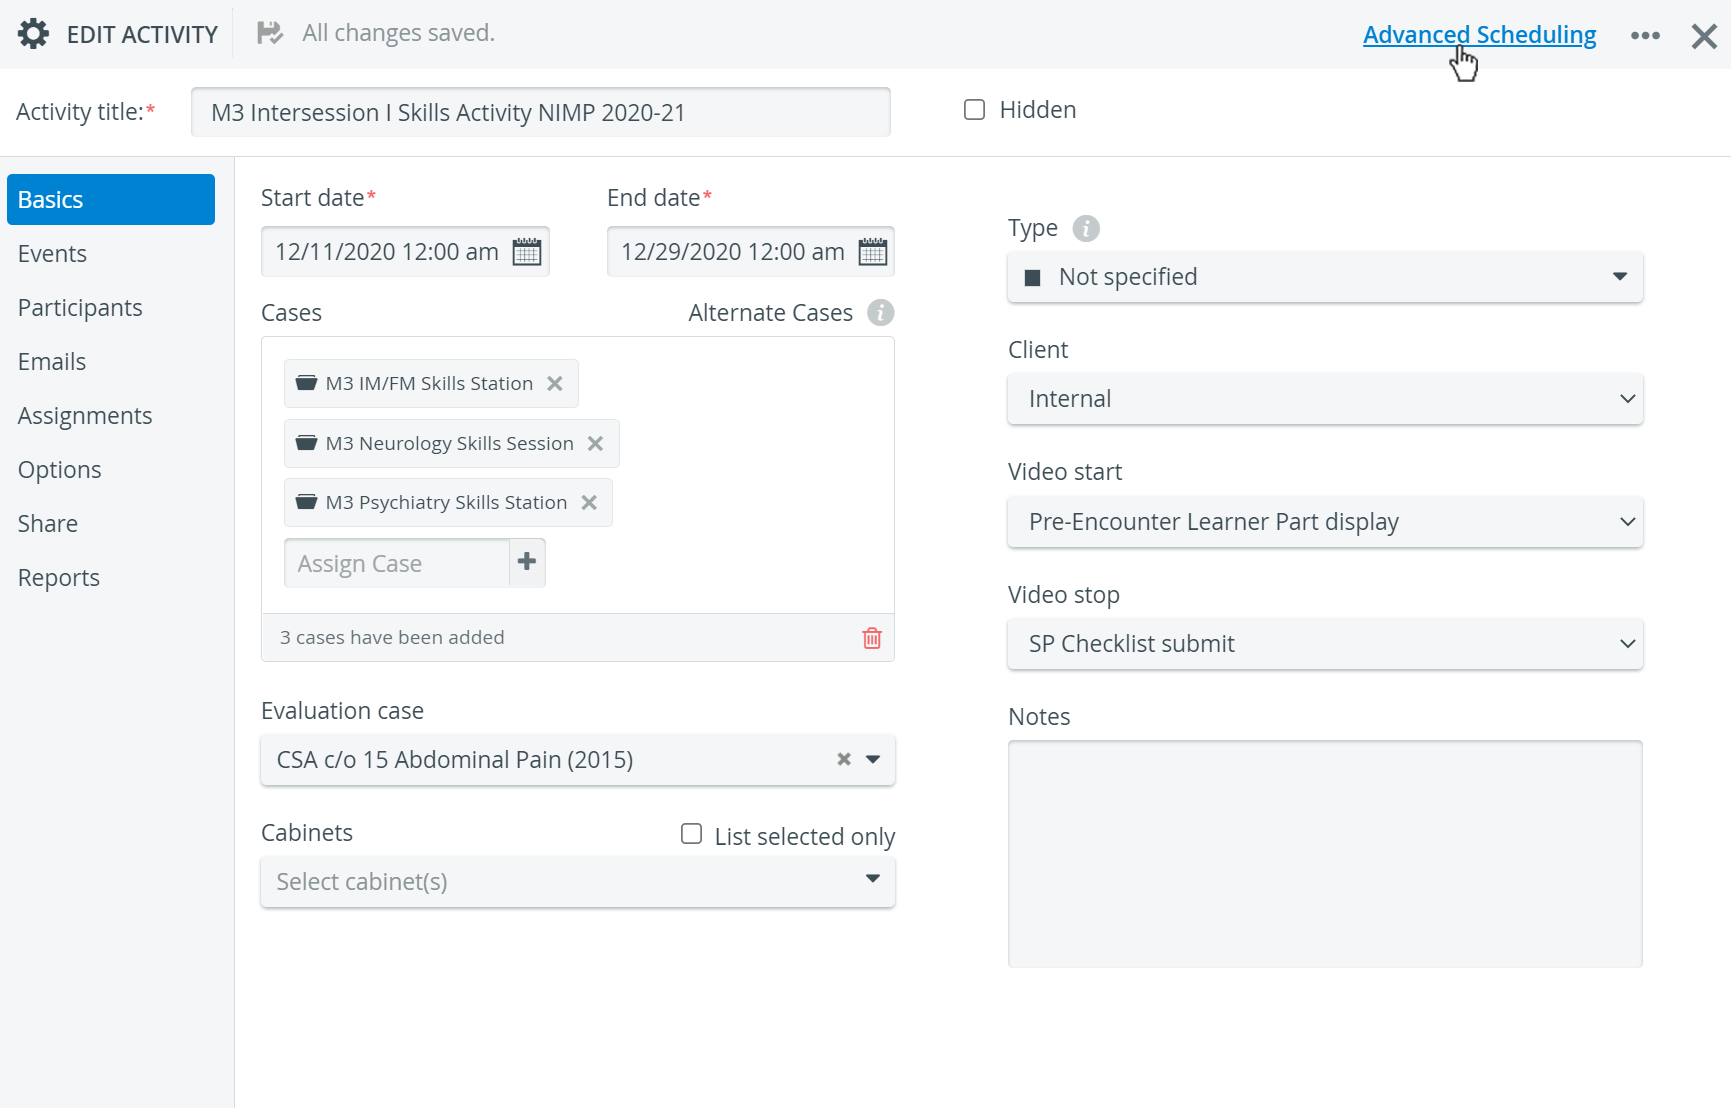
Users with combined Activity Manager + SRP / SRP (full control) privilege can access both the editor of the Activity that was shared with them and advanced scheduling via the Advanced Scheduling link in the top-right corner of the Edit Activity pop-up window.
- Once you have named your newly created Activity, the link to Advanced Scheduling appears in the top-right corner of the Edit Activity pop-up.
NOTE: Users with only Activity Manager privilege cannot perform any actions in Advanced Scheduling.
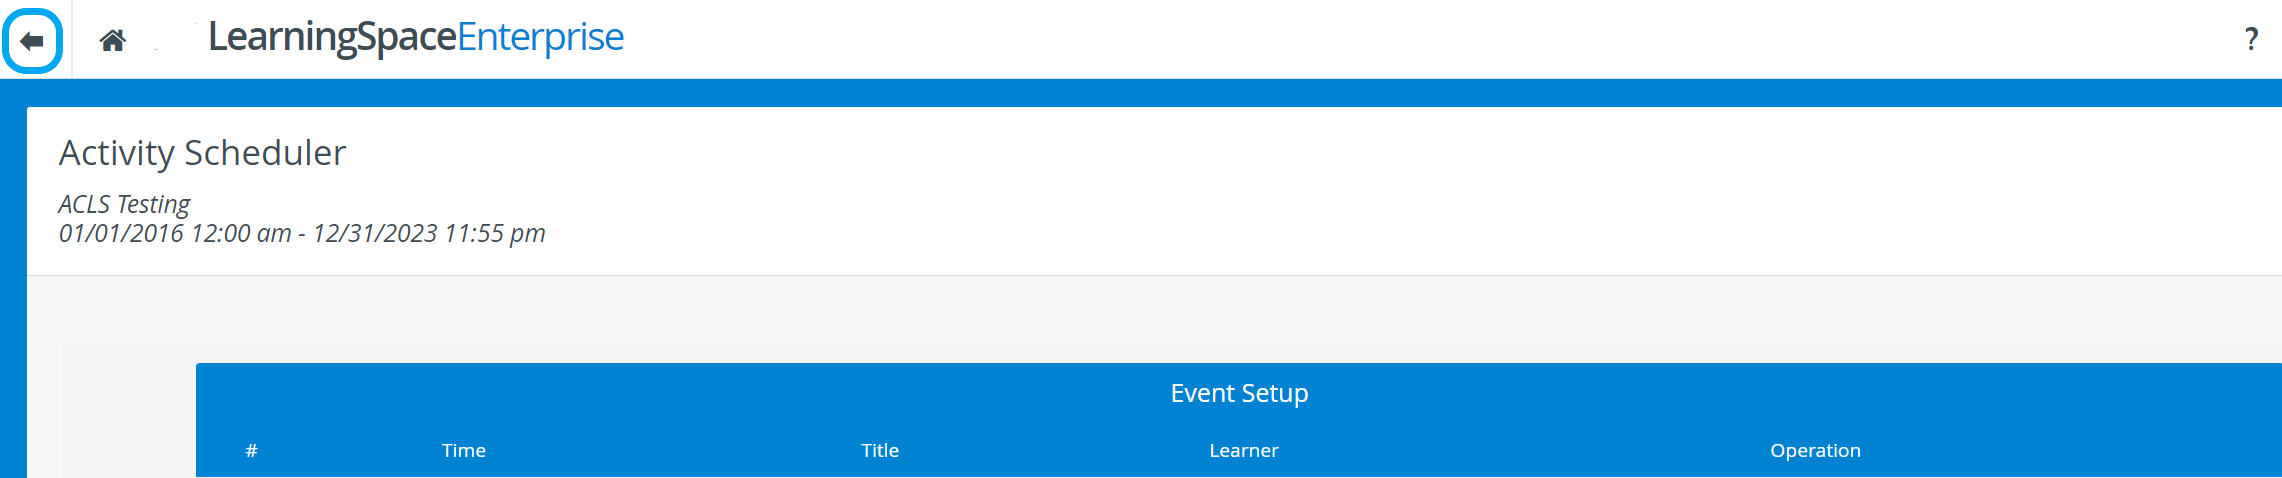
The link redirects you to the Activity Scheduler page where the user can create a new Event or edit already scheduled Events of the Activity.
Check How to Add New Events in Activity Scheduler to find out how to create or edit Events.
- To return to the Edit Activity pop-up, click the backward arrow in the top-left corner of the screen.
When editing a Calendar Event
Through the Calendar
For users with SRP or SRP (full control) privilege, the Activity Scheduler page can be accessed via the Calendar module.
- Double-click the selected Event in the calendar.
The Edit Event pop-up of the Calendar module opens.
Click the Advanced Scheduling link in the top-right corner near the close window icon.
You will be redirected to the Activity Scheduler page where your selected calendar Event is highlighted in yellow.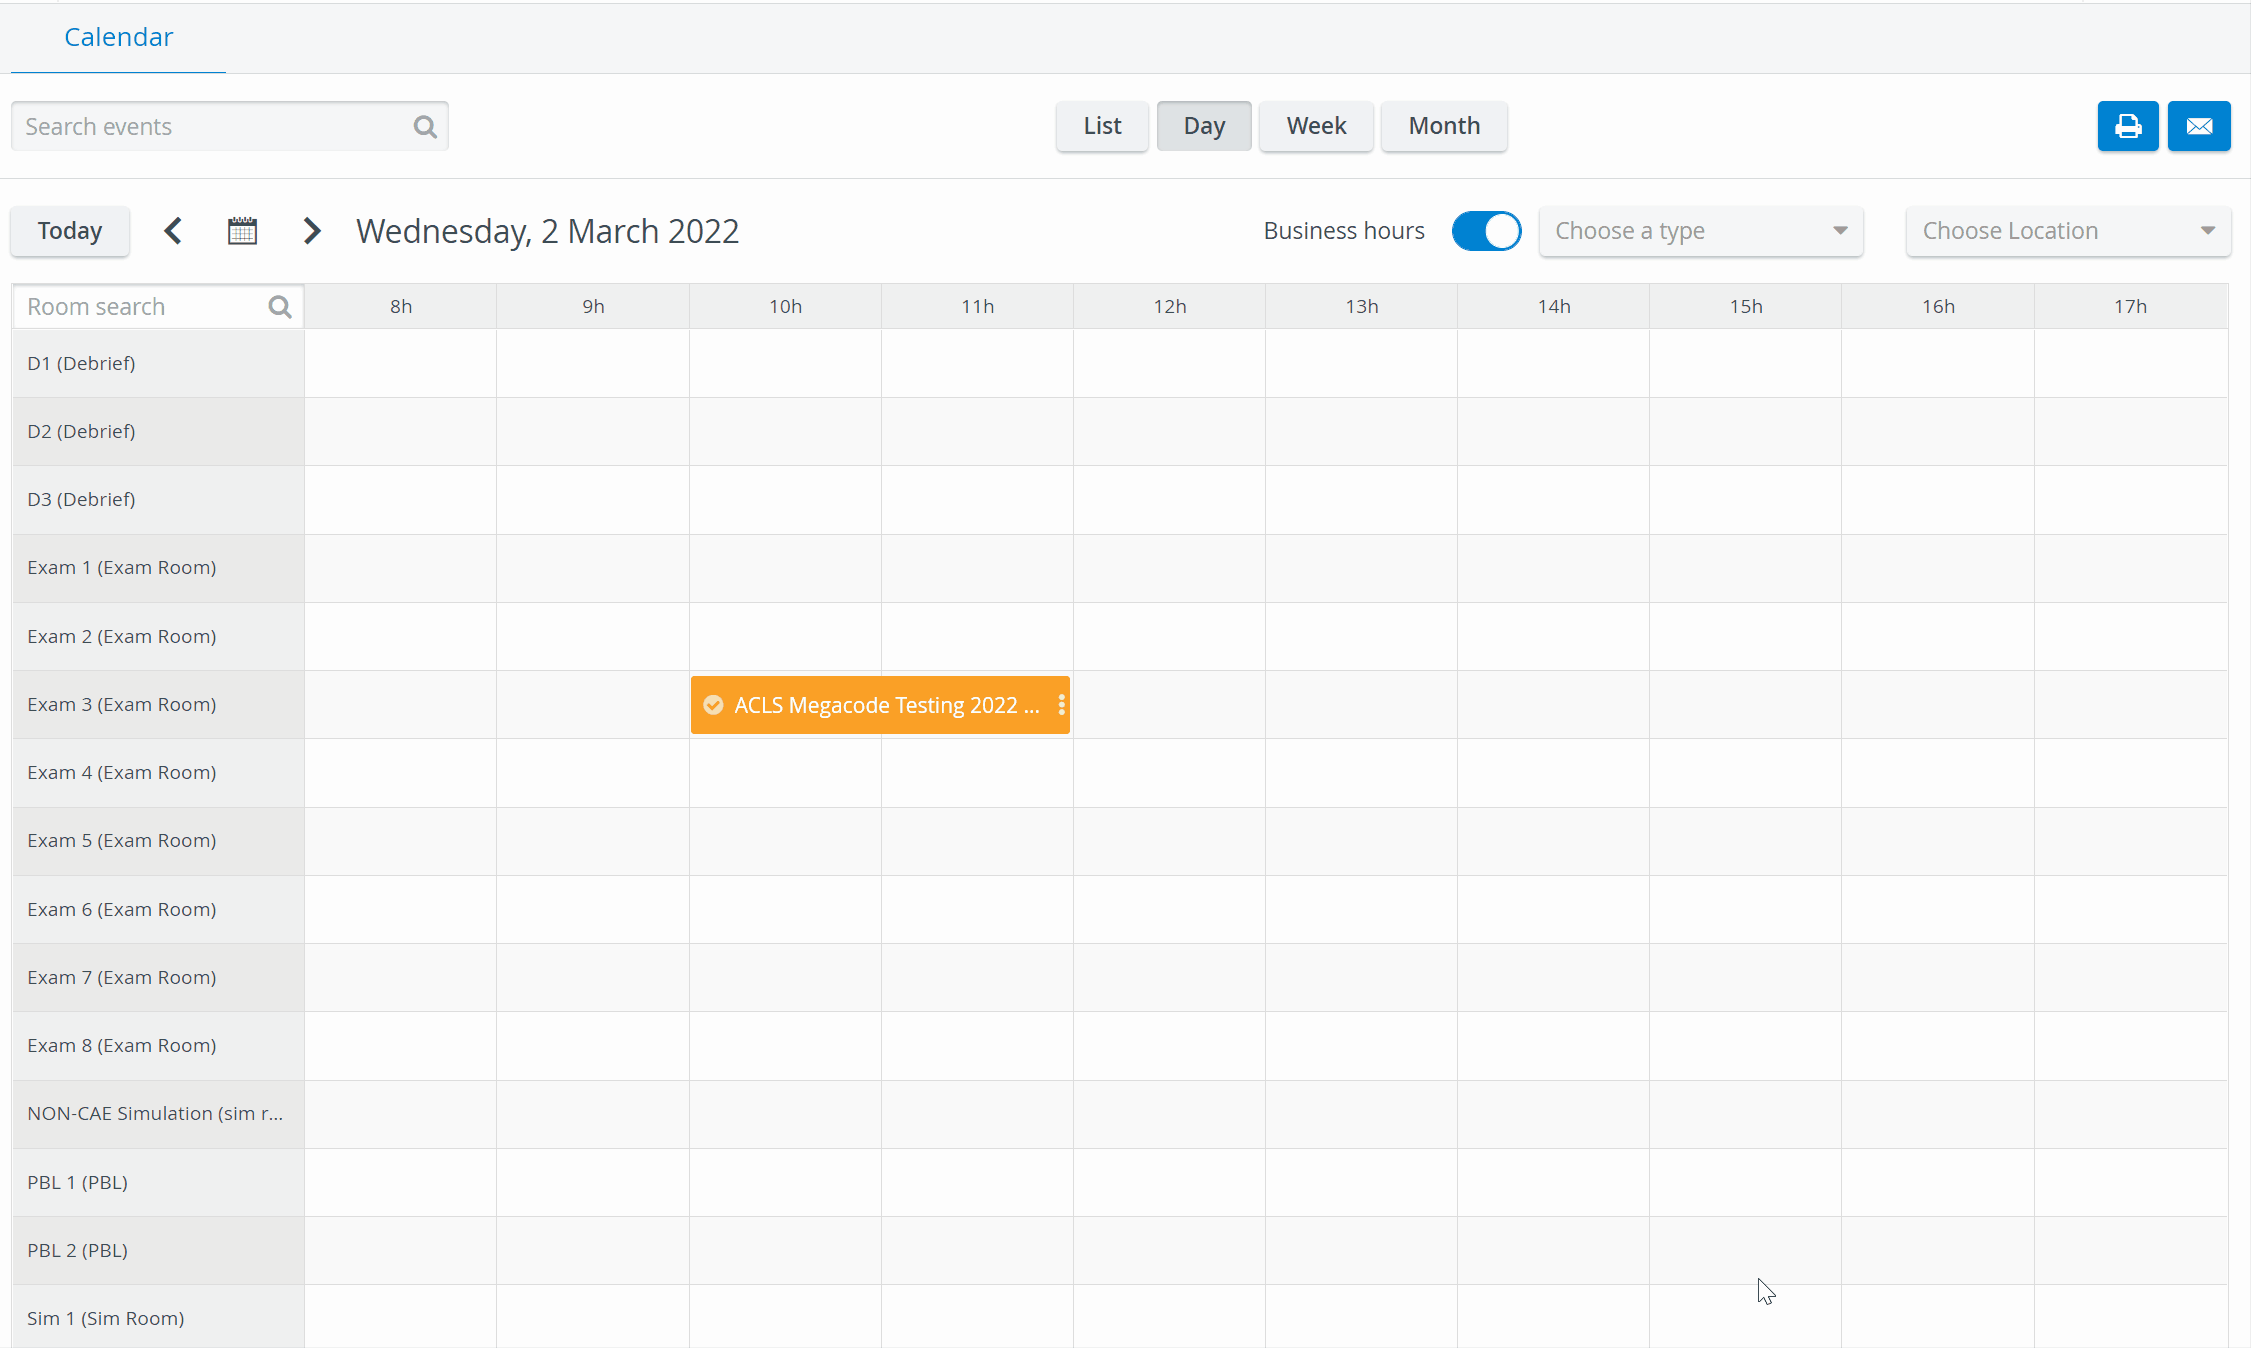
You will also see every other Event scheduled for the Activity. You can edit your current Event, but you can also create new ones.
Switching to Classic View
Through Classic View
For users with SRP or SRP (full control) privilege, the Activity Scheduler page can also be accessed through Classic View.
- Hover over and click the Switch to Classic View double-headed arrow in the top-right corner of your dashboard.
You will be redirected to Classic View.
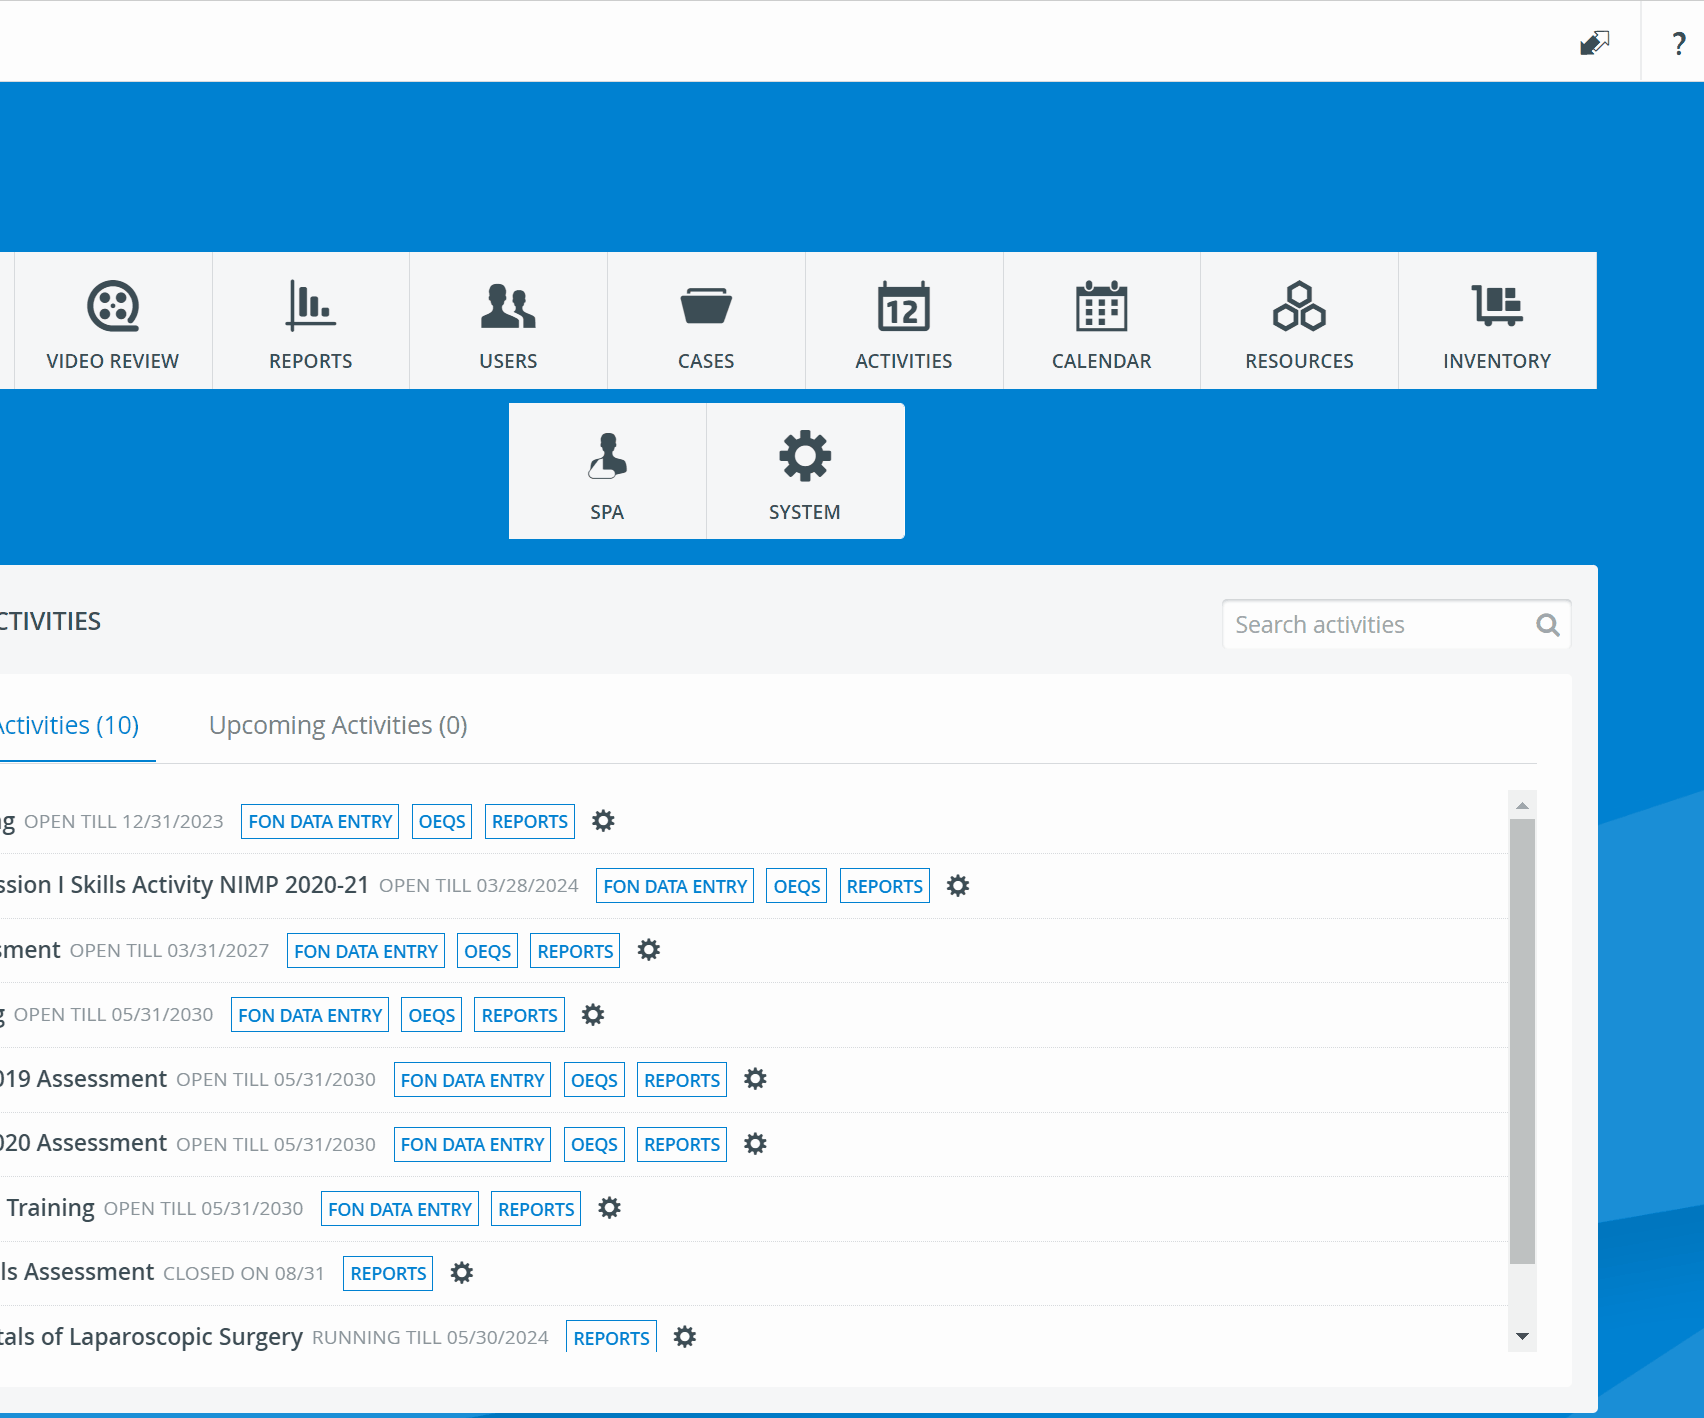
- At Activity Management Tools, click on Schedule to access Advanced Scheduling.
A list-view calendar appears displaying every scheduled Event of the current week.
You can go back to last week's Events or proceed to the next with the Previous and Next buttons on the sides. Scroll down to the bottom of the page to select Activities.
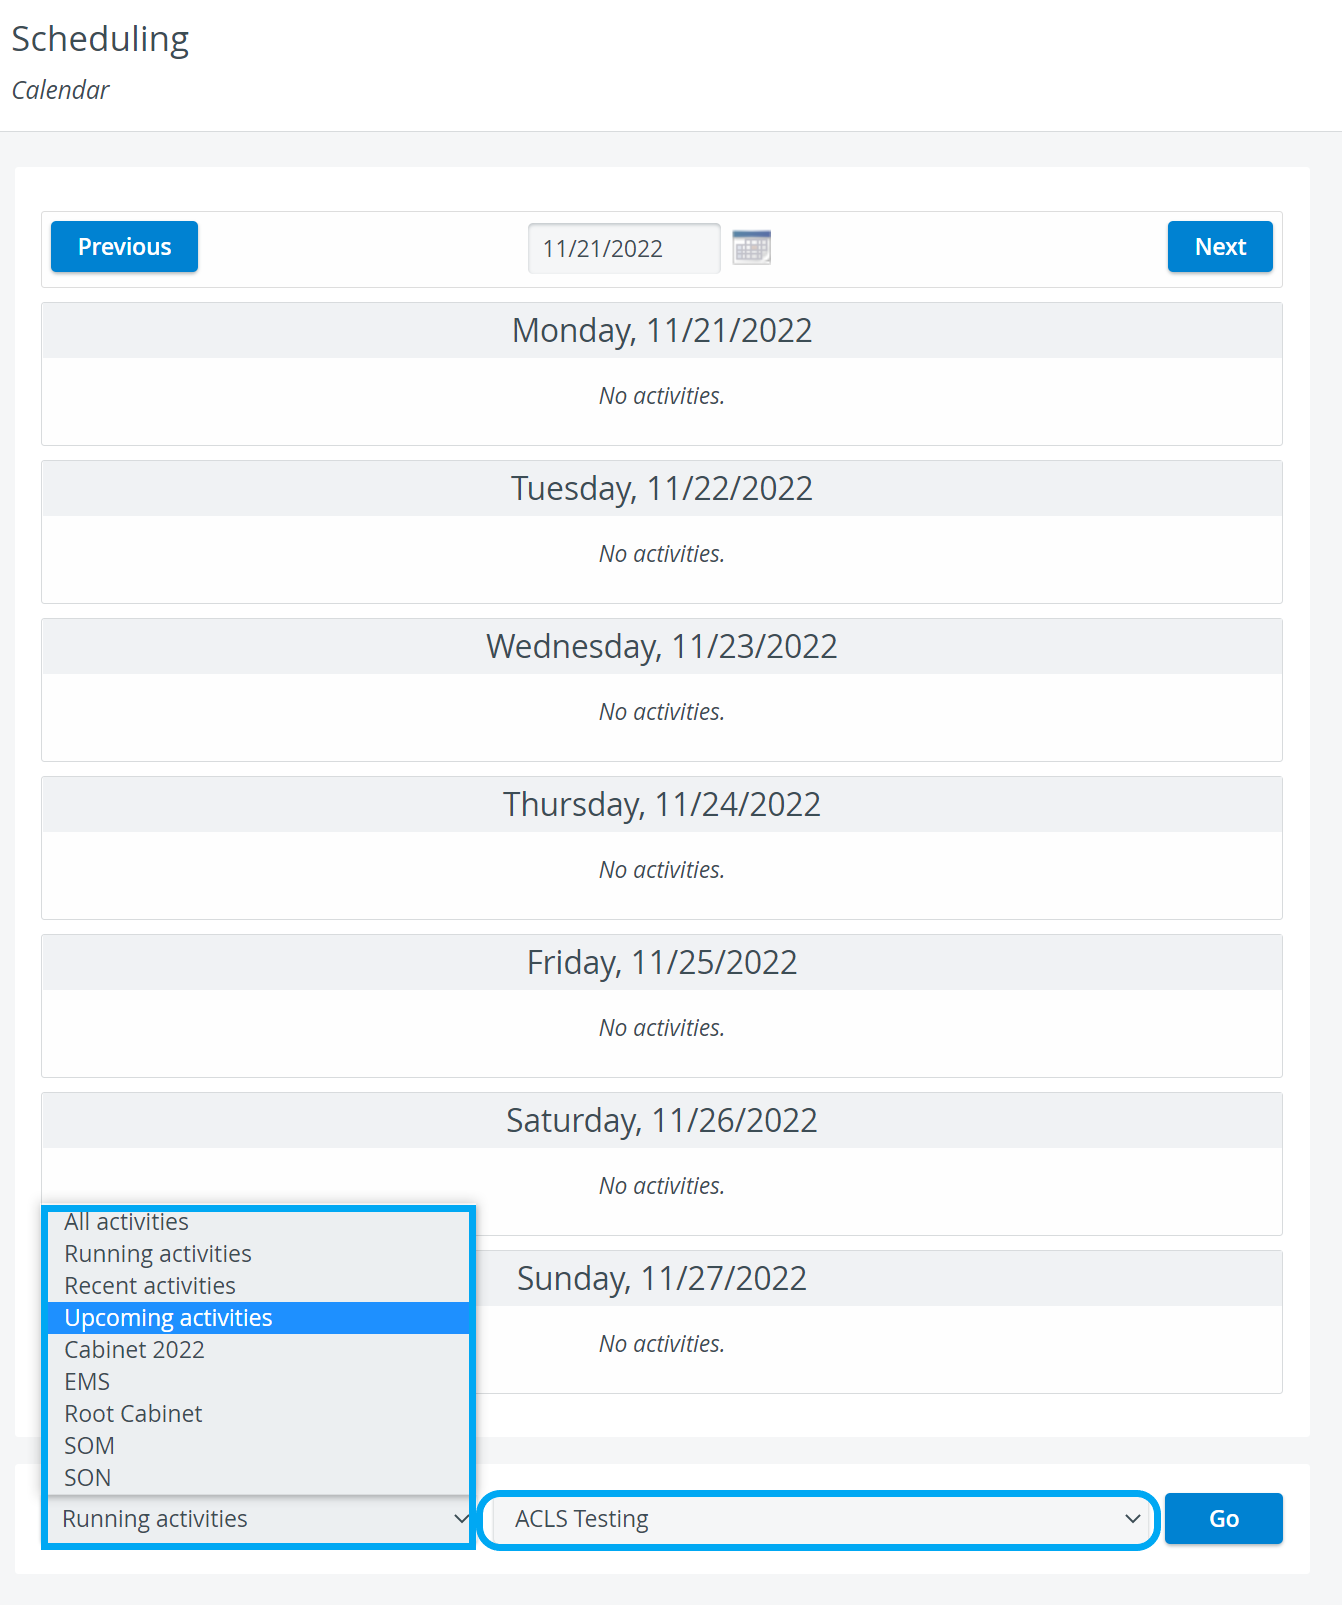
The first drop-down contains the following system-defined filters that filter Activities in the second drop-down.
- All Activities: every Activity can be selected from the second drop-down.
- Running Activities: only running Activities can be selected from the second drop-down.
- Recent Activities
- Upcoming Activities: only not-yet running Activities can be selected from the second drop-down.
![]() Activity cabinets are listed too that can also be applied as filters.
Activity cabinets are listed too that can also be applied as filters.
SRP User Restrictions
Users with SRP privilege can only access the Activities that were shared with them and can only edit them if shared with them for reading and writing.
4..After selecting your Activity, click on the Go button to arrive at the Activity Scheduler page.
Find further information about Advanced Scheduling under Notions and Concepts.
For further information, visit our Advanced Scheduling pages, and view our Activity Manager Training Videos.
Overview
Content Tools