Page History
| Info |
|---|
Available to User Managers or Admins |
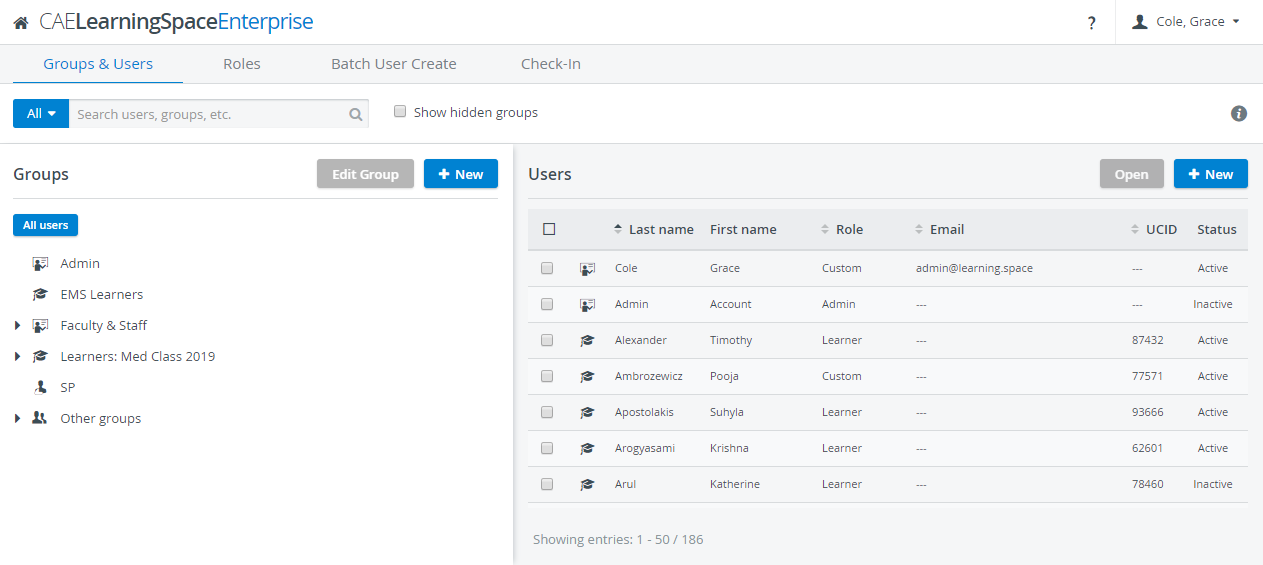
Entering Users, you land on the Groups & Users tab.
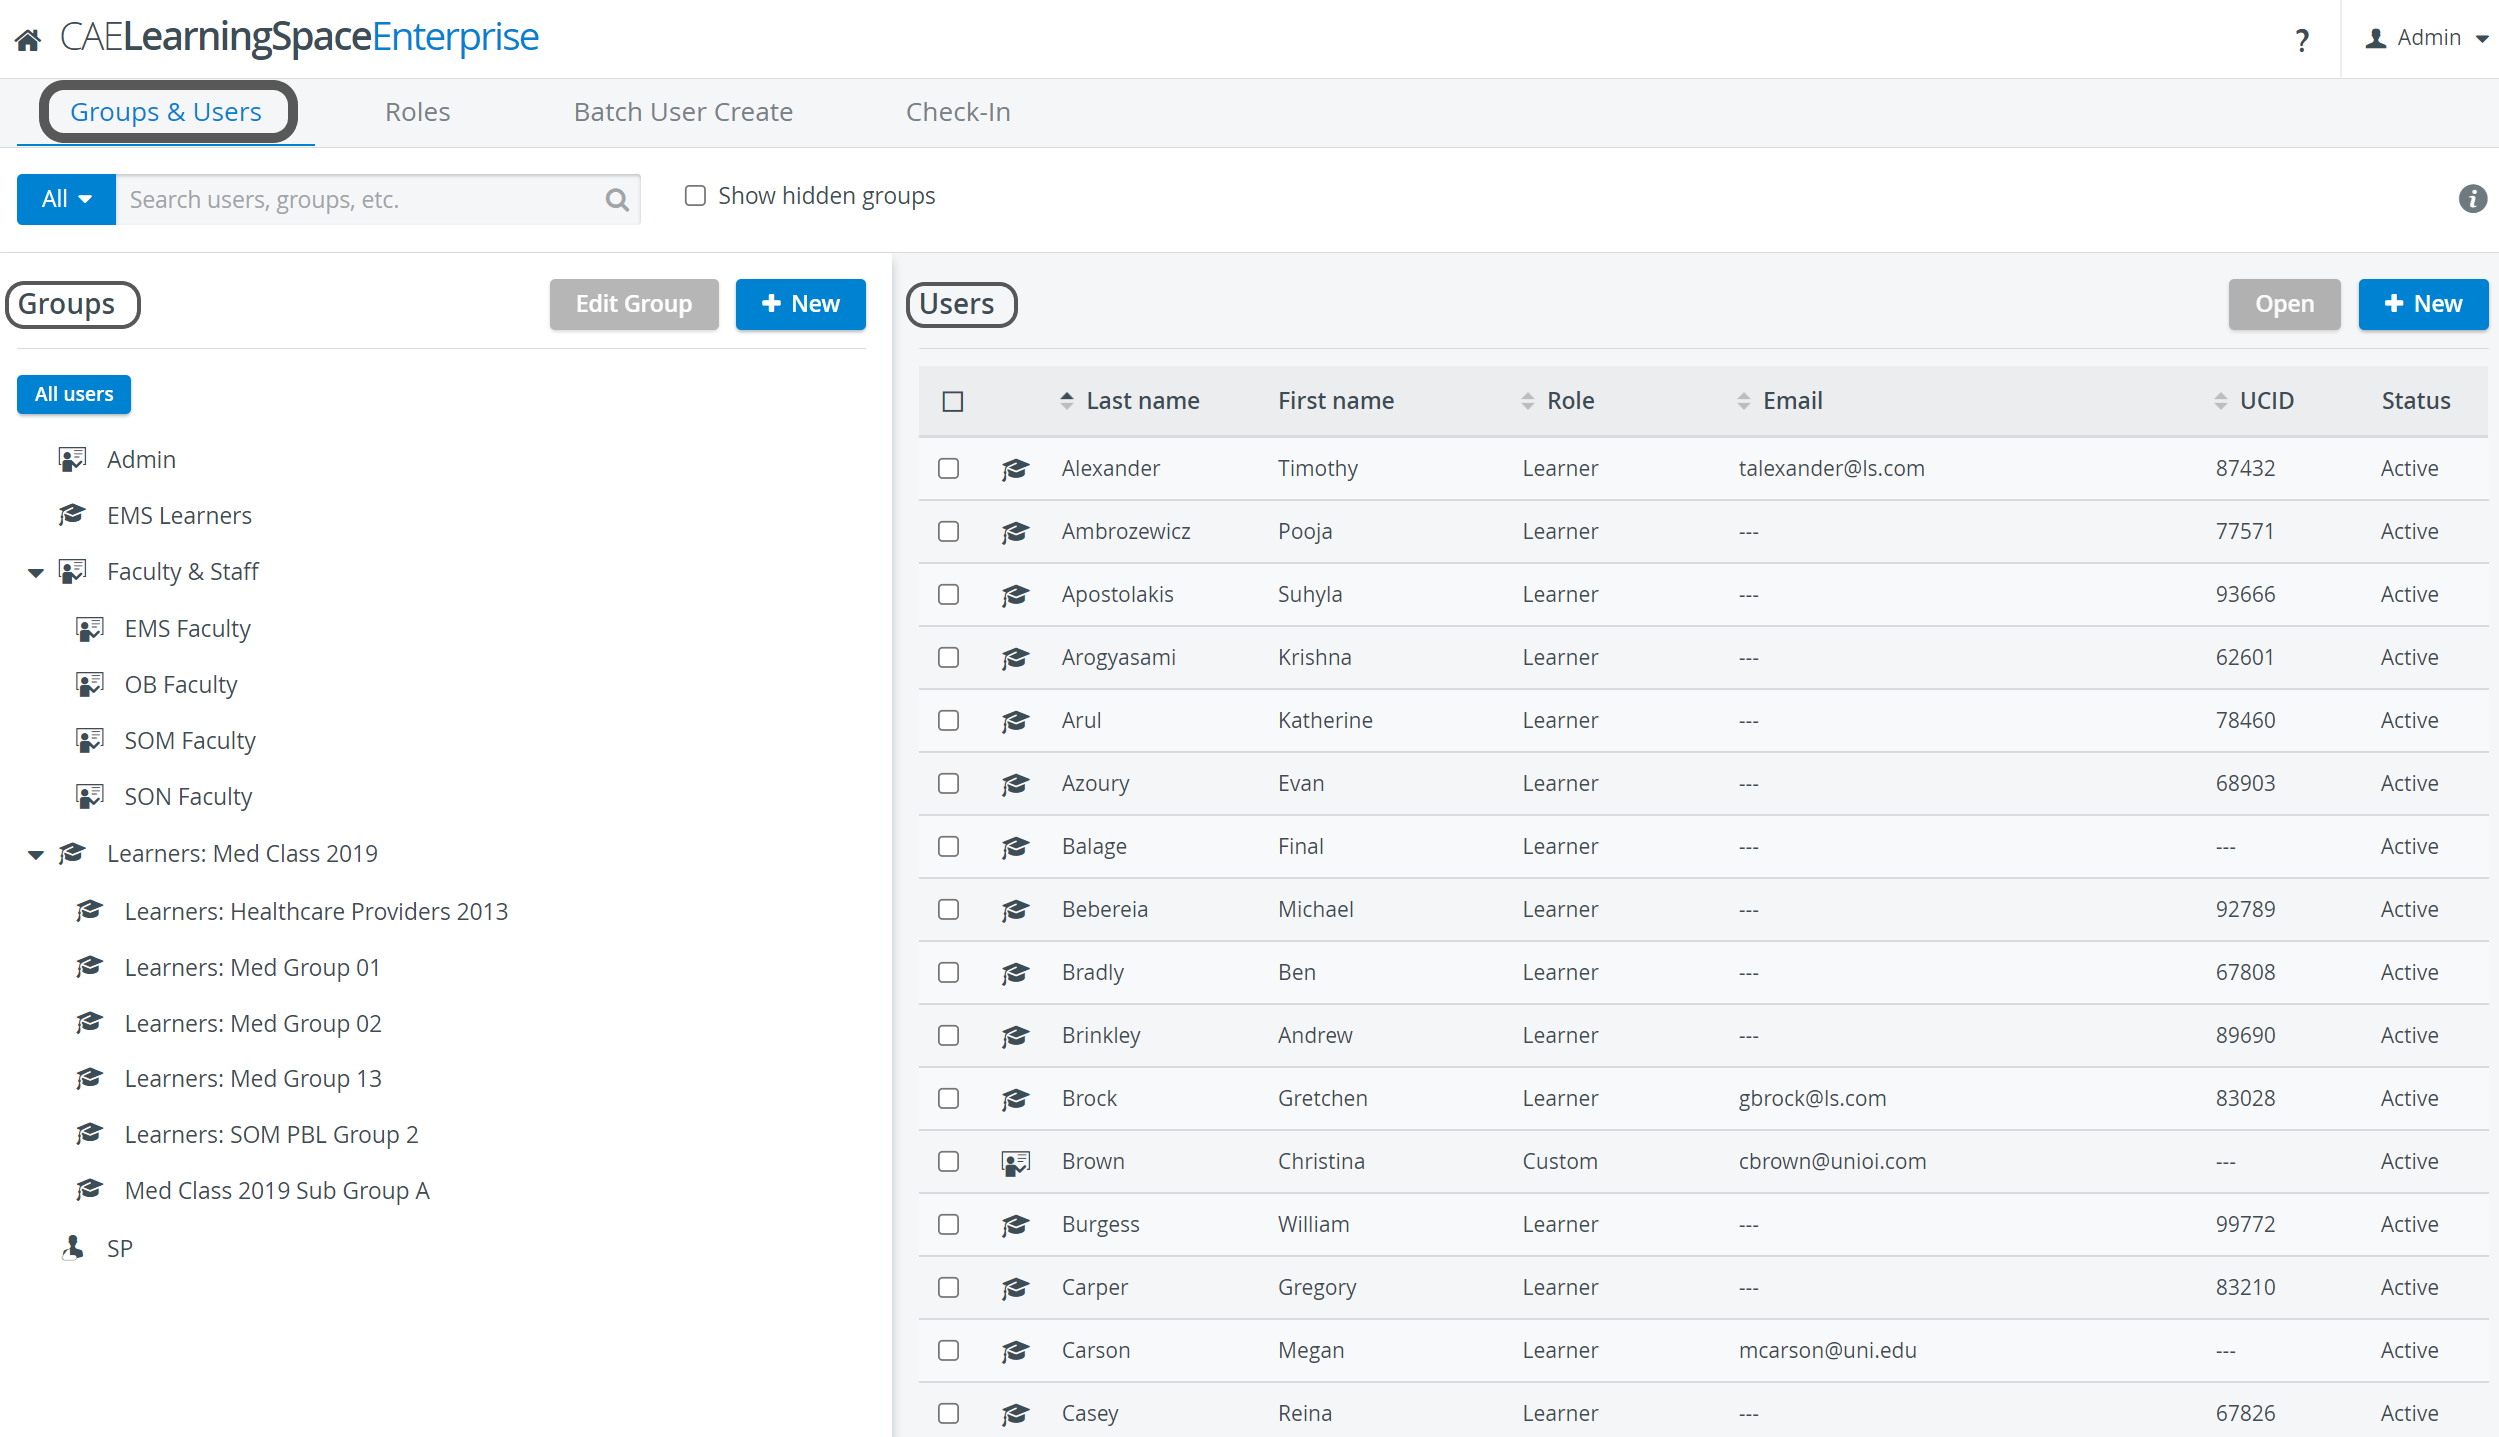
Groups and users are listed on the left and right side of the page, respectively.
This section explains:
| Table of Contents |
|---|
Pictograms
| Tip | ||
|---|---|---|
| ||
The system distinguishes between different kinds of users and groups with the help of pictograms. Hover over the information tooltip ( 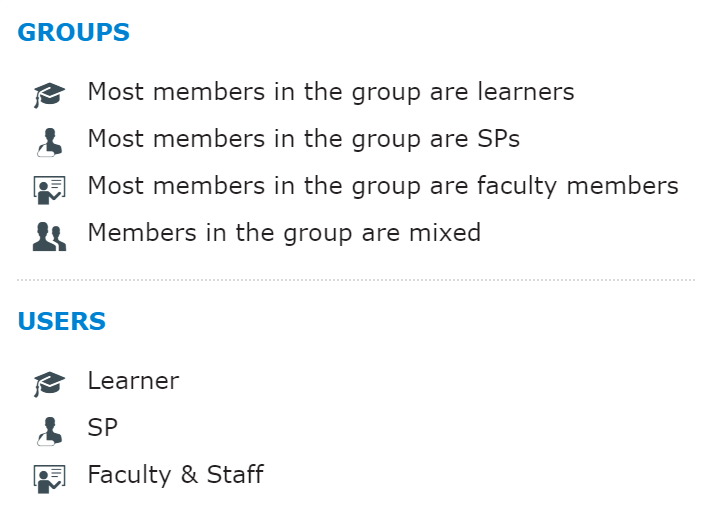 |
Smart Search Bar
With the smart search bar, you can search users by categories or other personal details.
Click the blue All drop-down to open the search menu where you can set conditions.
You can filter by type of users: Learner, Faculty, and SPs.

| Tip |
|---|
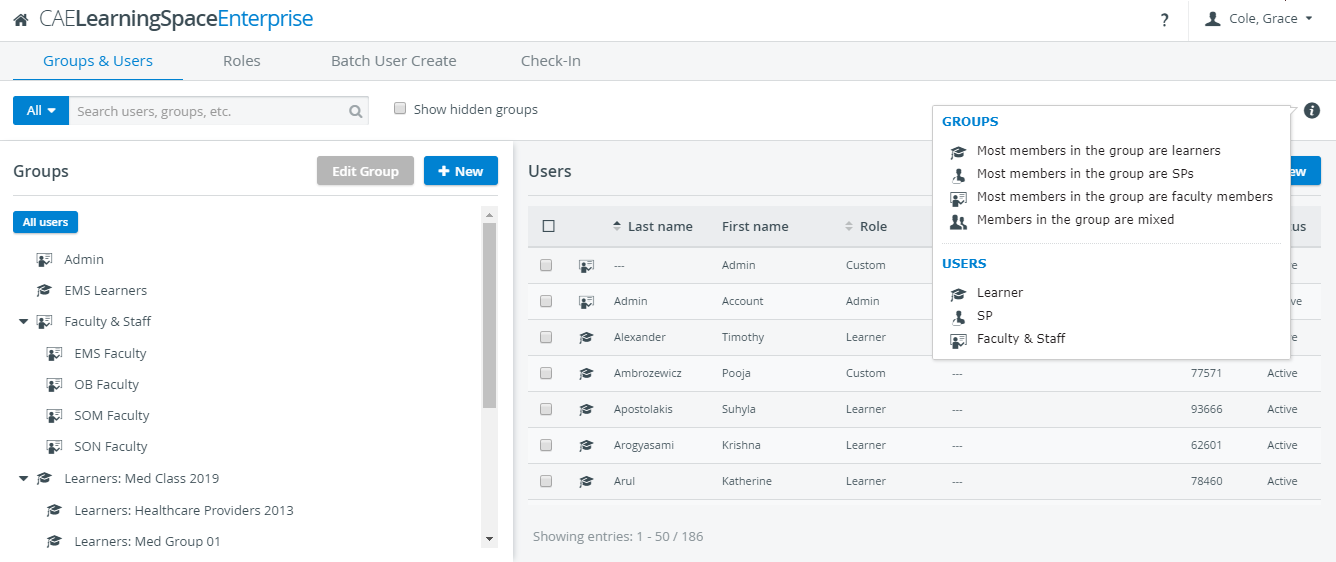
Here, pictograms help to identify the type of results the search bar lists when you enter a search term. As the snippet illustrates, you can search by user name, group, email address, UCID and even roles. |

| Tip |
|---|
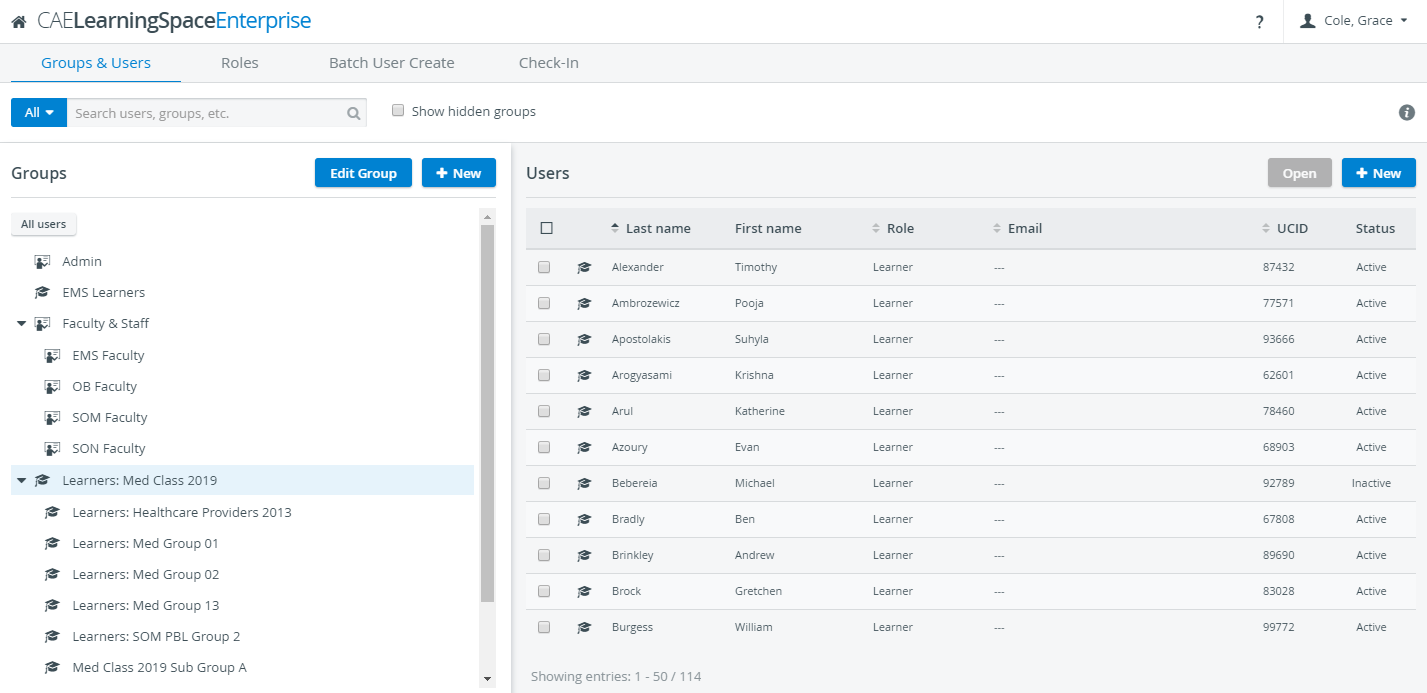
The All users button (located on the left under the smart search bar) will list every user registered in the system on the right, even those who are not added to any group yet. |

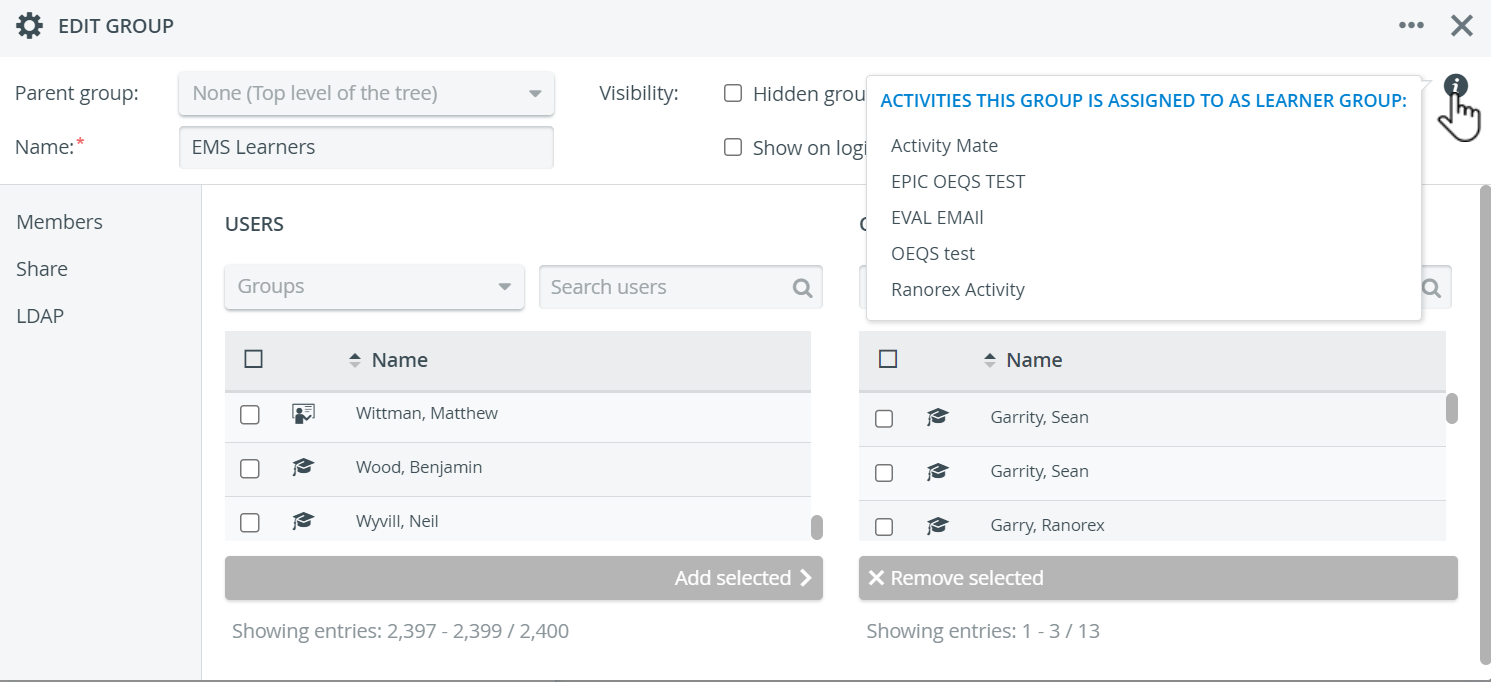
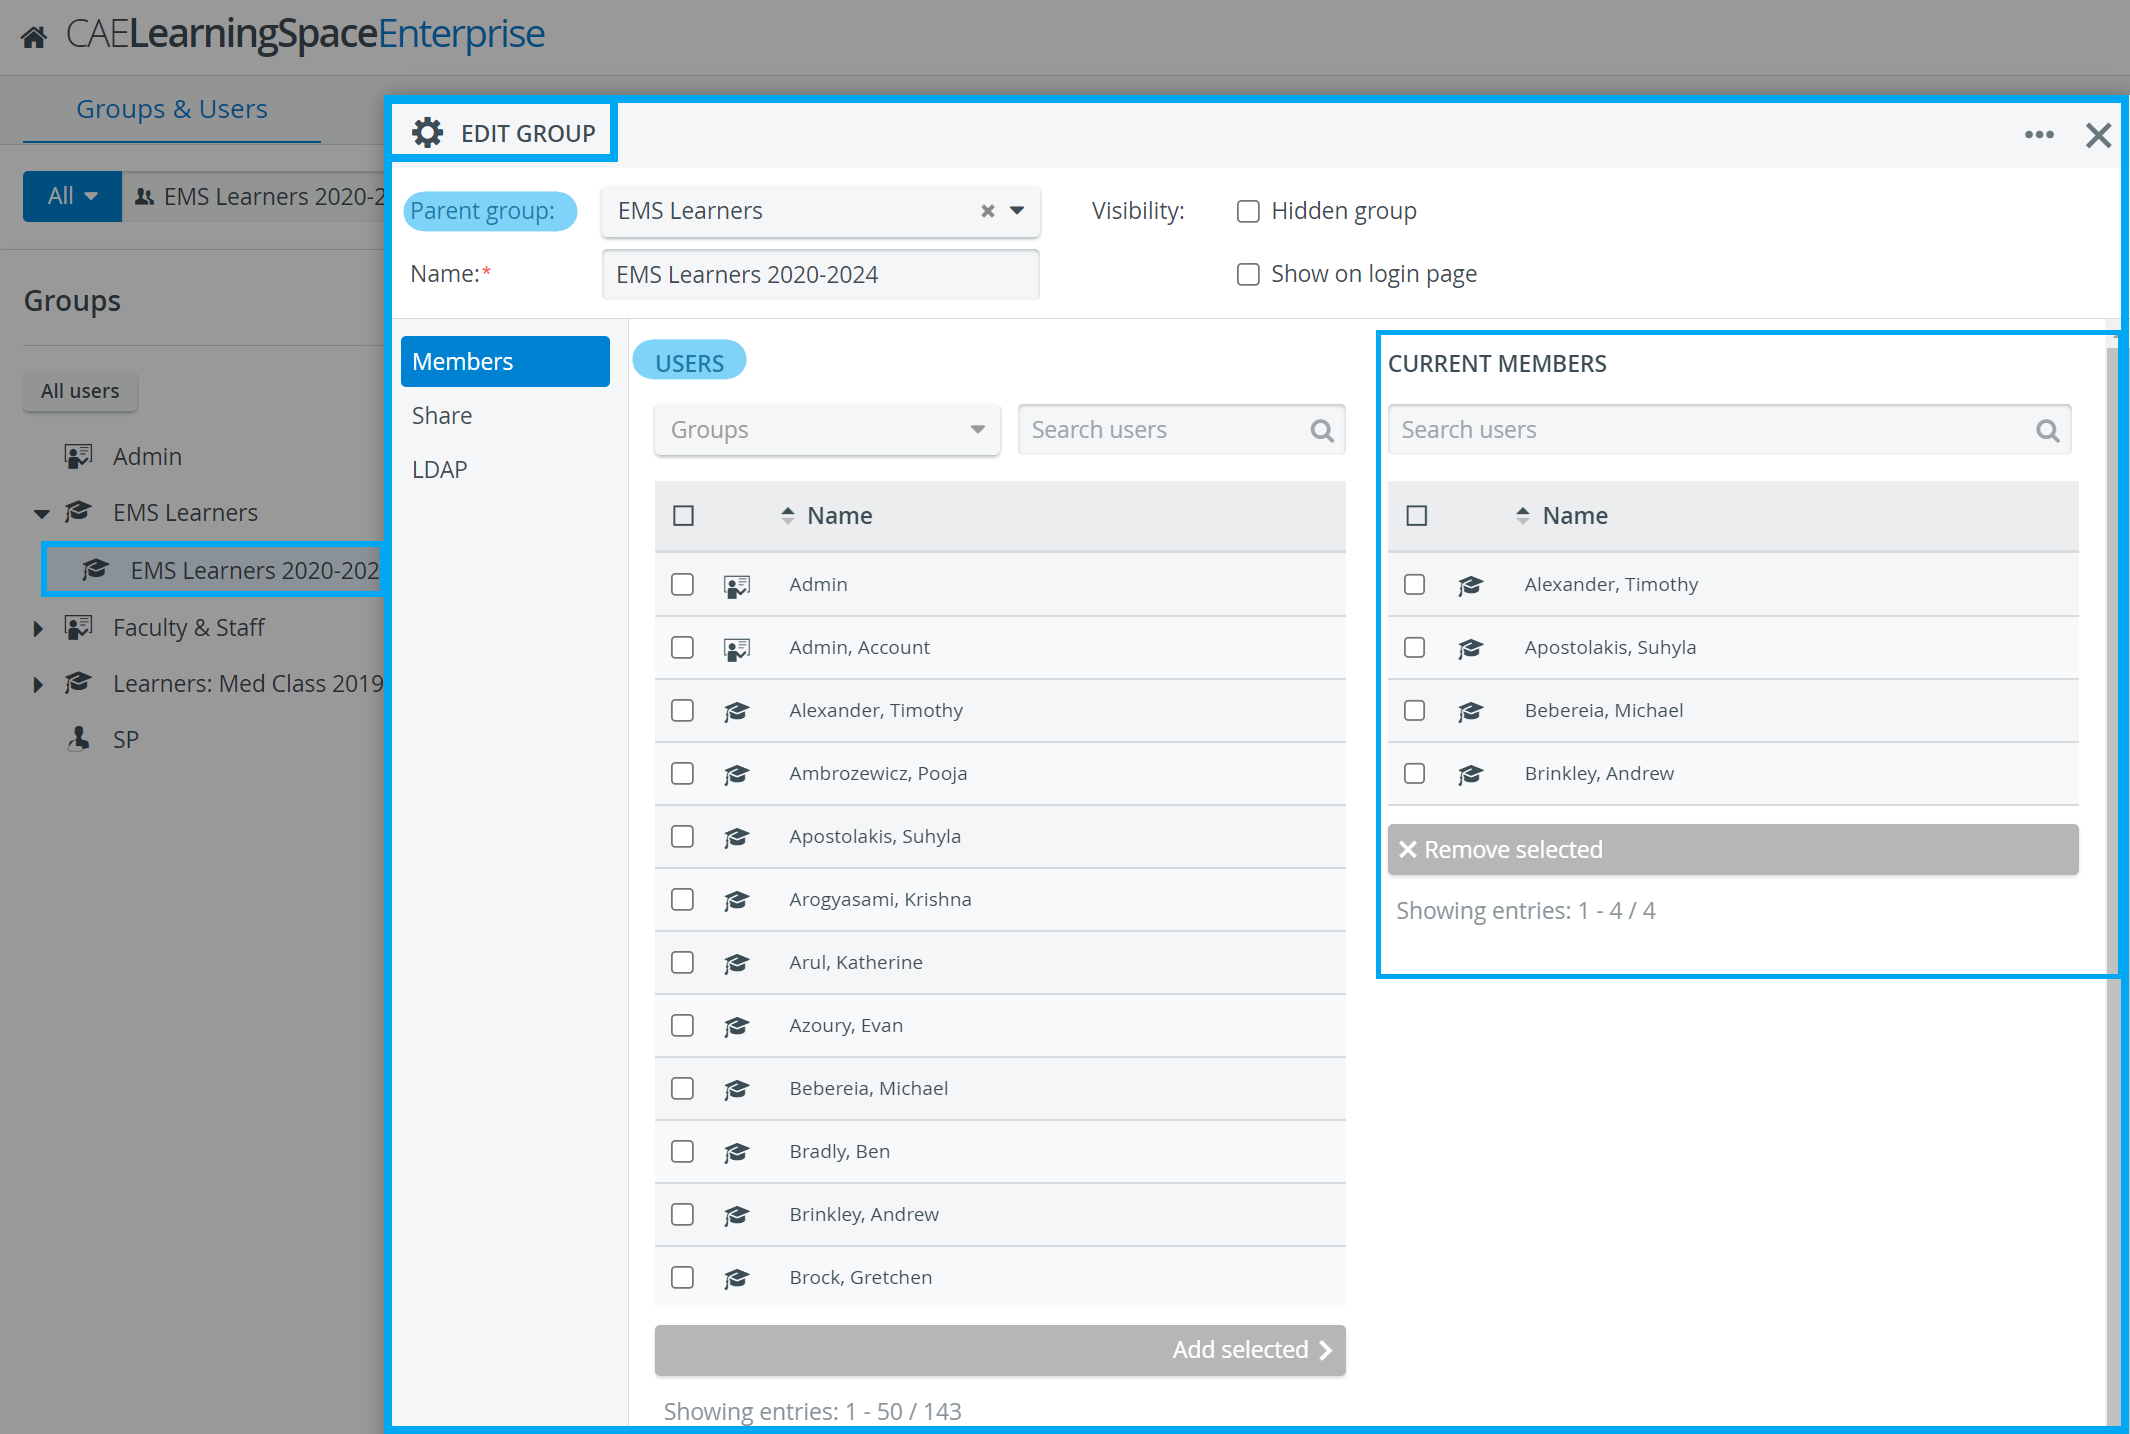
![]() The info icon within the Edit Group pop-up lists all Activities the given group is assigned to as a Participant group (if to any).
The info icon within the Edit Group pop-up lists all Activities the given group is assigned to as a Participant group (if to any).
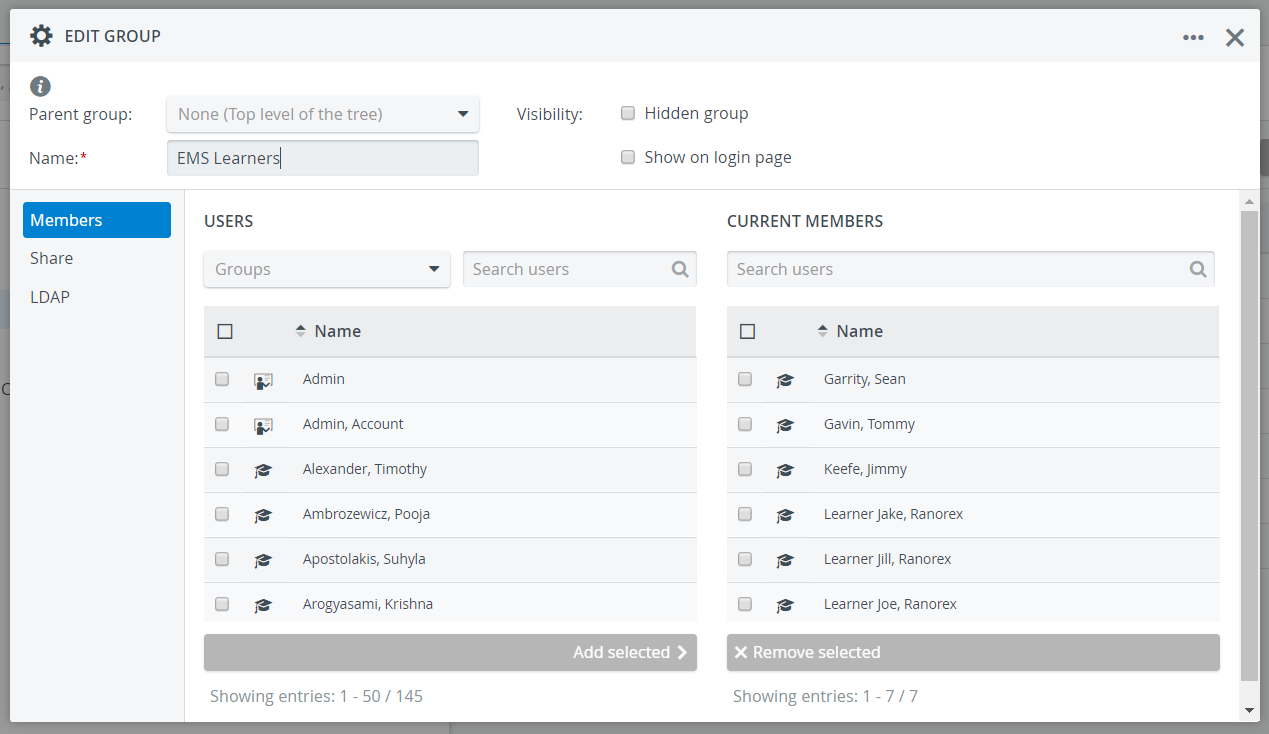
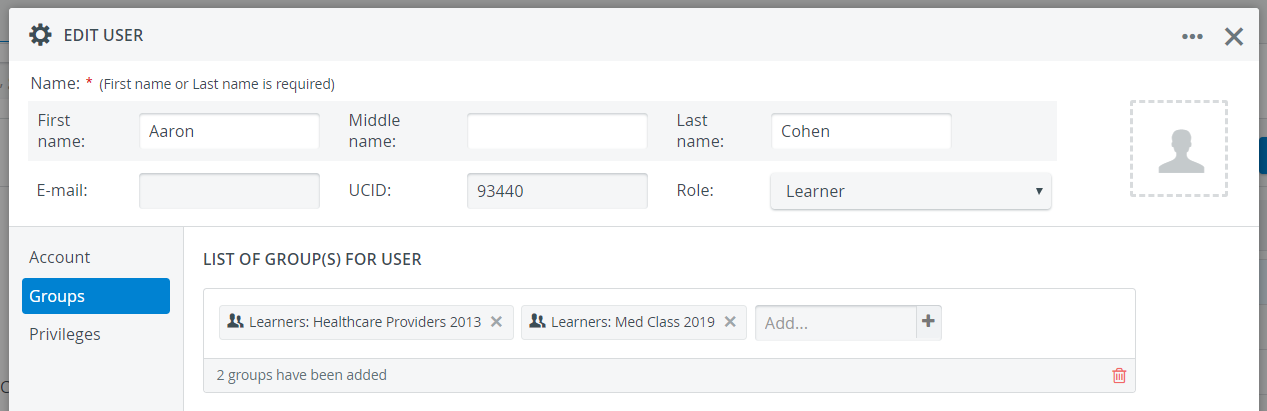
Subgroups
New user groups can be created within already existing larger groups. In such cases, the larger main group is the 'parent' group of the smaller 'child' or subgroup,
including all members of the main group and the subgroup - but not vice versa.
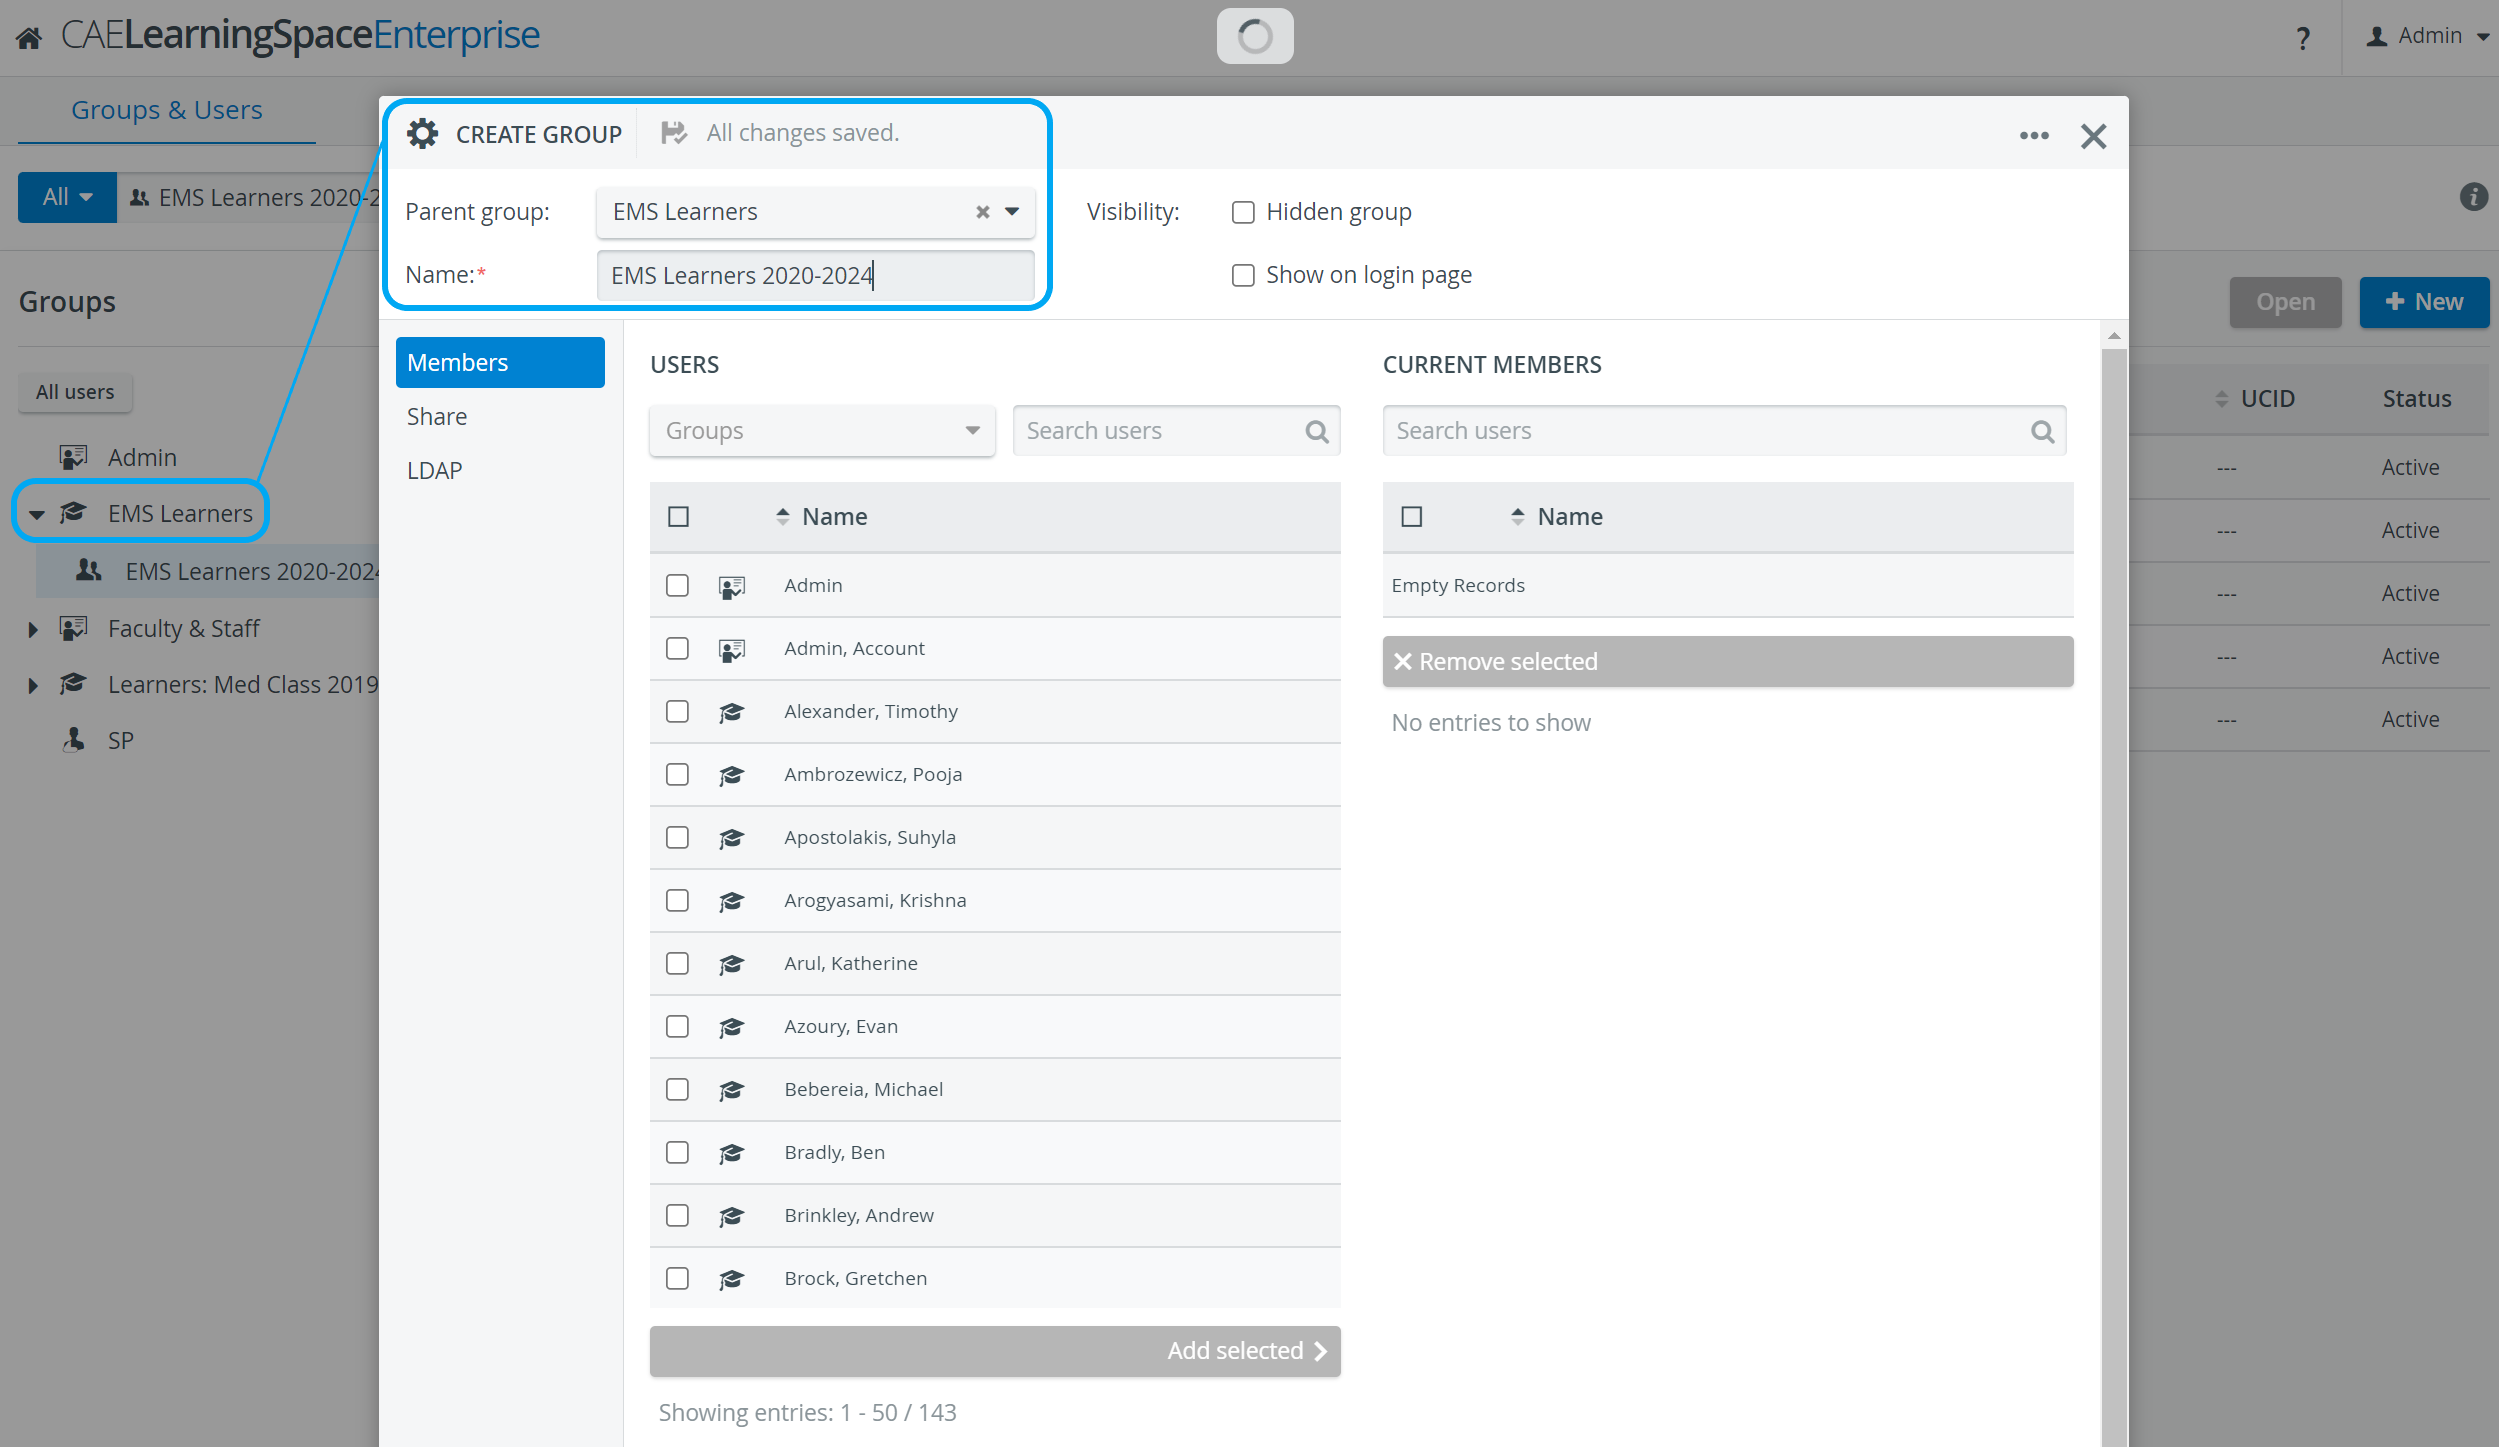
EXAMPLES:
User subgroups can be useful in case
- you wish to do differentiated examinations, where only students who achieved certain results should/should not participate
- a certain class of students (or any other type of LS users) needs to be 'archived' (i.e. hidden from the user interface) but their stored data should still be available in the system
- you wish to add only a subgroup of learners to an event (selected from the Participants dropdown of the Edit Event window)

| Warning |
|---|
These user subgroups are not equivalent to the evaluator/evaluee subgroups created on the Assignments tab of the Edit Activity window. (See How to Create Evaluator-Evaluee Subgroup Assignments) |
| Info | ||||||||||||
|---|---|---|---|---|---|---|---|---|---|---|---|---|
| ||||||||||||
|
| Info |
|---|
Learn more on our User Manager - How to pages. |
Overview
Content Tools