Video recordings can be reviewed with respect to rooms.
The Single Room View on the Video Review page has the exact same screen setup as the SRV of the Recording module, with the following differences:
- no Intercom and Simulator widget is available
- no camera control options (PTZ etc.) are available
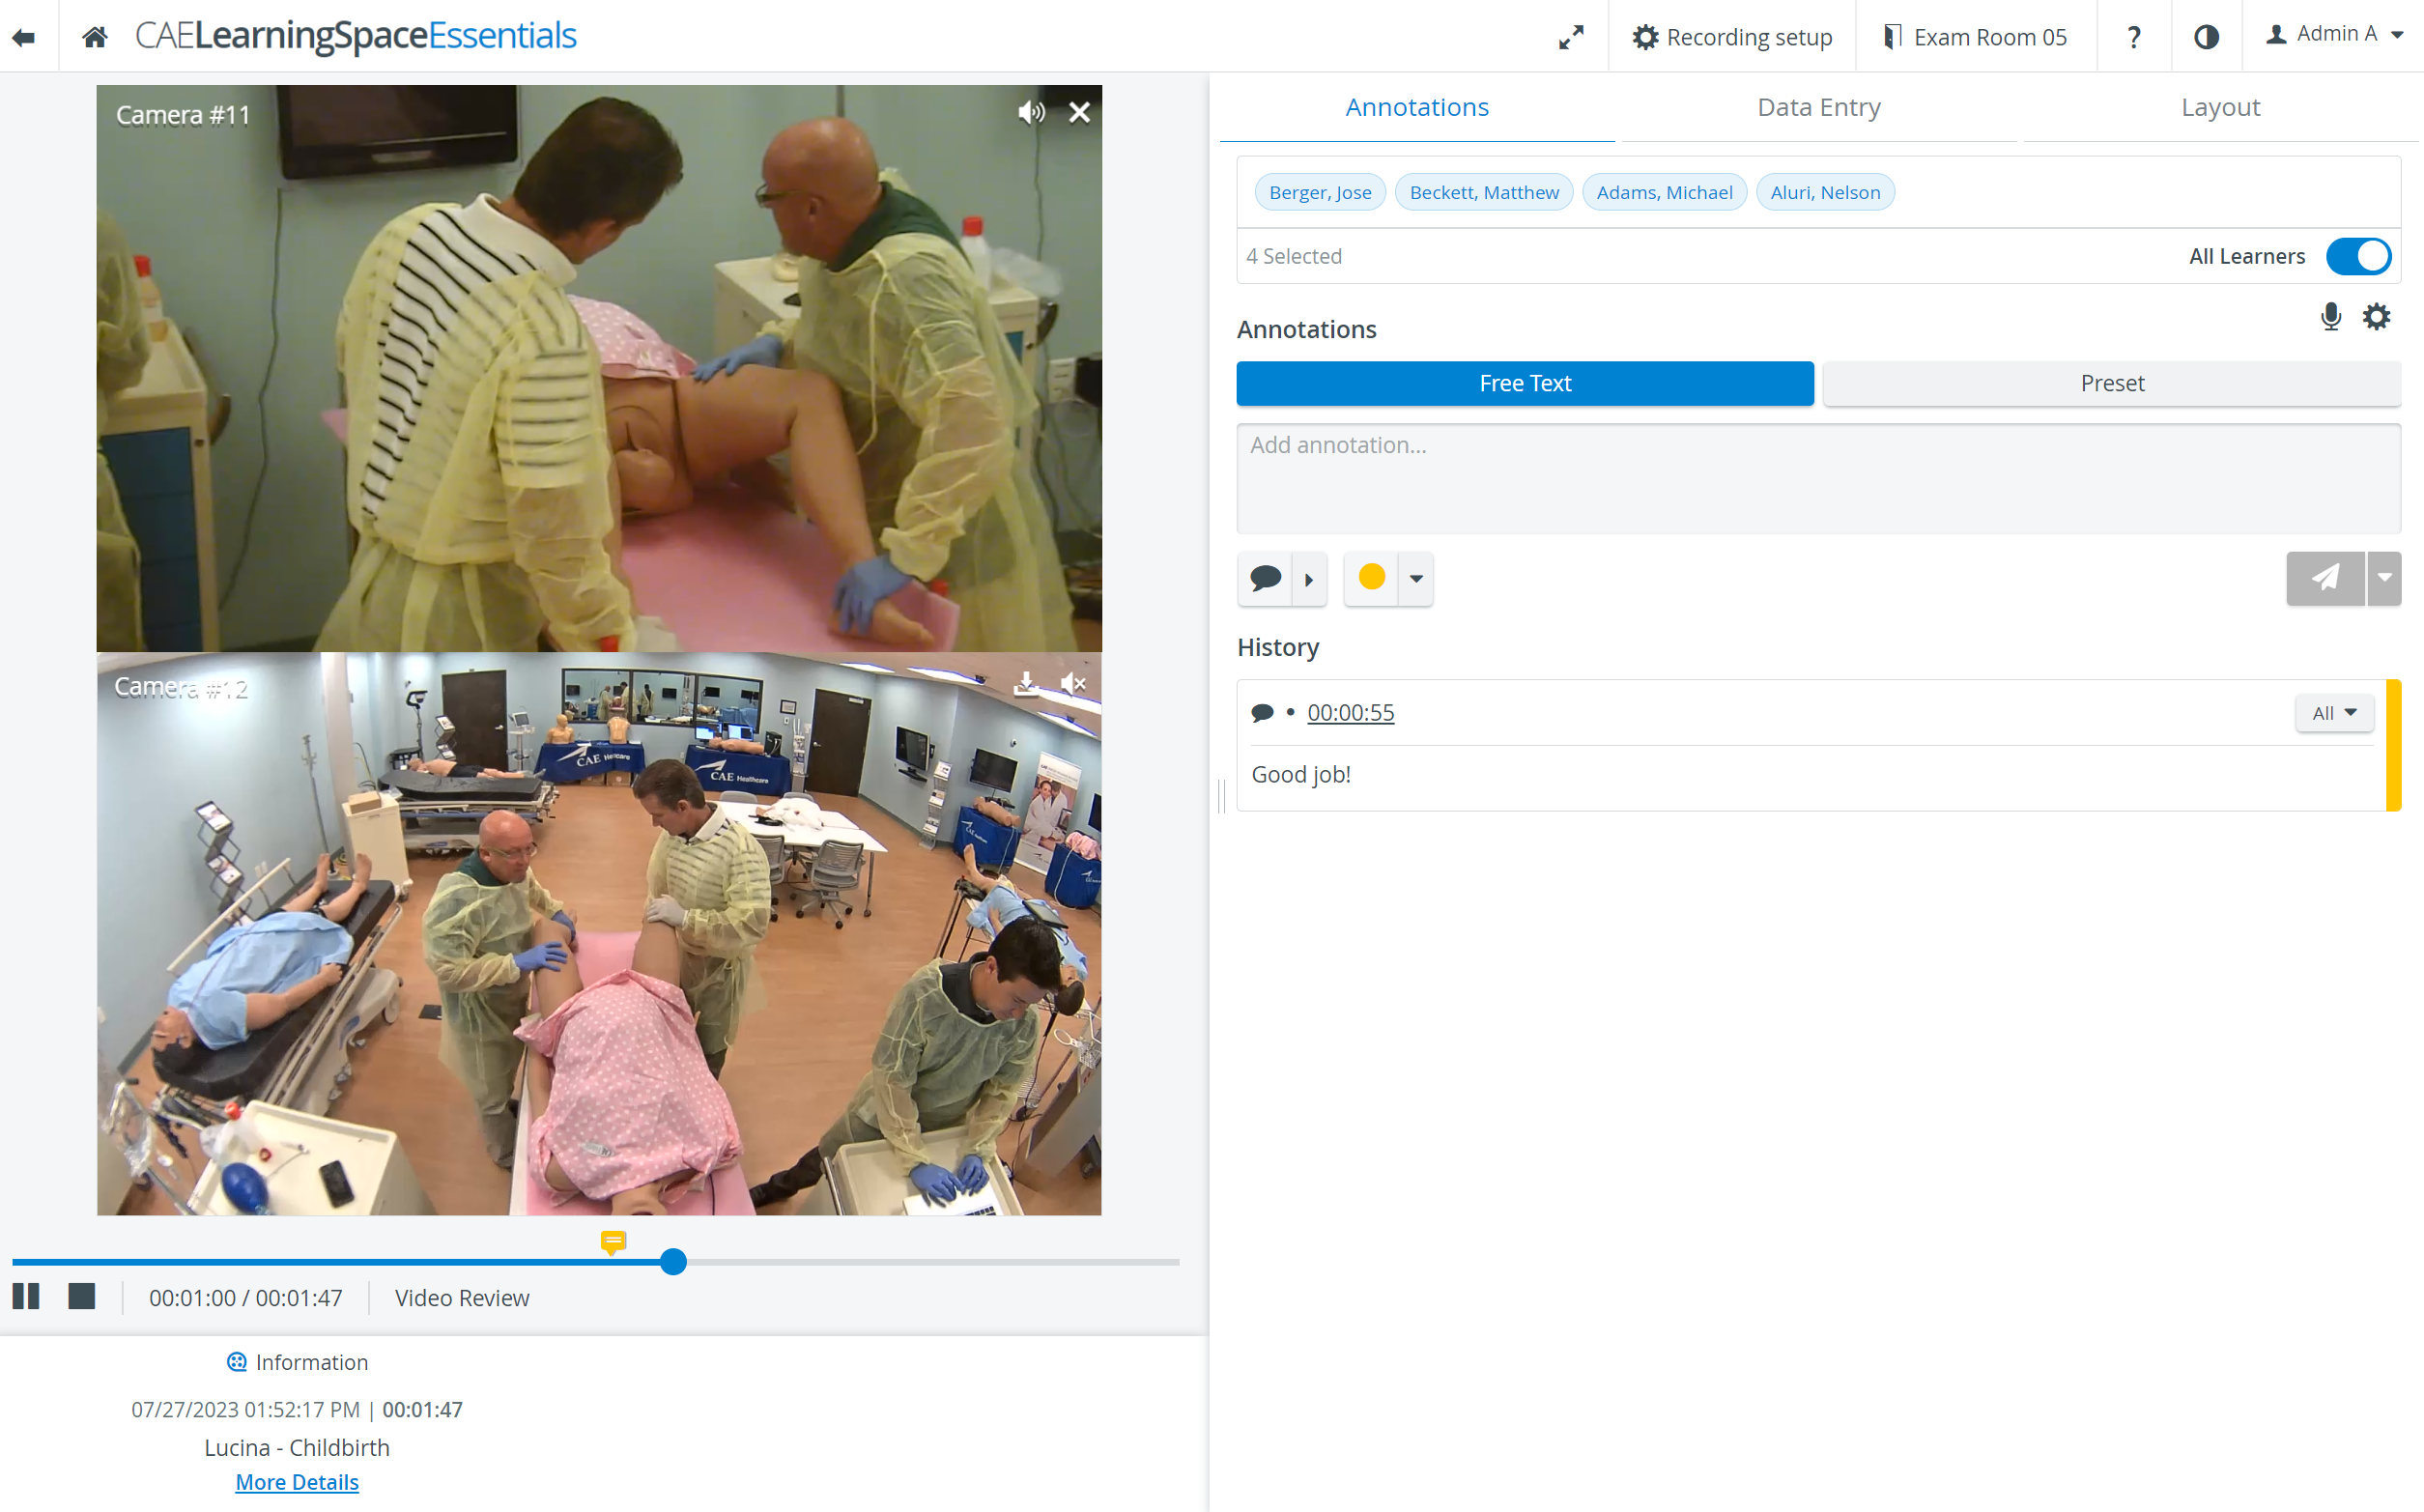
Information panel is added: the panel displays the date and time of the start of the recording, as well as the length of it. By clicking on the More Details link, Simulation details can be viewed (Learners, Simulated Patient, Facilitator & Faculty, Activity, SCE). The panel can be minimized for more space on the focused content.
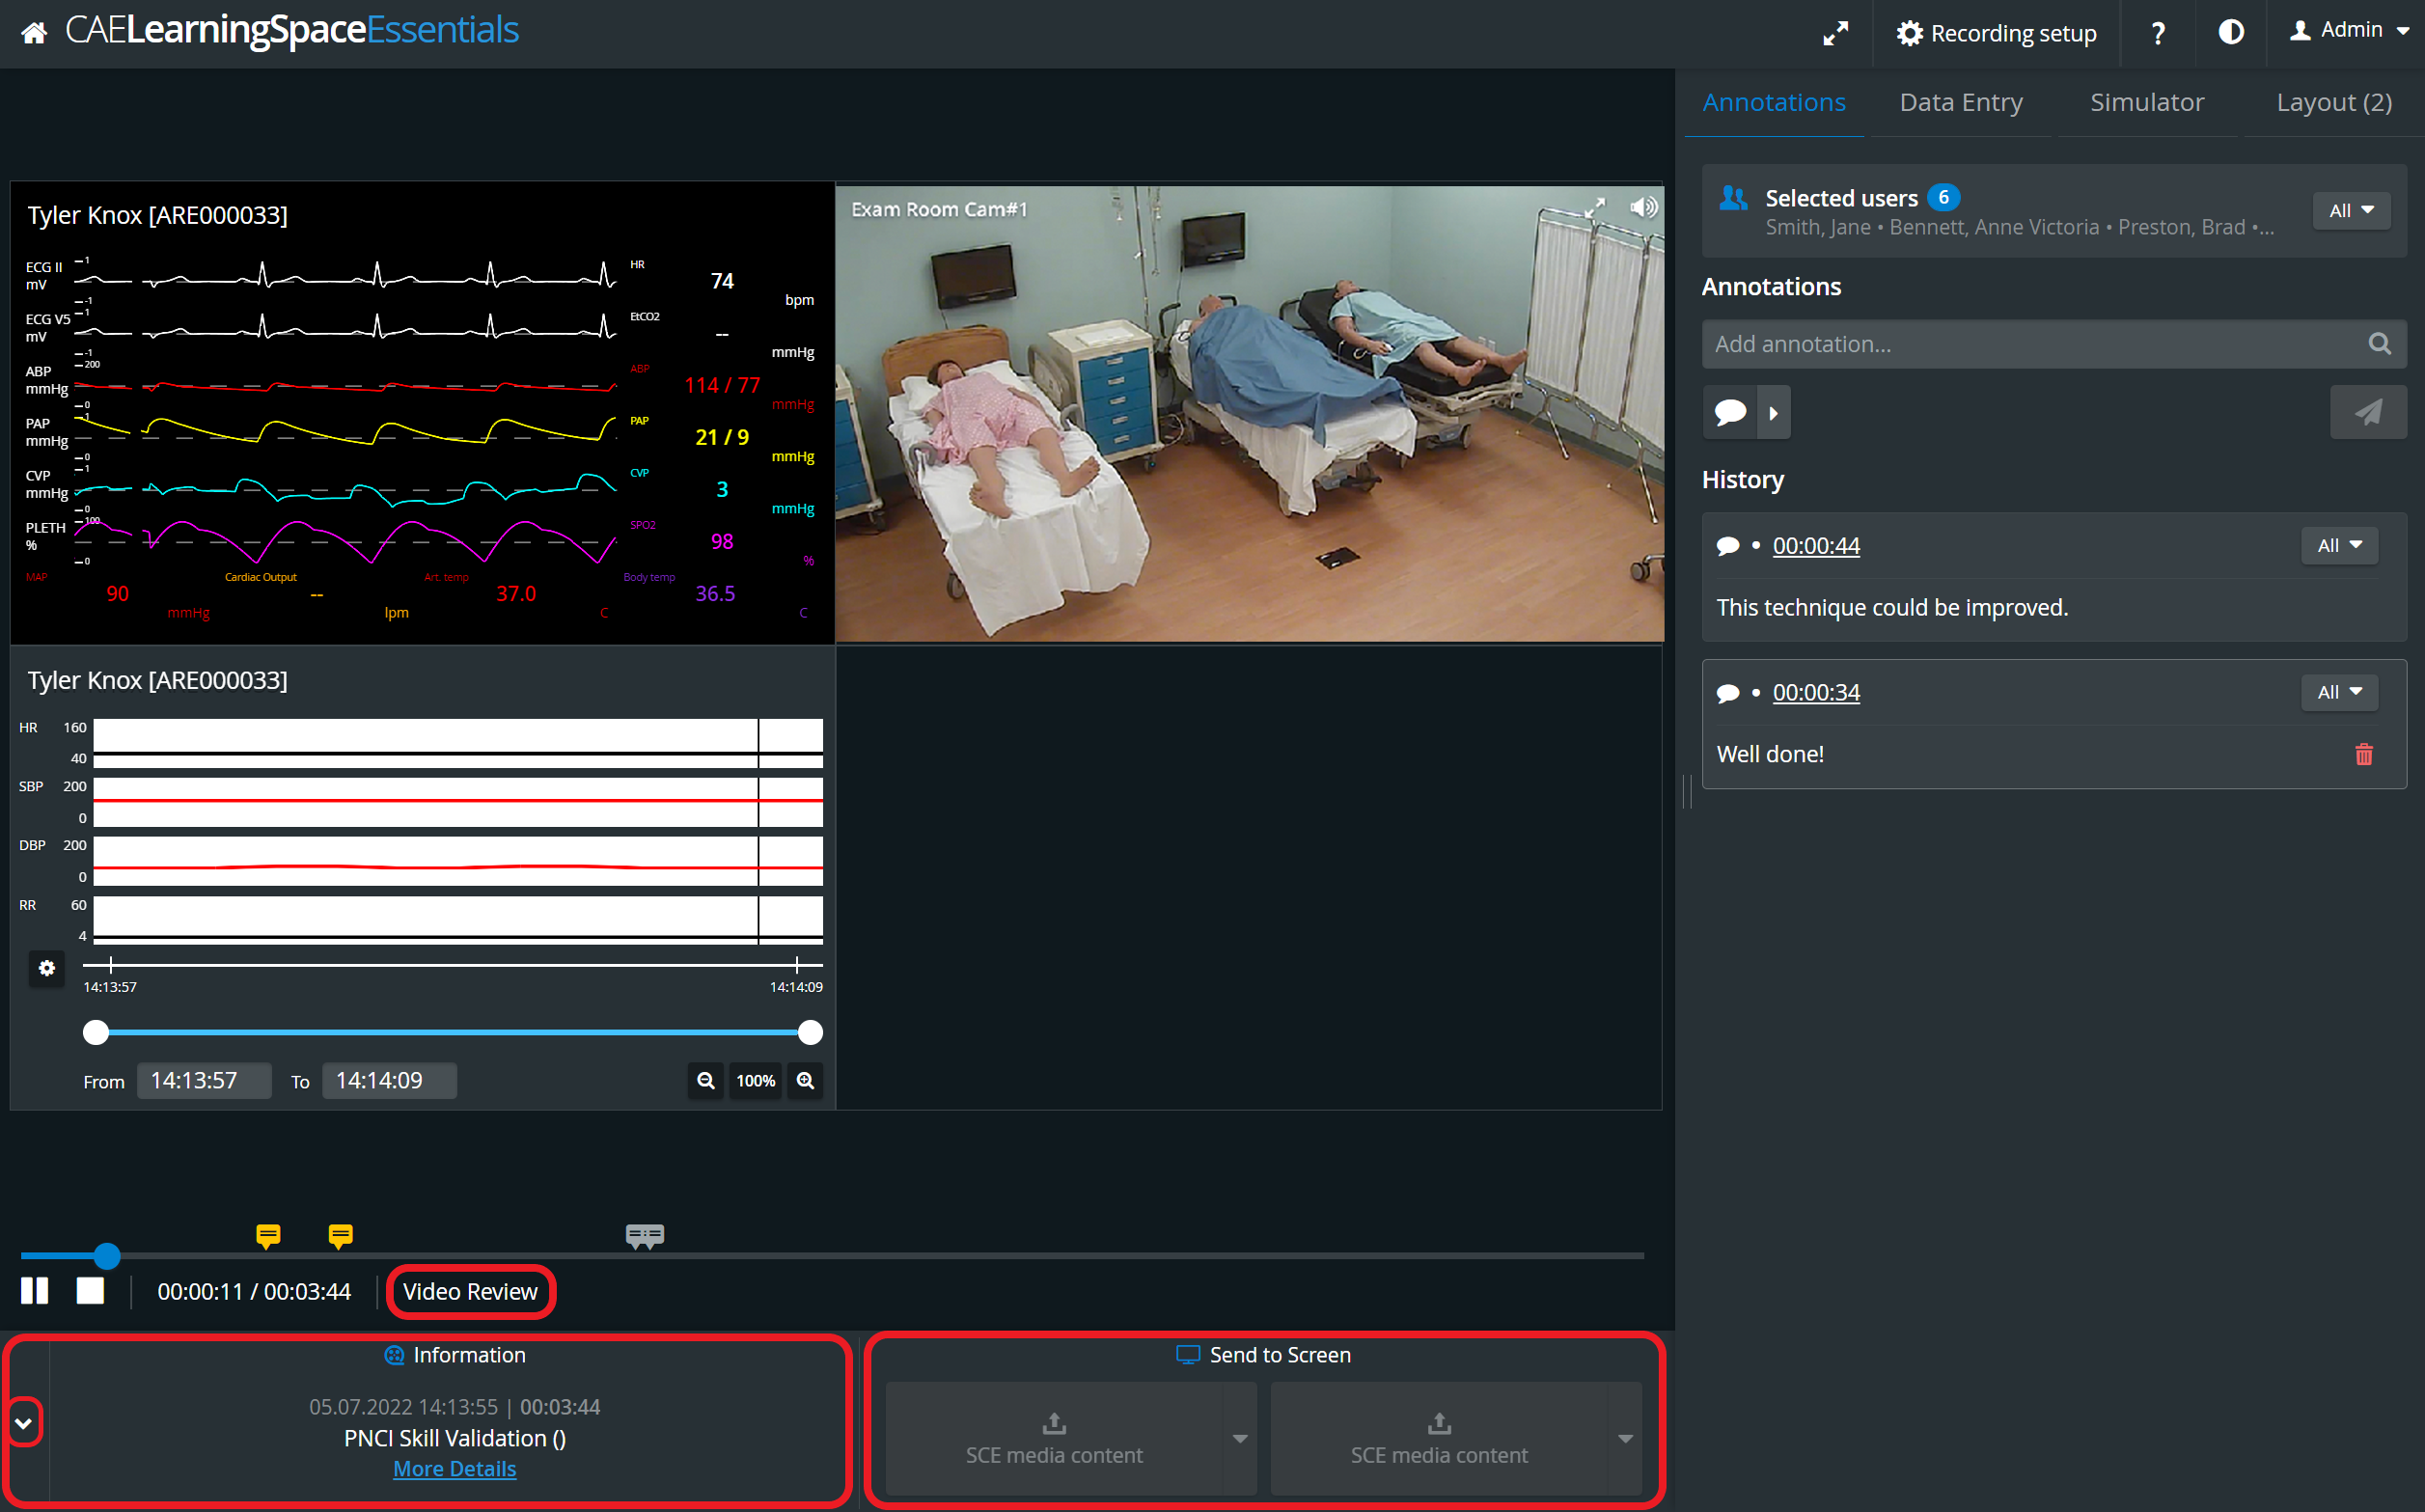
In Video Review, all media associated with the Simulation can be viewed in the Send to Screen panel.
![]() Full screen mode: Clicking the full screen icon in the header of the screen displays all the camera feeds in full screen mode. Clicking the full screen icon in a single camera panel displays the single camera feed in full screen mode.
Full screen mode: Clicking the full screen icon in the header of the screen displays all the camera feeds in full screen mode. Clicking the full screen icon in a single camera panel displays the single camera feed in full screen mode.
![]() Audio setting: The audio of a particular camera can be turned on or off by clicking the audio icon in the top right corner of the camera panel.
Audio setting: The audio of a particular camera can be turned on or off by clicking the audio icon in the top right corner of the camera panel.
Only one camera of a room can have its audio turned on at a time.
The recommended video size (aspect ratio) is 16:9 (e.g. 1280x720).
The sizing of camera streams might not be optimal with a 4:3 video size (an additional black bar/stripe might be visible at the upper and lower edges of the screen). See details here.
How to Play a Recording
- From the Video Review list, click anywhere on a row to play a recording.
The recording opens and plays automatically. 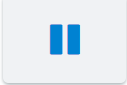 Click the Pause button to pause the video.
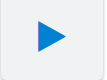 Click the Play button to resume play.
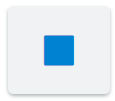 Click the Stop button to stop the video.
The panel in the bottom left corner of the screen indicates the proceeding time and includes the Pause, Stop and Play controls.
Timeline: In video review mode, a timeline is displayed below the camera panel(s). All added annotations are marked with a flag on the timeline at the time of the adding.
Particular points of the recording can be accessed by dragging the progress indicator to the desired point or clicking a particular point of the timeline once.
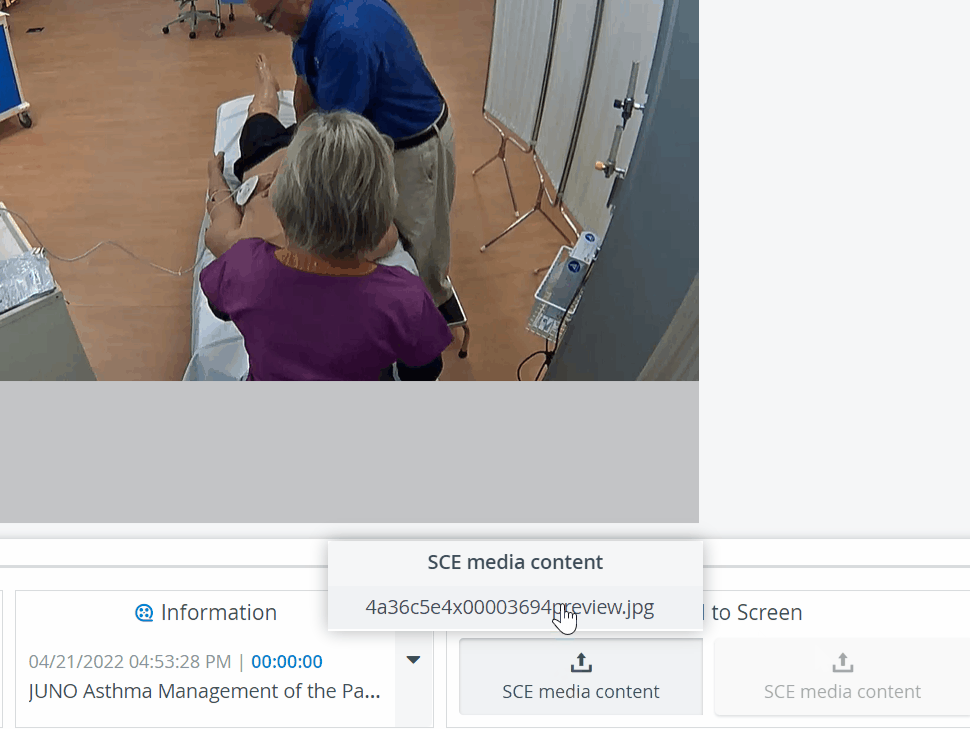
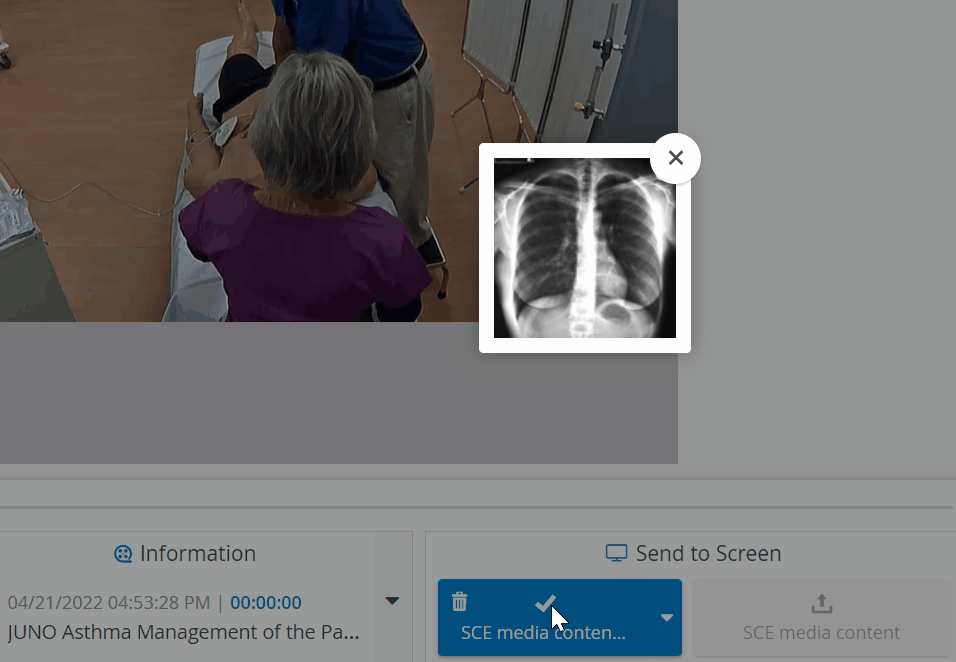
Send to Screen
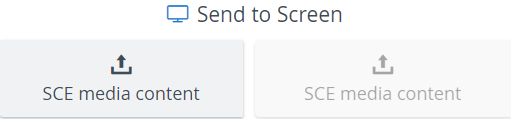
Media files uploaded to SCE-s can be previewed by using the SCE media content option under the Send to Screen field - but no images can be sent to decoder from here. See more details on this functionality during Recording here.
Recording Setup
The Recording Setup feature is used for assigning users to a recording.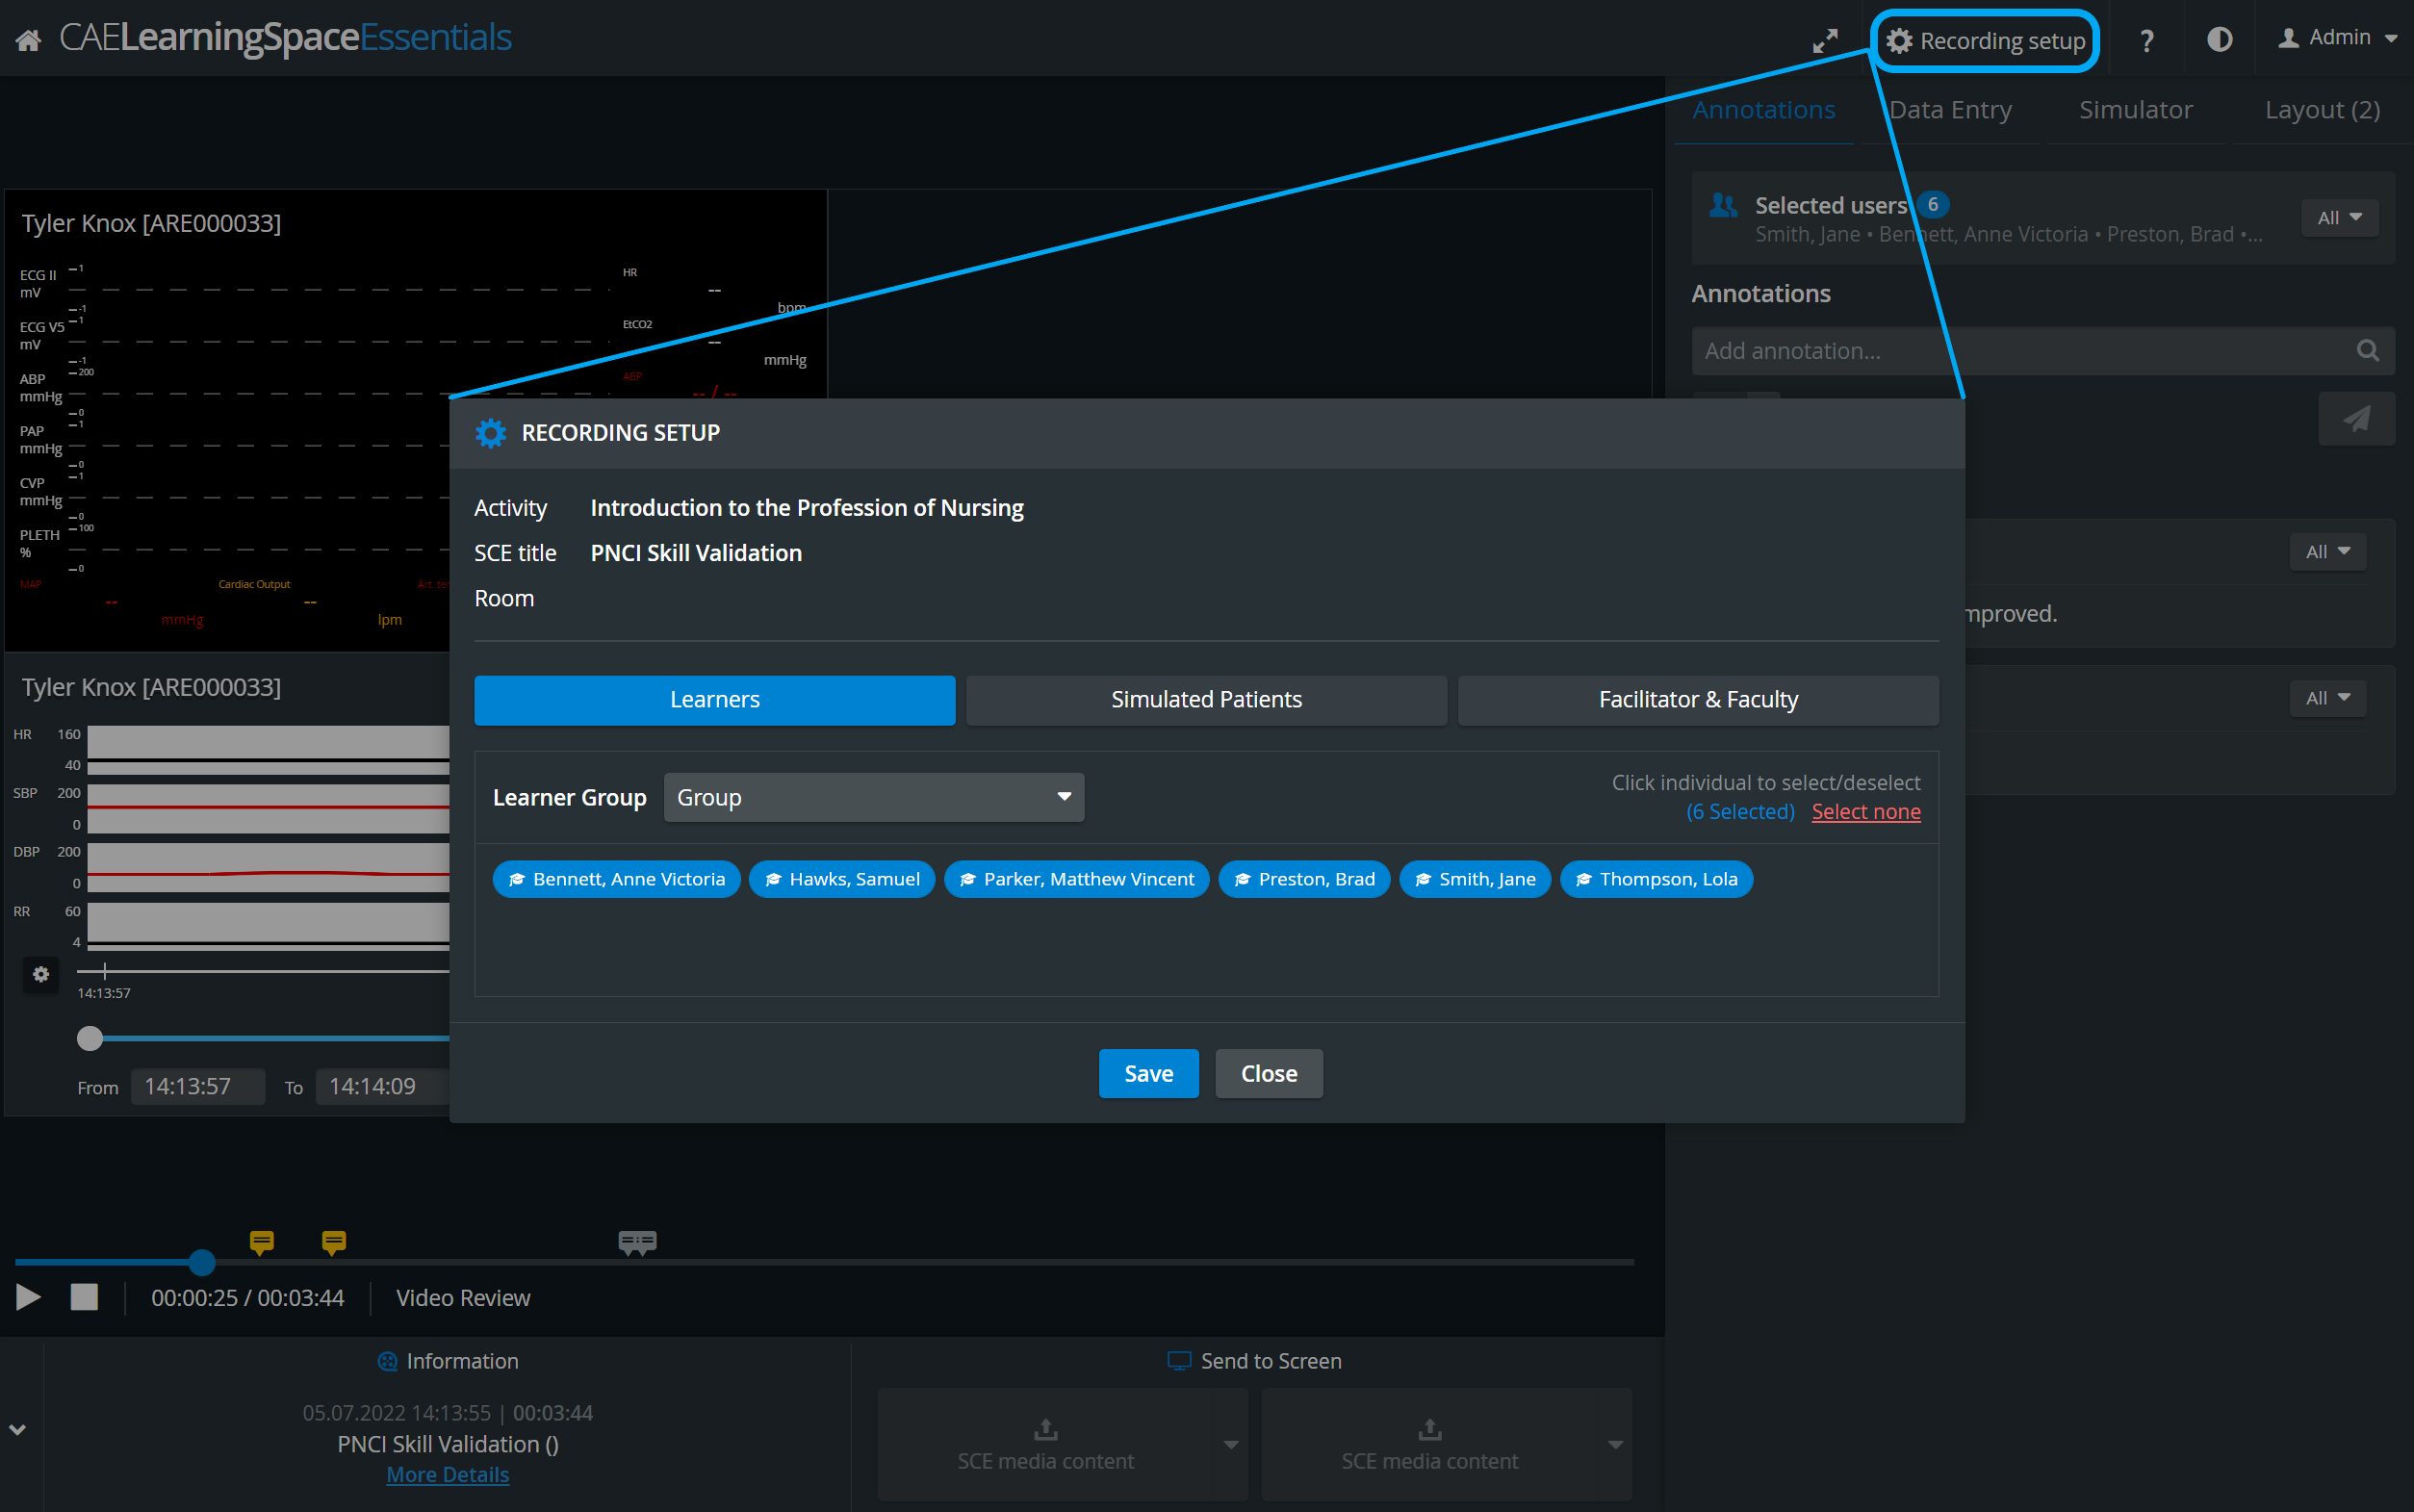
More details at: Recording Setup in Video Review and Can I modify information about or add new data to a saved recording?
In the latest versions of CAE LearningSpace the utilization of the space available in the Single Room View panels can be maximized and the panels on the right side (Annotations tab, Data Entry tab etc.) or additional windows can be displayed in a larger size with the help of the Vertical double layout feature:
Learn more on our Room View during Video Review and Video Review - FAQ pages.
Overview
Content Tools