Authorized workstations
Complete the following steps to configure a computer as a workstation.
- Go to System Manager.
- Go to Stations.
- Click Add This Computer at the bottom.
The Station Manager window opens.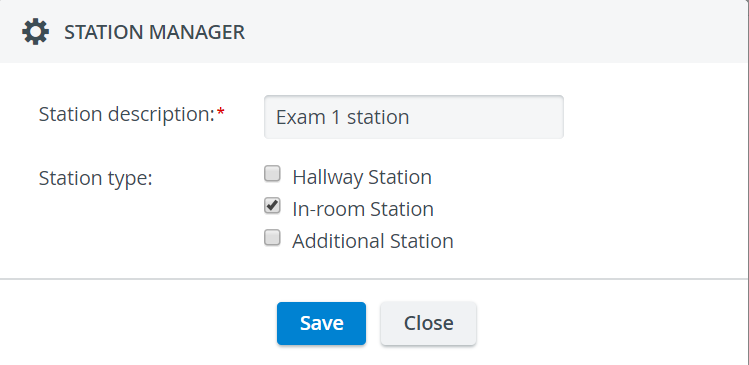
- Enter the name of the workstation and
- Select the function of the station:
- Hallway Station: A computer located outside but near the simulation room; for learners to submit checklists.
- In-room Station: A computer located inside the simulation room; for SPs to submit their checklists.
Additional Station: A computer to display information e.g., the door note of the activity scheduled in the room for the day. An Additional Station is also useful for storing the data logs of third-party simulators.
A new station can be granted multiple funcitons when added. The ultimate function of the station can be specified when it is added to a room.
Save your settings.
The computer will be added to the system as a station.
The computer you are currently using is highlighted in blue on the Stations page.
Assign a workstation to a room
- Go to the Rooms tab in System Manager
- Select a room and click on the cogwheel of the room.
It opens Room Settings: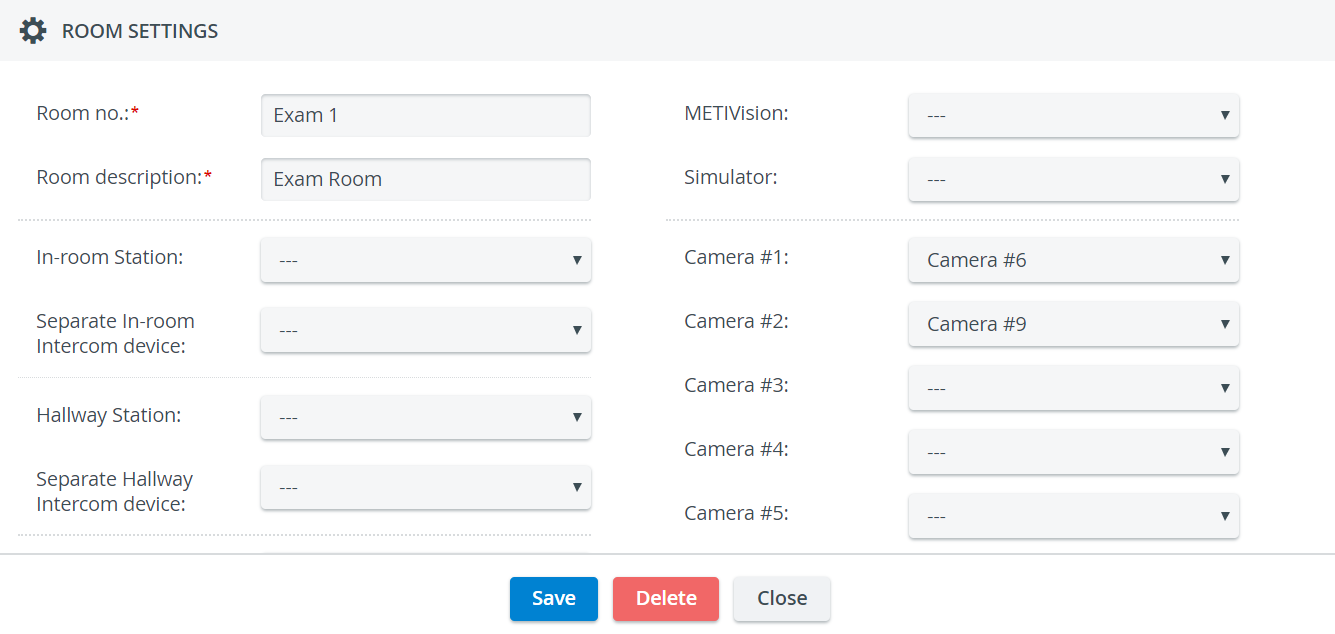
- Use the drop-downs located on the left.
- Select the computer inside the room you want to use as the In-room station.
- Select the computer outside of the room you want to use as the Hallway station
Optional: Select an audio kit installed inside or outside of the room from the Separate In-room /Hallway Intercom device drop-downs.
- Save your settings.
Learn more on our System Manager and Recording Module pages.
Overview
Content Tools