Quick and Easy Access of Live Activity Control (LAC) from CO
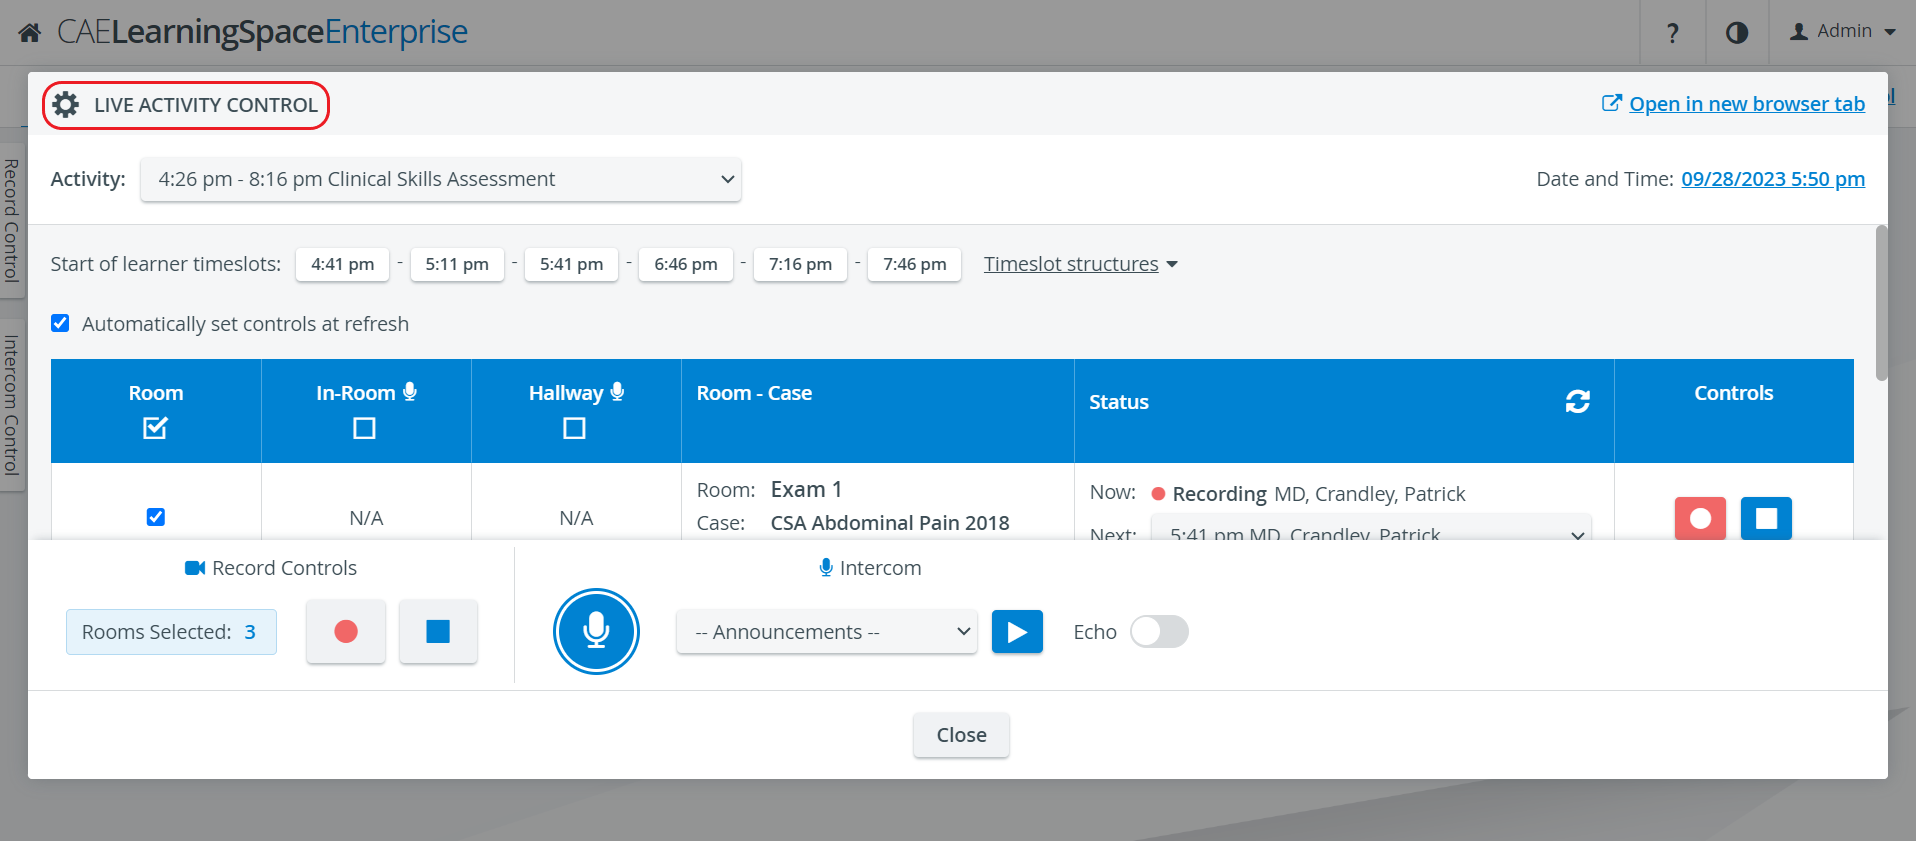
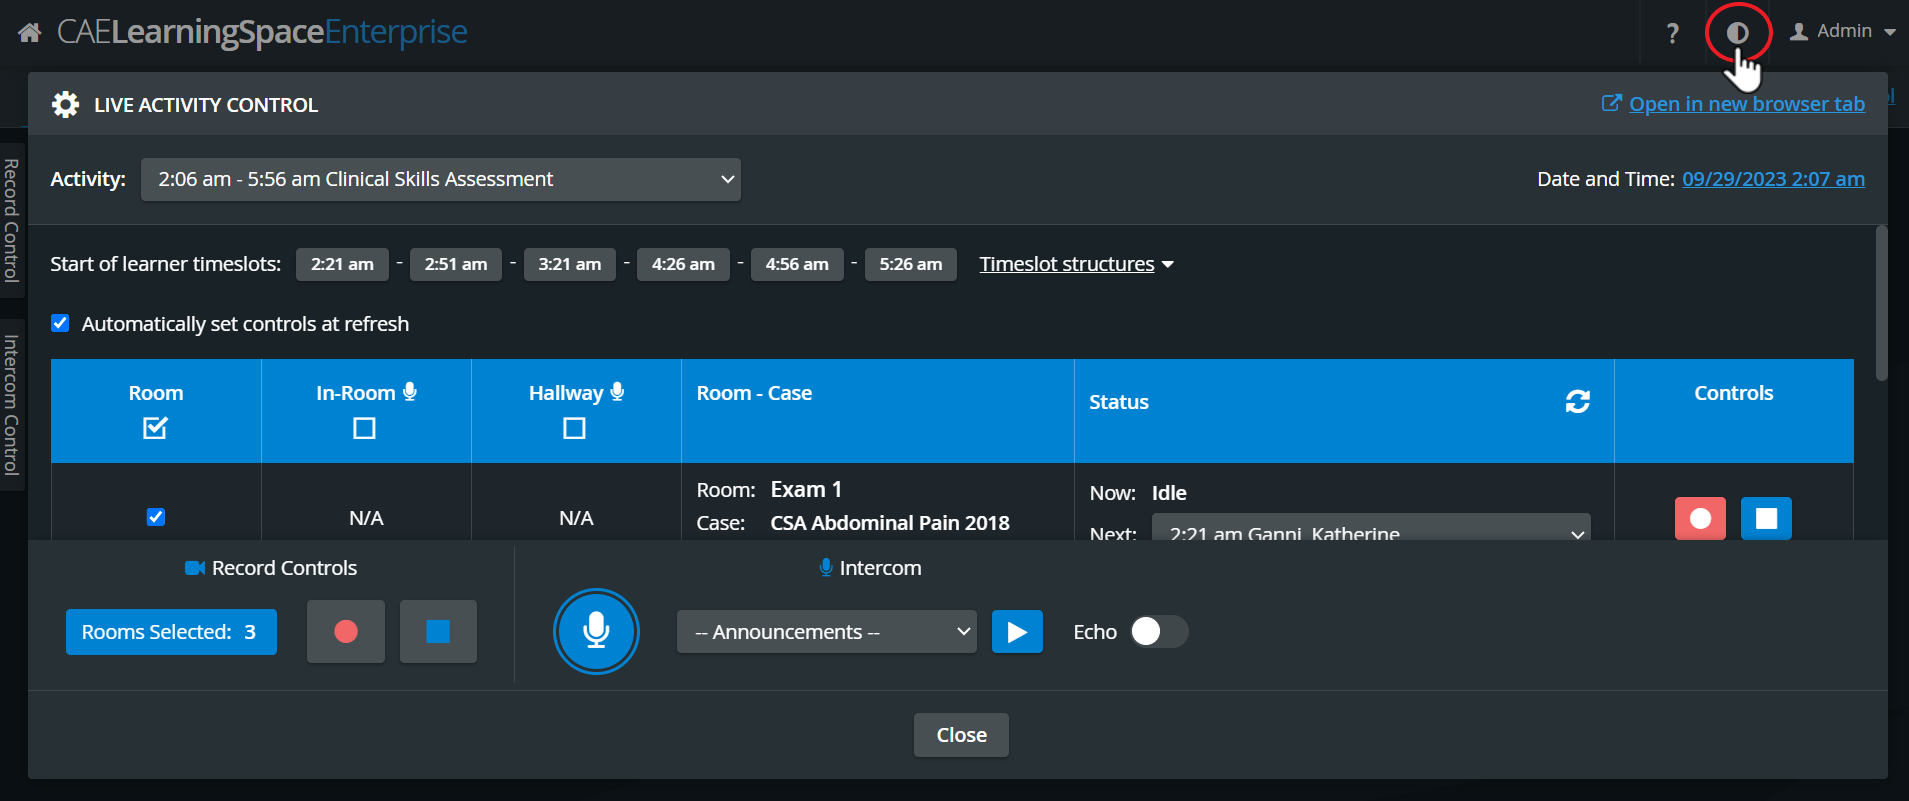
Starting from this release, CAE LearningSpace users will be able to open Live Activity Control (LAC) from the Center Overview page (CO) of the Recording module by a single click:
- Go to Recording.
- On the Center Overview page, click on Open Live Activity Control.
- LAC opens in a pop-up.
- By using the Open in new browser tab option, the newly opened LAC pop-up can be popped out to a separate tab (enabling easily moving the new tab to a secondary screen).
- If clicked, it opens LAC in a new tab, and the browser will go to the new tab, closing the previously opened LAC pop-up.

Only users with appropriate privileges can access LAC from the CO → such as Admin, Video Control, Video Control (full control), Live Video, Intercom. ![]() Live Video users can see the rooms, but cannot record or perform any other actions there!
Live Video users can see the rooms, but cannot record or perform any other actions there!
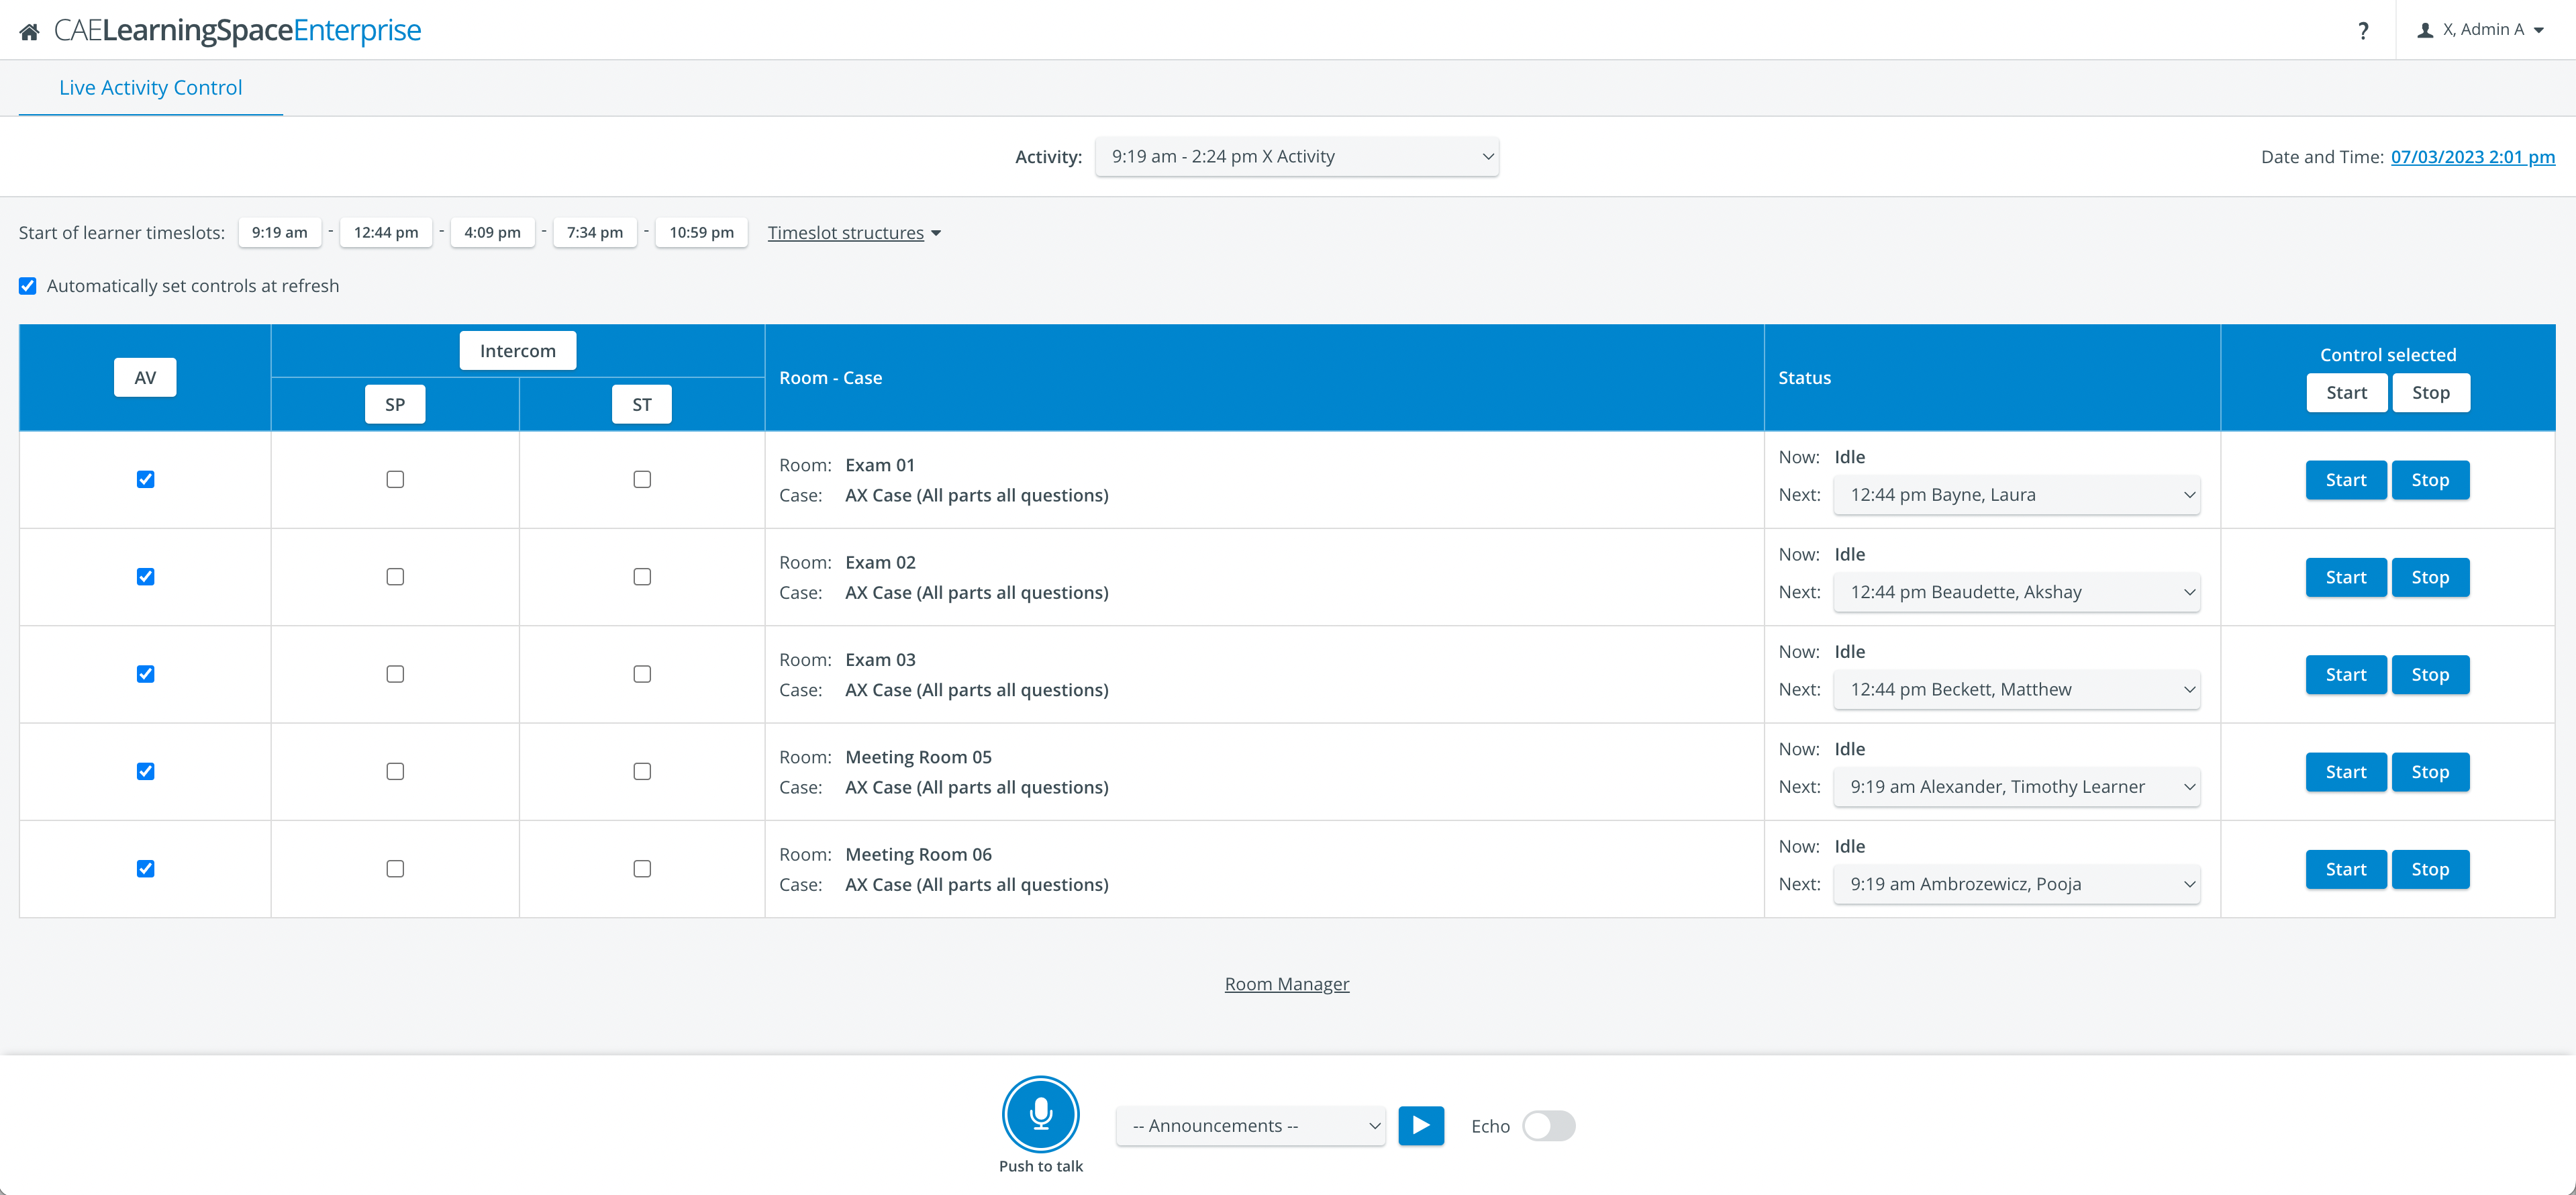
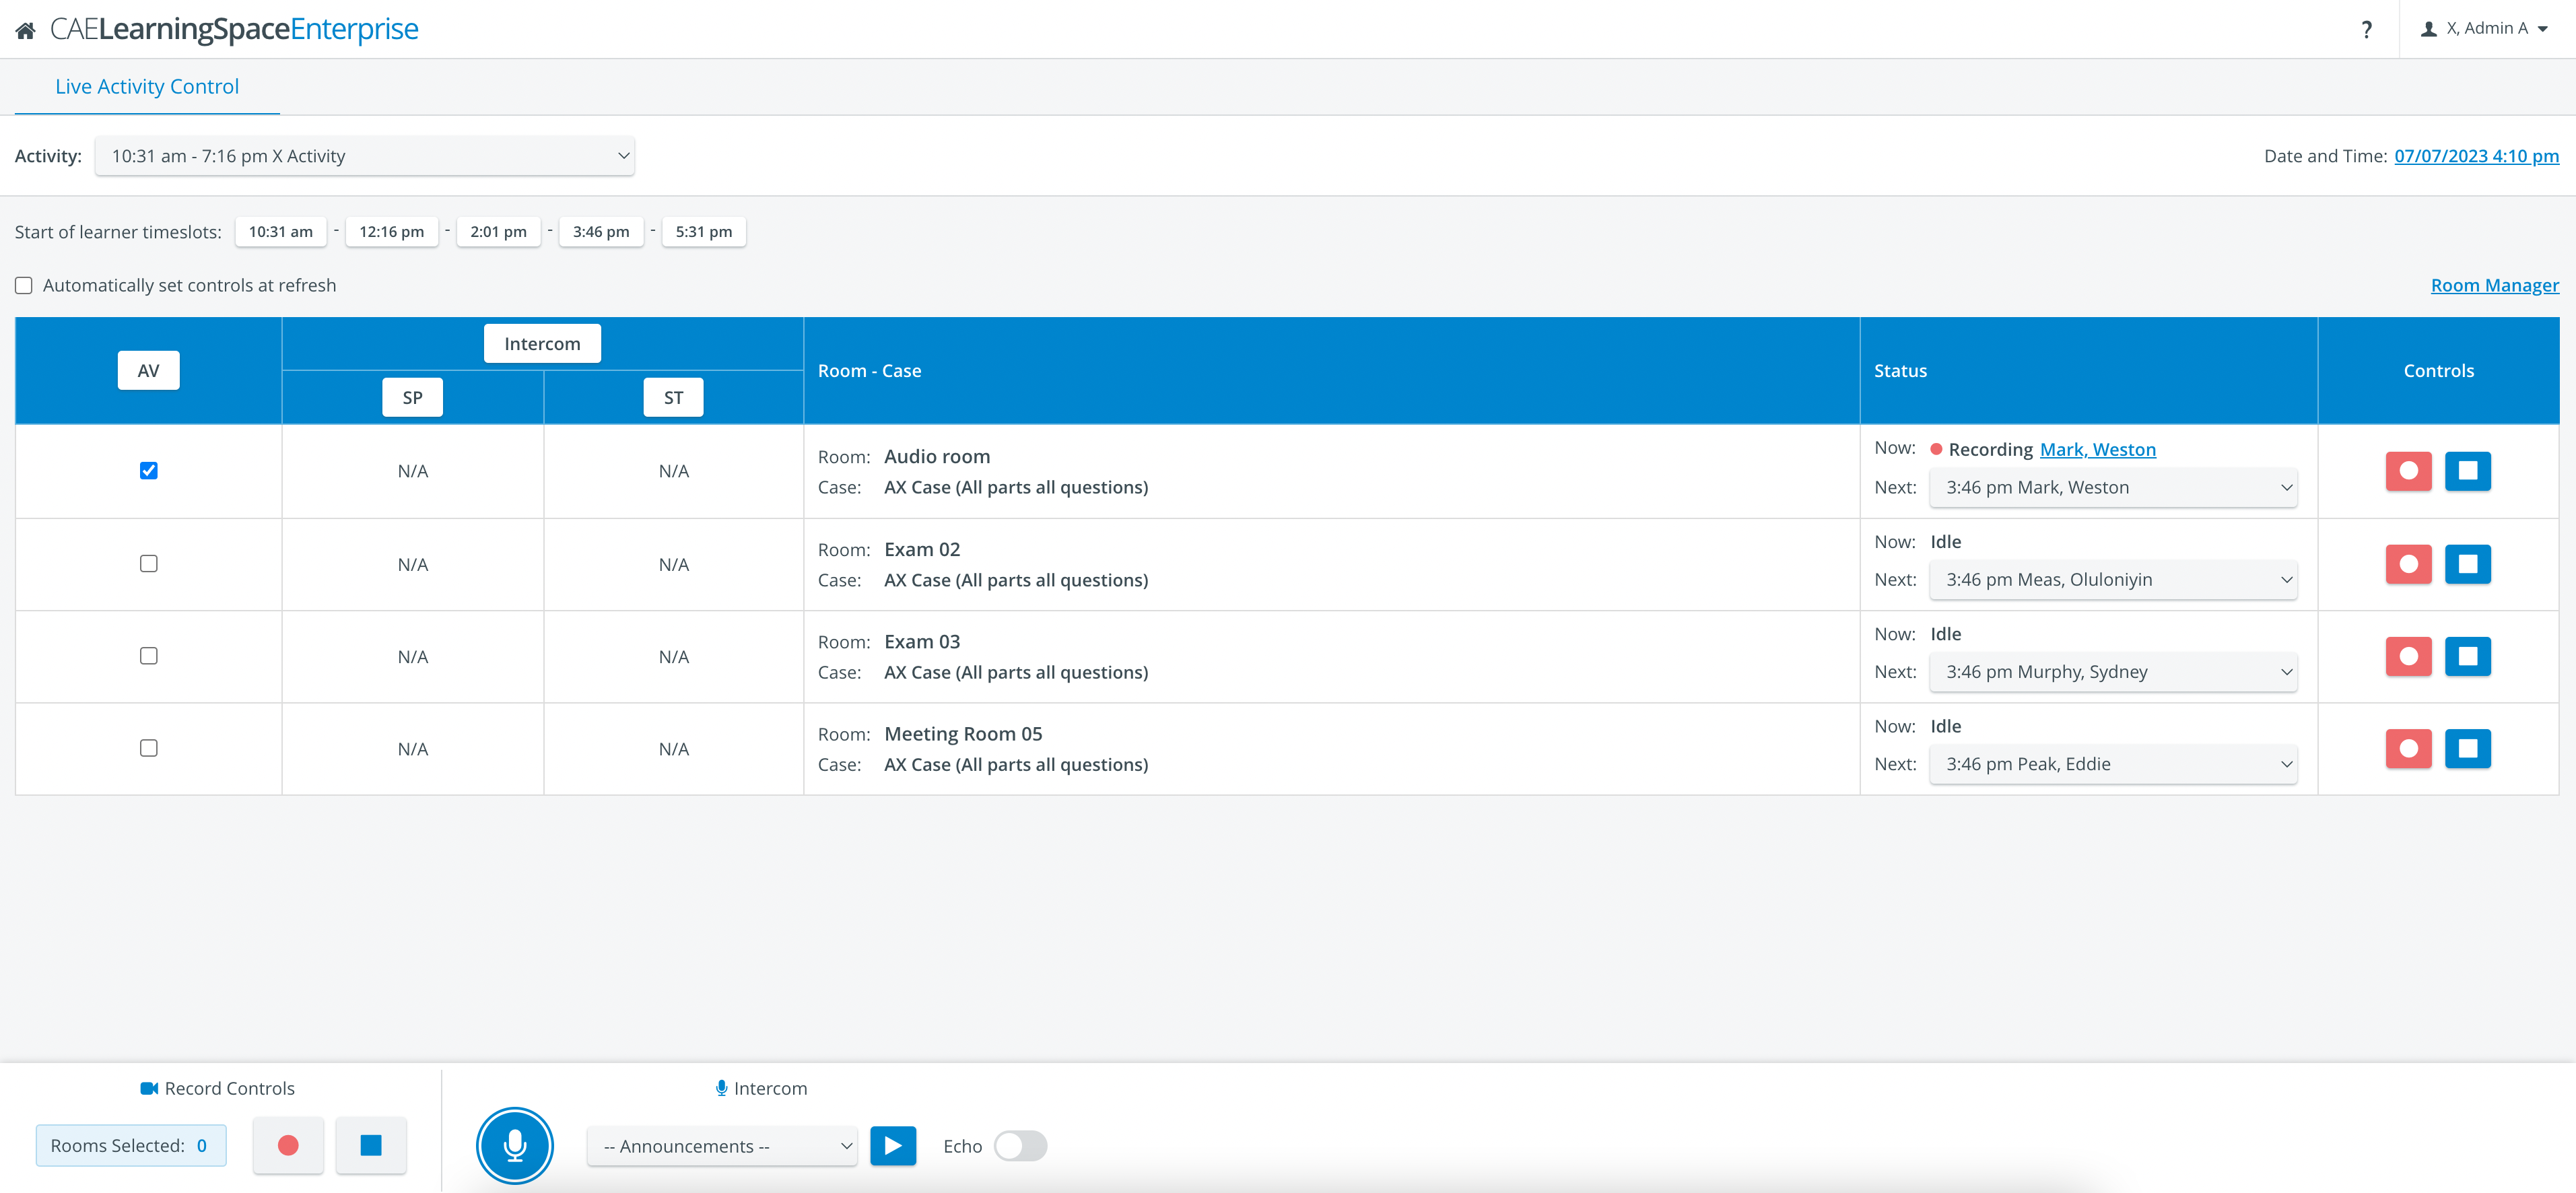
LAC via Classic View
If you go to Classic view→ Live Activity Control you can see the Room Manager link at the bottom of the page and thus be able to navigate to the Room Manager page directly from there.
Also, a new design of the controls/layout has been introduced here:
![]() Learn more about this on the Classic View pages.
Learn more about this on the Classic View pages.
Increased Display Limit of Rooms on a Tab
From now on, users will be able to add more than 12 rooms (which is the default) to a given tab on the Center Overview page.![]() The maximum number of tabs is 10.
The maximum number of tabs is 10.
The default number of rooms for a tab stays 12 (the same as before), but this number can be increased to 30, by dragging-and-dropping rooms onto the tabs.
Option to Rename Tabs
With this new release, the option to rename tabs on the Center Overview page got introduced as well.
The tabs have been moved to the “bar” below the header, along with the Add and Edit buttons.

Once you have added some tabs, you can change the names of the tabs by clicking on the Edit Tabs icon and performing the necessary changes with in the pop-up. (See video above!)
- Click the Edit button / pencil icon

- Pop-up opens
- Input fields with Tab names appear
- Edit the tab name
- Close the pop-up with the Save or Cancel buttons.
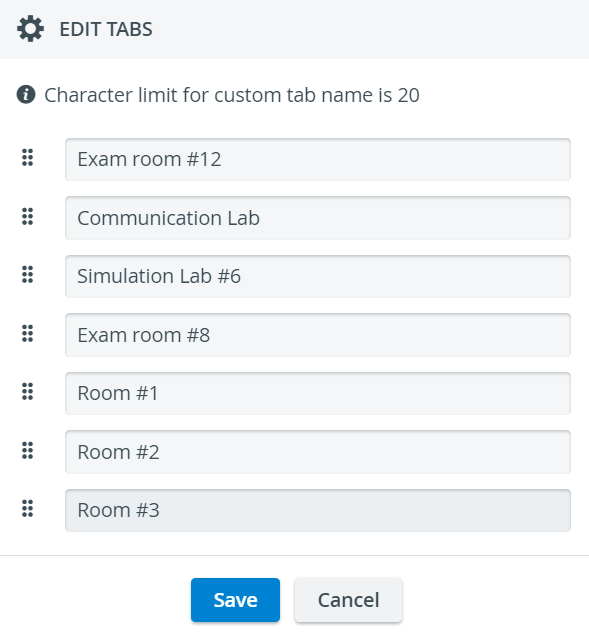
Save button - saves the data: by next time opening it, the rewritten tab names will appear in the "bar" and in the pop-up as well.
Cancel button - the rewritten names will be discarded and the unchanged state of the tab will be kept.
Tab names are saved per user.
The maximum length for a tab name is 20 characters - which can also include unique characters.
Tabs with the same name are not possible to be saved.
Dark Theme on CO and LAC
Dark theme is from now on available on both the Center Overview and the Live Activity Control pages, for a more convenient and eye-friendly user experience:
From this release on, the Push-button feature will not only allow to start and stop video recording for a room (where the a physical Push- button is installed), but also to control Privacy mode for SP users.
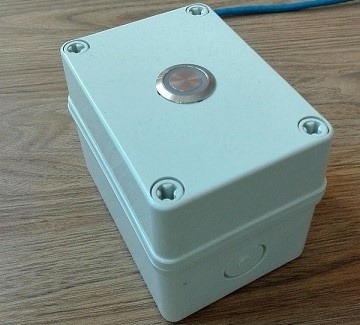
Light indication colors of the Push-button functioning as a Privacy control button change according to the following statuses:
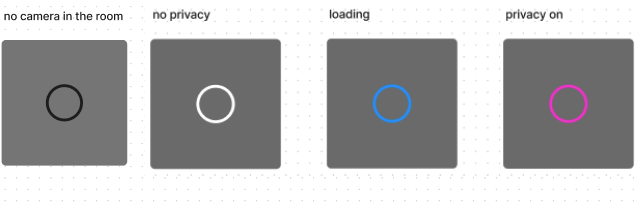
For reference, the light indication colors of the Push-Button functioning as a Record control button have the following statuses: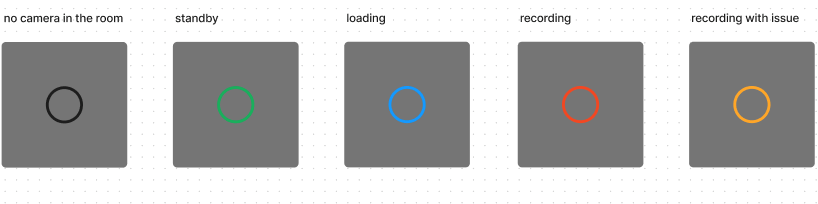
Learn more on the Rooms Tab and Recording Module pages
For more details about the Privacy mode function go to the Privacy Mode for Standardized Patients (SPs) or How to Manage Privacy Mode for SP Users pages.
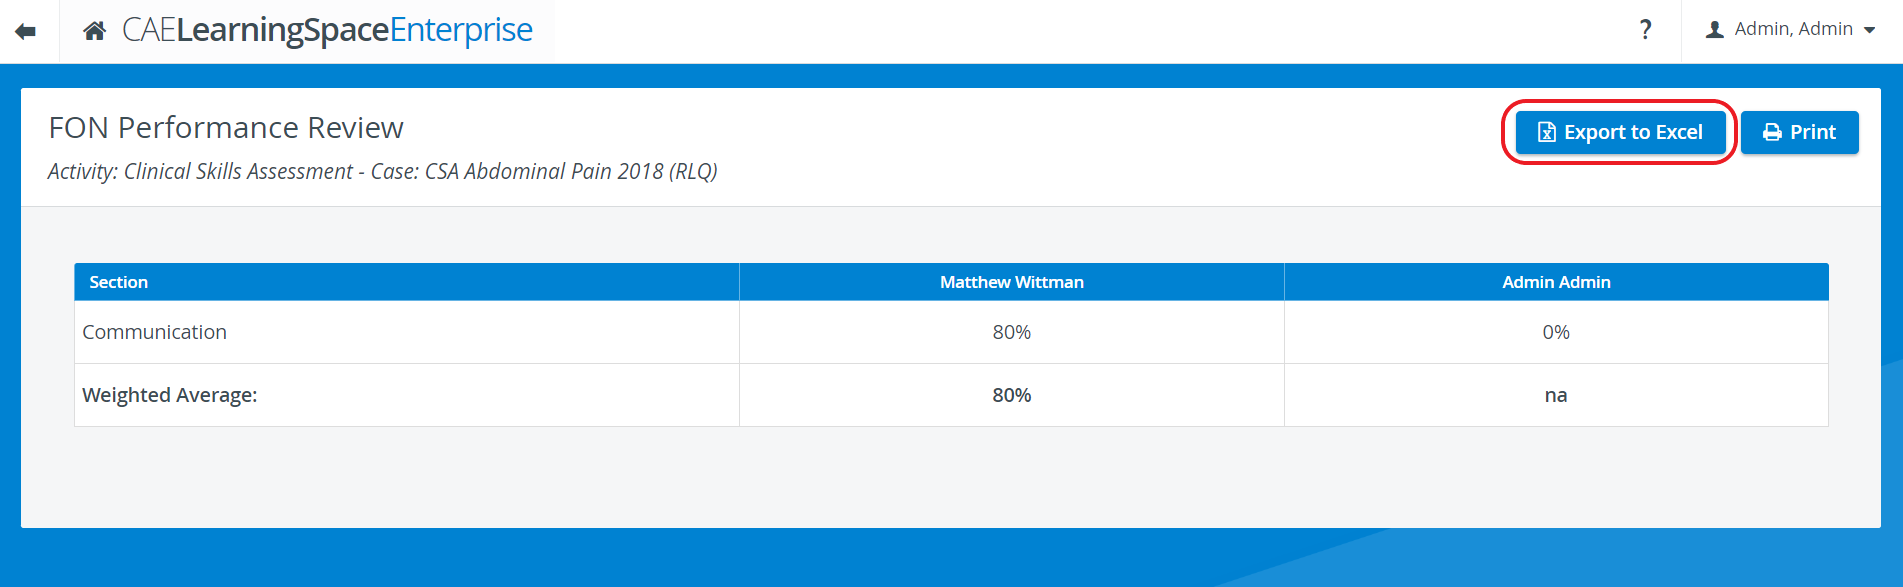
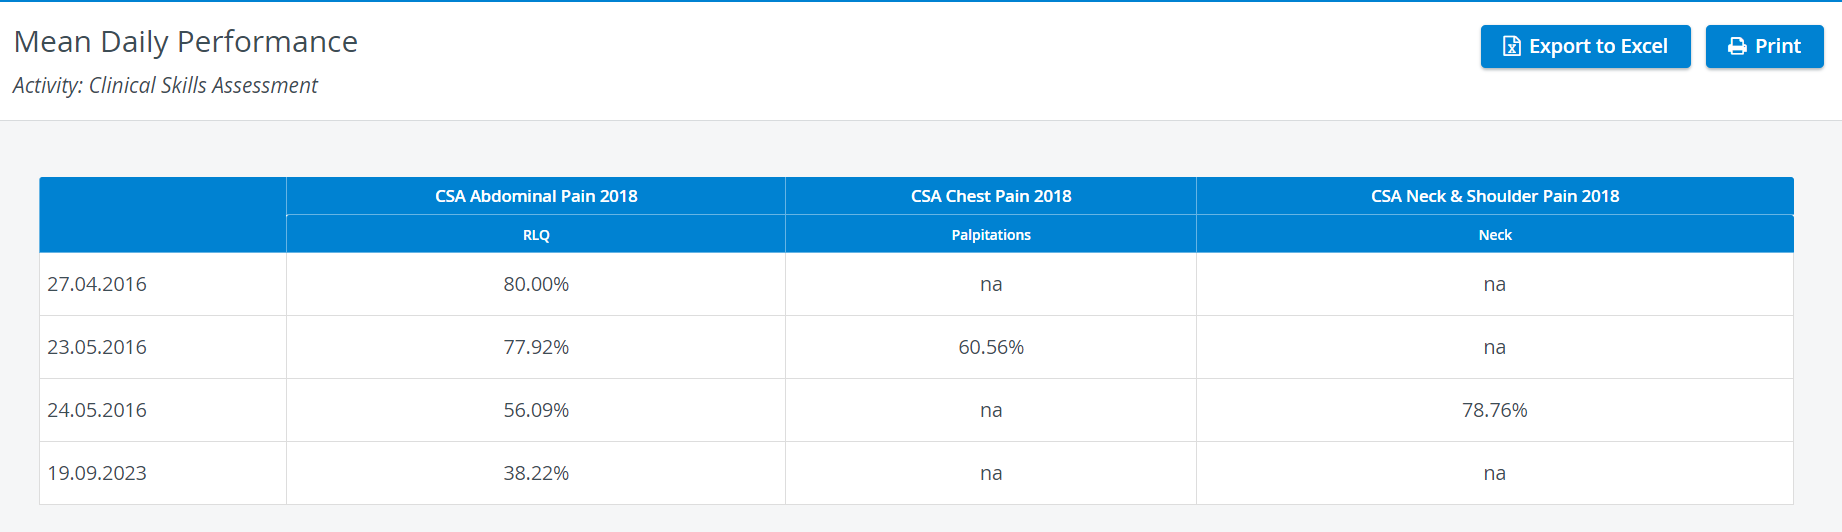
From this Release on, the following Preset Reports can be exported into an Excel (xls) ![]() file as well, for more convenient management and an essentially easier utilization of the exported data in applications like Microsoft Excel or Google Sheets.
file as well, for more convenient management and an essentially easier utilization of the exported data in applications like Microsoft Excel or Google Sheets.
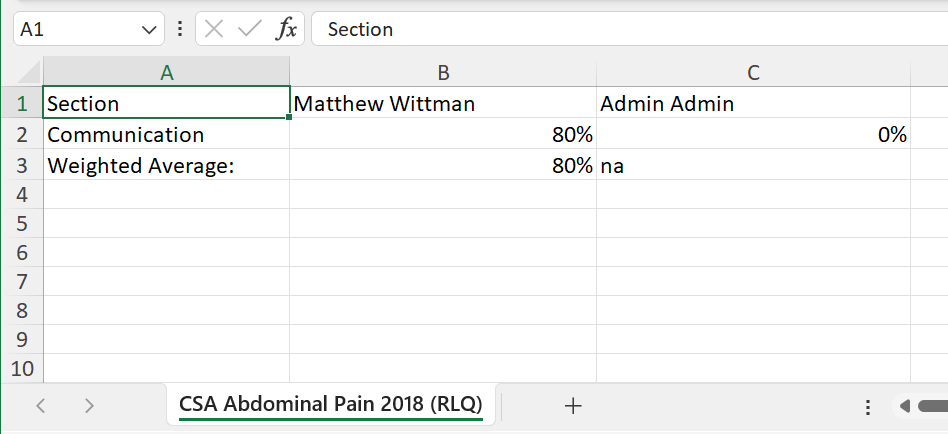
XLS reports can display score/percentage values with up to 2 decimals - if set accordingly in the Activity Reporting Setup.
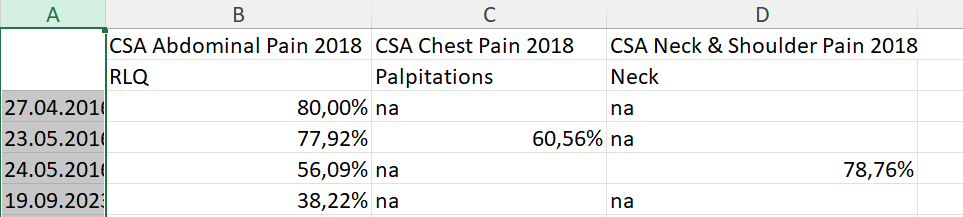
Decimals are displayed with a period (US) or a comma (Europe) depending on the default language of the system.
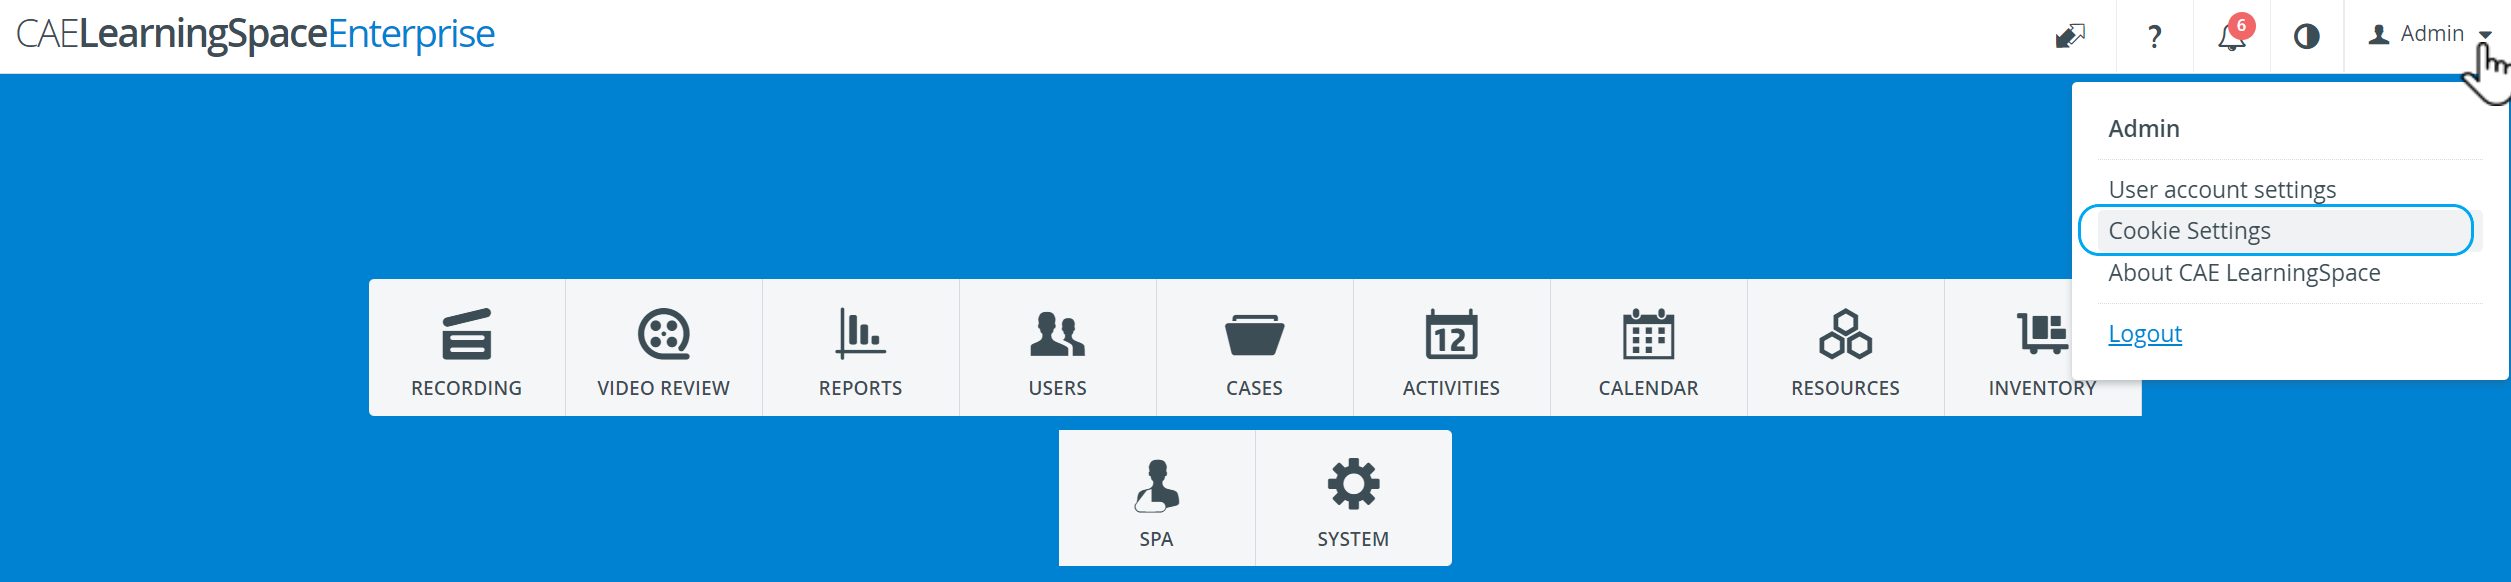
By opening the User options dropdown in the upper right corner, the Cookie Settings option will become accessible.
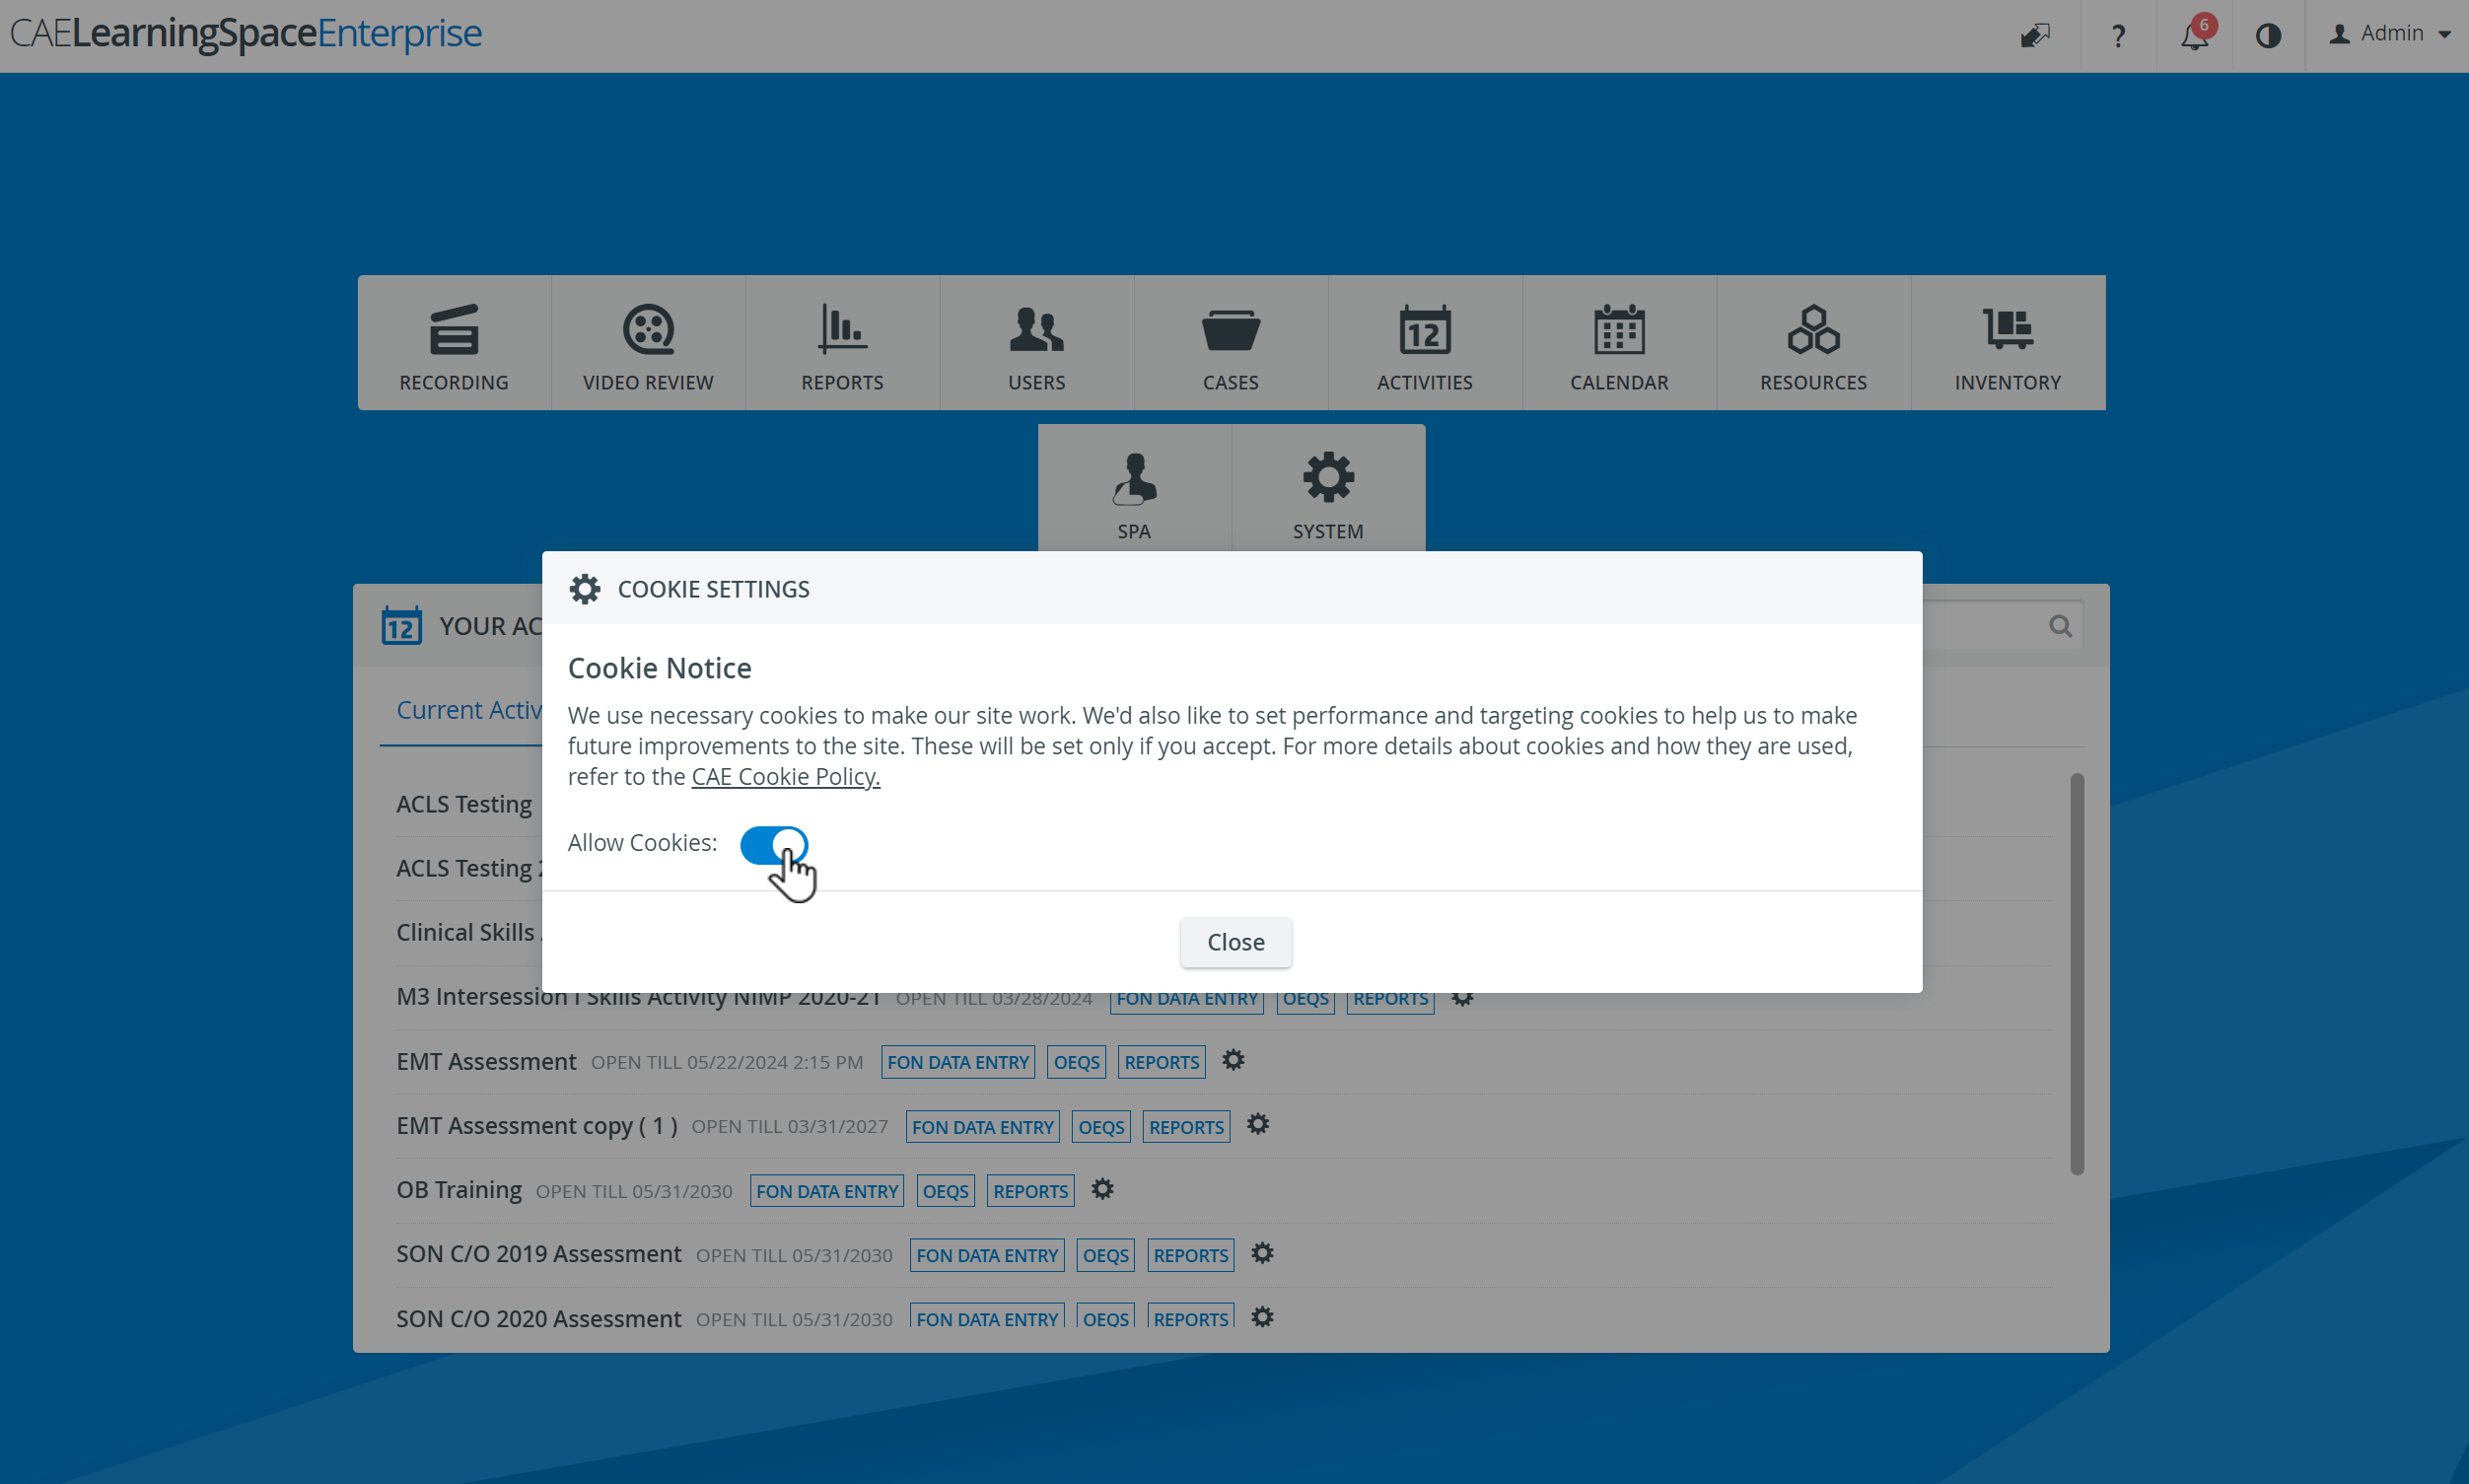
In the Cookie Settings pop-up window, the necessary cookies can be enabled by using the 'Allow Cookies' toggle:
Overview
Content Tools