Page History
| Warning | ||
|---|---|---|
| ||
This feature is to be used with in-campus audiovisual (AV) inputs. Hence, it is not available for LearningSpace Enterprise Lite, as the solution is used for web-conferencing-based virtual simulation encounters only. To unlock this feature, please upgrade to the LearningSpace Enterprise solution. |
In LearningSpace Single In LearningSpace NextGen Room View, preset orlive Intercom announcements can be sent to three different targets, also called Intercom endpoints: In-Room, Hallway (or both), and Simulator.

| Note |
|---|
IMPORTANT: The Intercom functionality of LearningSpace requires the web browser to have access to the microphone of the client PC, which in turn requires a secure HTTPS connection to the LearningSpace server. |
| Warning |
|---|
If your layout is different in your Single Room View, you probably have the Legacy version. For the user guide of Legacy pages please go here. |
Announcements can be sent to the
In-Room station or a Separate In-Room Intercom device (speaker)
- Hallway station or a Separate Hallway Intercom device (speaker)
- simulator's head ("Voice of Patient")
| Info |
|---|
A Maestro-ready simulator (with built-in speakers) can be connected and used for sending announcements through the manikin. |
Mute videos while talking
During live announcements (using the Push-to-Talk function) all other camera speakers in the room can be muted by deactivating the ![]() Speaker icon.
Speaker icon.
| Tip |
|---|
For more information, seeSee
|
Preset Announcements
| Info |
|---|
| Preset announcements can be added on the Intercom tab of the System module. |
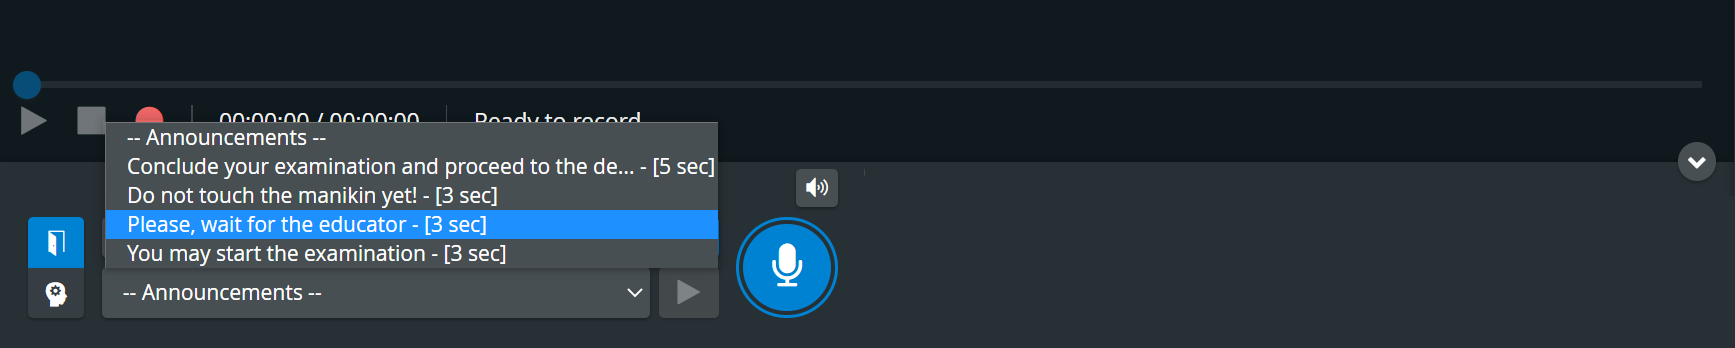
- Select a pre-recorded announcement via the arrow in the announcement drop-down.
- Highlight the desired target destination.


- Push the Push-to-Talk button in the Intercom area to send out the selected announcement.
The Push-to-Talk button turns green 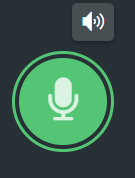 while the preset announcement is being sent out:
Live announcements
Live announcements can also be sounded via the respective device by selecting a target device (In-Room, Hallway or Simulator), and then clicking and holding the Push-to-Talk button.
The Push-to-Talk button turns green while the live announcement is being sent out. The broadcast ends once you let go of the button.
| Info |
|---|
For live announcements, the microphone needs to be enabled in the browser settings. |
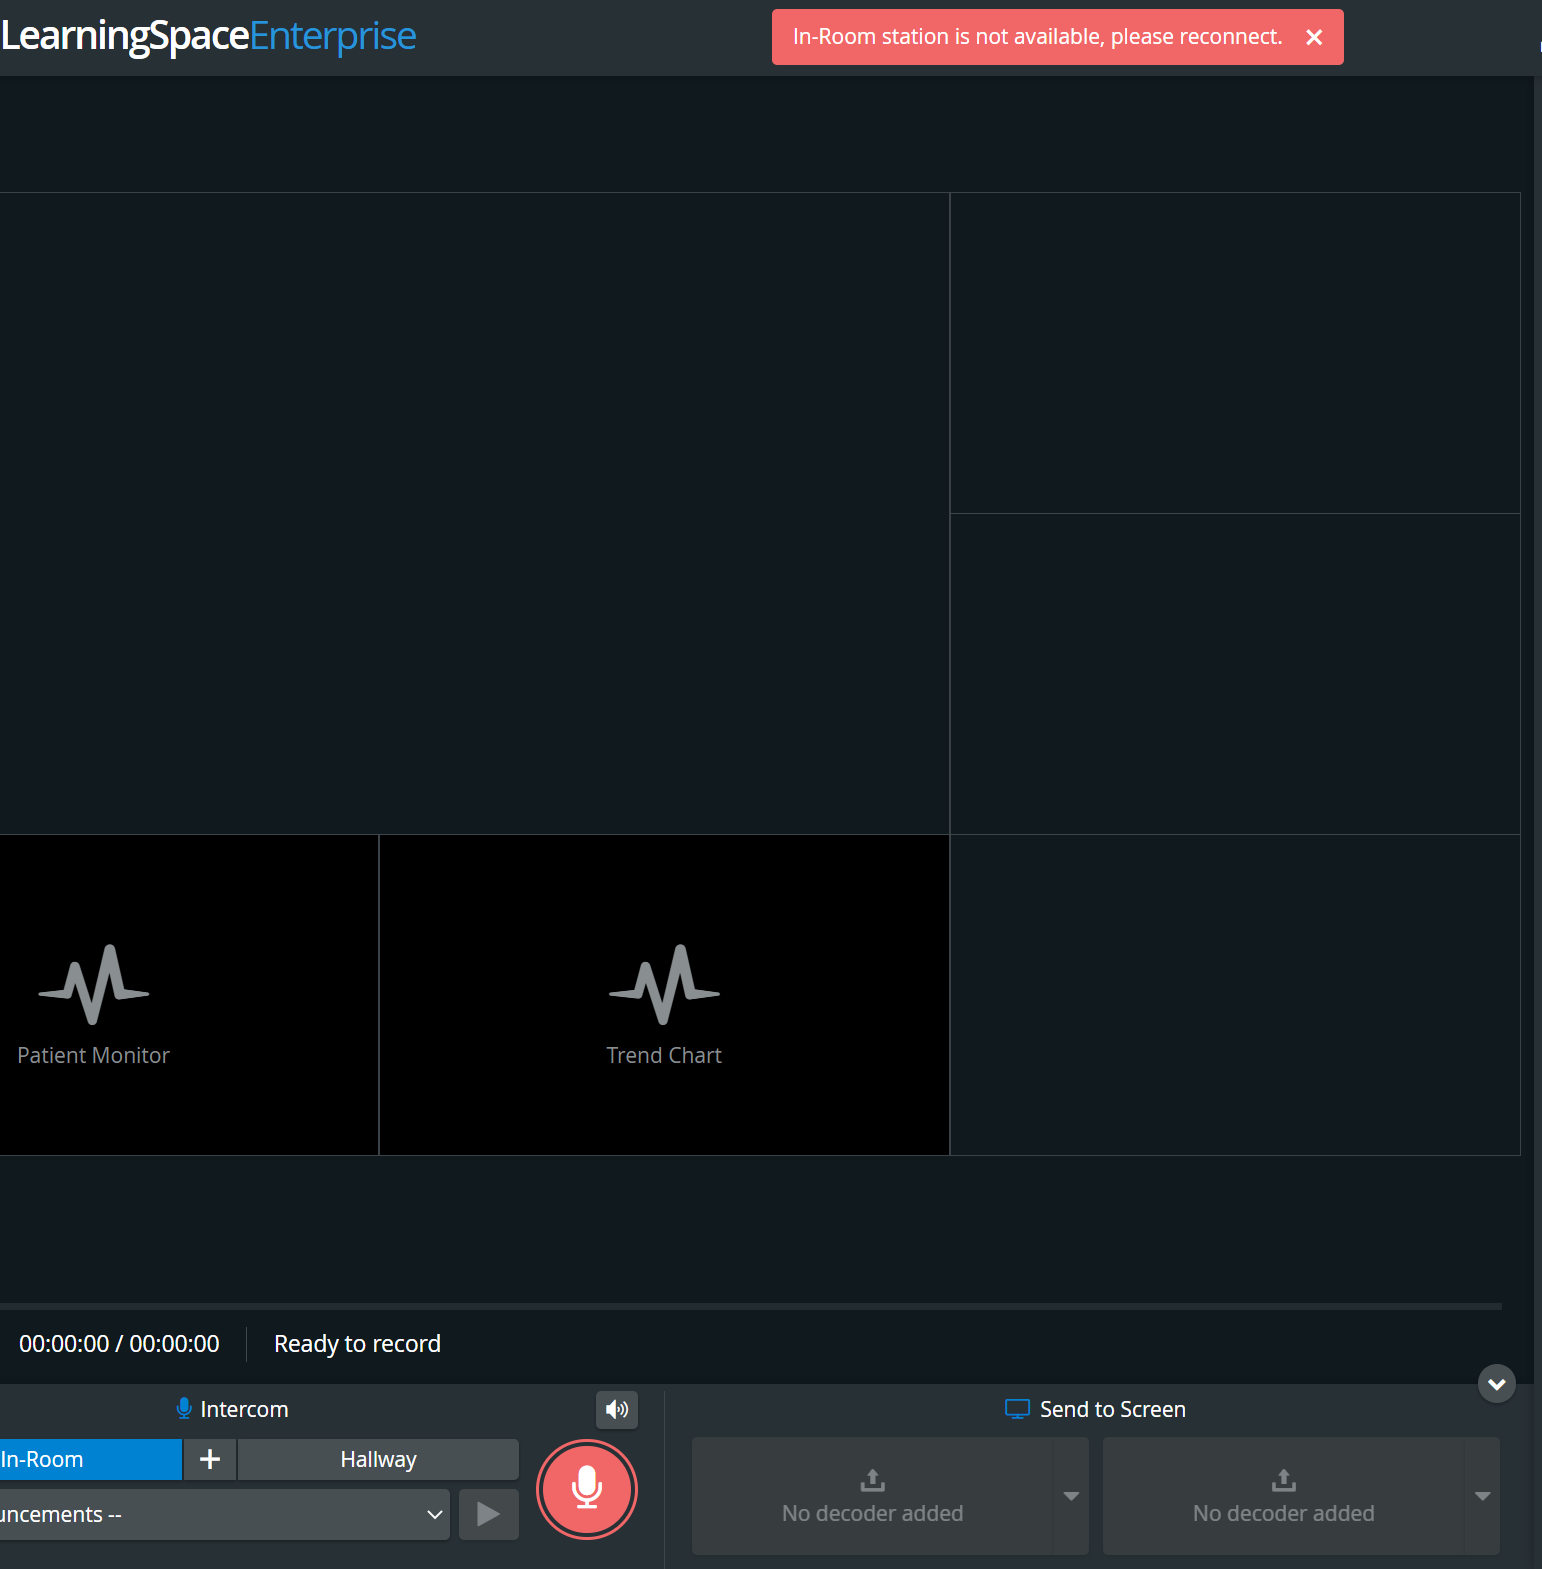
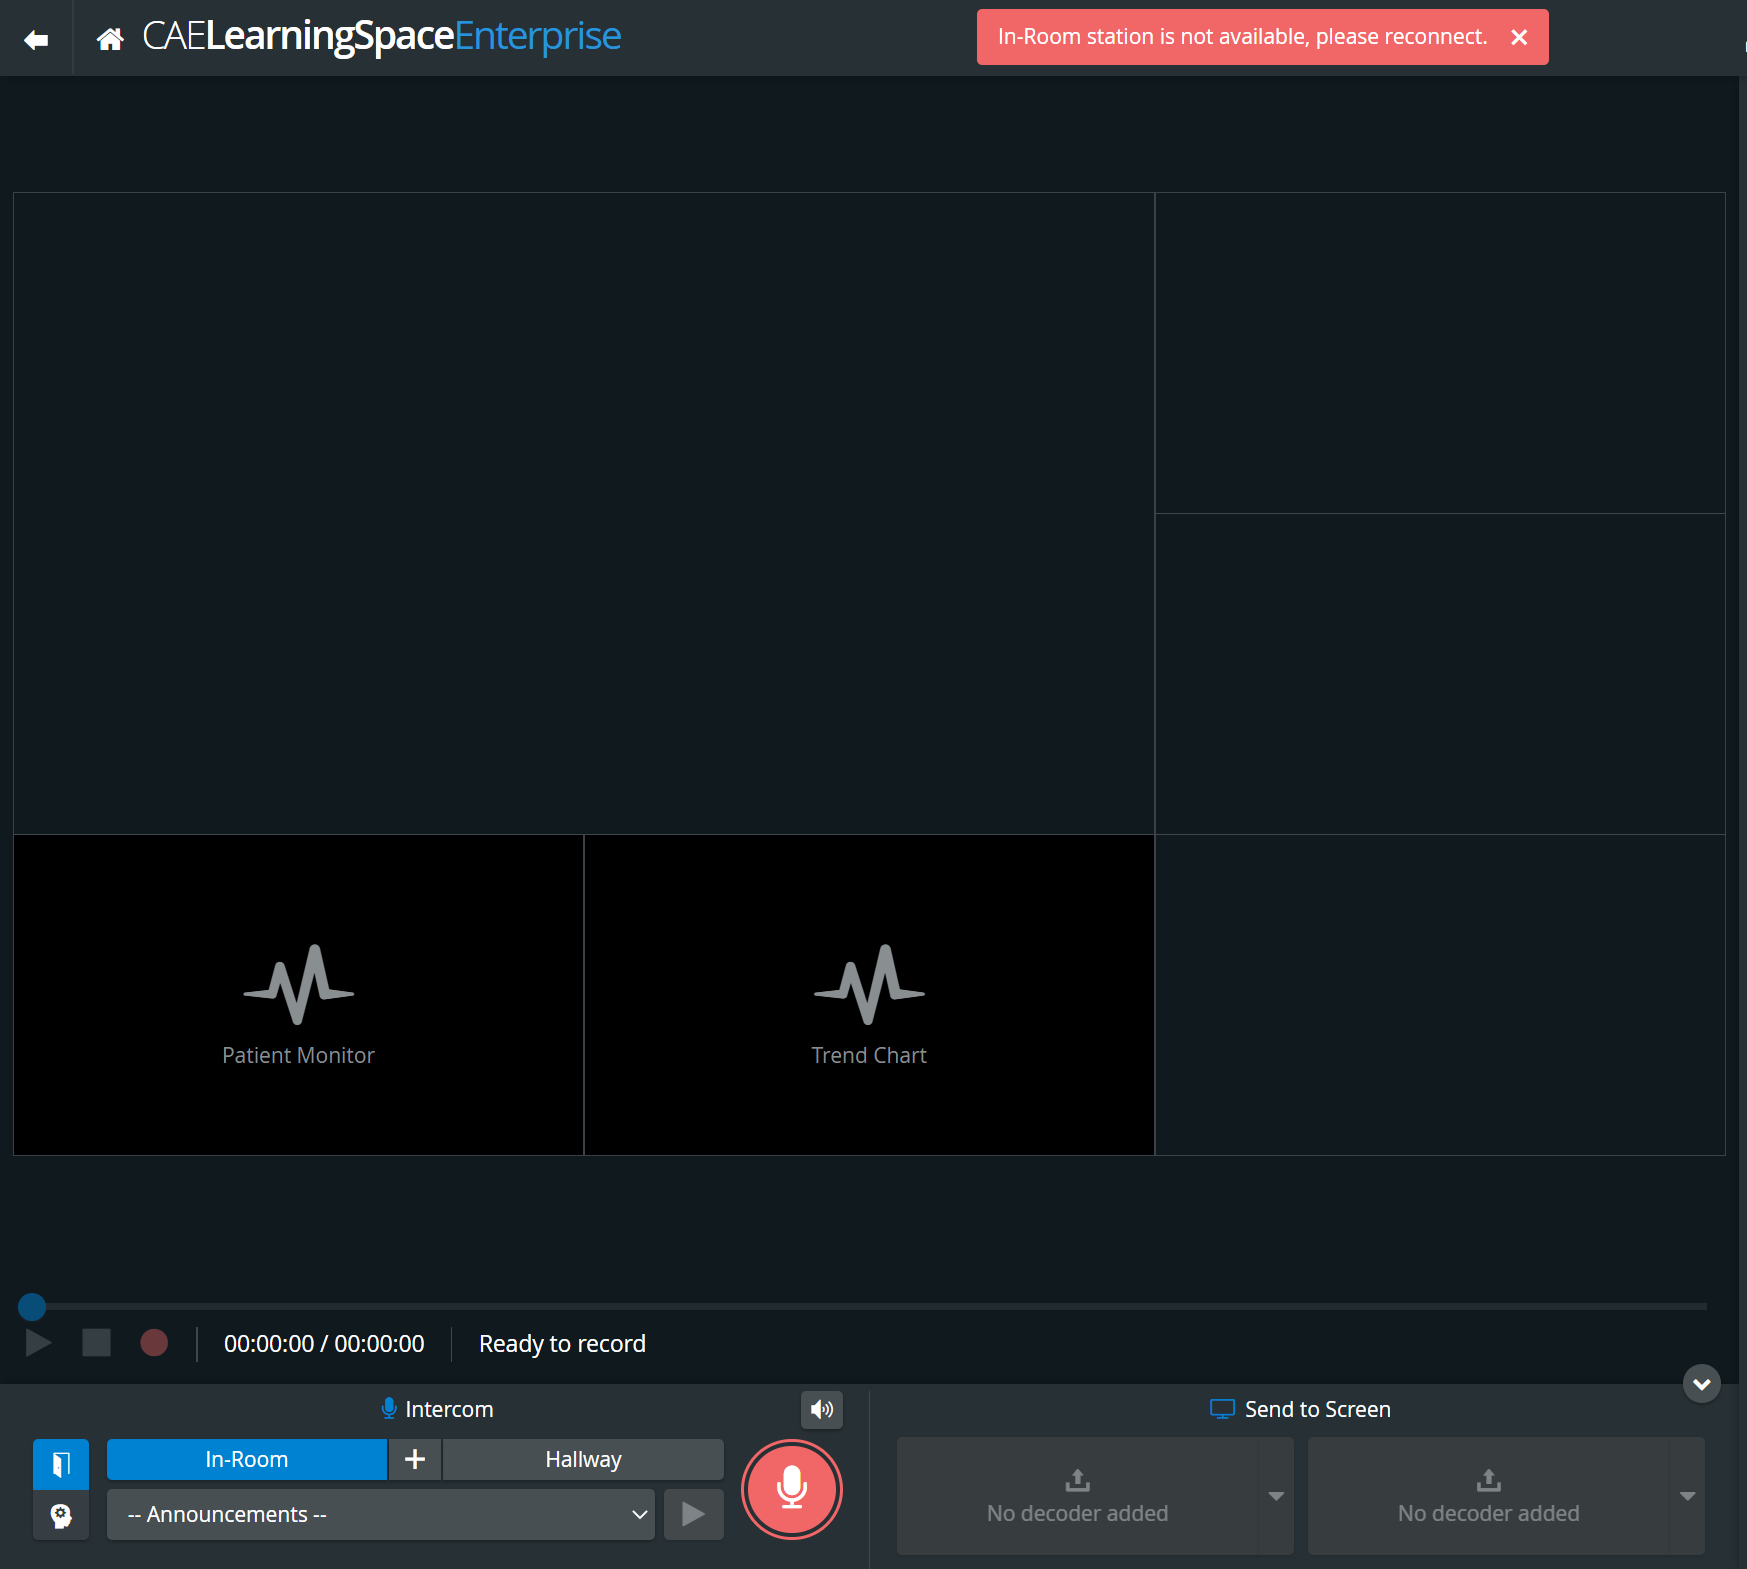
If there is no valid Intercom destination available in the system, the Push-to-talk button is displayed in orange color (when pushing it) and a warning message shows at the top of the page:


If Intercom setup is not completed (e.g a destination station needs to be reconnected), the Push-to-talk button is displayed in red color (when pushing it) and a warning message shows at the top of the page:
| Note |
|---|
The Intercom via Simulator function is only available for CAE Simulators, not for non- CAE (third-party) simulators. |
| Info |
|---|
The Push-to-Talk function of Intercom is not supported on iPads in LearningSpace. |
| Info | ||||||||||||
|---|---|---|---|---|---|---|---|---|---|---|---|---|
| ||||||||||||
|
| Info |
|---|
For more information, visit our Recording - How to pages and watch the Recording Module Training Video. |
Overview
Content Tools