Page History
This page will walk you through the most important advances, significant changes made to the CAE LearningSpace Enterprise system to accommodate distance learning:
- here, you can go through the steps of creating a virtual event
...
- ;
- also, you will find further essential setting options that you can apply to optimize the virtual OSCE workflow:
| Table of Contents | ||
|---|---|---|
|
...
2. Virtual Rooms Instead of Authorized Workstations
a. Virtual Rooms Cannot be Used as Authorized Workstations
In a distance learning environment, virtual rooms cannot be applied as authorized workstations since every participant of the activity logs into CAE LearningSpace on their devicepersonal devices.
a. Consequently, there are certain specific Options in the activity editor that must be avoided:
Do not restrict data entry to specific computers based on their IP address or hostname endings.

Note Make sure "Data entry only allowed from..." setting is unchecked.
Do not allow data entry from manually authorized workstations.
Note Make sure "Data entry only allowed from manually authorized workstations" setting is unchecked.
b. About Devices Meetings Are Accessed From
![]() An important restriction applies to the devices used by the participants attending a virtual CAE LearningSpace event: the devices the virtual meetings are accessed from cannot be added to CAE LearningSpace as a station.
An important restriction applies to the devices used by the participants attending a virtual CAE LearningSpace event: the devices the virtual meetings are accessed from cannot be added to CAE LearningSpace as a station.
The selected meeting provider will not open on the devices that are added as stations to CAE LearningSpace. This means that SPs will not be able to start meetings, and learners and observers will not be able to join a running meeting.
Check the Stations tab in your CAE LearningSpace system for every added device. If there are devices added that will be used by SPs or learners for connecting to virtual events, remove them with the Delete button.
| Tip |
|---|
Identify the devices by their names or IP addresses displayed in the Stations tab. |
c. No Automatic User-Forwarding
Upon login, SPs and learners are not automatically forwarded to the
...
| Tip | ||
|---|---|---|
| ||
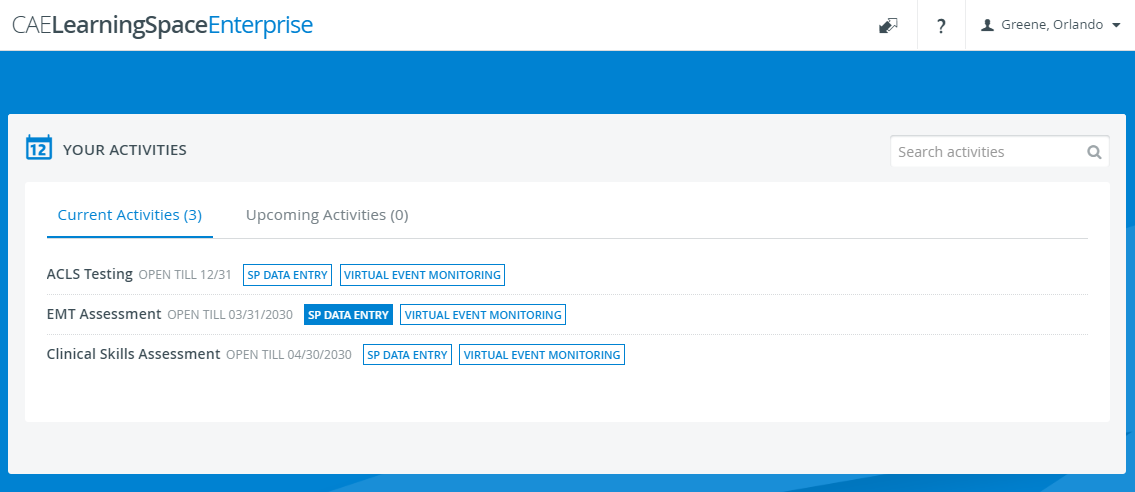
During the event, SPs and learners need to go to their Dashboards and click SP Data Entry or Data Entry next to the activity they are participating in—as explained in the standardized patient and medical student guides—to access their Pre-Selection pages. |
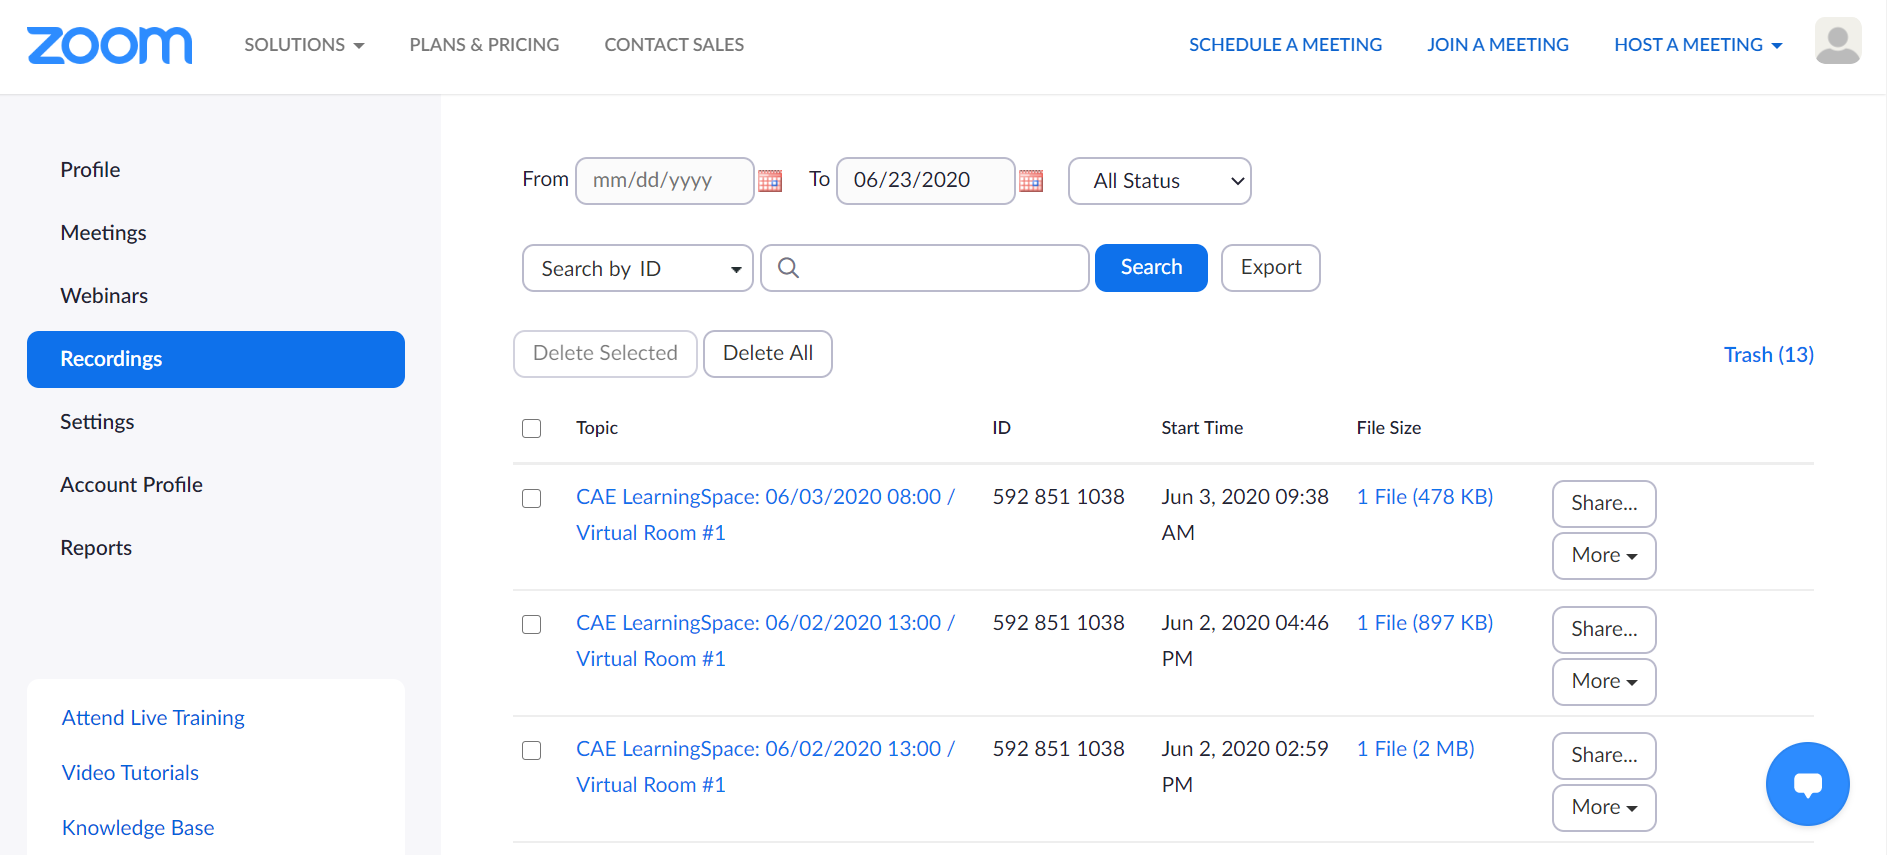
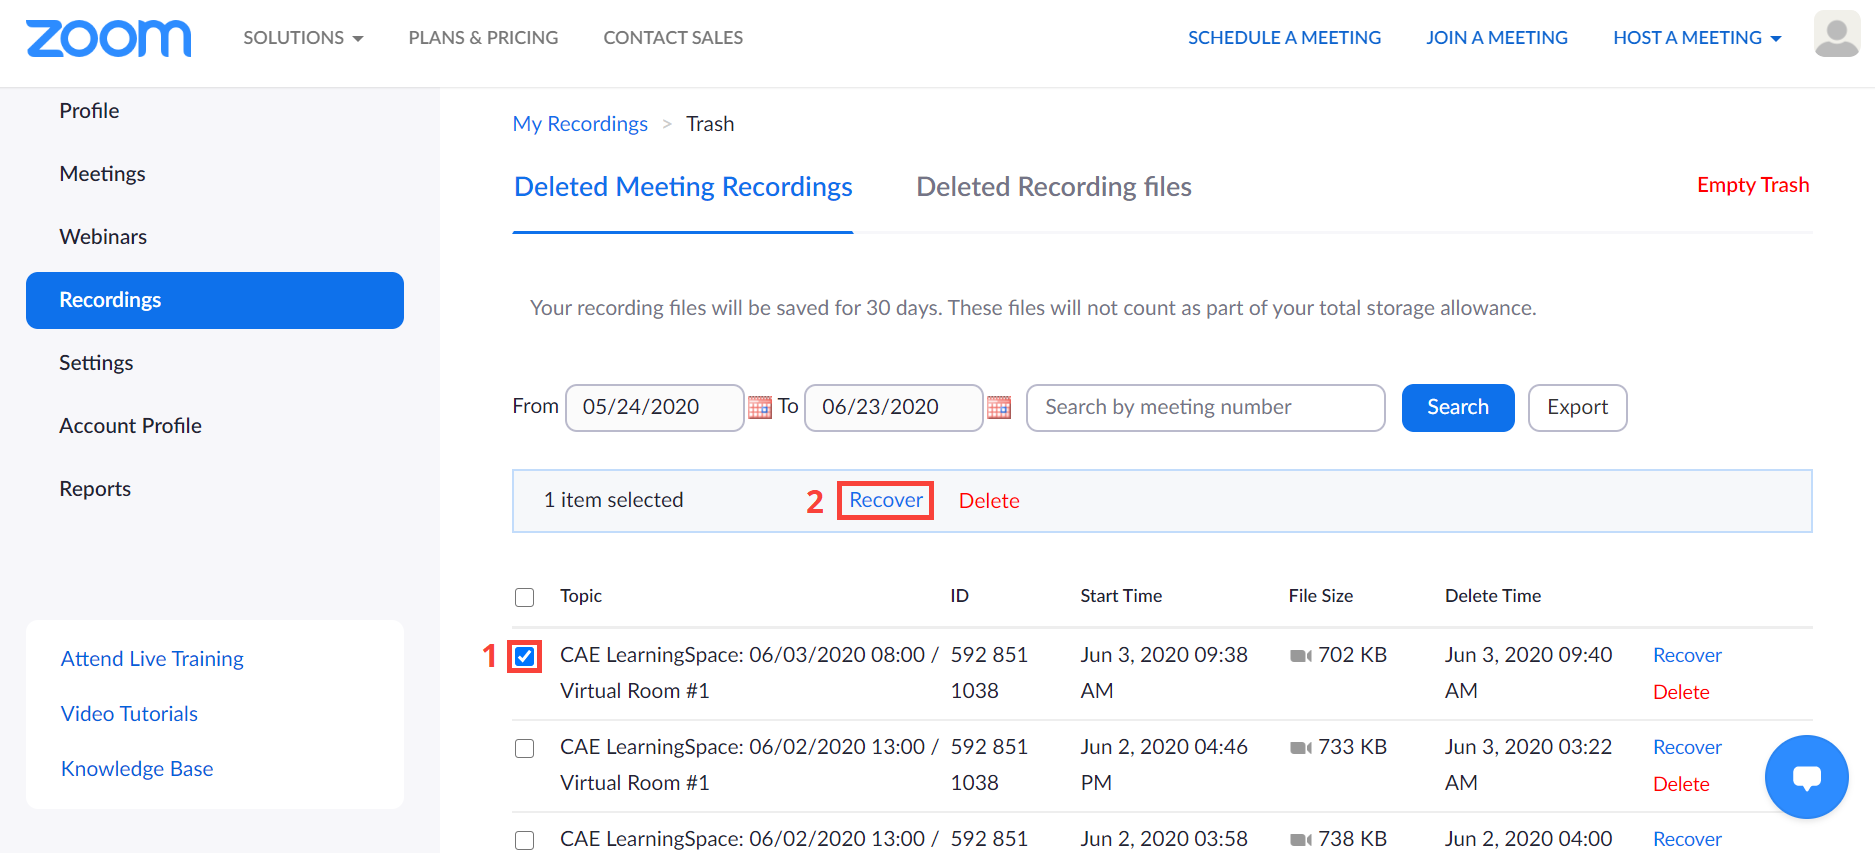
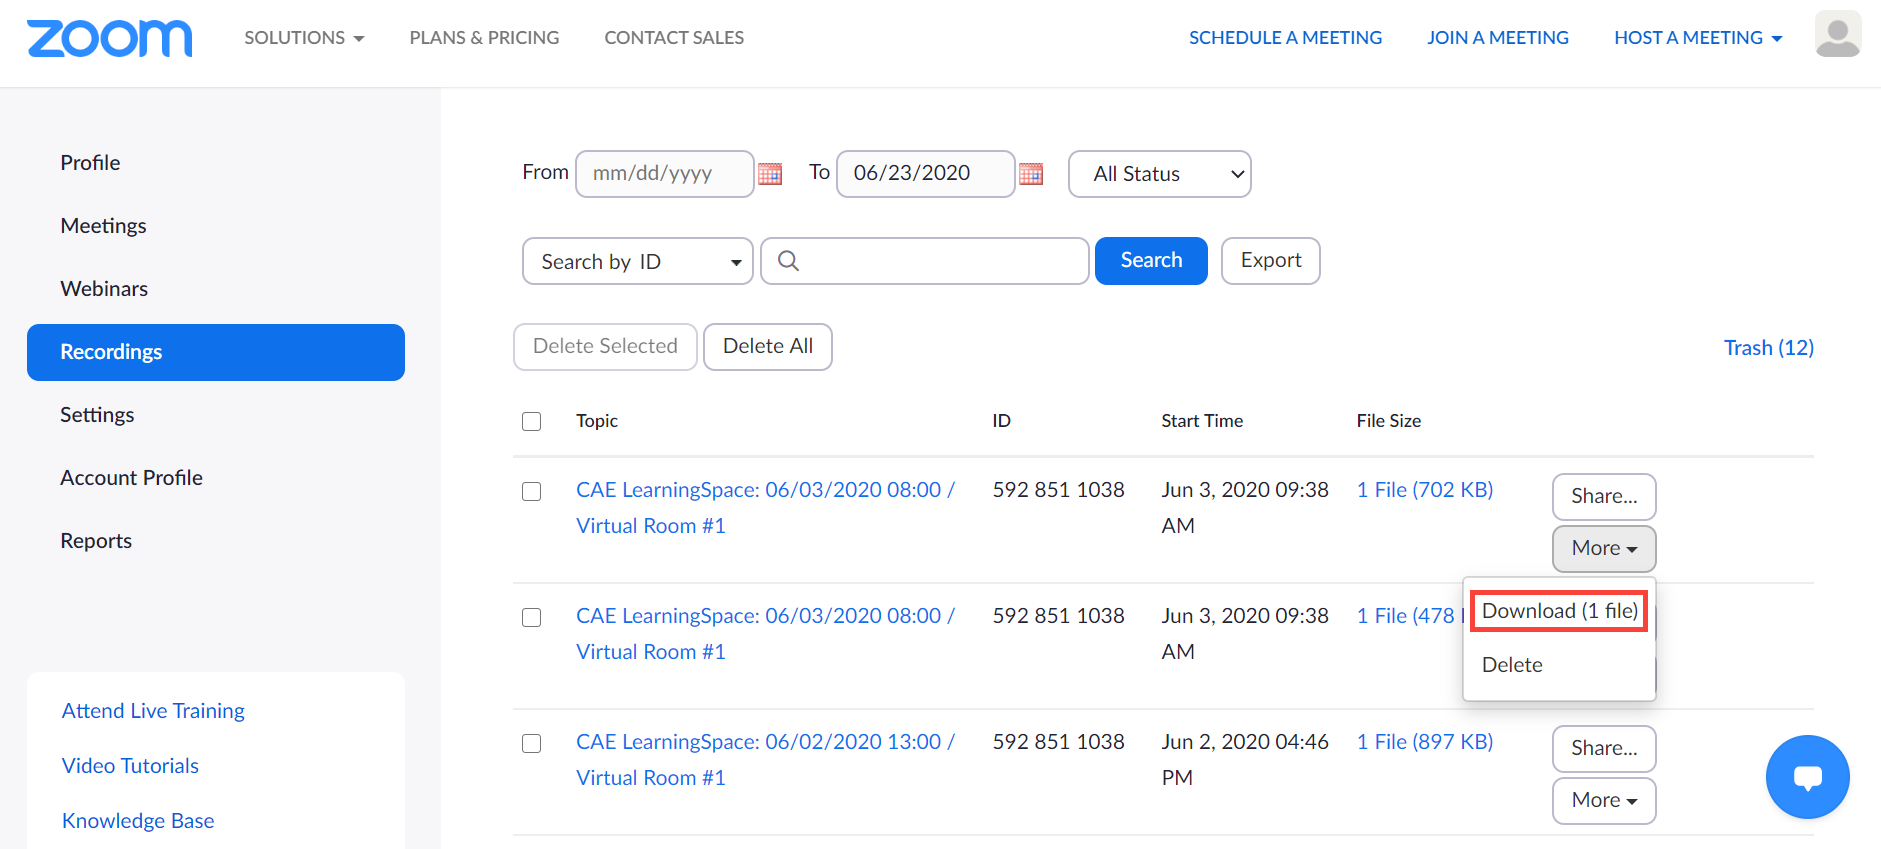
3. Video Processing
CAE LearningSpace uses CAE LearningSpace stores the recordings of virtual events temporarily in Zoom's cloud storage as temporary storage: OSCE virtual encounters are first stored in Zoom's storage—upon each meeting is ended—, then they will be downloaded to : the recording of a meeting is first saved to Zoom, then the video recording will be downloaded from the cloud through a secure HTTPS channel to the Video Review module in CAE LearningSpace.
| Note | ||||||||||||
|---|---|---|---|---|---|---|---|---|---|---|---|---|
| ||||||||||||
The recordings of the virtual encounters are not available in Video Review until video processing is finished.
|
| Info |
|---|
Virtual encounter recordings display the host and participant—SP and learner—side-by-side. |
| Tip | ||
|---|---|---|
| ||
CAE LearningSpace adds annotations to the recordings to let you know when the learner has joined the virtual encounter. |
...
1. Pre-Selection Page Display
a. Virtual Event Access through Your Activities
When selecting cases for virtual events, make sure that the cases you add to an activity contain each of the following checklists:
- SP checklist
- Pre-Encounter checklist and
- Post-Encounter checklist
Otherwise, SPs and learners might not be able to access their pre-fill pages on the Your Activities pane, or their pre-fill pages might not list every meeting they are supposed to attend.
b. Time Limitations of Pre-Selection Page Access
Pre-Selection pages are only available for the duration of the an event.
Otherwise, SPs and learners can only access data entry from their basic data entry selection pages where they have to select a learner or a case from a drop-down manually.
Learners
| Note | ||
|---|---|---|
| ||
If there is no scheduling time threshold set up, some learners will have less time than others to fill in their checklists on their Case Pre-Selection pages: namely, the learners who are scheduled for the first or last timeslots of an event |
...
. Also, without a scheduling time threshold, SPs will not access their Learner Selection-Page to complete data entry |
...
following their last virtual encounter. |
| Tip | ||
|---|---|---|
| ||
To enable SPs and learners to access their Pre-Selection pages before and after an event for some extra time, set up a scheduling time threshold. (
|
| Info | ||
|---|---|---|
| ||
|

...
| Tip | ||
|---|---|---|
| ||
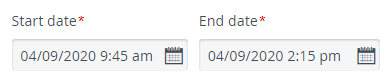
Align the activity's entire duration with the event's duration extended by the scheduling threshold:
|
...
After completing the above steps, access to checklists will be time-restricted.
Although , learners could still access their post-encounter checklist before their virtual encounter without applying the following restriction:
...
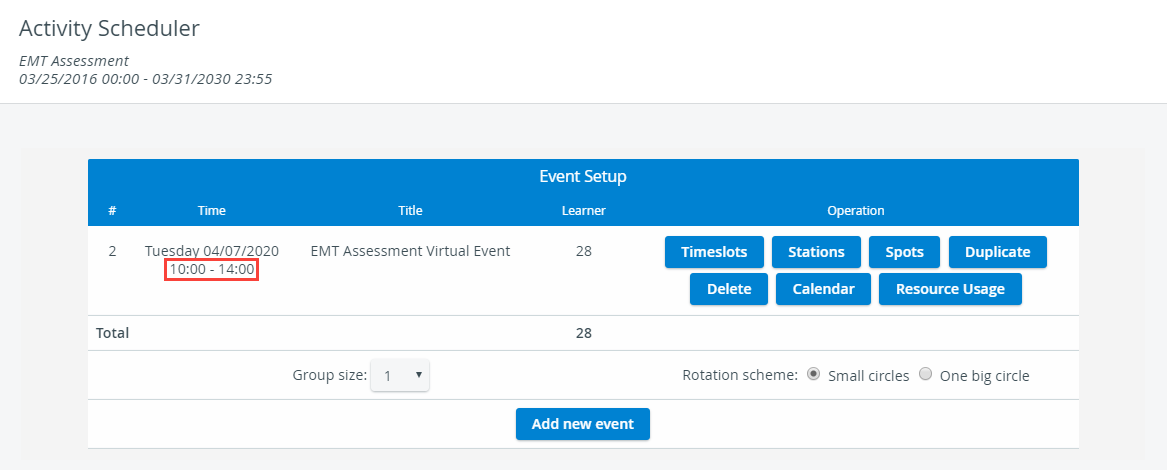
Create a new event with Advanced Scheduling.
Note title Important Virtual encounters can only be set up in Advanced Scheduling.
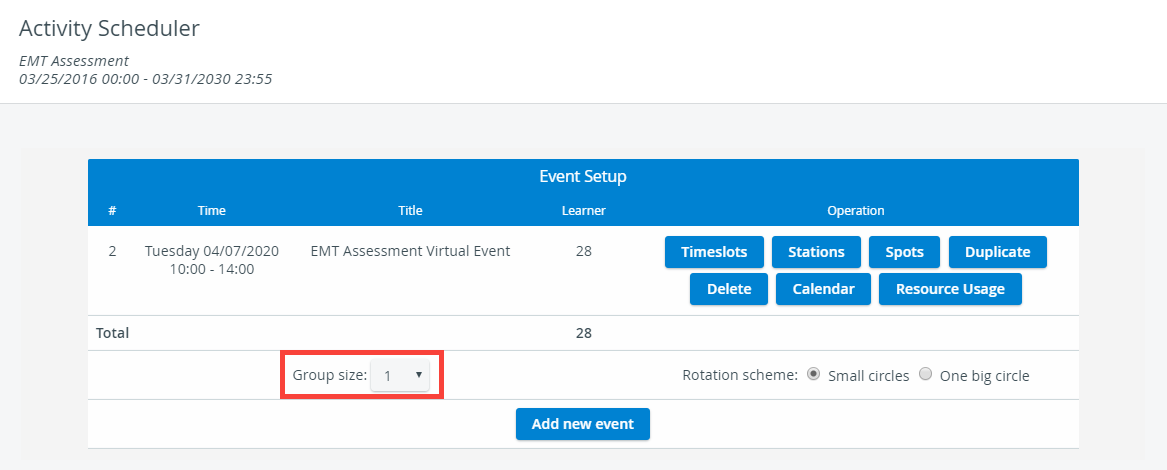
Only one learner can participate at a time in a virtual encounter, which means Group size must always be 1.
Info Check the Group size drop-down on the Activity Scheduler page of your activity at the bottom of the Event Setup pane and make sure it is set to 1.
Set up timeslots and have valid round setups.
Note title Number of Timeslots To allow your learners to join the virtual meeting of each case required of them, the number of timeslots within a round should be equal to (or the multiple of) the number of virtual cases.
This will ensure the correct rotation of learners: within one round, every one of them can participate in each virtual encounter they need to complete.Add one virtual room to each case at Stations.
Tip You can conduct the same case in several different virtual rooms just as running the same case on more than one station.
Likewise, physical rooms, you cannot assign the same virtual room to more than one case.Warning Do not add physical rooms to your virtual event or add virtual rooms and physical rooms simultaneously to virtual events.
Only virtual rooms work in this setting.Note title Important Virtual rooms do not function as authorized workstations, which means automatic user-forwarding to pre-selection pages is not provided.
Learners can still access their checklists, but they have to manually select their case from a drop-down menu, which might lead to mistakes in data entry.Refer to the Recommended Activity Settings mentioned above to direct your learners to the Case Pre-Selection page.
- assign one SP per case
Warning title Warning Do not apply a timeslot structure template to your event.
SPs are in charge of launching and ending virtual encounters.
...
| Tip | ||
|---|---|---|
| ||
From now on, in your event notification emails, you can inform learners about the exact timeslots they are assigned to. A new merge tag is available in the Emails tab in System: Learner timeslot that displays the timeslot date(s) the recipient is assigned to. |
...
- Scroll down to Notification emails on the Activity Scheduler page:
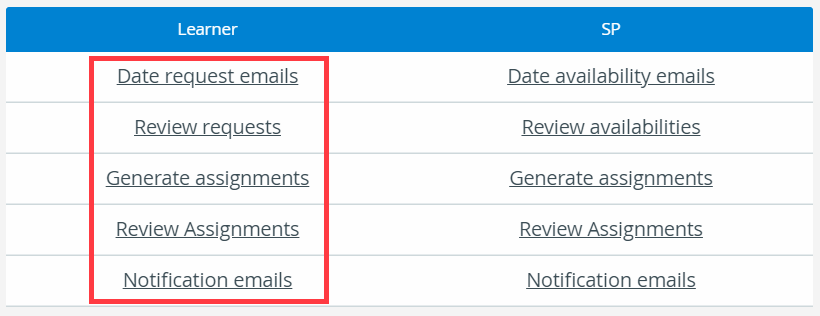
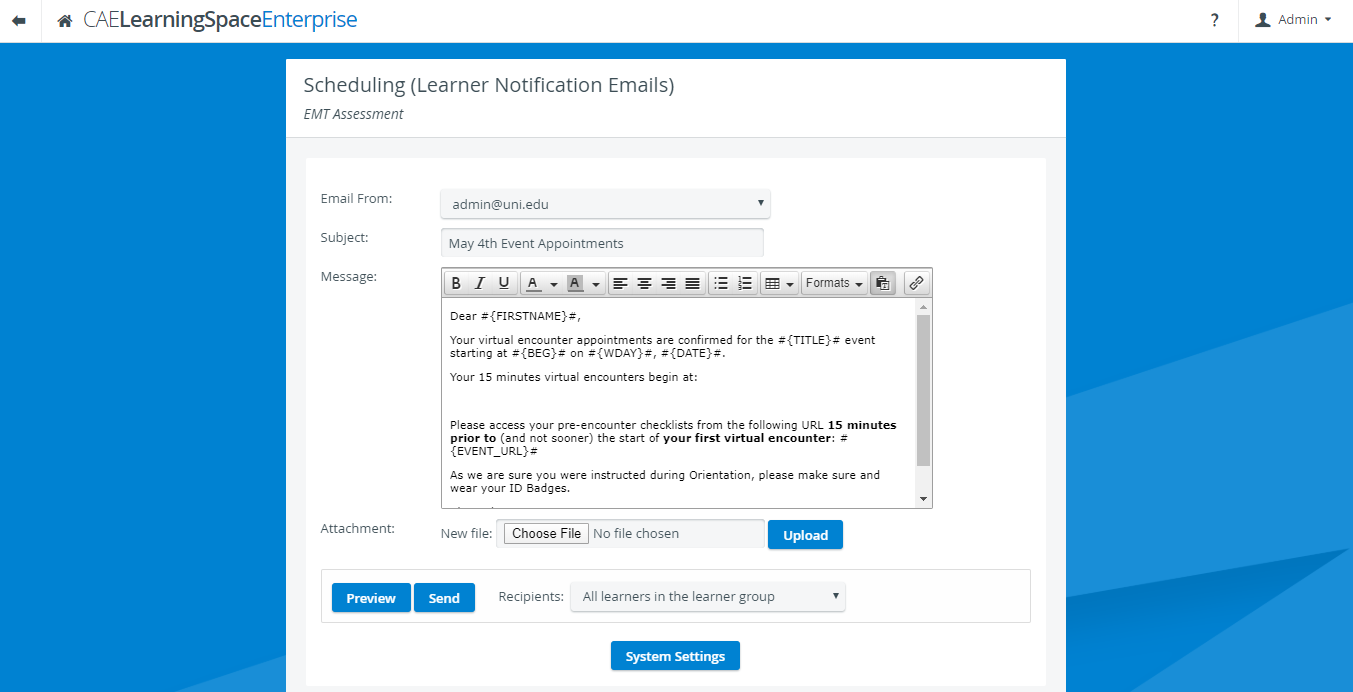
You will be redirected to the Scheduling (Learner assignments) page where page, where you can edit the notification email you are going to send out to the learners. Select a from address in the Email From drop-down.
Info To set up further from addresses, go to the Emails tab in System Manager.
- Enter the subject of your email in the Subject field.
- Edit the message body of your email in the Message field.
- While editing your message, apply the new Learner timeslot merge tag.
 To apply the new merge tag, it you first needs need to be added to create the Learner notification email template in Emails:
 - Click on the System Settings button at the bottom of the page to access the Emails tab in System.
- Select "Learner notification email" from the Email templates drop-down:
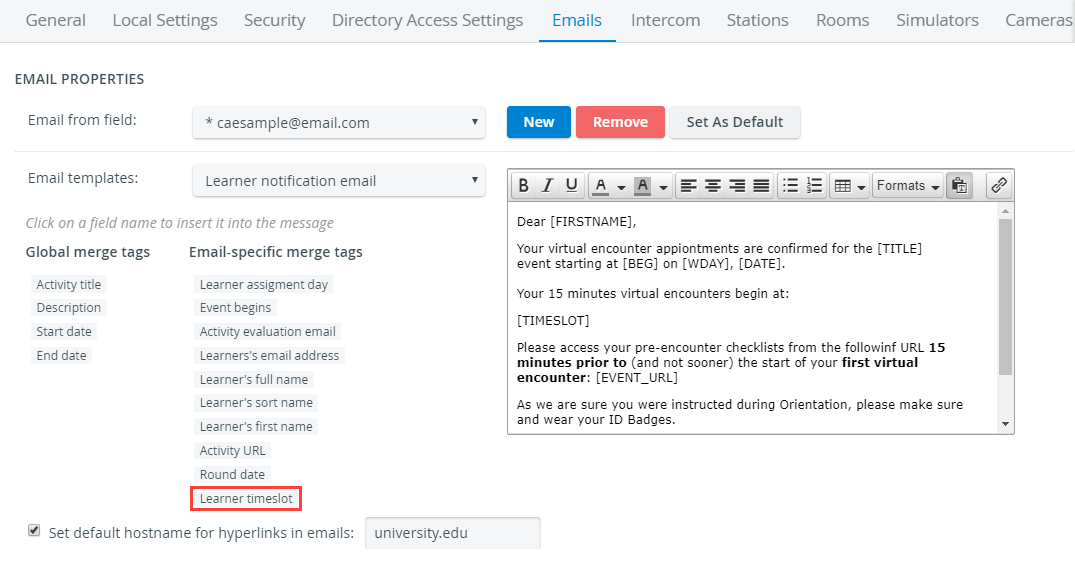
- While editing the template, click on the Learner timeslot tag to add it to your message.
Return from the Emails tab to your event notification email setup using the back arrow.
The timeslot (#{TIMESLOT}#) tag will be added to your message: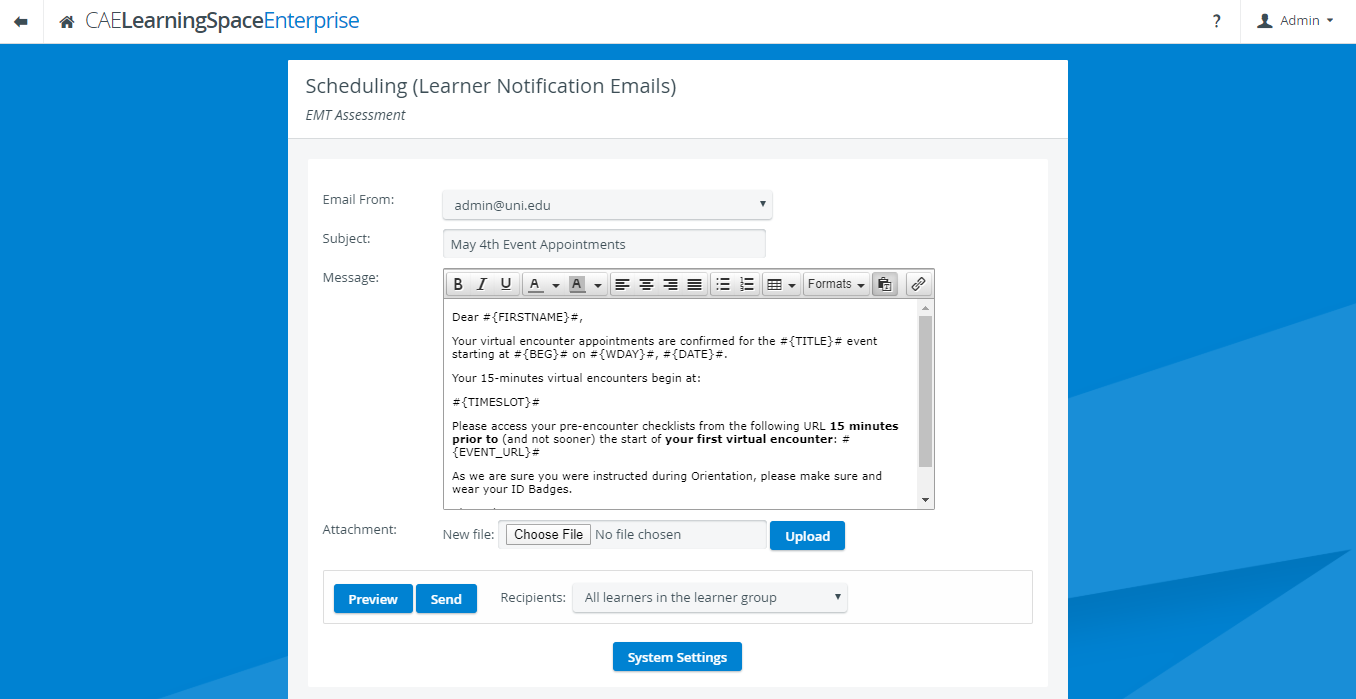
- Click on Preview to see how your email will be displayed to each of your recipients.
The Email Preview page displays your message by each user.
The timeslot merge tab will list every timeslot a learner has been assigned to: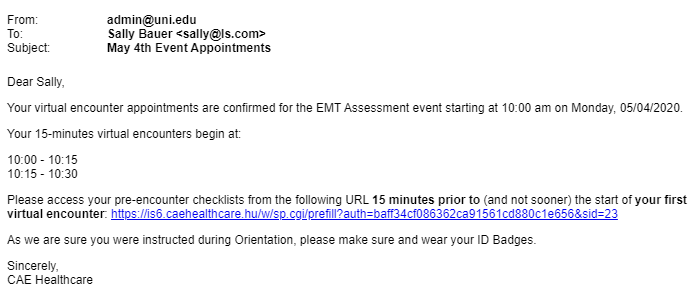
Return to editing with the back arrow. - Select a recipient group from the Recipients drop-down.
Click Send.
After you have sent out the date request emails, the system will log the time and date of sending.
Overview
Content Tools