Important Note for Enterprise Lite Users
This feature is to be used with in-campus audiovisual (AV) inputs. Hence, it is not available for LearningSpace Enterprise Lite, as the solution is used for web-conferencing-based virtual simulation encounters only. To unlock this feature, please upgrade to the LearningSpace Enterprise solution.
Center Overview (CO) is displayed by default when entering the Recording module. Here, you can monitor video recordings of multiple rooms simultaneously.
Center Overview (CO) is only available for multi-room configurations.
In case of a one-room, LearningSpace ONE Box system, the Recording module brings you directly to Single Room View (SRV).
Recording
The Record Control panel is located on the left of the screen.
The Record Control panel is minimized by default when entering CO; click on the panel to display it.
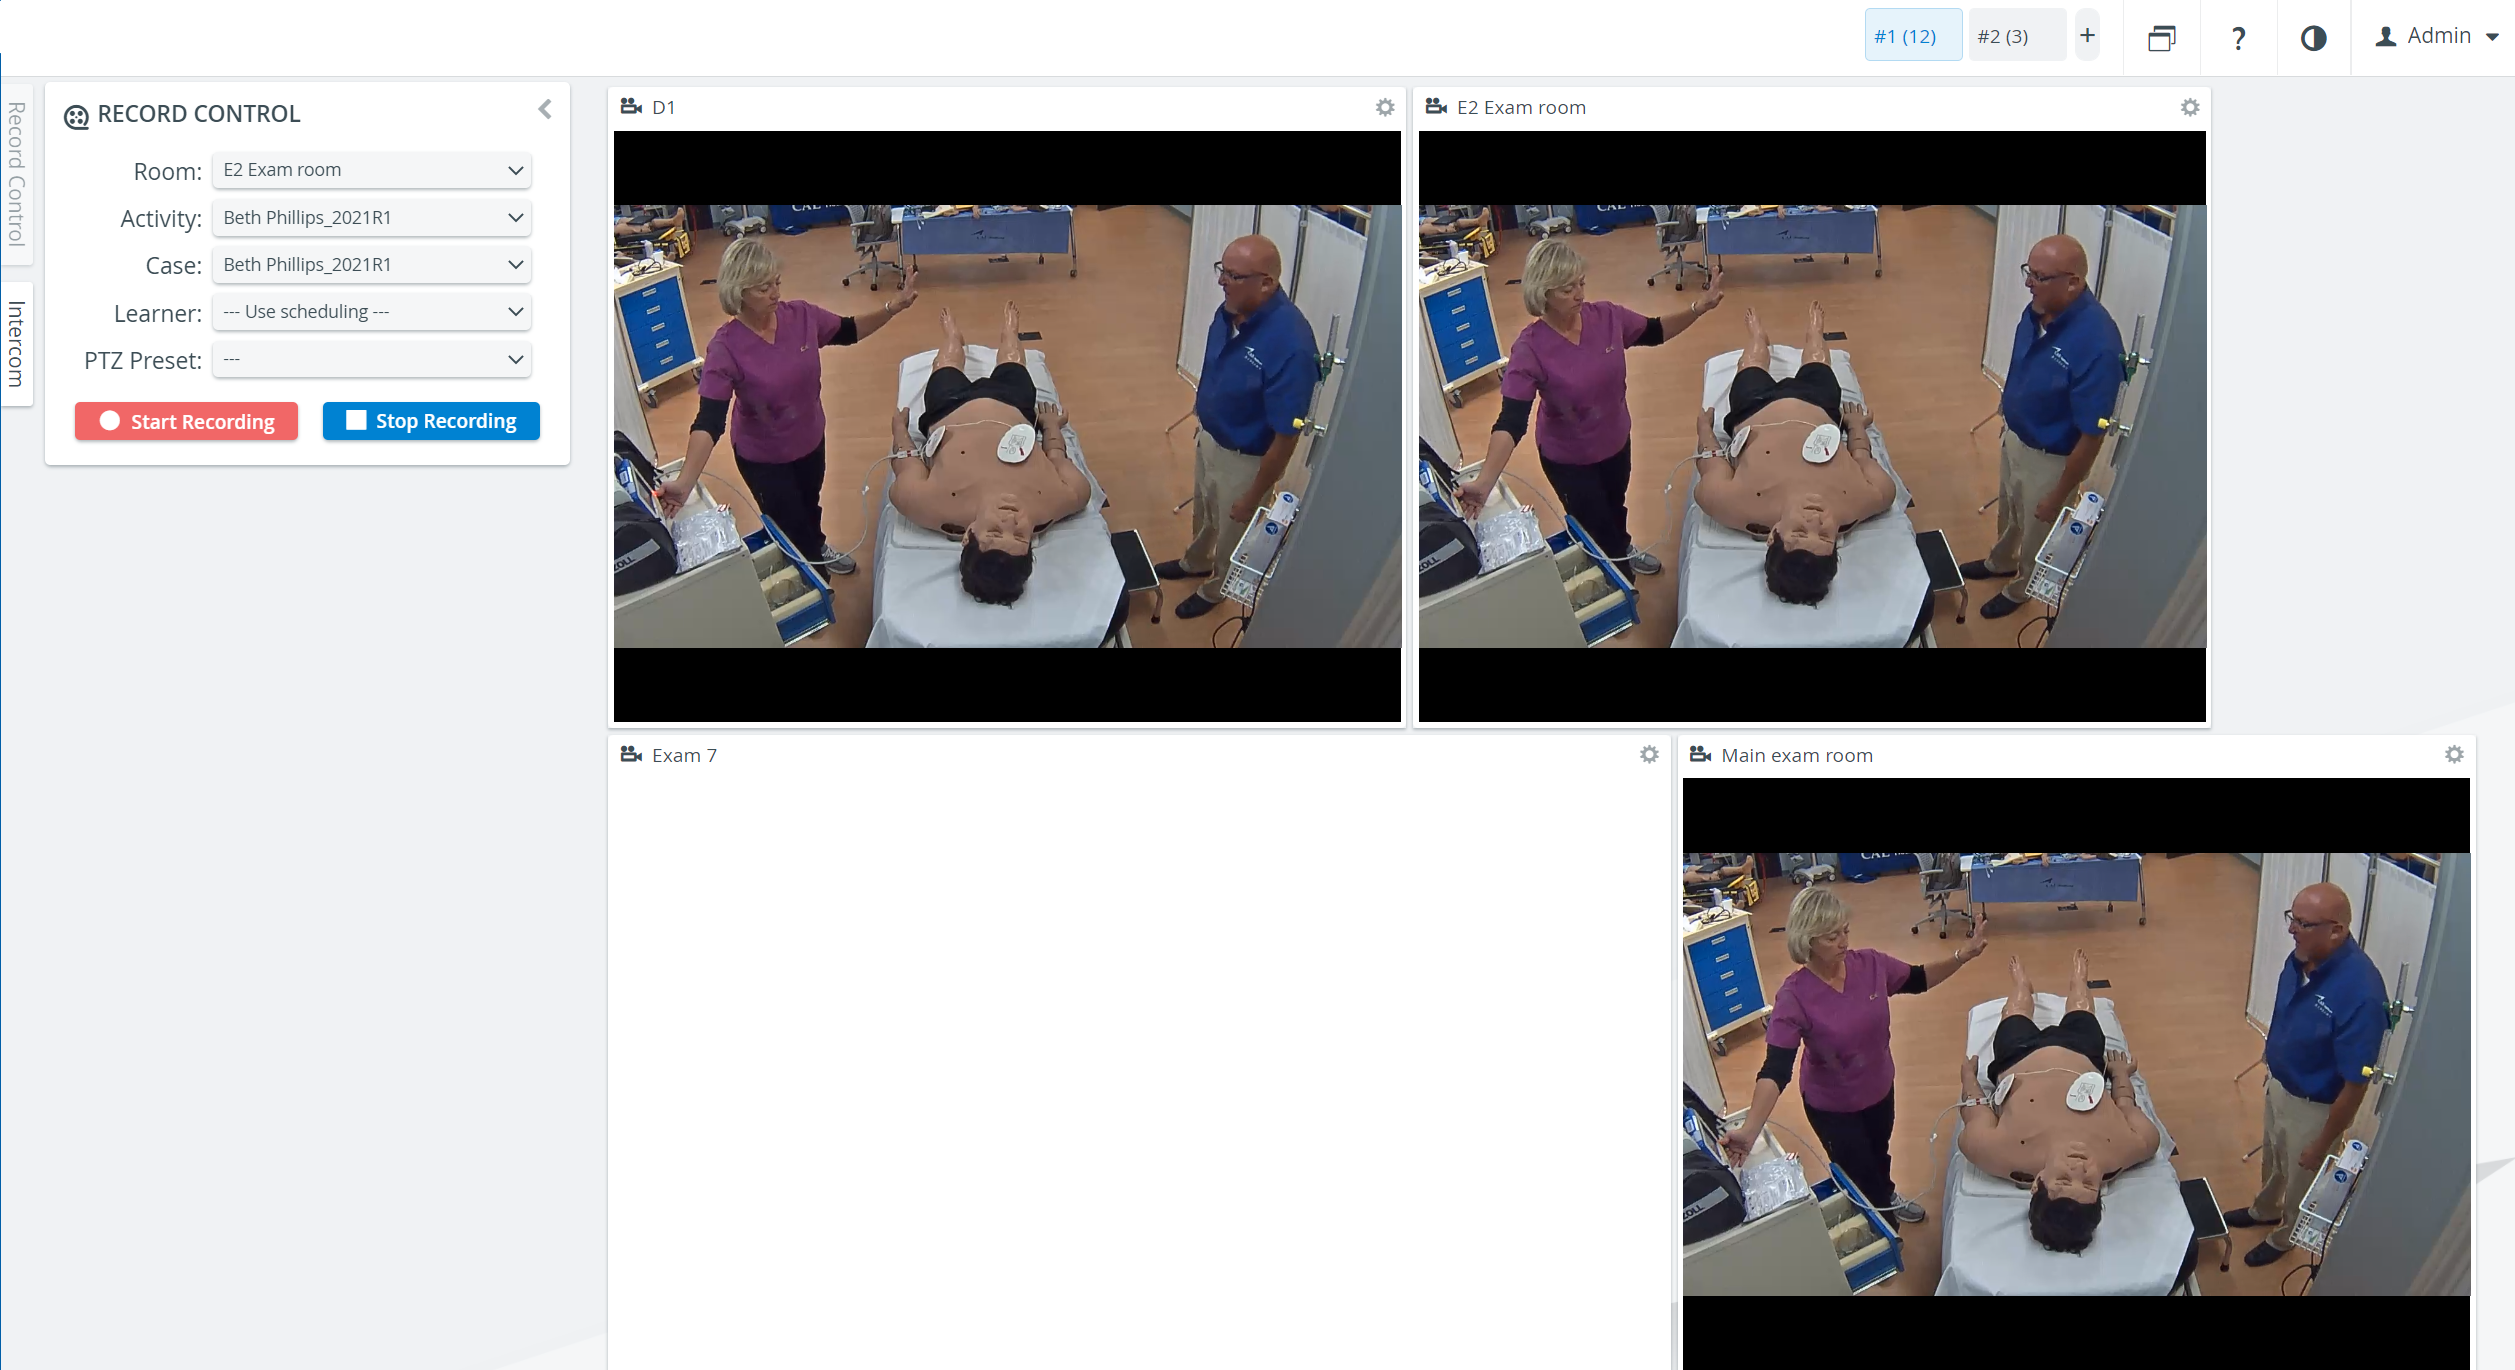
With the Record control panel in CO, you can control recordings without entering the Single Room View (SRV) of any of the rooms.
To launch or stop a recording in a room, pick one from the Room drop-down menu and use the red Start Recording or blue Stop Recording buttons.
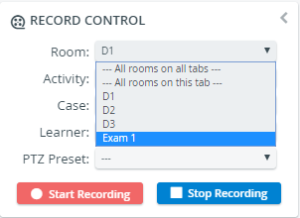
It is also possible to launch and stop recordings in multiple rooms at the same time:
- in all rooms on the current tab = 'All rooms on this tab' or
- all rooms available in CO = 'All rooms on all tabs'
Recording Status of Rooms
On the camera panel, a red rec icon goes on when recording is launched to indicate that recording is in progress inside the room: ![]() .
.
If one or more cameras suddenly stop recording due to any unforeseen reason, an ![]() icon will also warn you e.g. if a camera "Disappears".
icon will also warn you e.g. if a camera "Disappears".
Check the availability of cameras on the Cameras tab.
Drop-downs in the Record control panel:
With the Record control panel in CO, you can set up the activity, case, learner(s), and even the position of the camera (if a PTZ camera is installed in the room).
You can either apply settings to one room or multiple rooms.
1. First, select the room(s) the record controls apply to:
- "All rooms on all tabs"
- "All rooms on this tab"
- Pick only one room
2. The following settings apply to all of the room(s) defined in the first step:
- Activity assignment: Select an activity you would like to assign to room(s).
- Case selection: Select a case from the chosen activity.
- Learner assignment: Select the entire group of the selected activity or choose a learner you would like to assign to the room(s). Their name will be saved with the recordings.
PTZ Preset settings: All camera positions are listed in the drop-down that has been defined in rooms equipped with a PTZ camera. Select a preset position to apply it to the room it was created in.
Important
A PTZ position only applies to the room it was created in. It is not affected by the other settings (room, activity, case, and learner) featured on the Record control panel.
Tip
Would you like to apply the same PTZ preset to multiple rooms at once? Find out more about it here.
3. Start and Stop recording with the red and blue buttons at the bottom of the panel.
Record Control Panel Settings
Settings applied with the Record control panel override the settings in rooms where an activity, case, and possibly learners were already set up with the Activity Scheduler or RNSA (in Room Manager).
Example:
In-Room: Exam 1, Activity: EMT Assessment, Case: EMS George Davis (collapse) is already scheduled.
But, in CO, the Video Full Control user selects Room: Exam 1, Activity: Clinical Skills Assessment, and Case: CSA Chest Pain 2018 (Palpitations) in the Record control panel and launches the recording.
The recording will no longer be registered for EMT Assessment/EMS George Davis (collapse) but for Clinical Skills Assessment / CSA Chest Pain 2018 (Palpitations), the activity and case selected in the Record control panel.
 PTZ Drag-To-Move
- PTZ Click-To-Center
- How to Save a Camera Position in System
- How to Save PTZ Camera Preset Positions in Single Room View (SRV)
- How to Control PTZ Cameras with Single Room View Tools
- How to Apply the Same PTZ Preset to Multiple Rooms on Center Overview
For more information go to the Recording - How to pages.
Overview
Content Tools