Annotations section
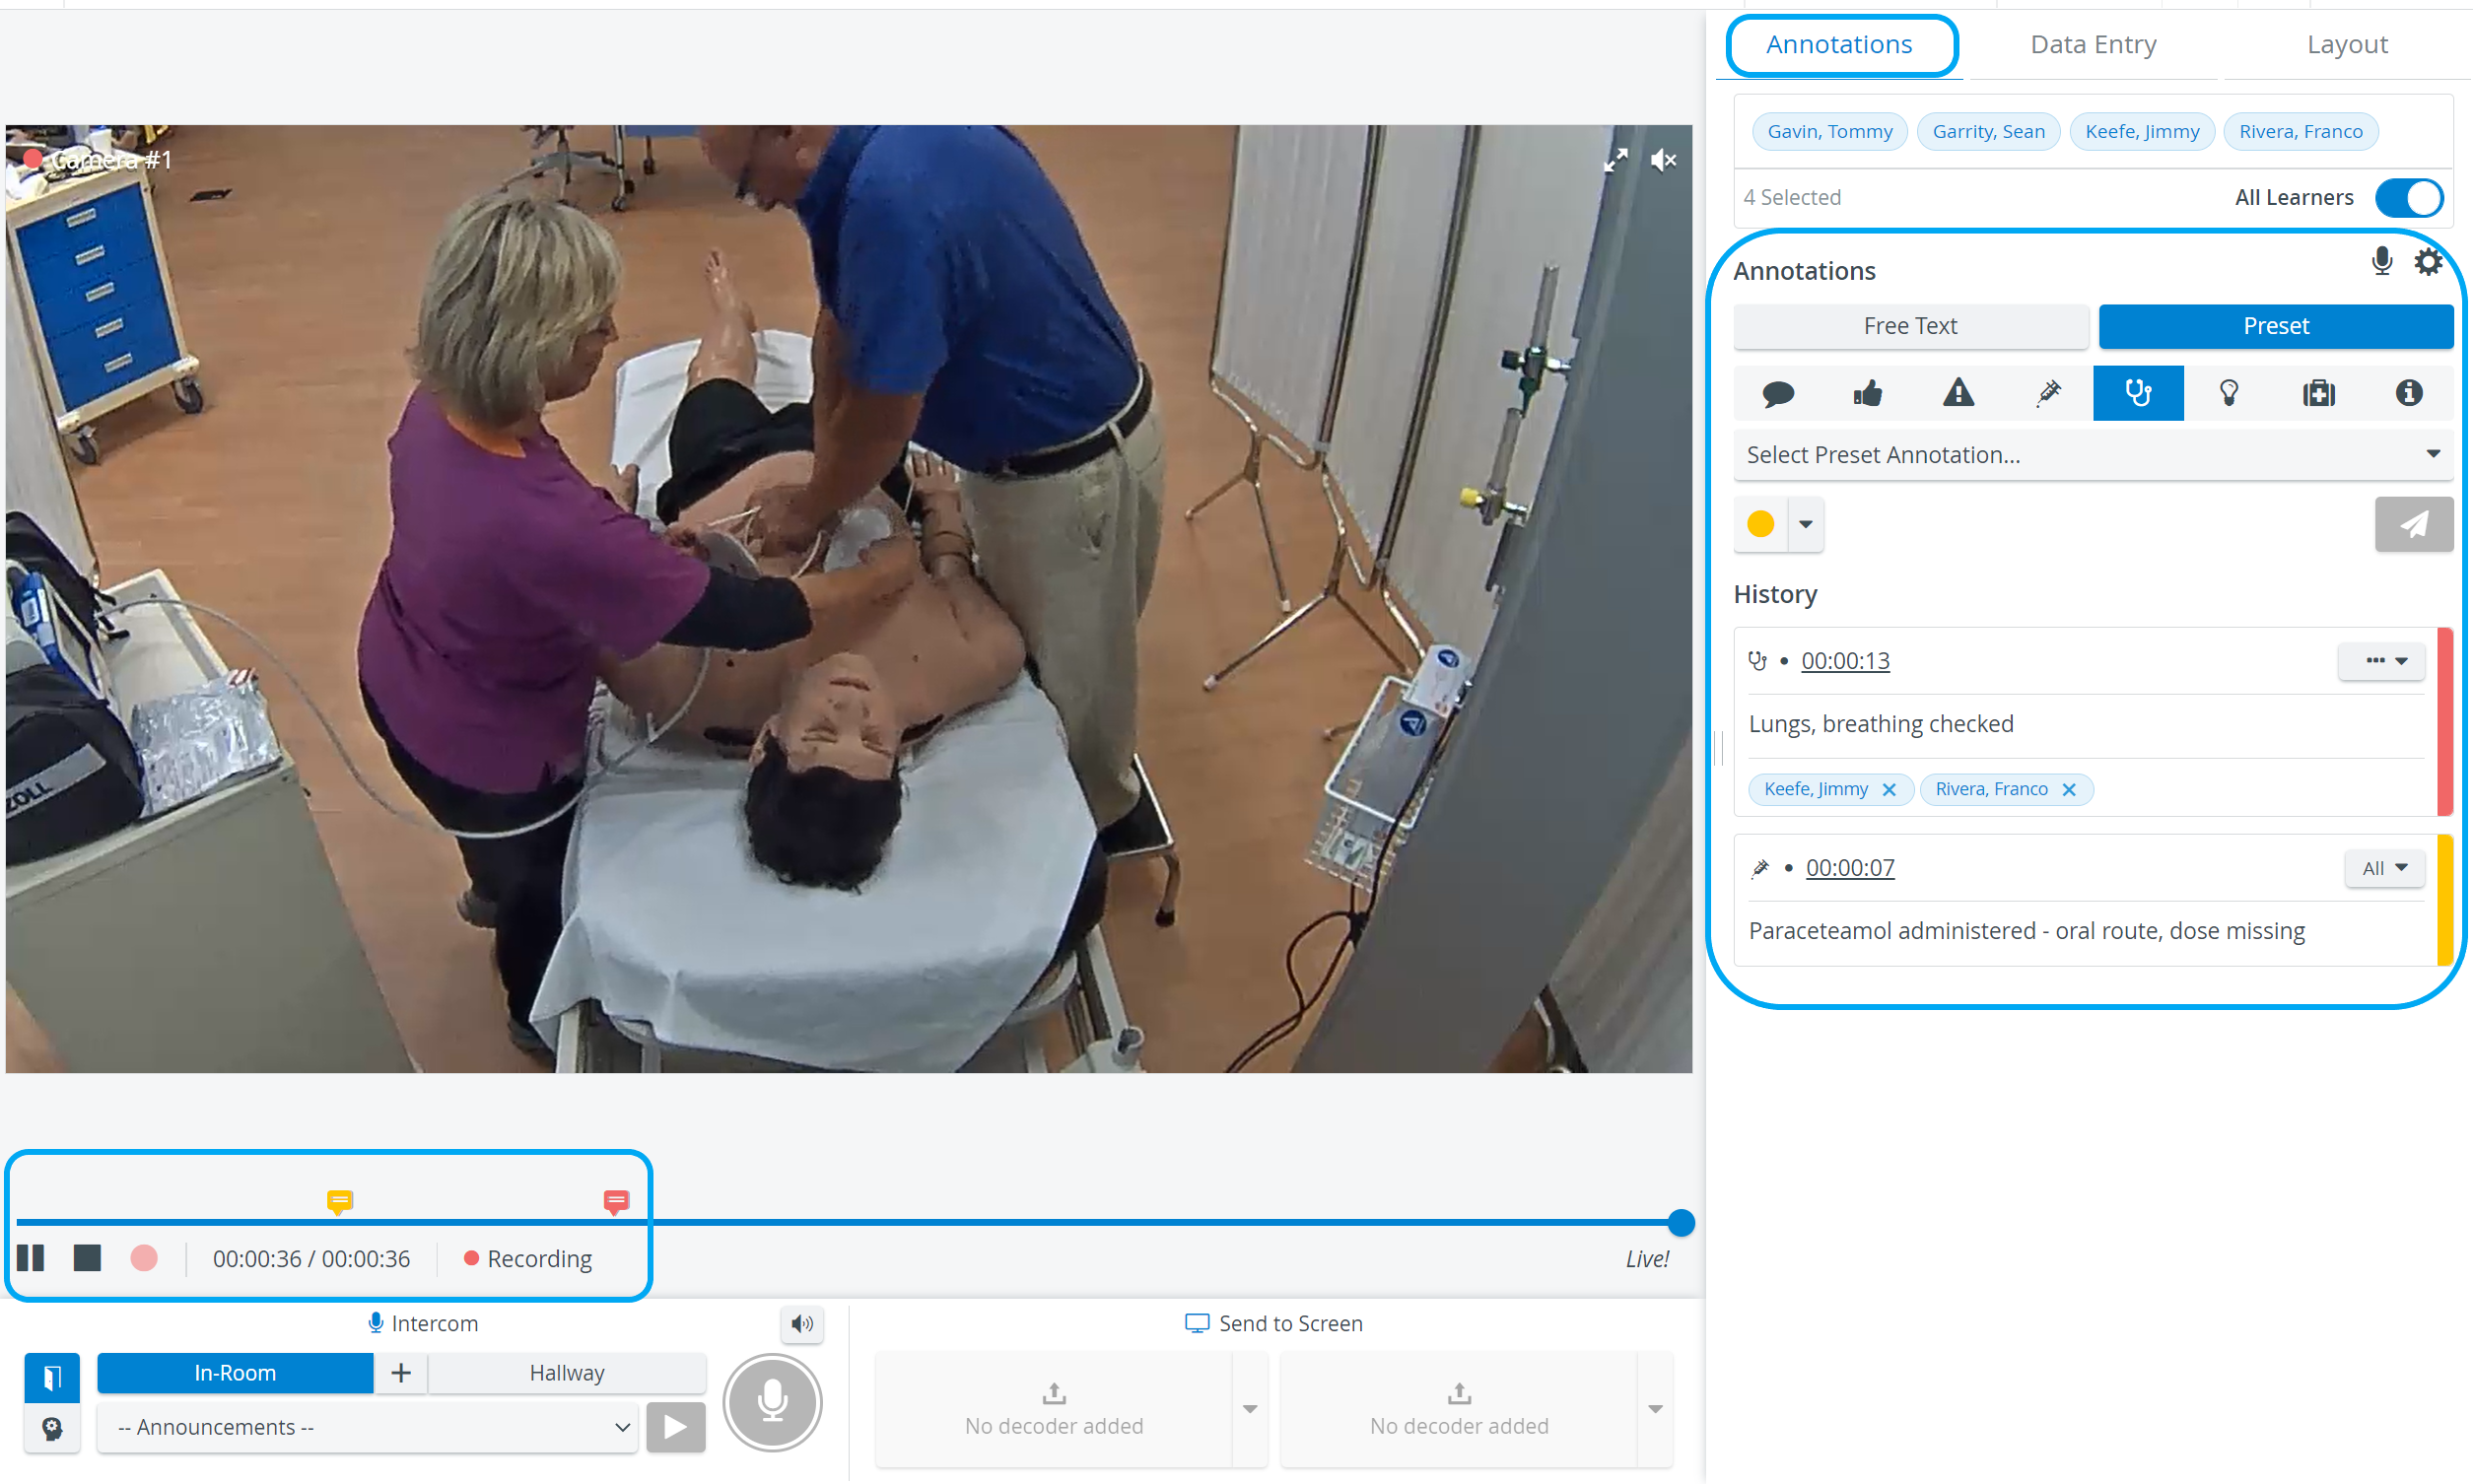
Annotations are notes, remarks added at specific moments of the recording. The Annotations tab is displayed on the right side of the Single Room view and is only active during recording.
If your layout is different in your Single Room View, you probably have the Legacy version. For the user guide of Legacy pages please go here.
Important Note for Enterprise Lite Users
This feature is to be used with in-campus audiovisual (AV) inputs. Hence, it is not available for LearningSpace Enterprise Lite, as the solution is used for web-conferencing-based virtual simulation encounters only. To unlock this feature, please upgrade to the LearningSpace Enterprise solution.
Annotations are displayed for users who have access to the SRV:
- Admin
- FON Data entry
- Learner
SP
Video Control
Video Control full control
Intercom
Live video user
Learners may only have access to recordings via the Video Review module, and annotations are only visible for them if they are selected for a specific annotation (either individually or when all the learners are added - default setting).
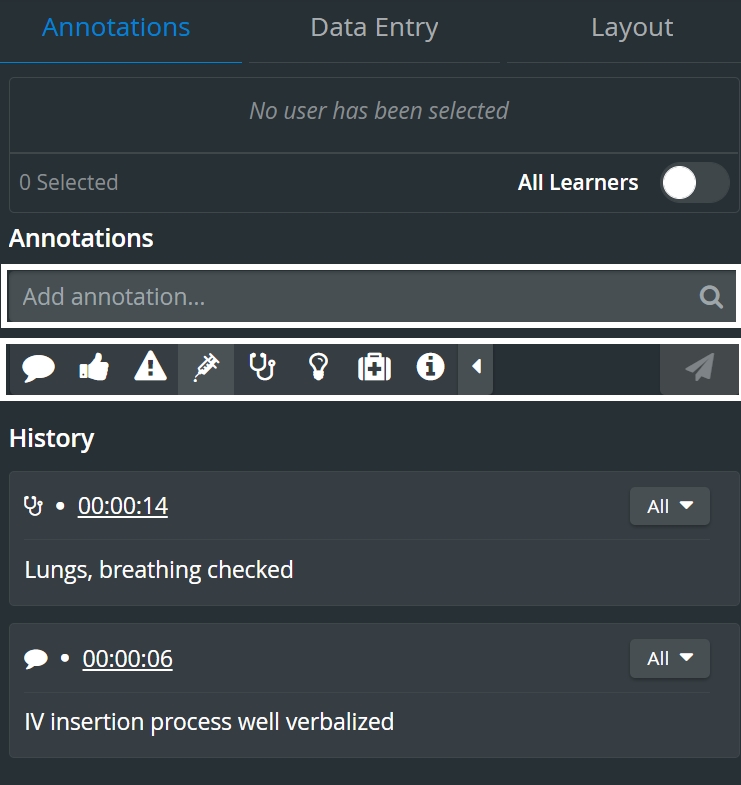
The functionality is only available during recording or debriefing. When available, annotations can be added by category by typing the required remark in the Add annotation field.
To change the category of the annotation to be added, click the desired icon. 
![]() To send the annotation, just click on the selected (preset) annotation or click the
To send the annotation, just click on the selected (preset) annotation or click the ![]() icon in case of newly created (free-text) ones.
icon in case of newly created (free-text) ones.
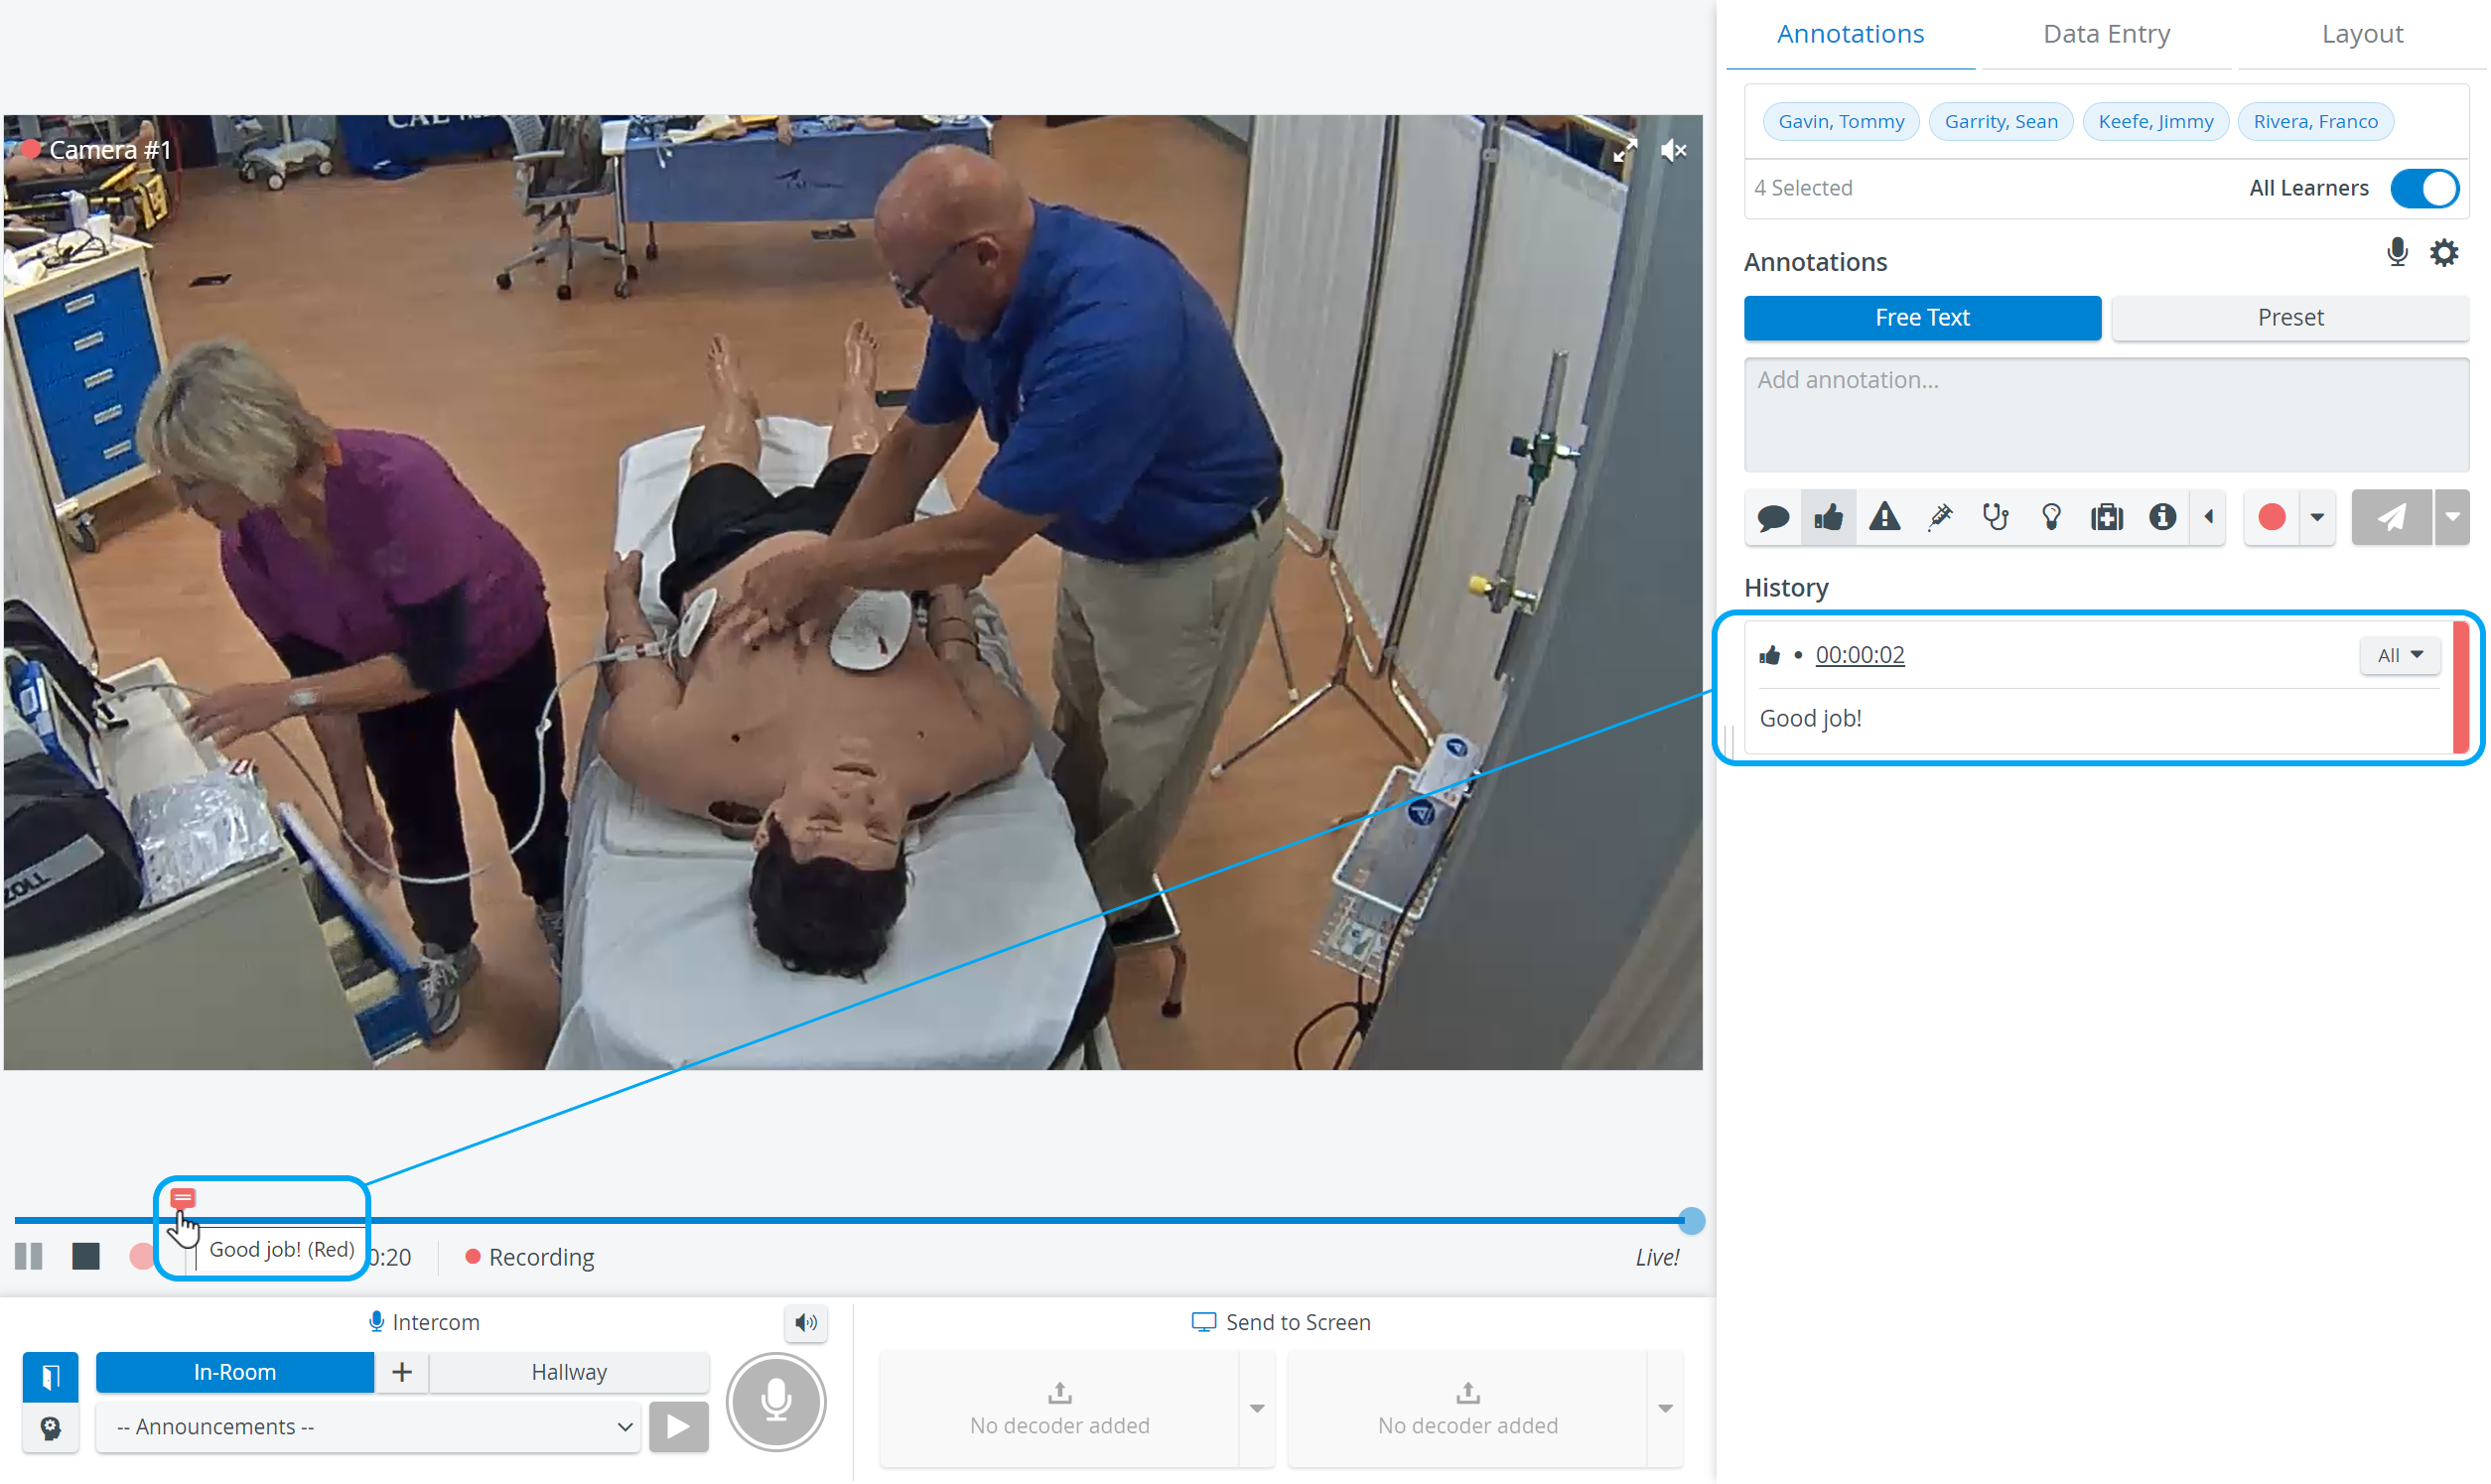
On the video timeline/slider, annotations are marked with the color set for them under the Annotations tab (see video below).
Click on each speech-bubble for displaying the annotation added at the given time-point. Grey bubbles represent Simulator logs.

Within the Annotations section of the Single Room View, LearningSpace users can
add free-text annotations
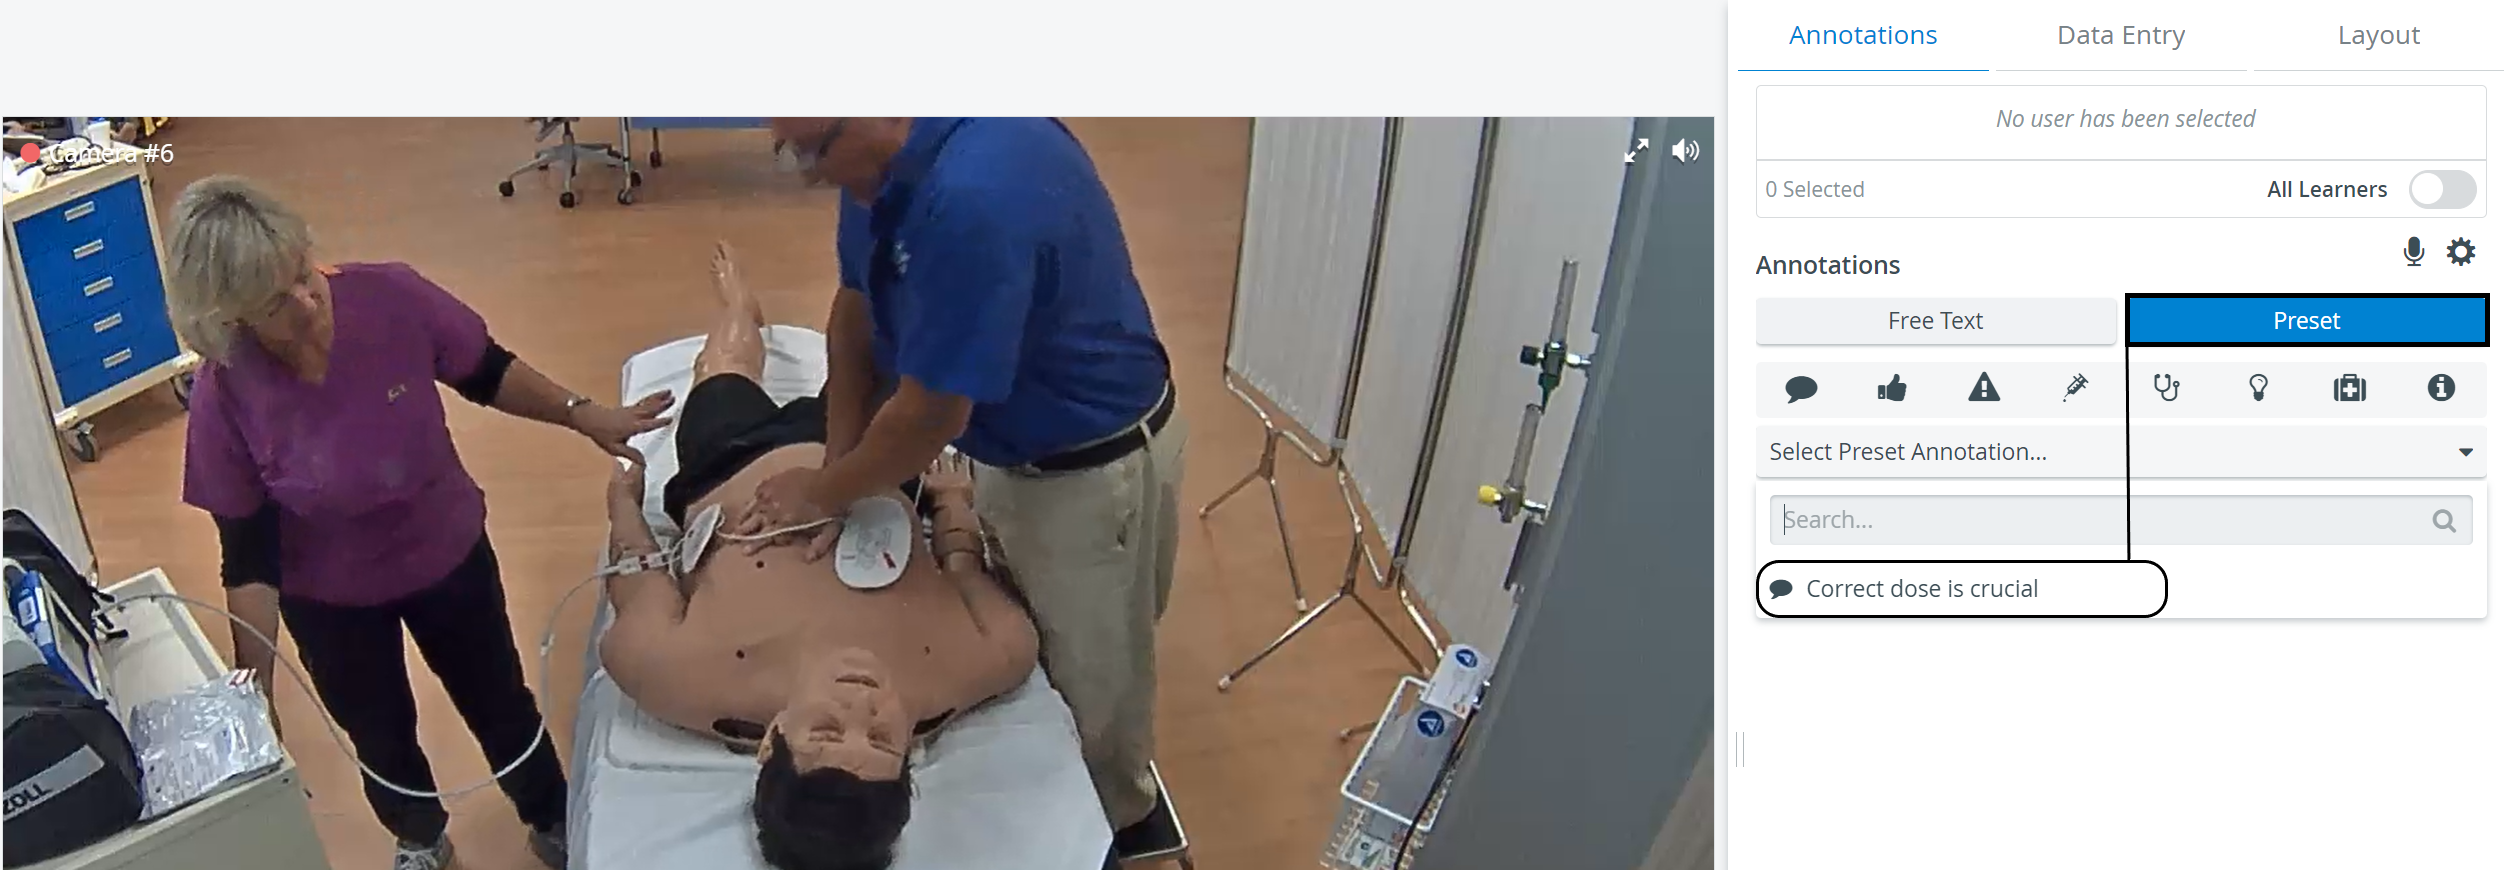
- add preset annotations
- pre-select the color of annotations
- choose a category for an annotation/preset in an easier way
- see the "All" phrase on the card, if an annotation is added to “All learners” (the name of all learners will not be displayed separately on the annotation card).
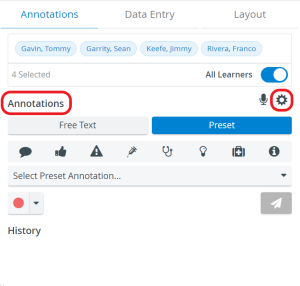
Creating preset annotations
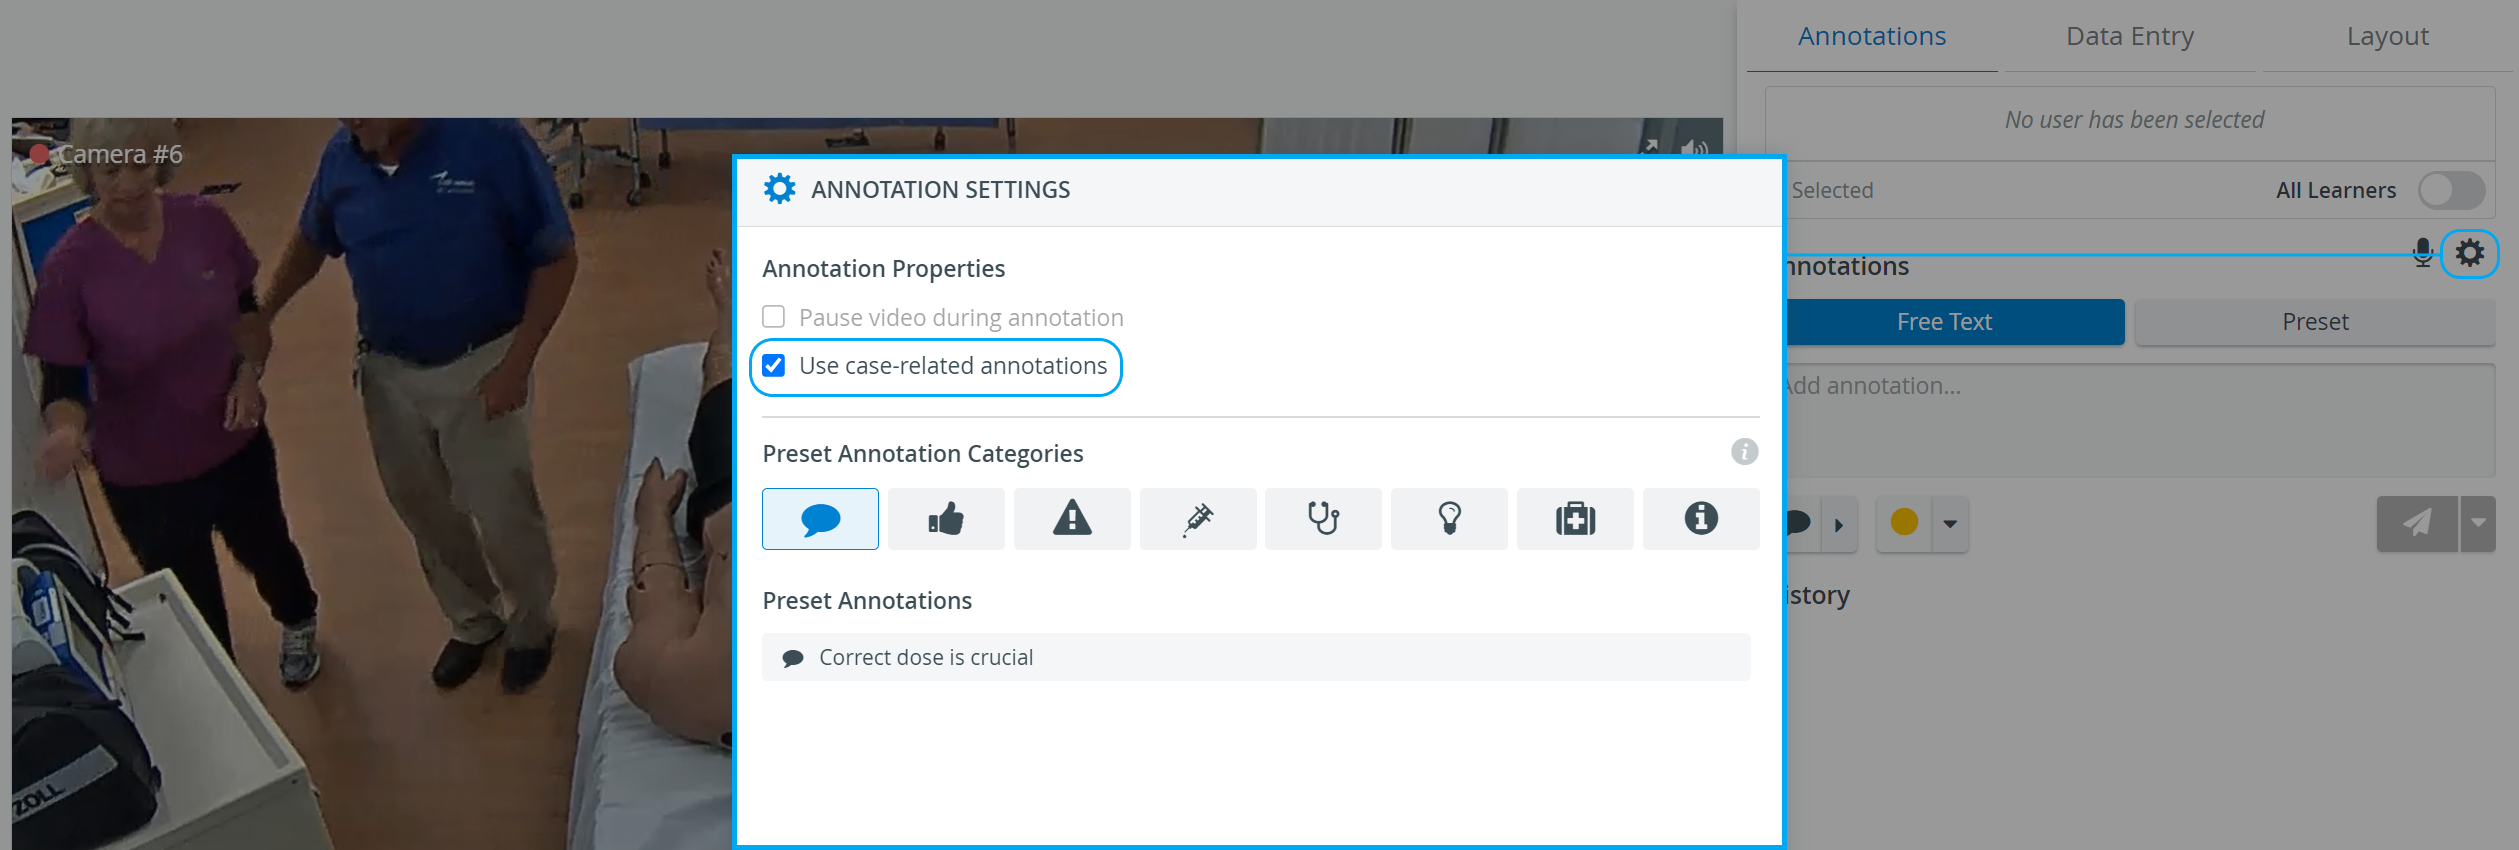
Preset annotations can be added within the Annotation settings pop-up (opened by clicking on the cogwheel icon next to Annotations):
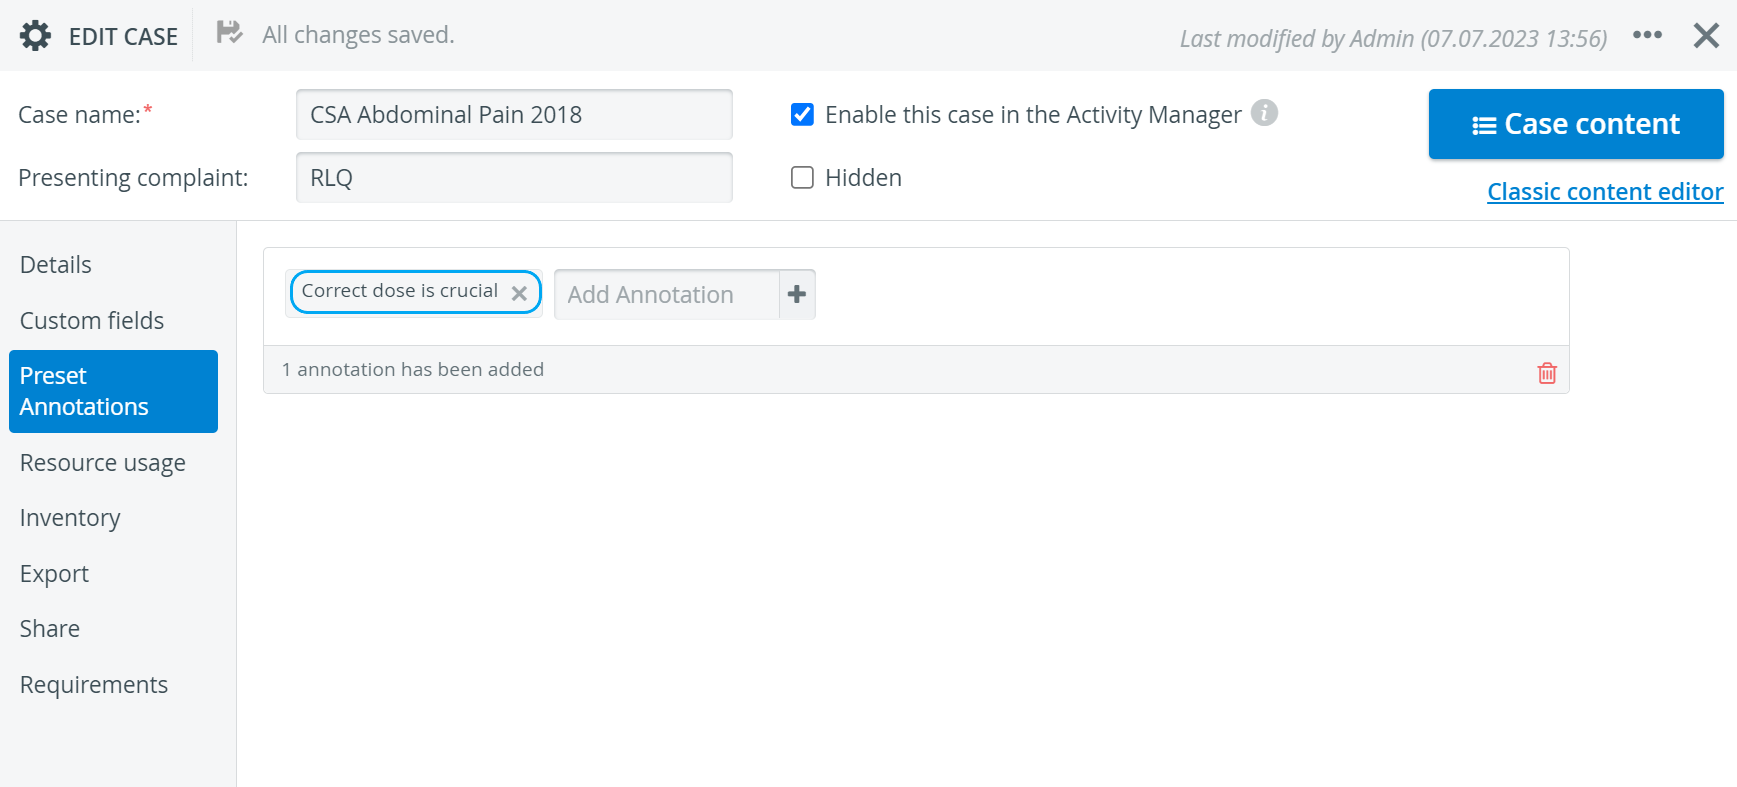
By activating the Use case-related annotations option, the system will load Preset Annotations related to the Case. These can be added on the Preset Annotations tab of the Edit Case pop-up, within the Case manager.
Speech-to-text annotations can be added by using the microphone icon ![]() next to Annotations.
next to Annotations.
Adding an annotation to a recording: annotations normally refer to learner performance. In case we wish to add a Learner group to the recording, it can be done the following ways:
Scheduled events - the learner group is selected when scheduling the event (Calendar)
Recording on the fly - the learner group can be added via the Recording settings function
In case users with an option to annotate during Recording enter the SRV prior to Admins (or any users with appropriate privileges) who start the recording, the Learners selected for annotation (and data entry) by the Admins afterwards will not get updated on the annotating users' Recording page. Still, the annotations will only apply to the selected Learners.
By default, all the learners of the assigned group are added to an annotation, displayed in blue. Members can be deselected by clicking their names (disabling them).
![]() All Learners can be selected/deselected by the All Learners toggle.
All Learners can be selected/deselected by the All Learners toggle.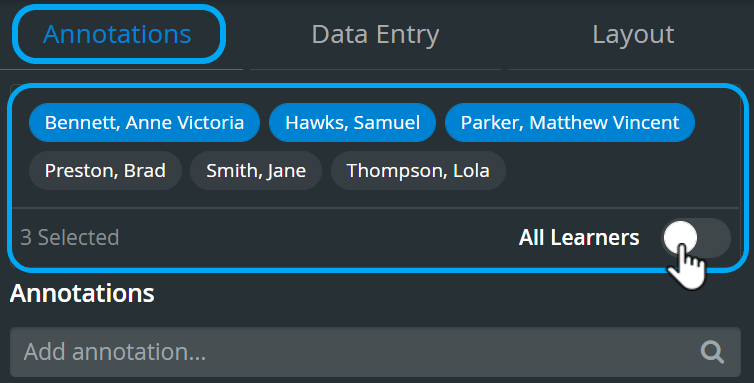
The Add annotation function is also available if no learner group is assigned to the recording
The timestamp of an annotation will represent the time of the first character typed into the annotation's input field.
Color name of annotations
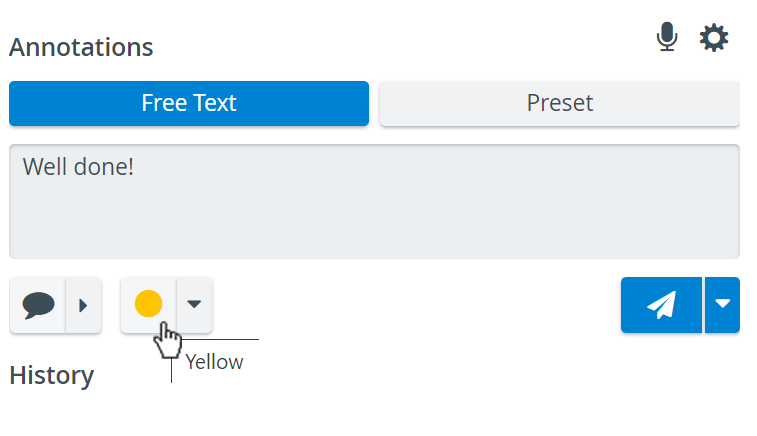
To comfort users with color-detection challenges, the name of the color of an annotation is displayed when hovering over
- the annotation on the timeline,
- on the color selector in the Annotations tab,
- or on the annotation's color marker, in the Annotations tab.
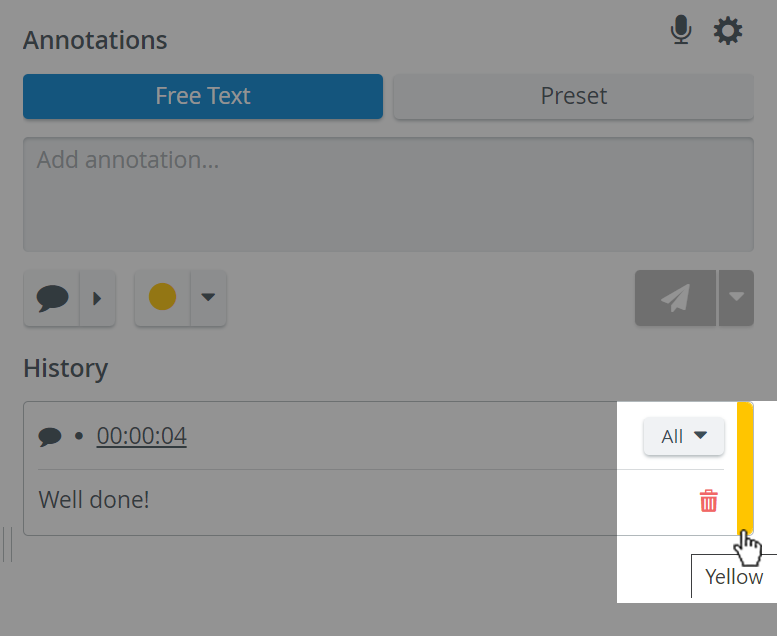
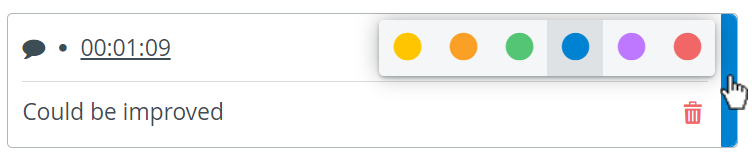
The color of an annotation can be changed by clicking on the color marker on the right-hand side.
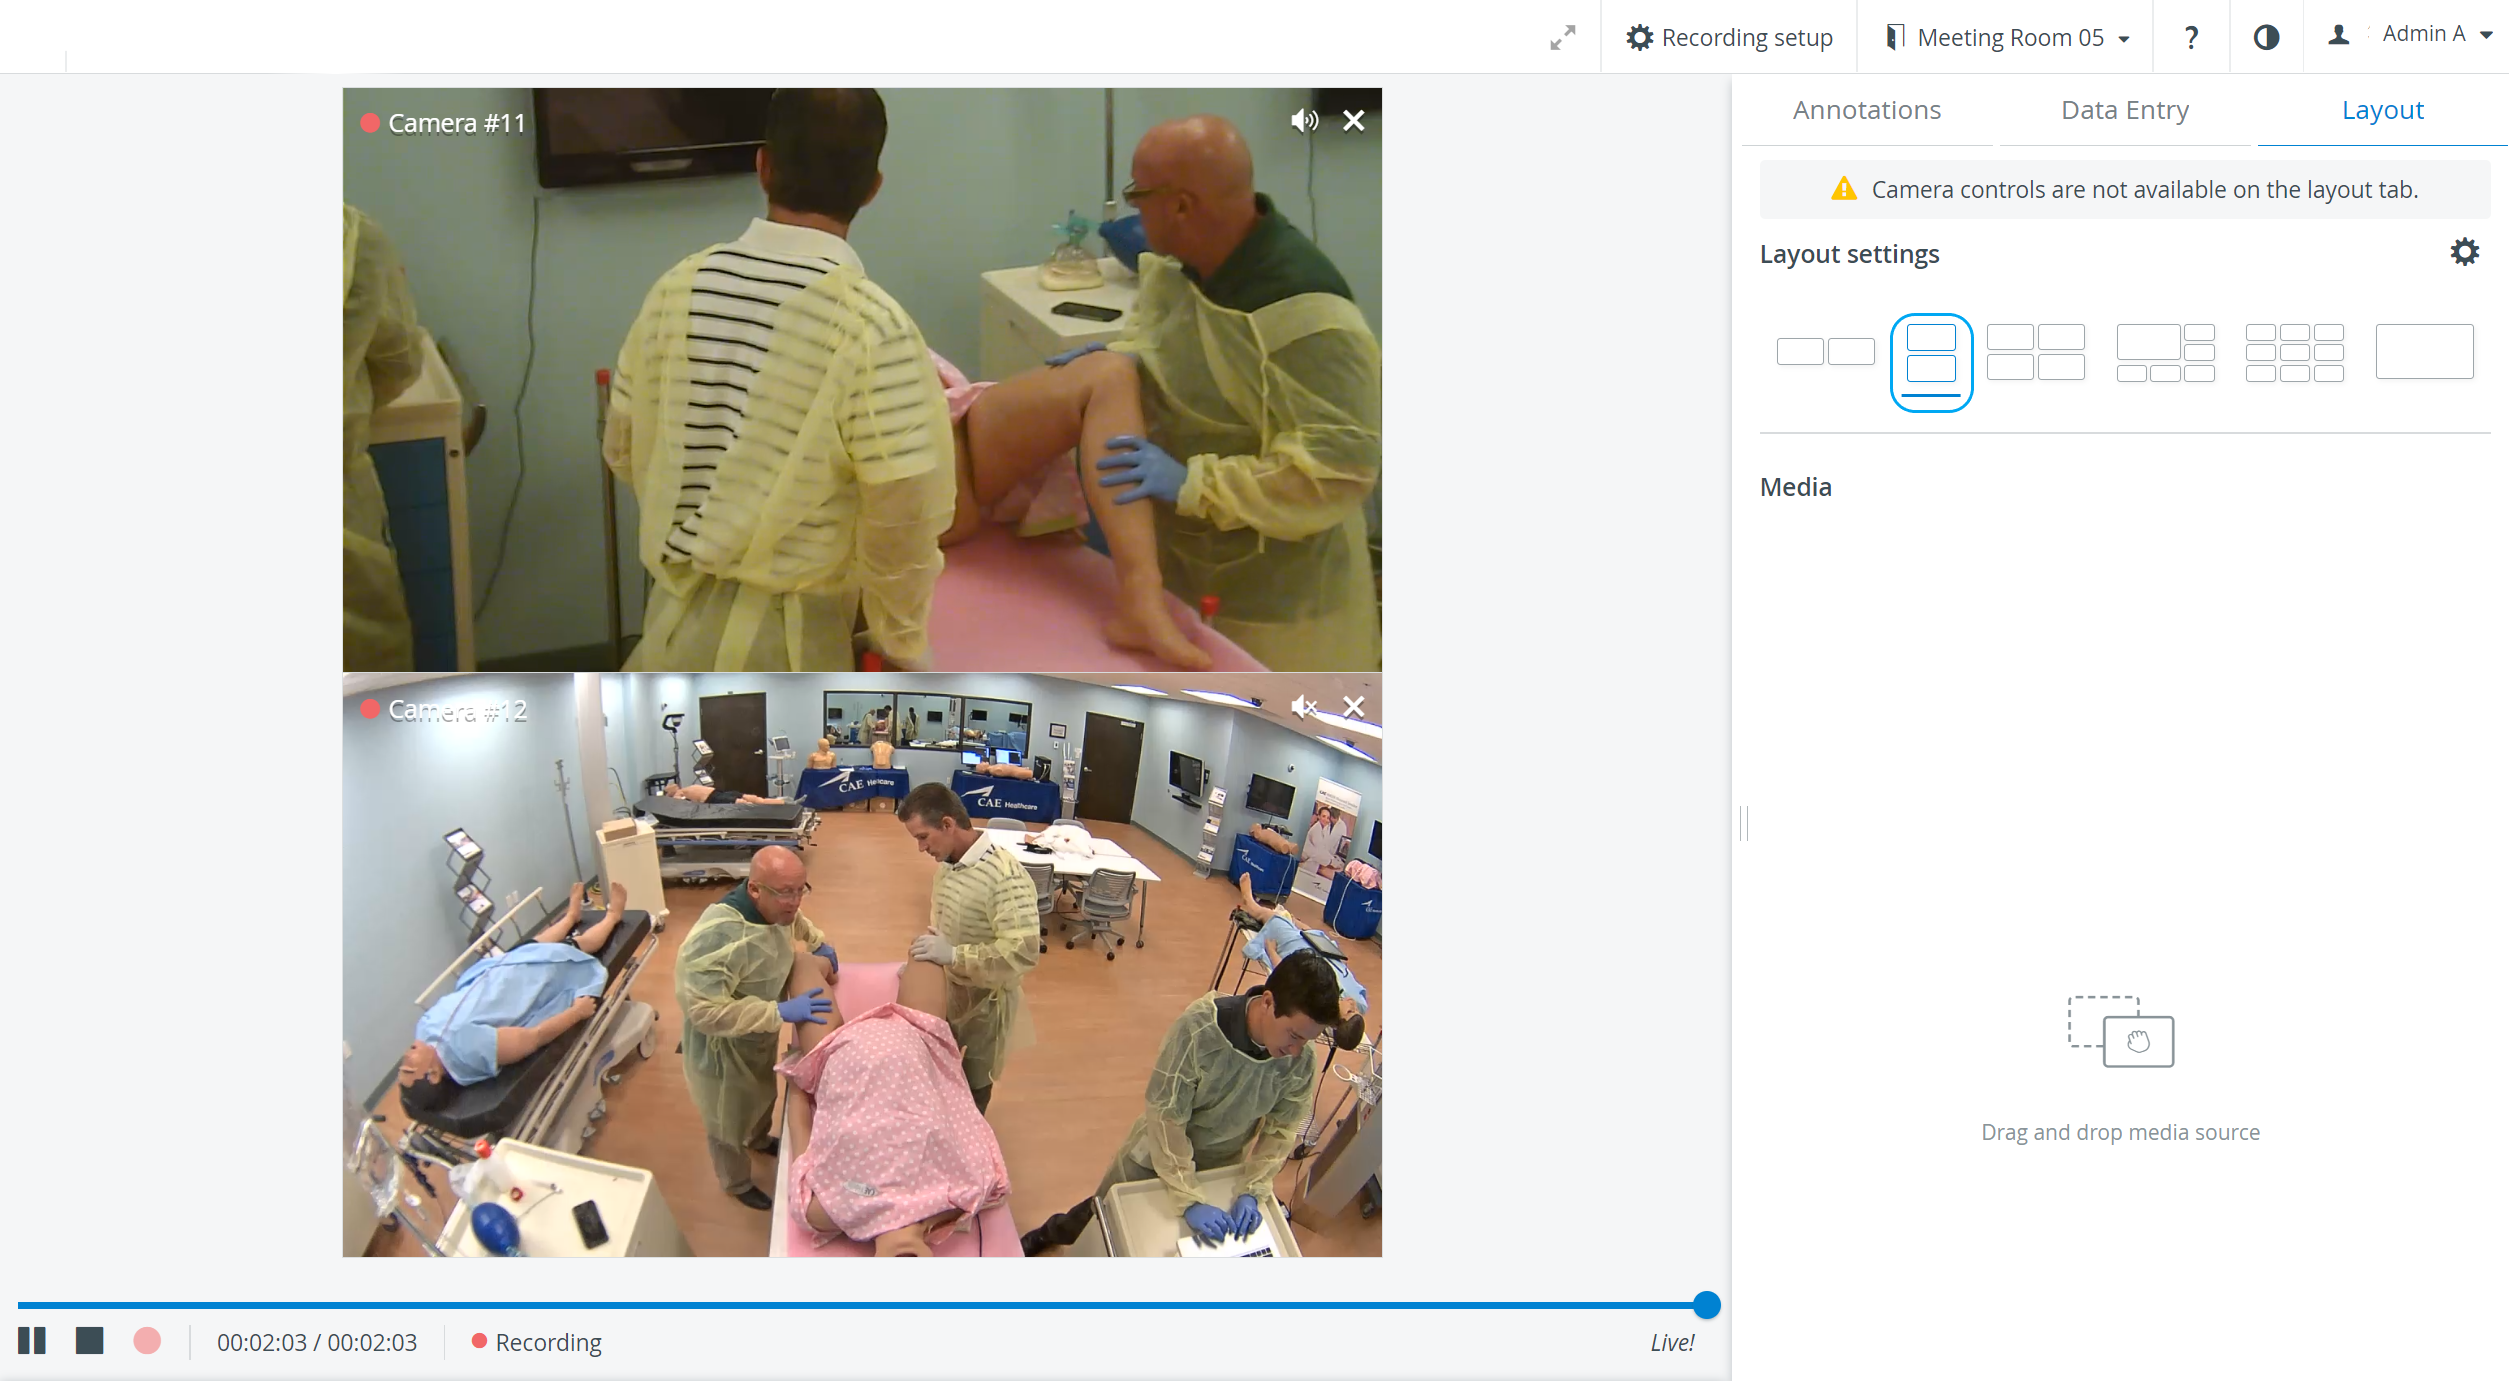
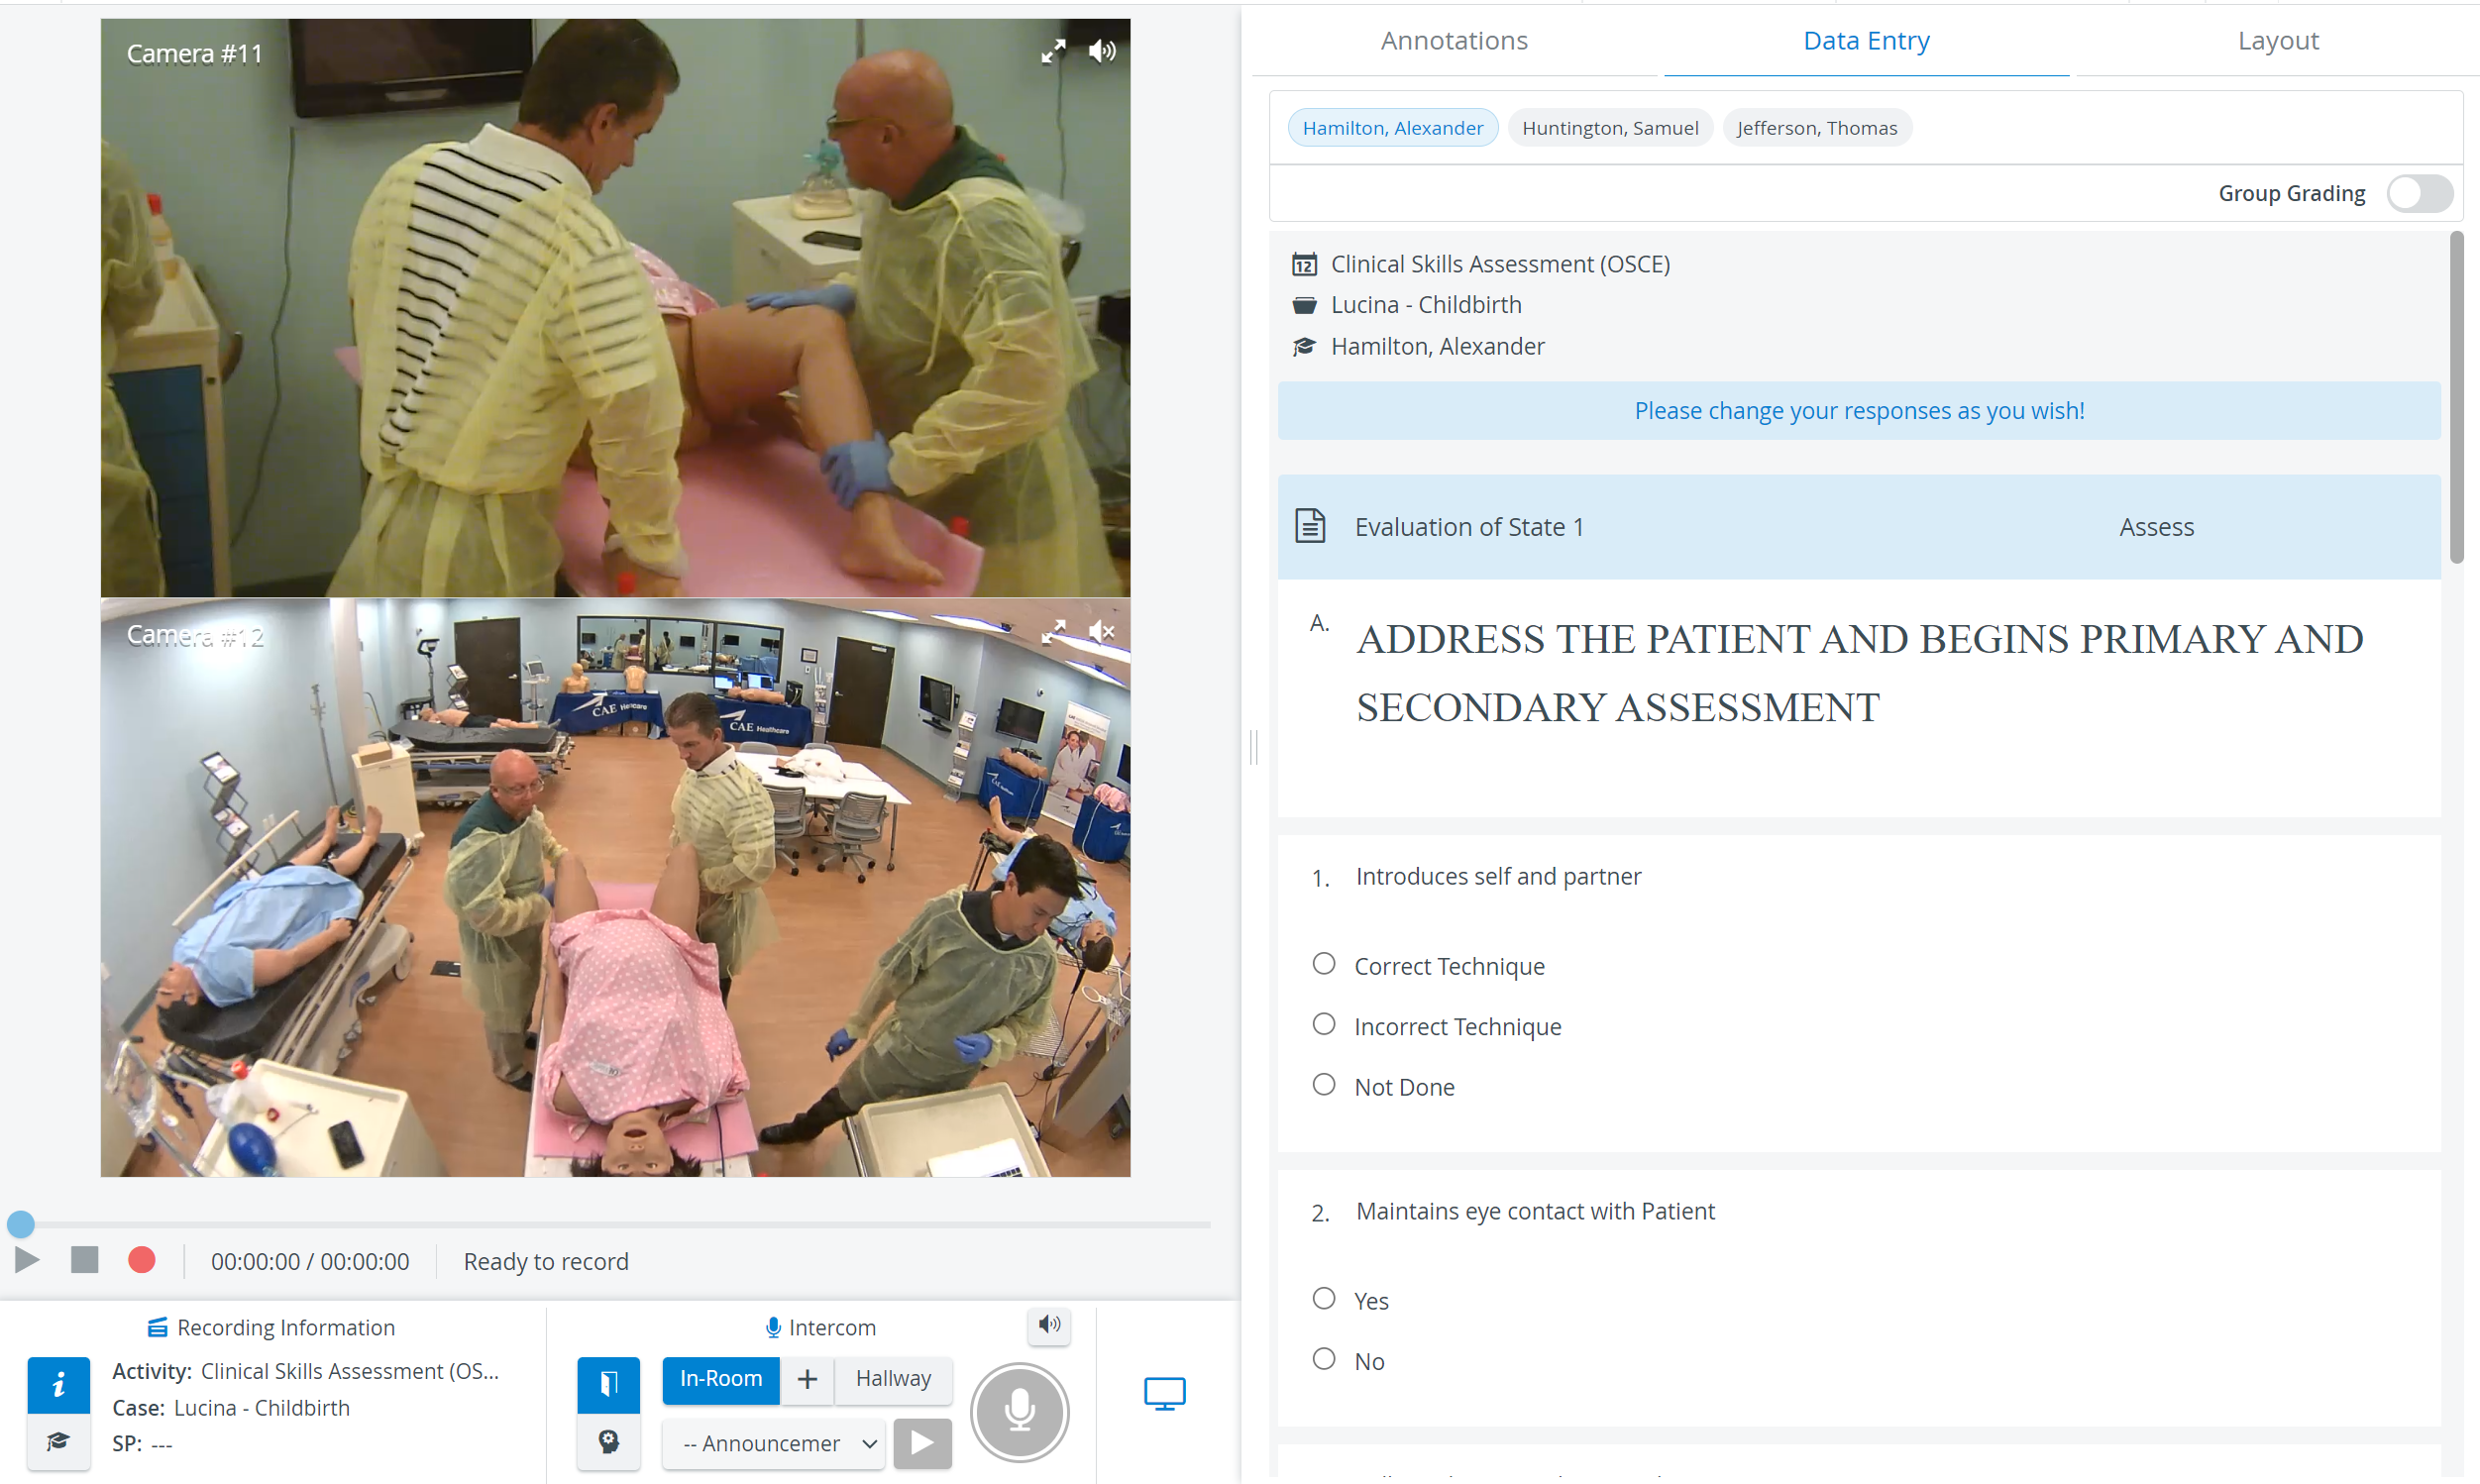
Vertical Double Layout
In the latest version of LearningSpace the utilization of the space available in the Single Room View panels can be maximized and and the panels on the right side (Annotations tab, Data Entry tab) or additional windows can be displayed in a larger size with the Vertical double layout feature:
Related pages
For more information, visit our Recording - How to pages and watch the Recording Module Training Video.
Overview
Content Tools